Google Play Store App Registration A-Z - The whole process with screenshots
When you first publish your app to the Google Play Store, the console UI is more complicated than you might think. There are many places where it's confusing to know where to press what.
I've summarized the entire process based on screenshots I captured during registration.
--- --- ------.
Overall flow
Sign up for Google Play Console ($25)
  → Create your app
  → Internal testing (optional)
  → Private test (required - 12 people × 14 days)
  → Complete the to-do list
  → Set up store properties
  → Submit review → Approve → Launch
Key condition: Current Google policy requires 12 people in private testing for at least 14 days (2 weeks) before a public release is possible.
Step 1 - Create your app
Create a new app in the Google Play Console.
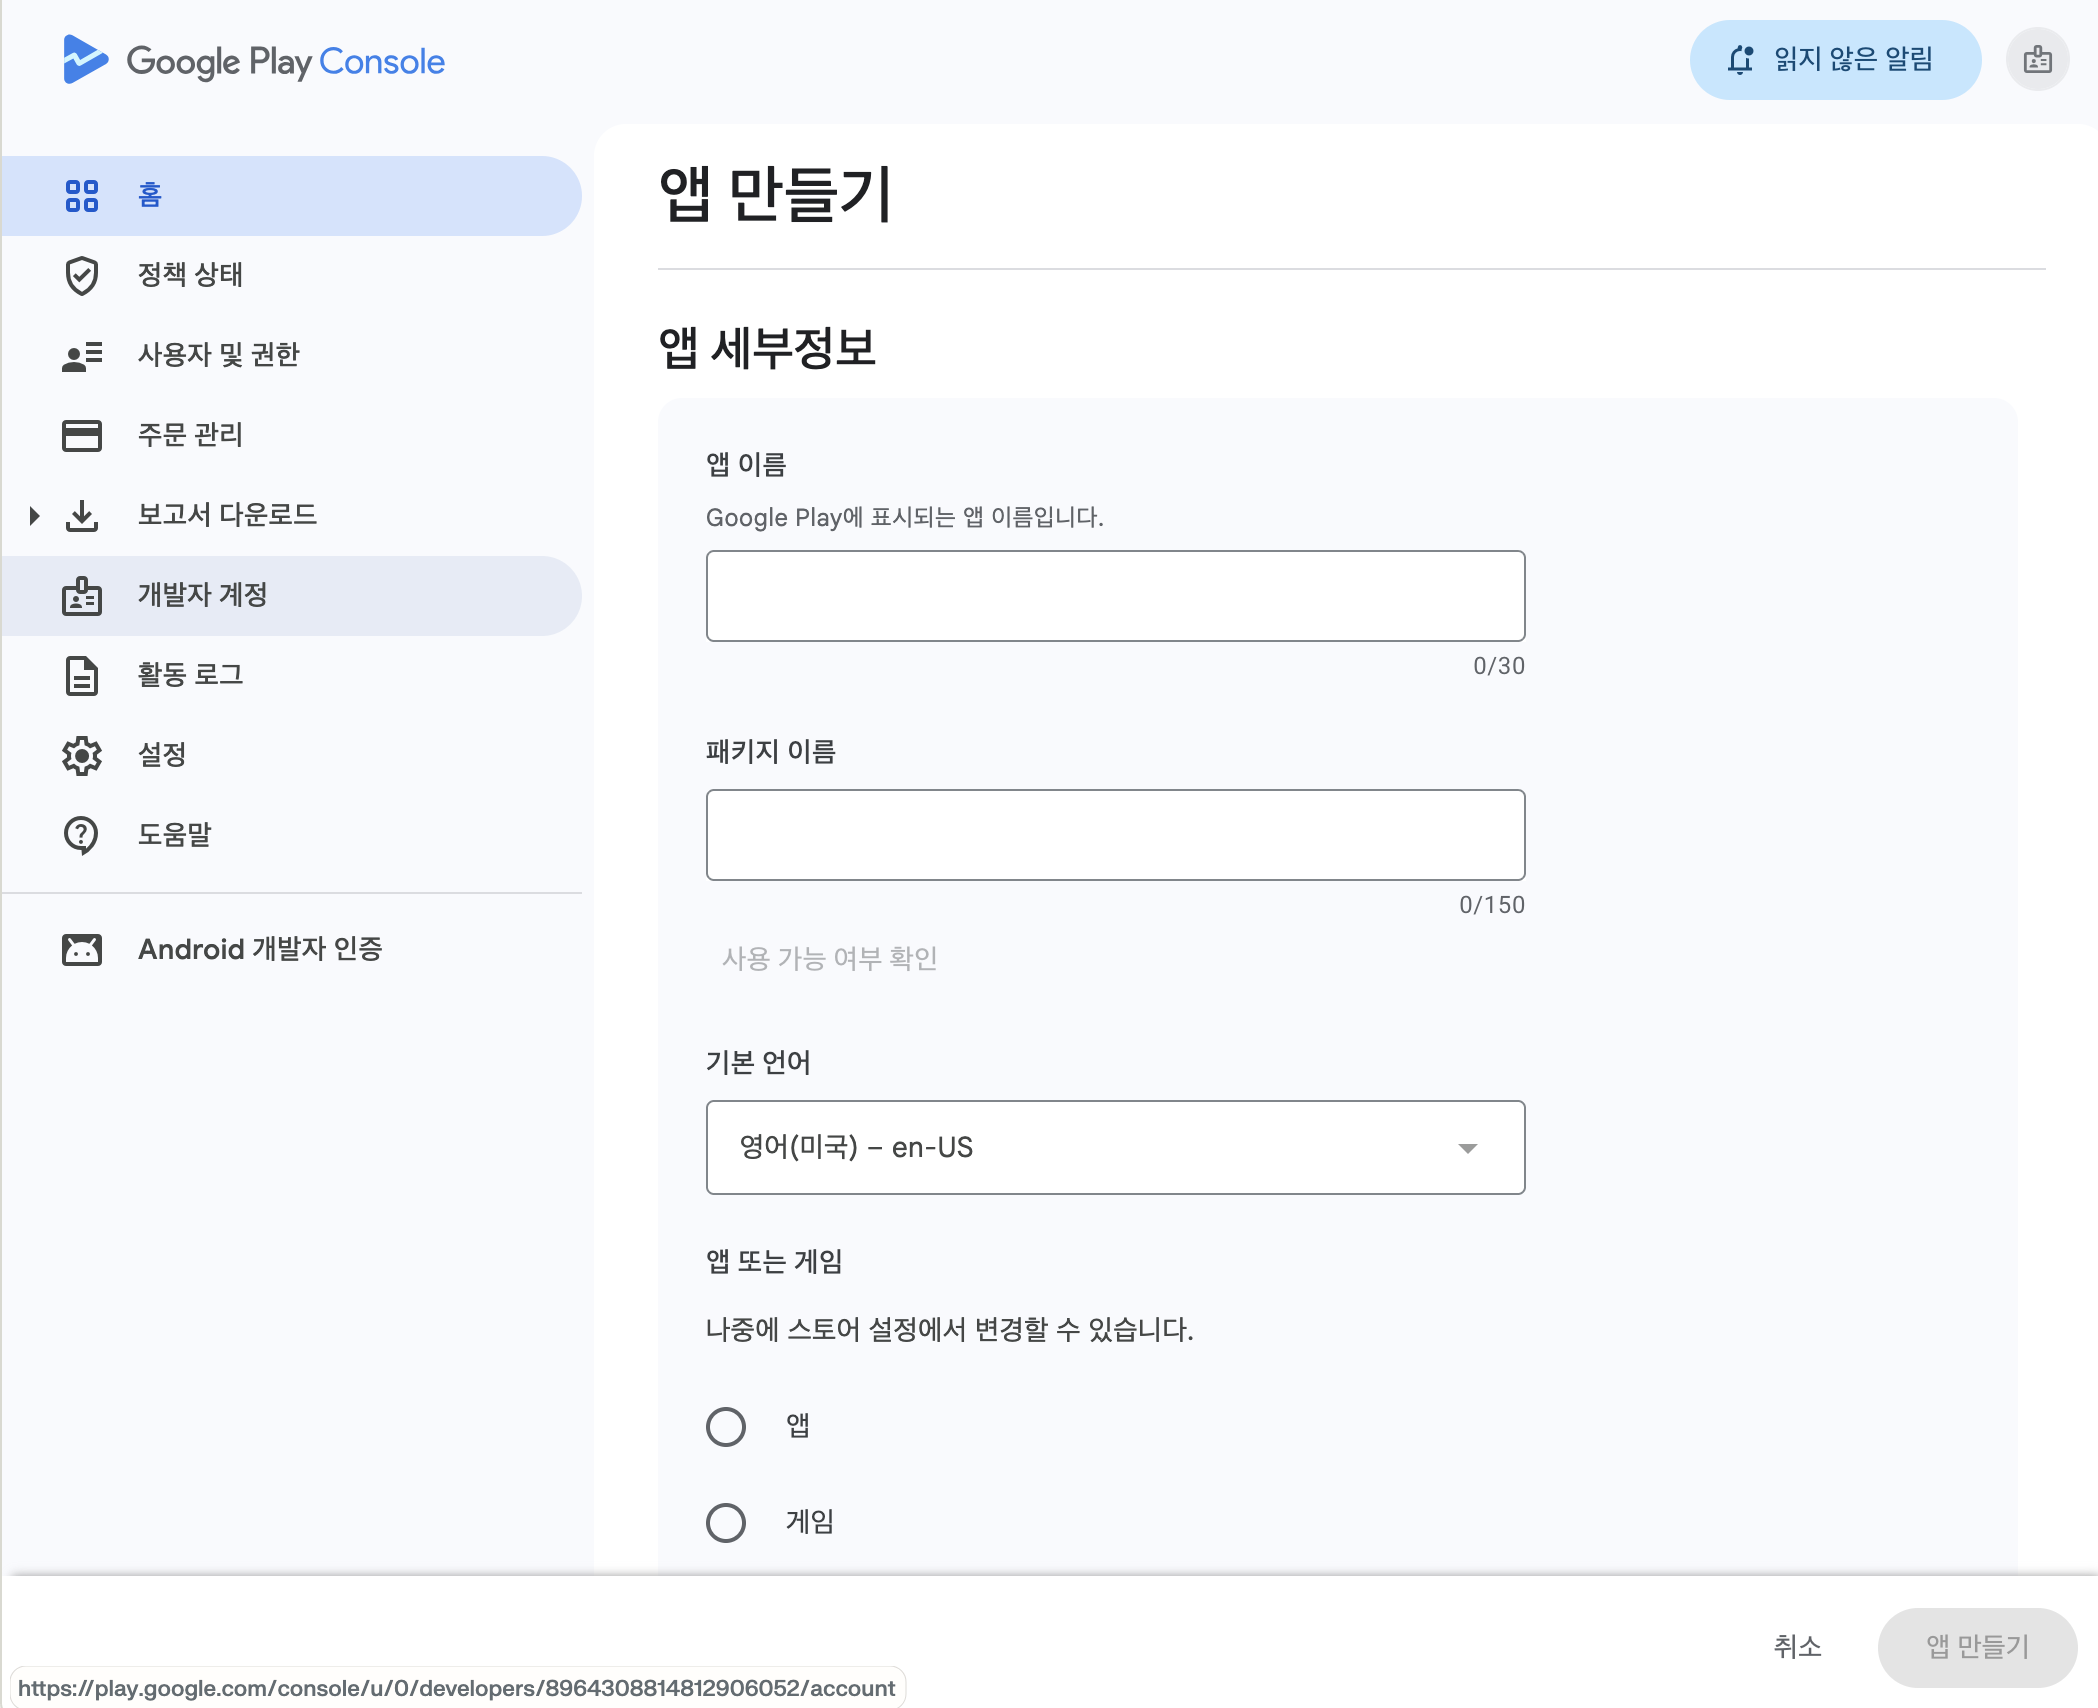
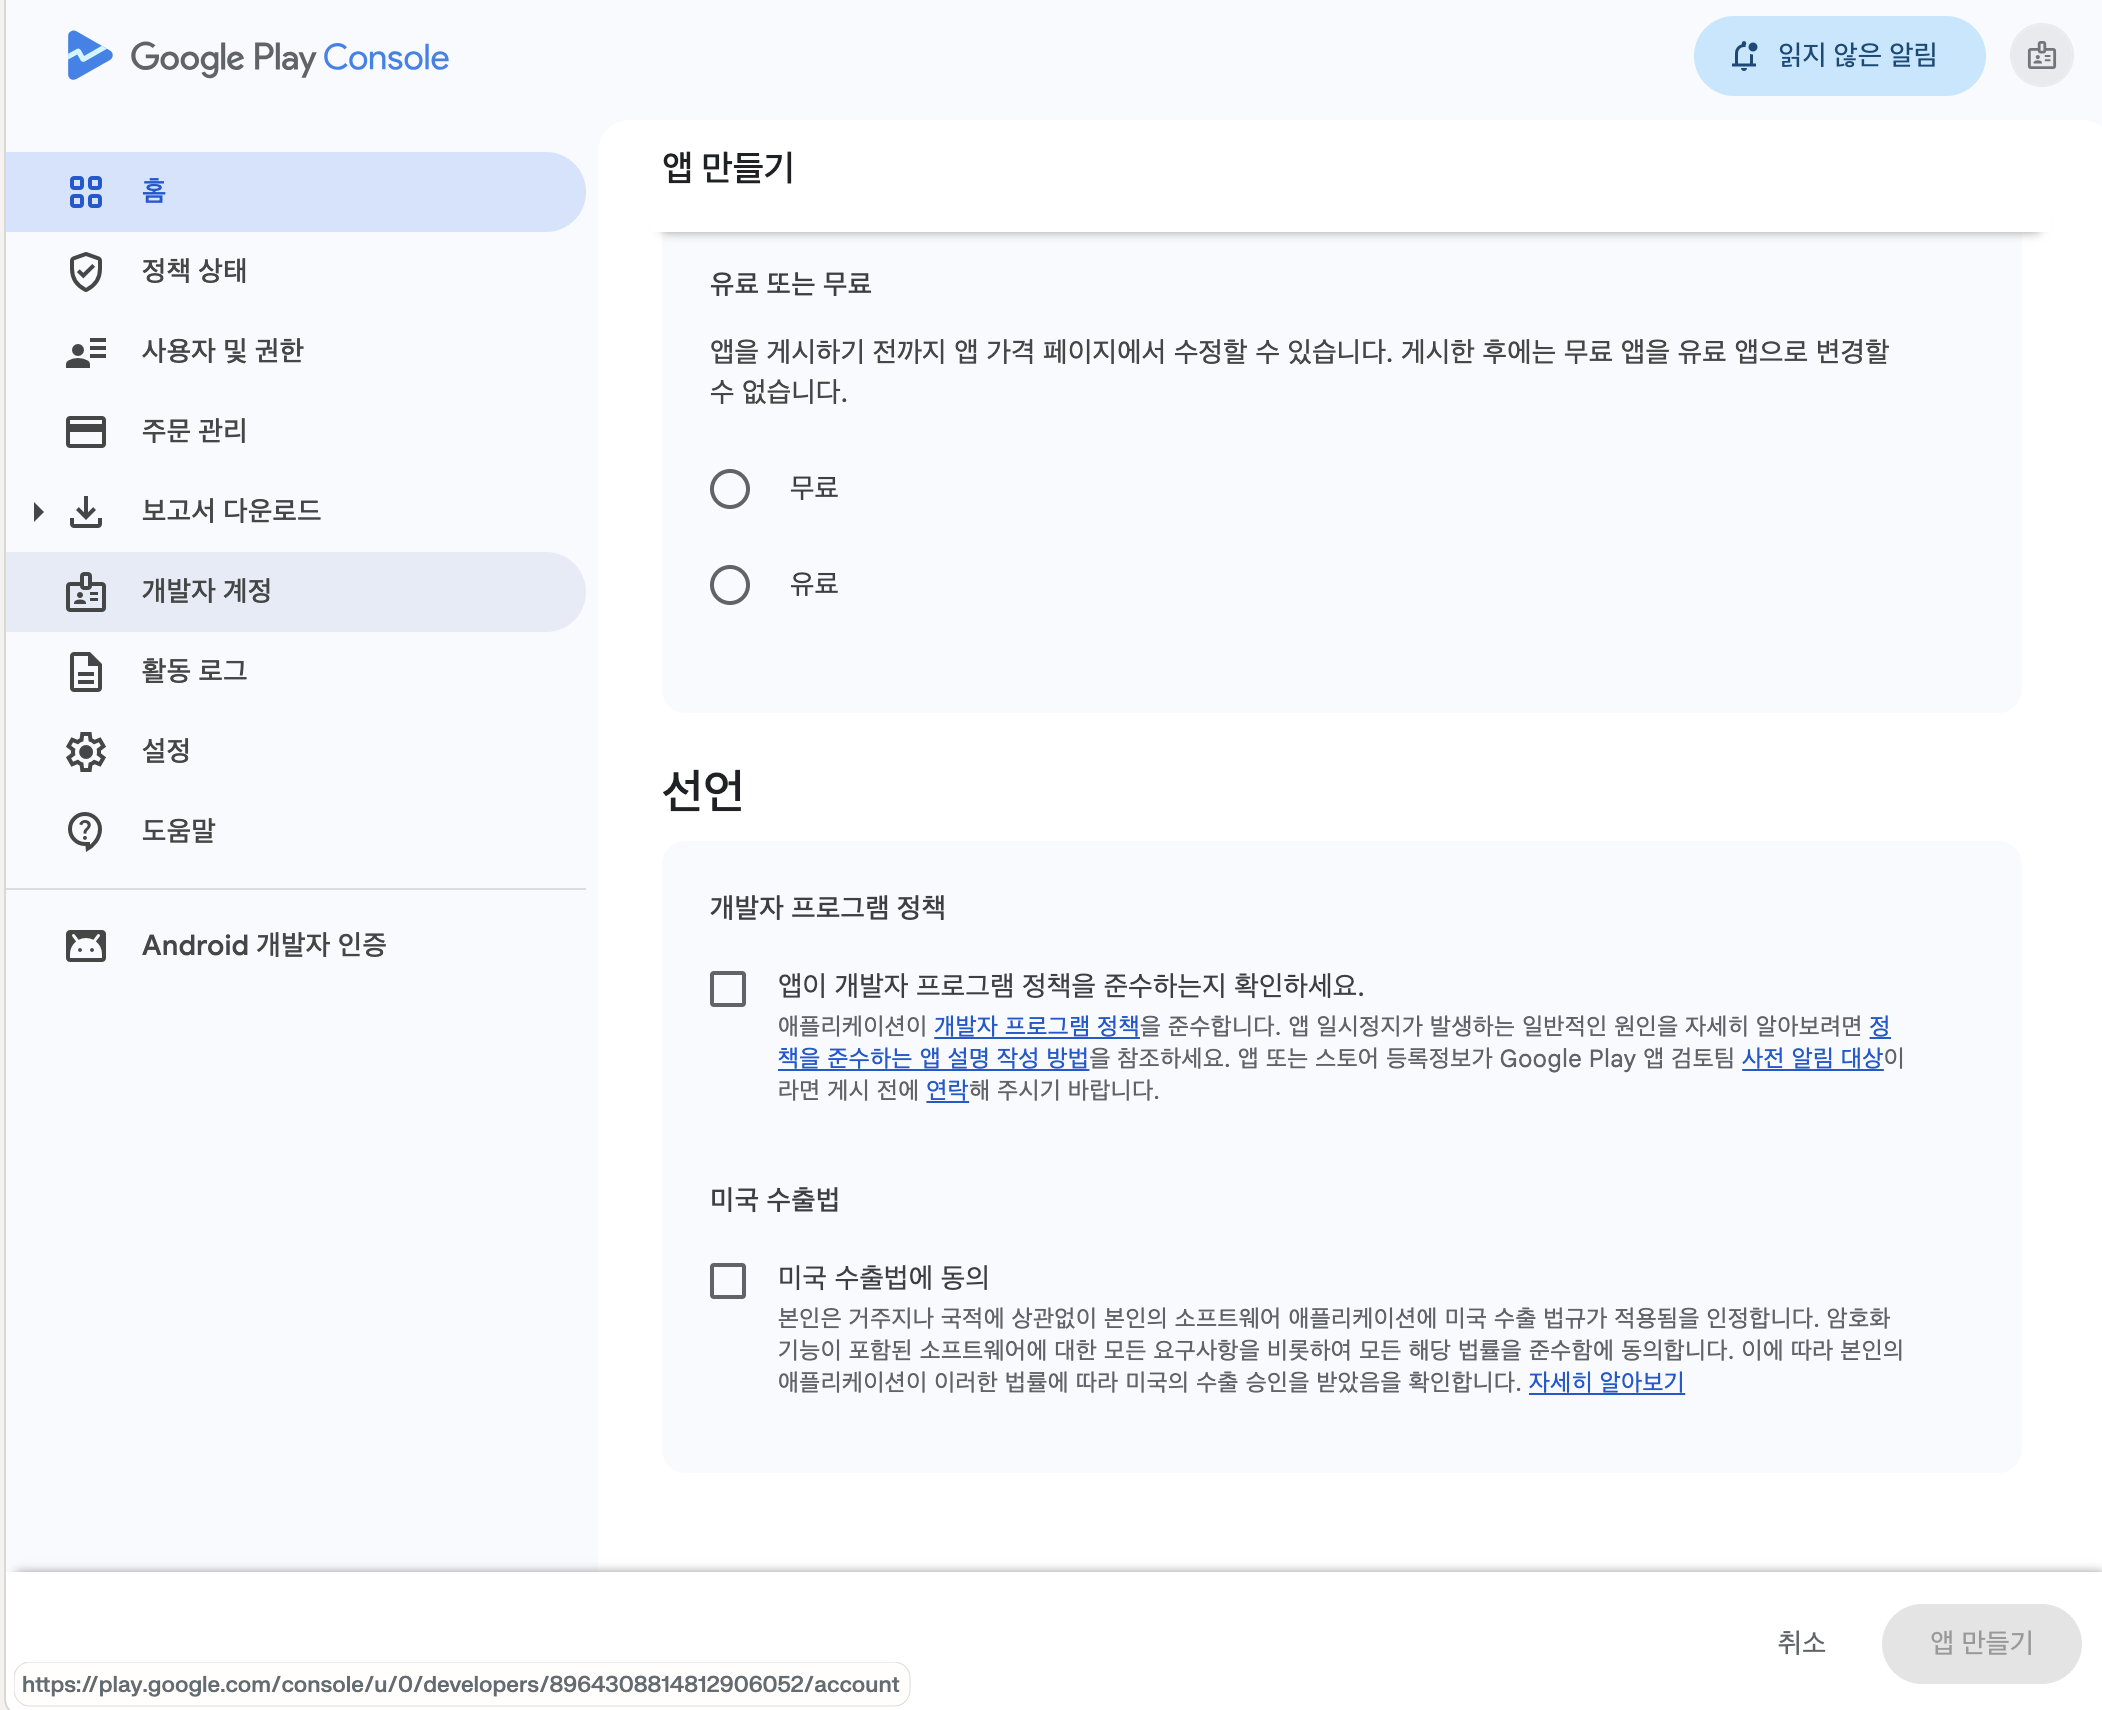
Inputs: app name, package name, default language, and a choice of paid or free
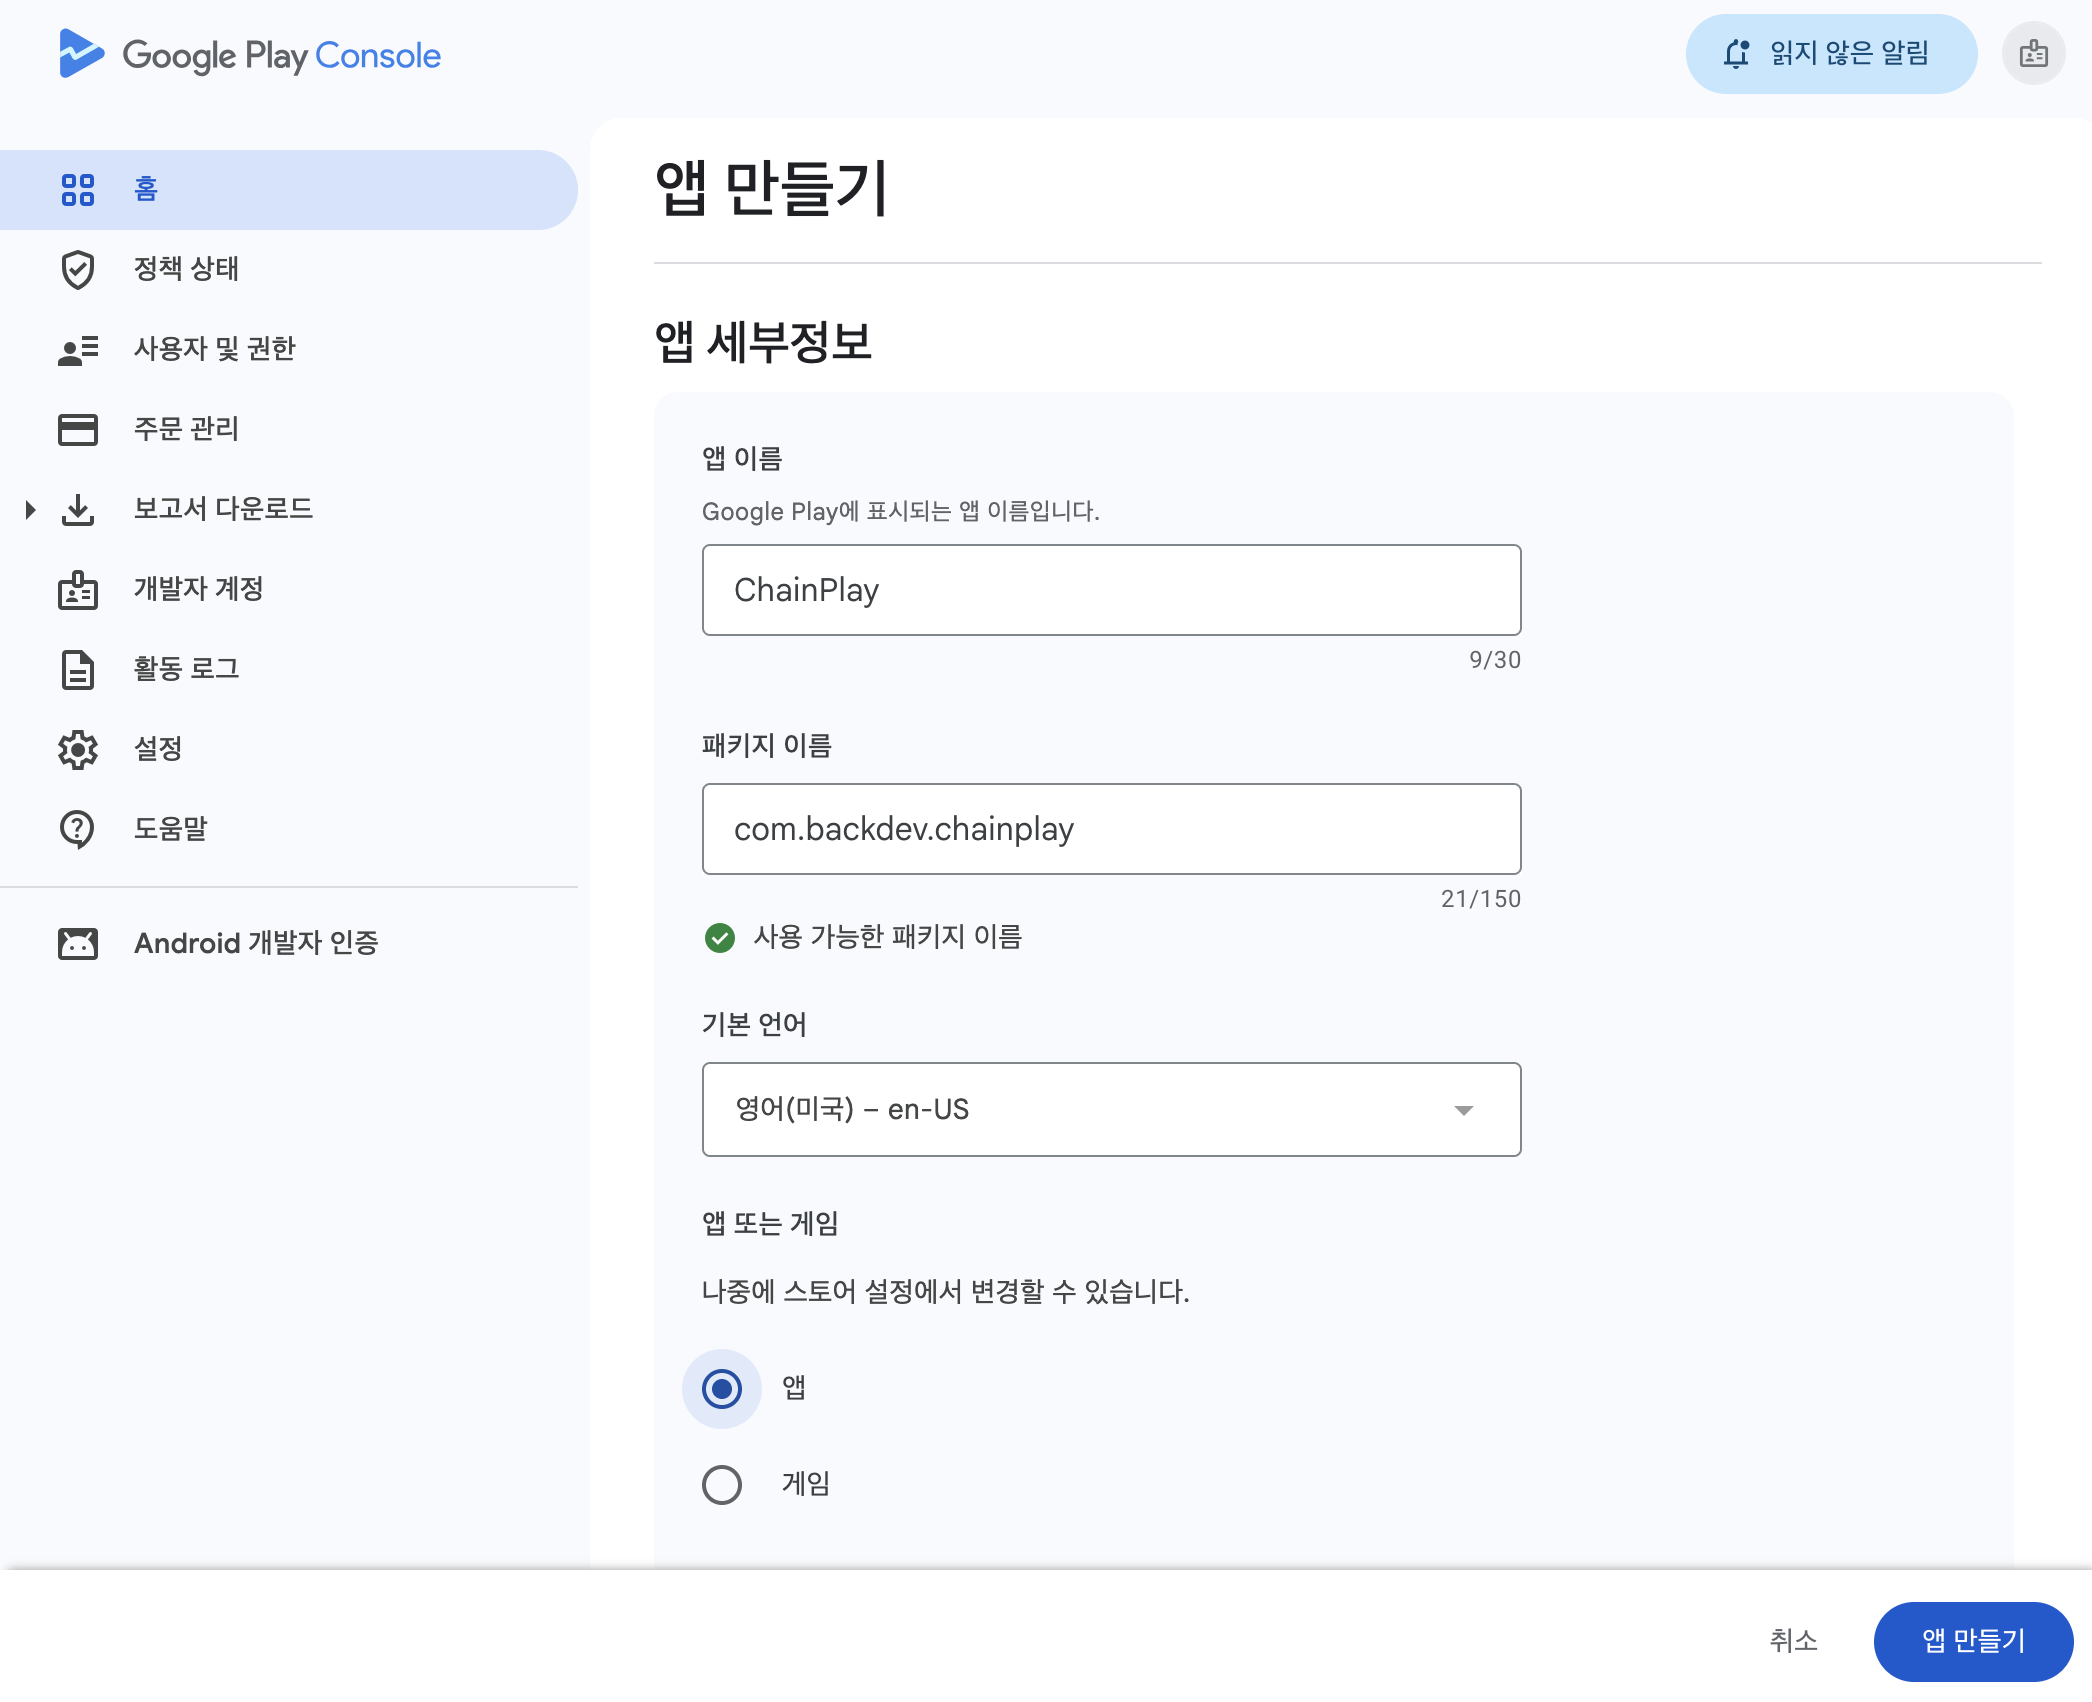

Package name format: com.companyname.appname
Step 2 - Internal Testing (optional)
Internal testing is not required, but it has the advantage of allowing you to quickly create and verify a link to install your app. It's a good way to verify your own installation while waiting for private test approval.
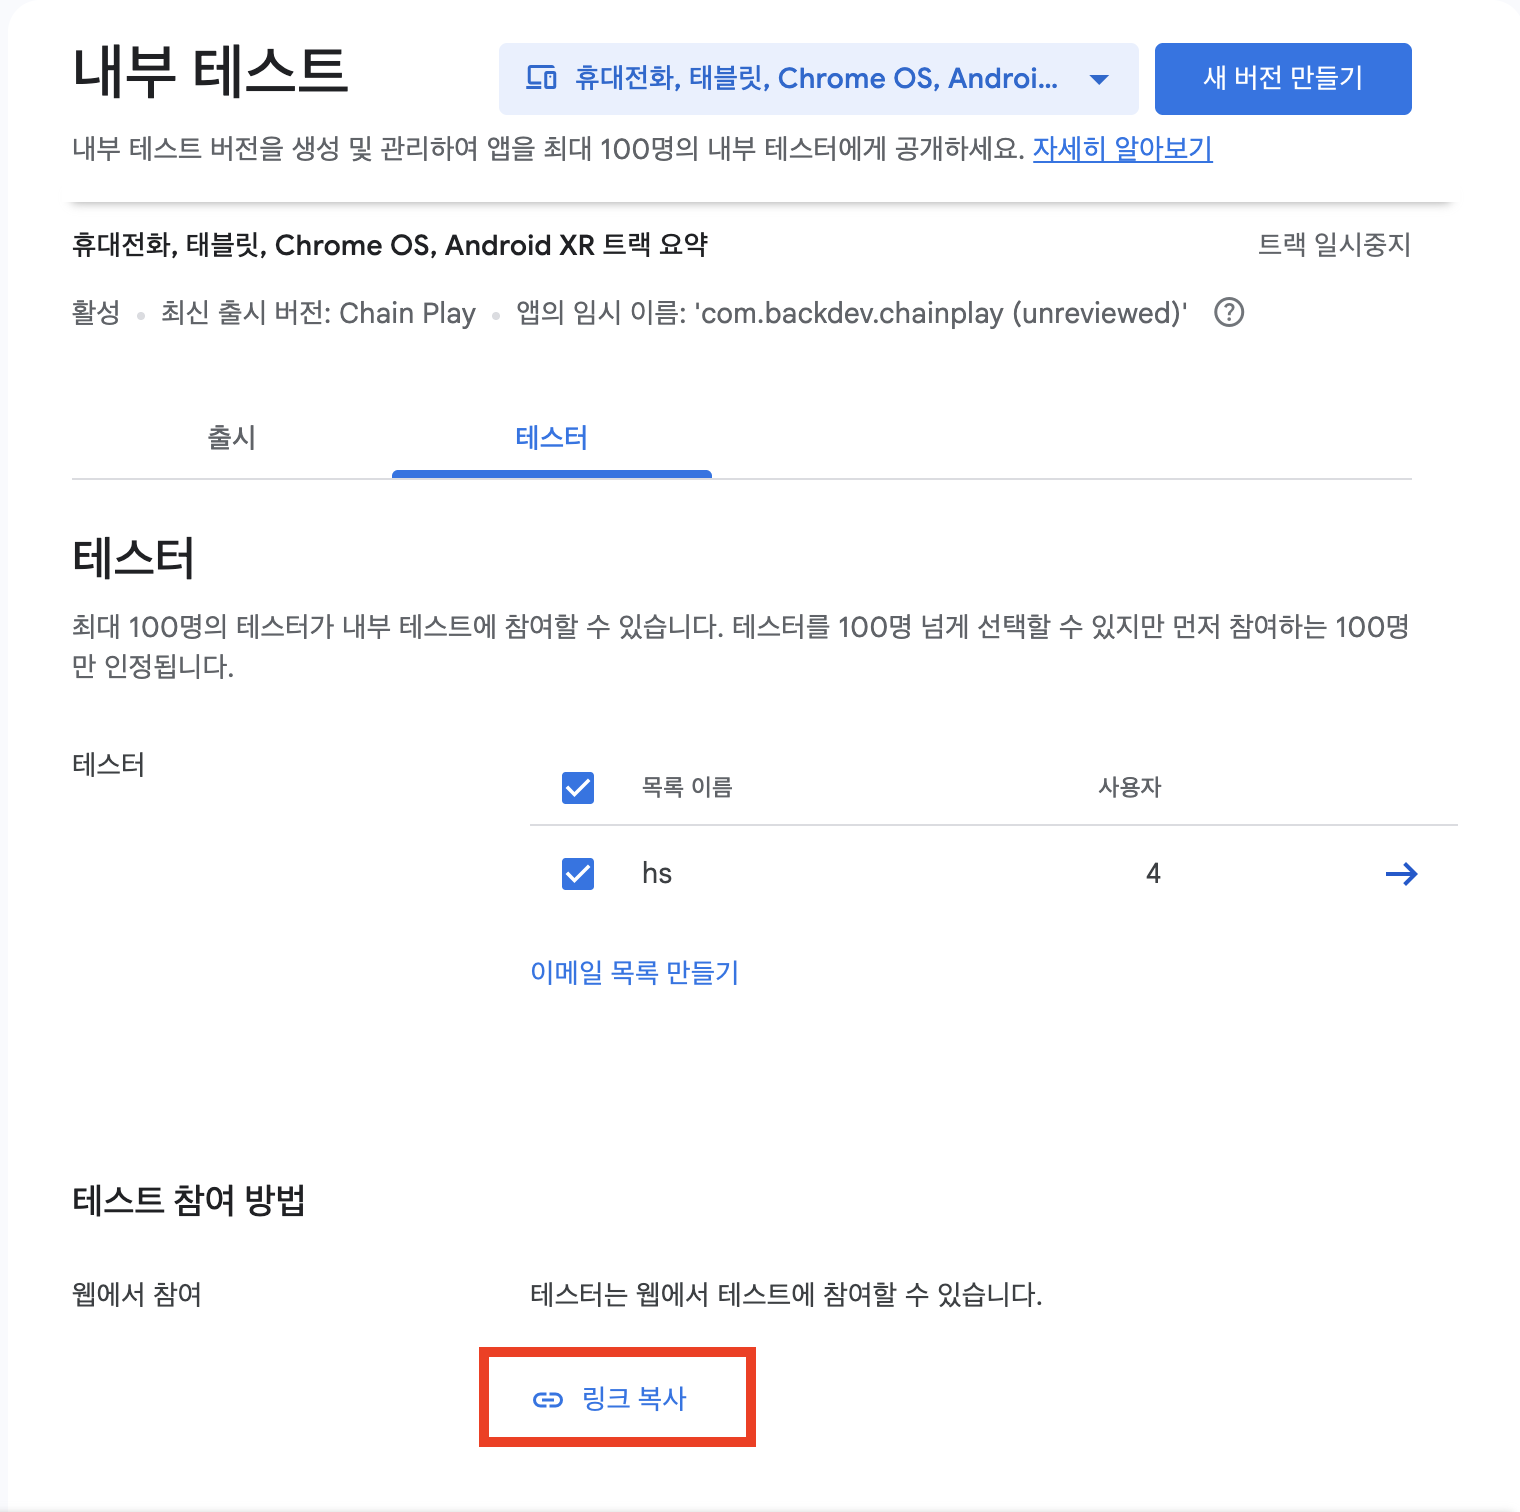
Register as a tester and create a version
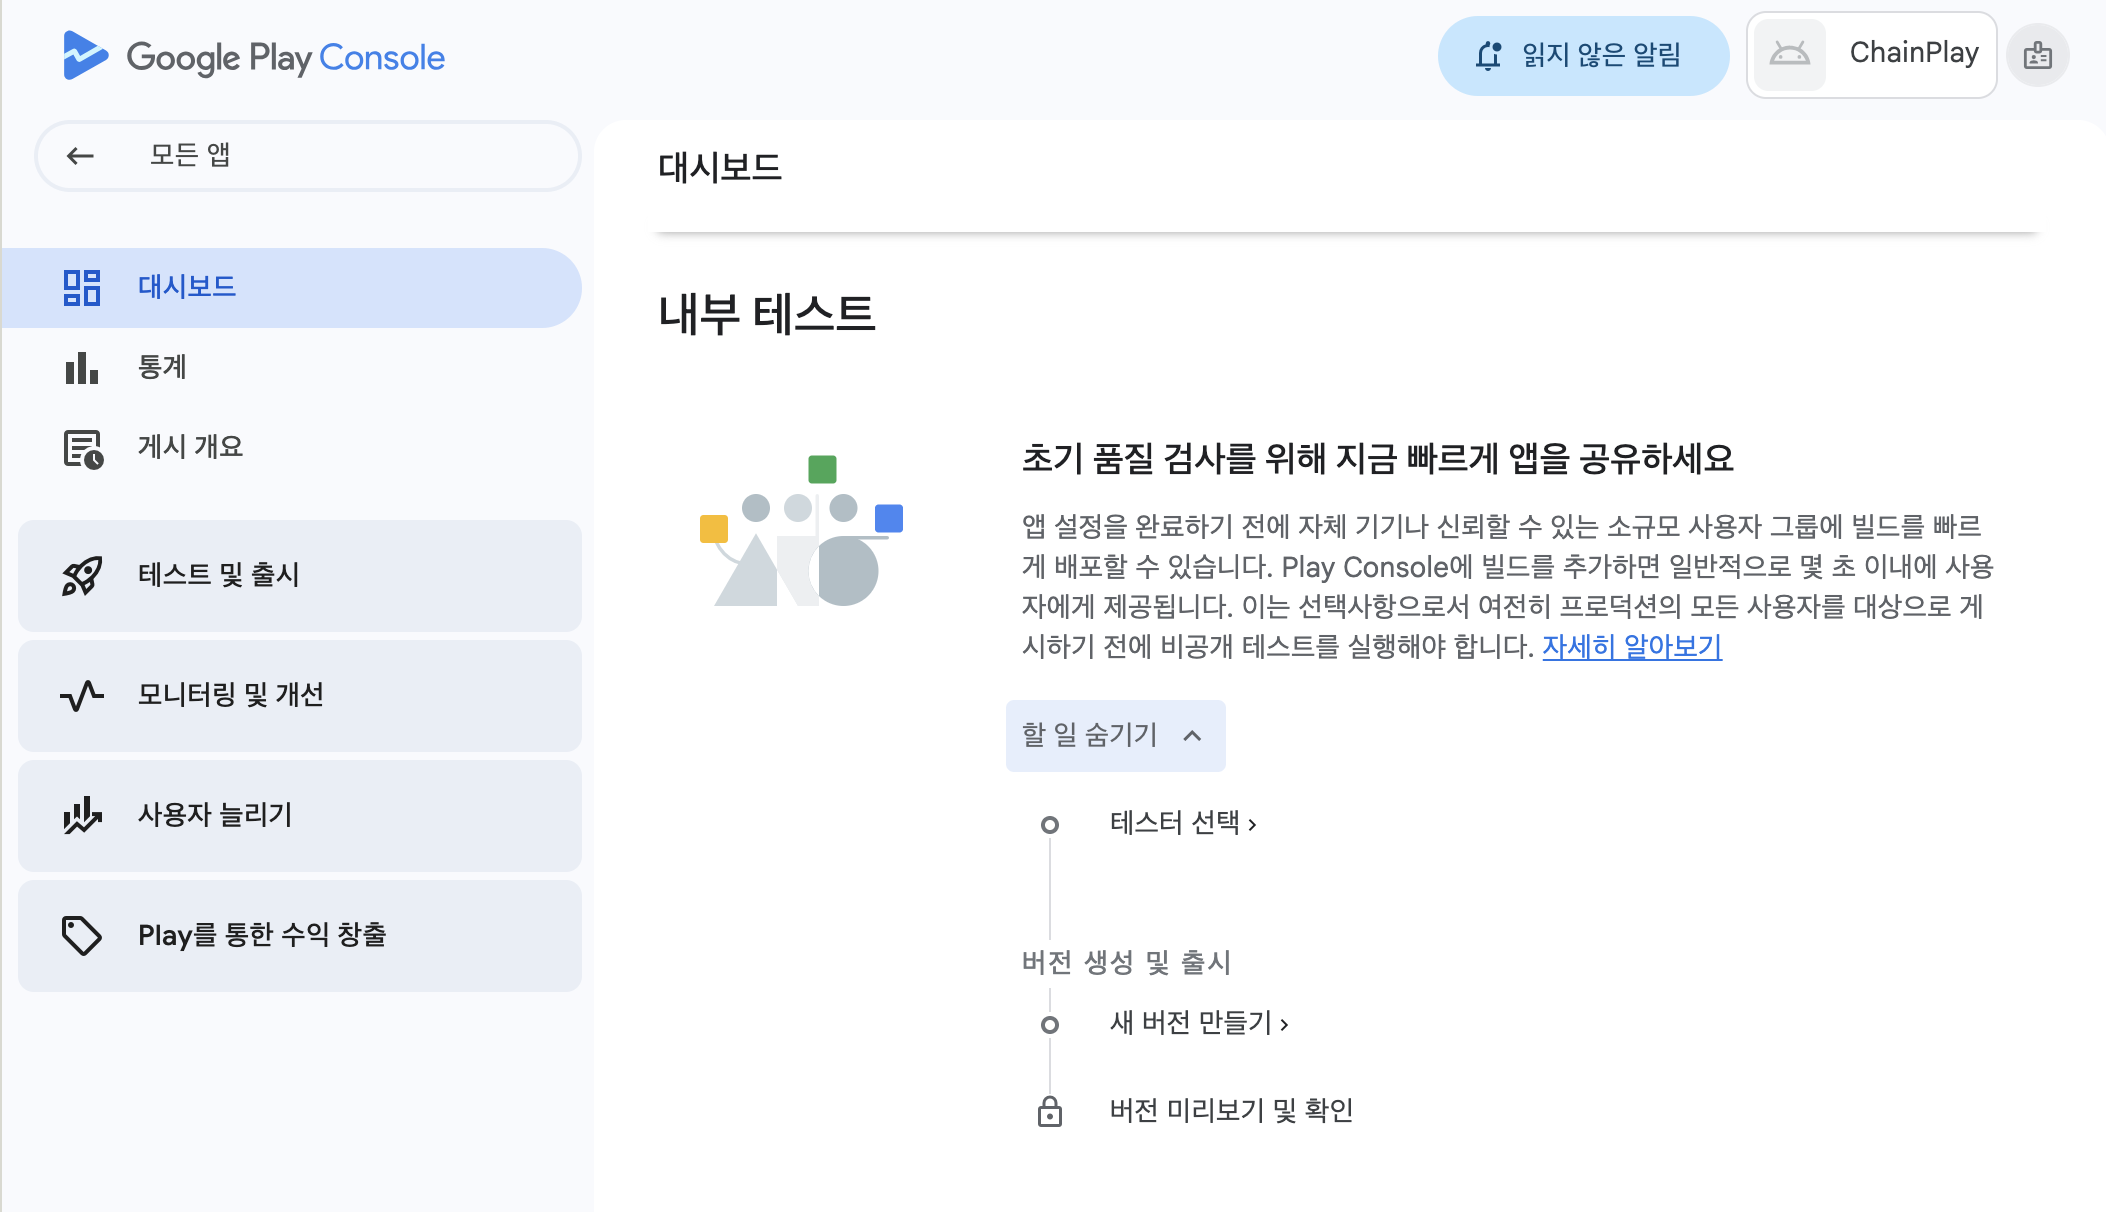
Sequence: Select a tester → Create a new version → Preview and verify the version
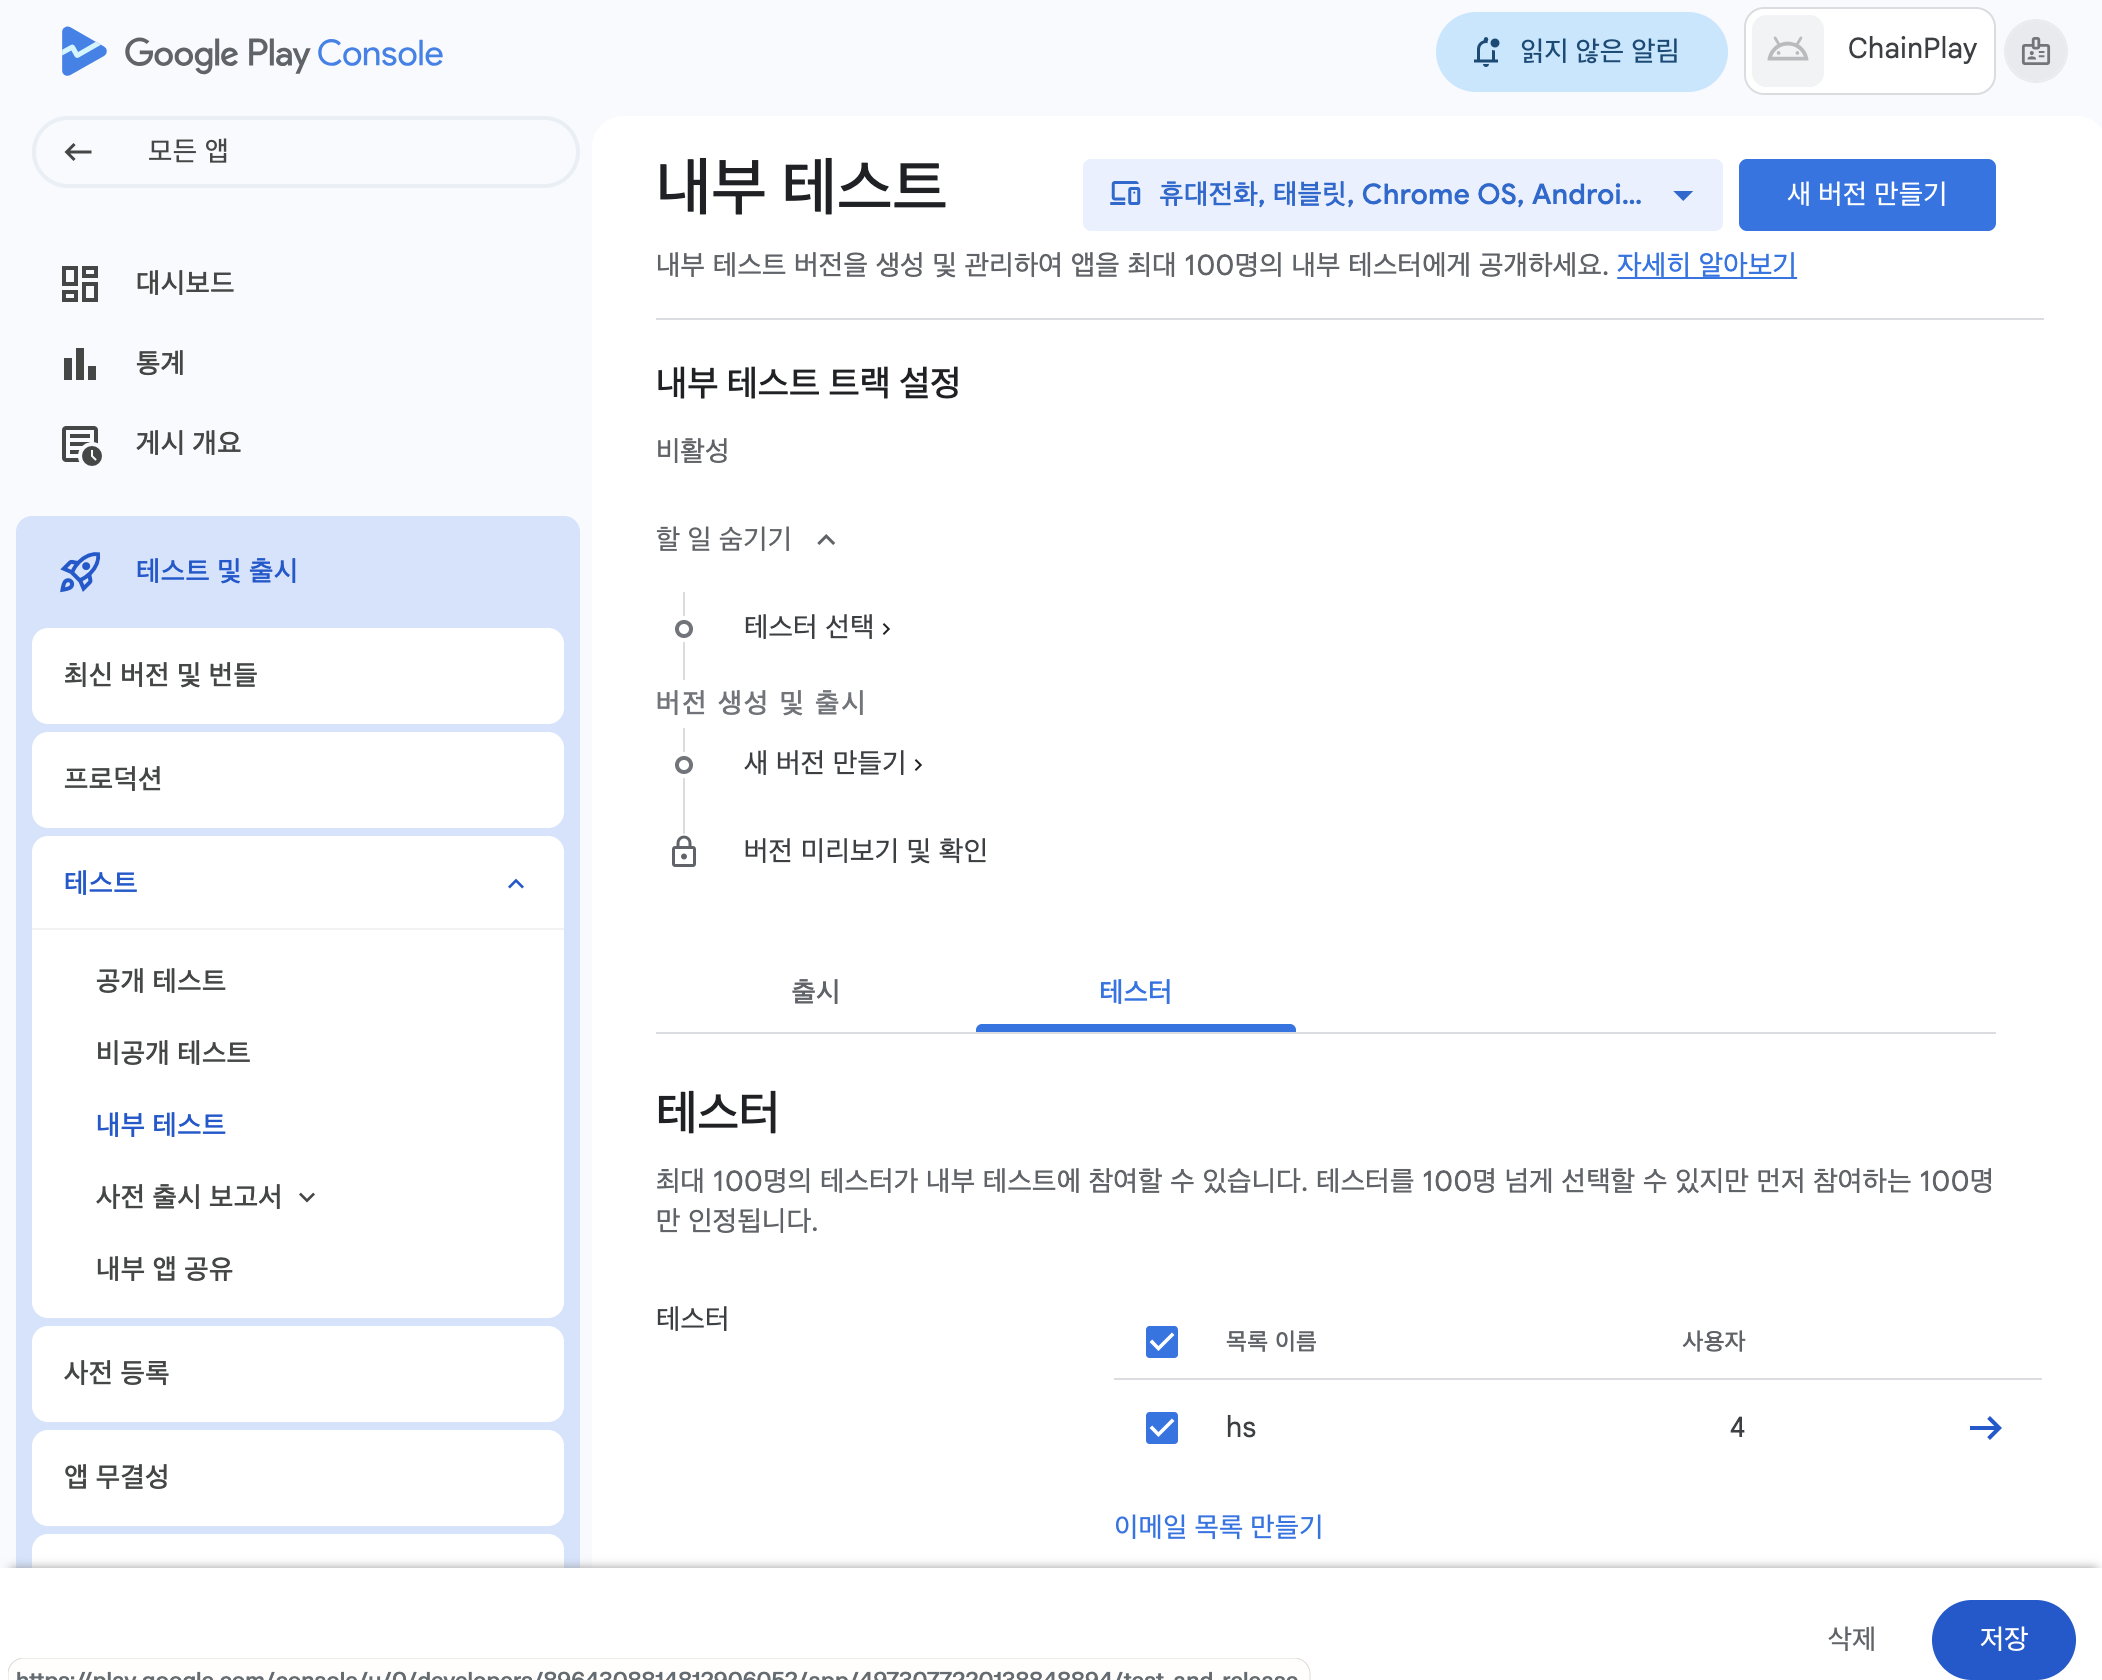
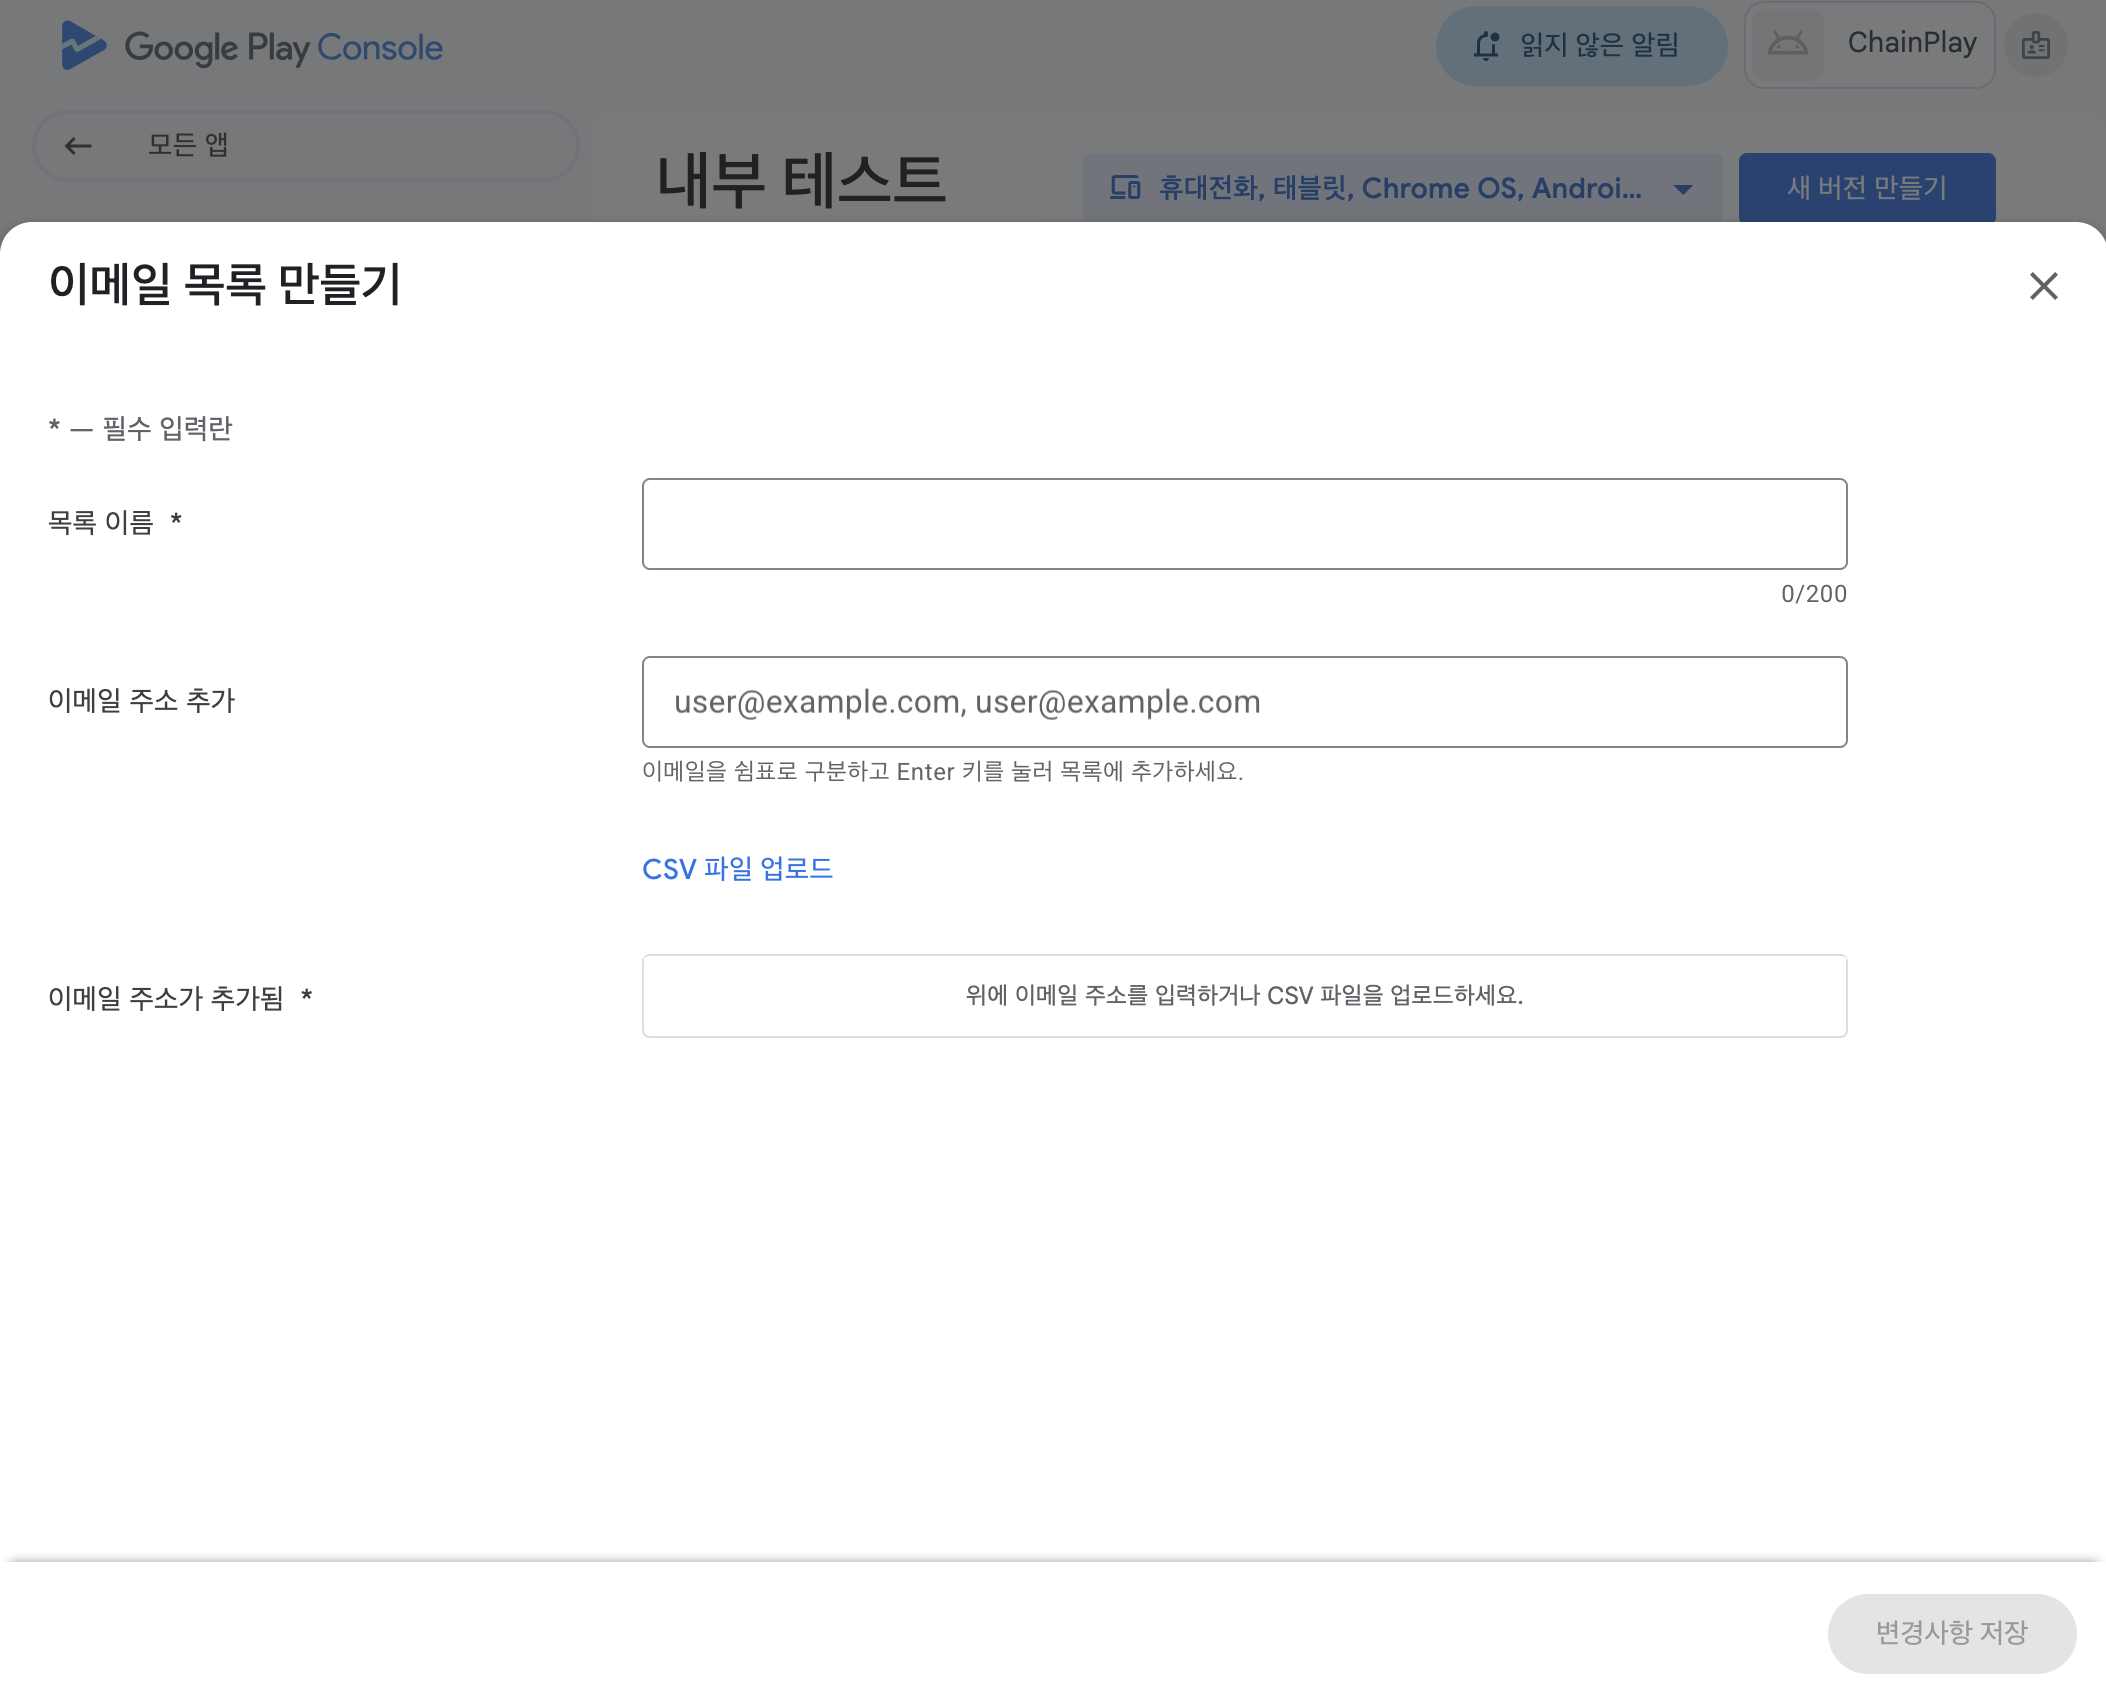
Add a list of tester emails:
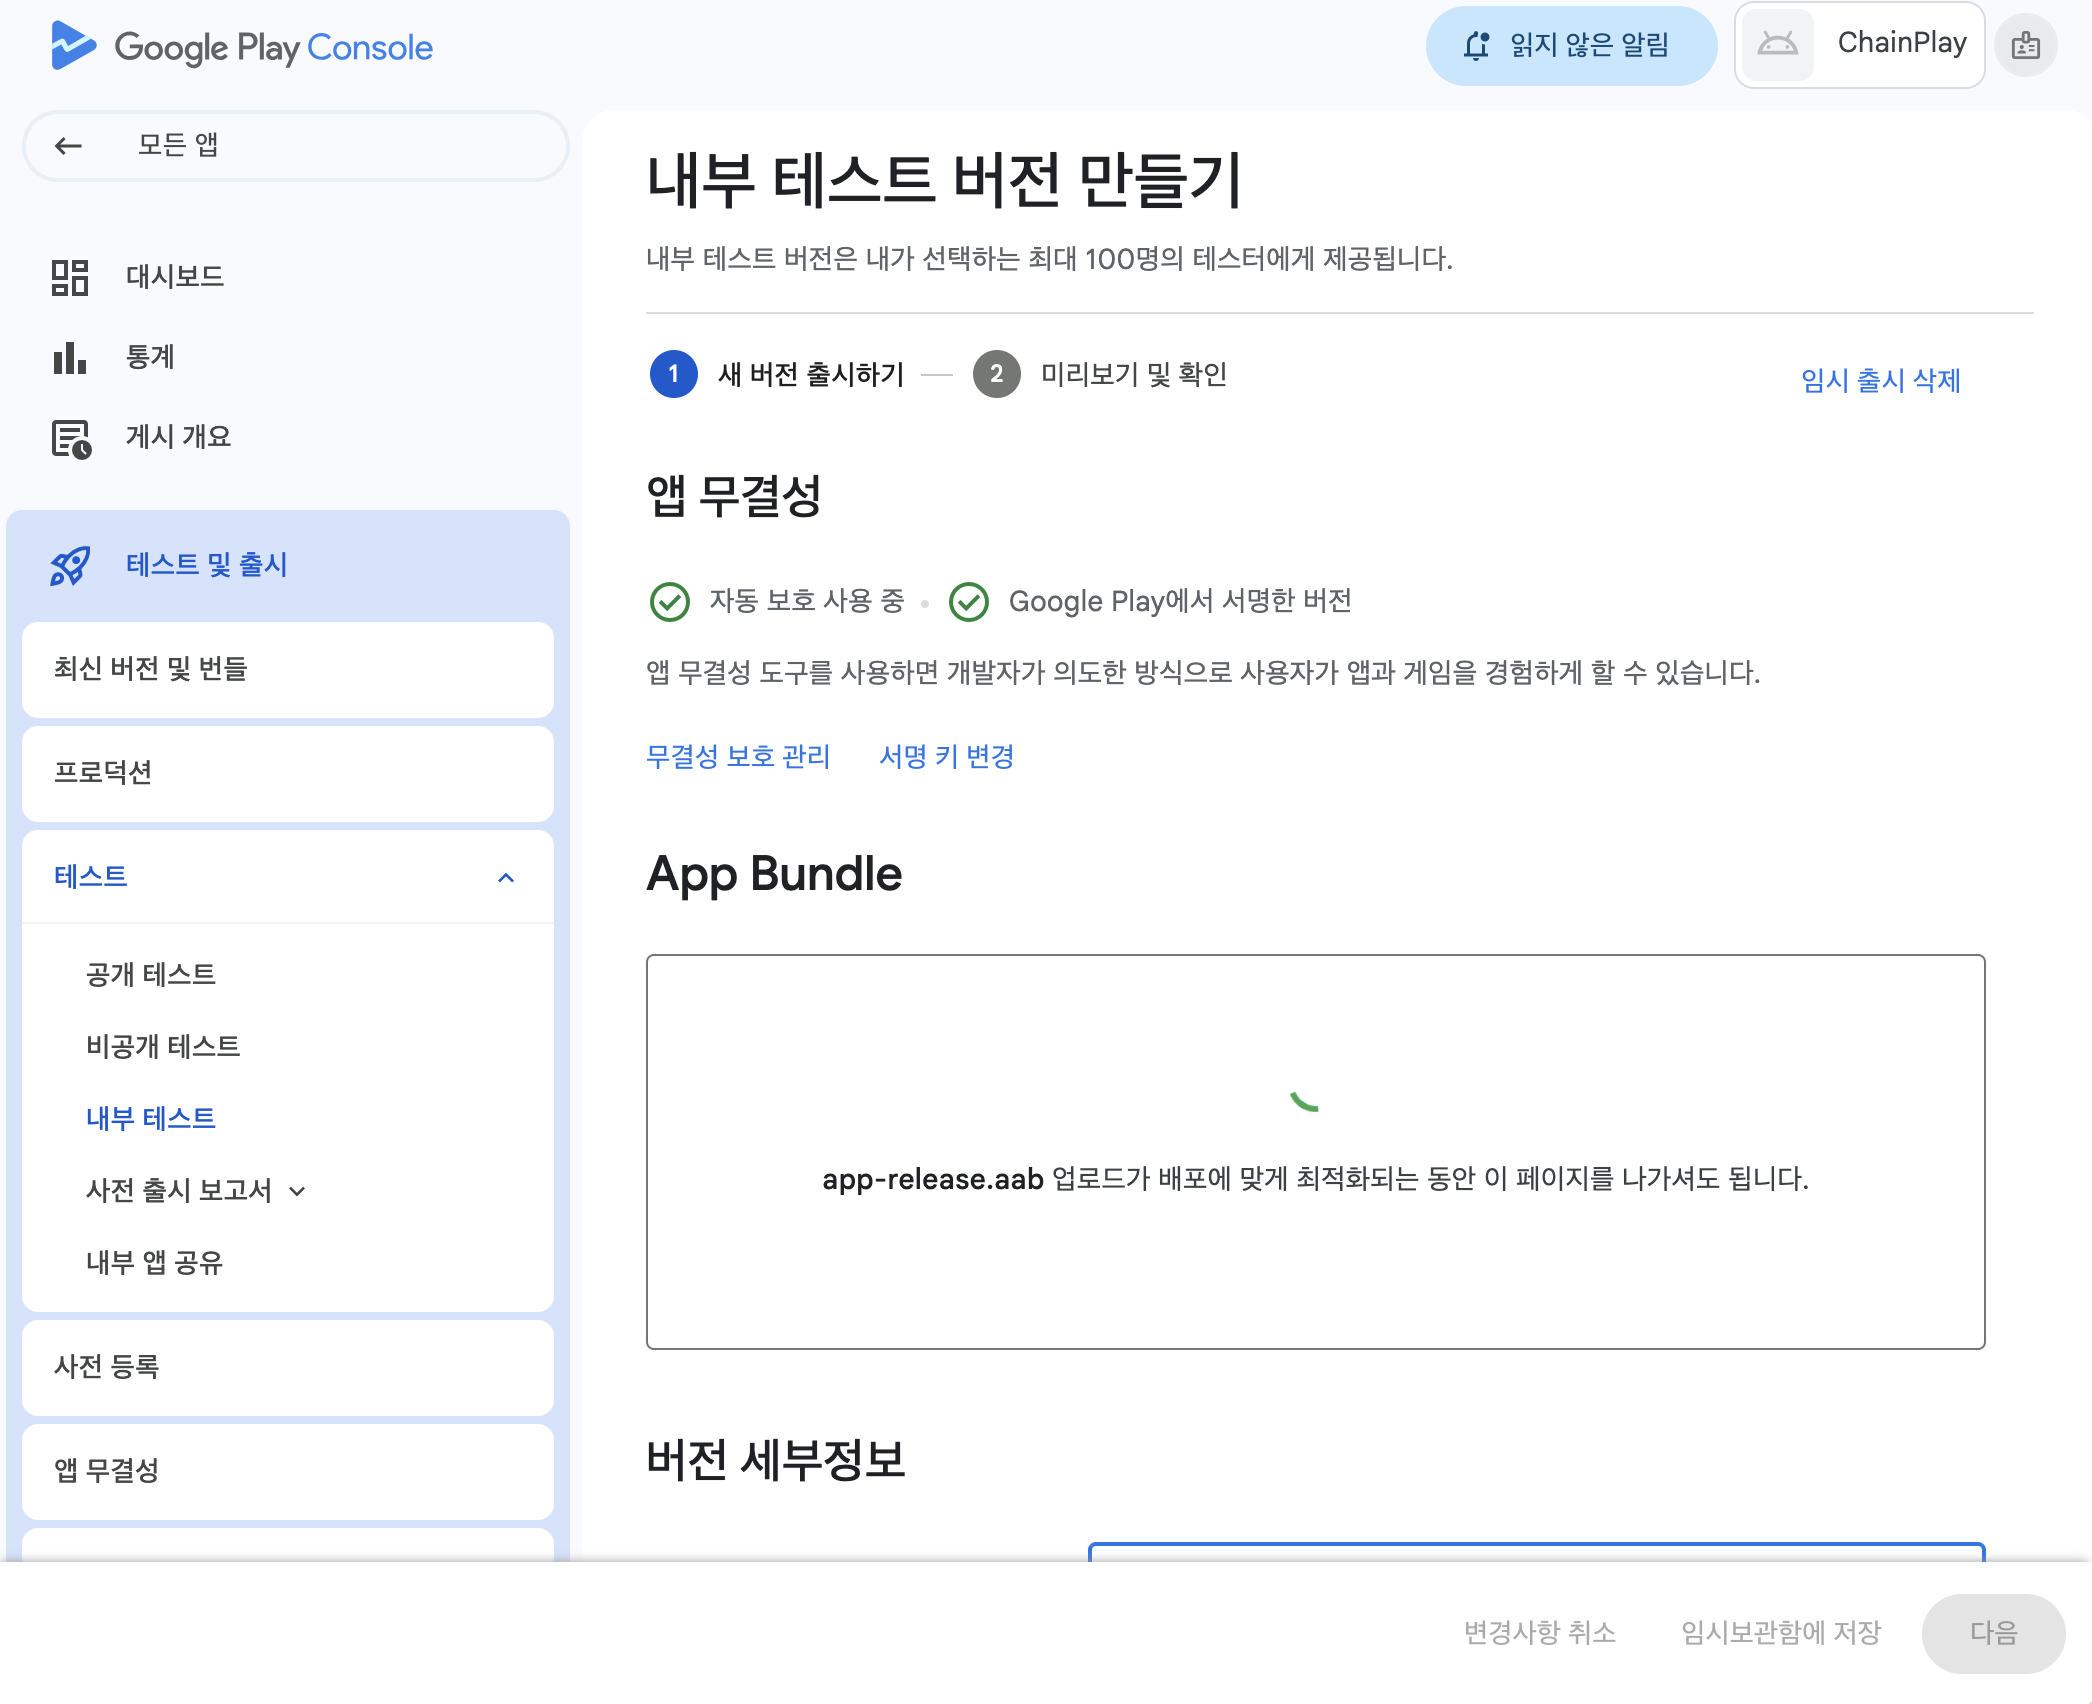
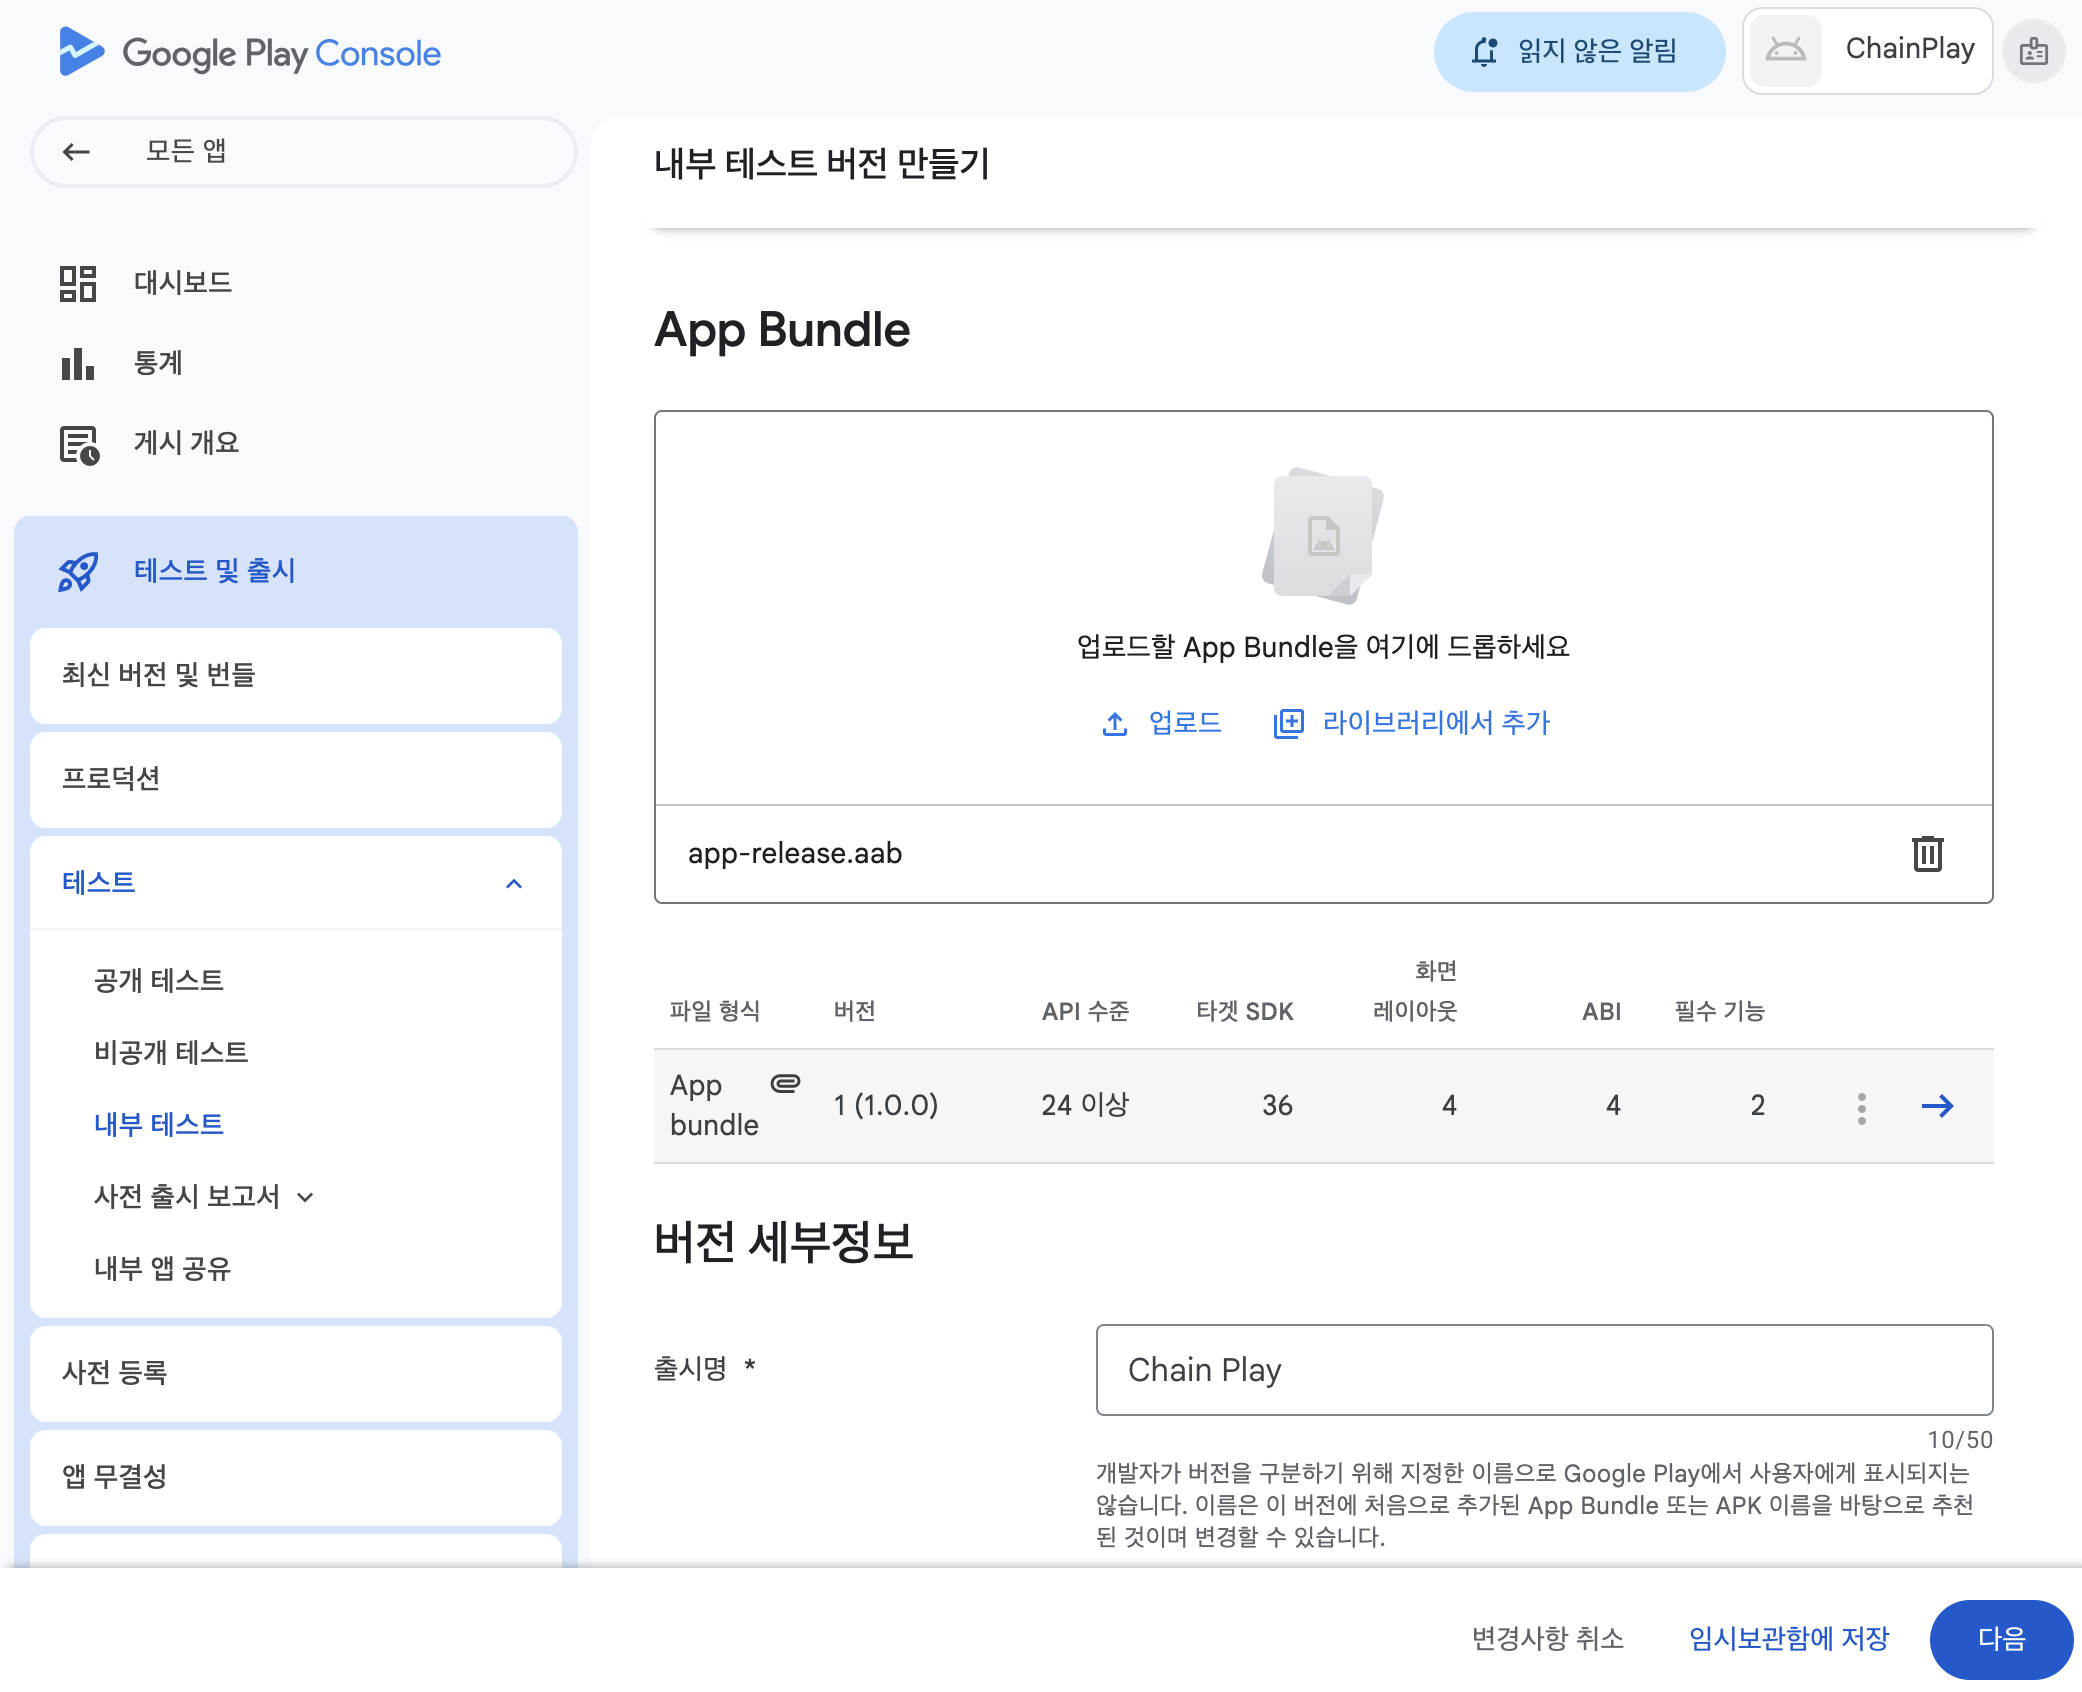
Upload the AAB file
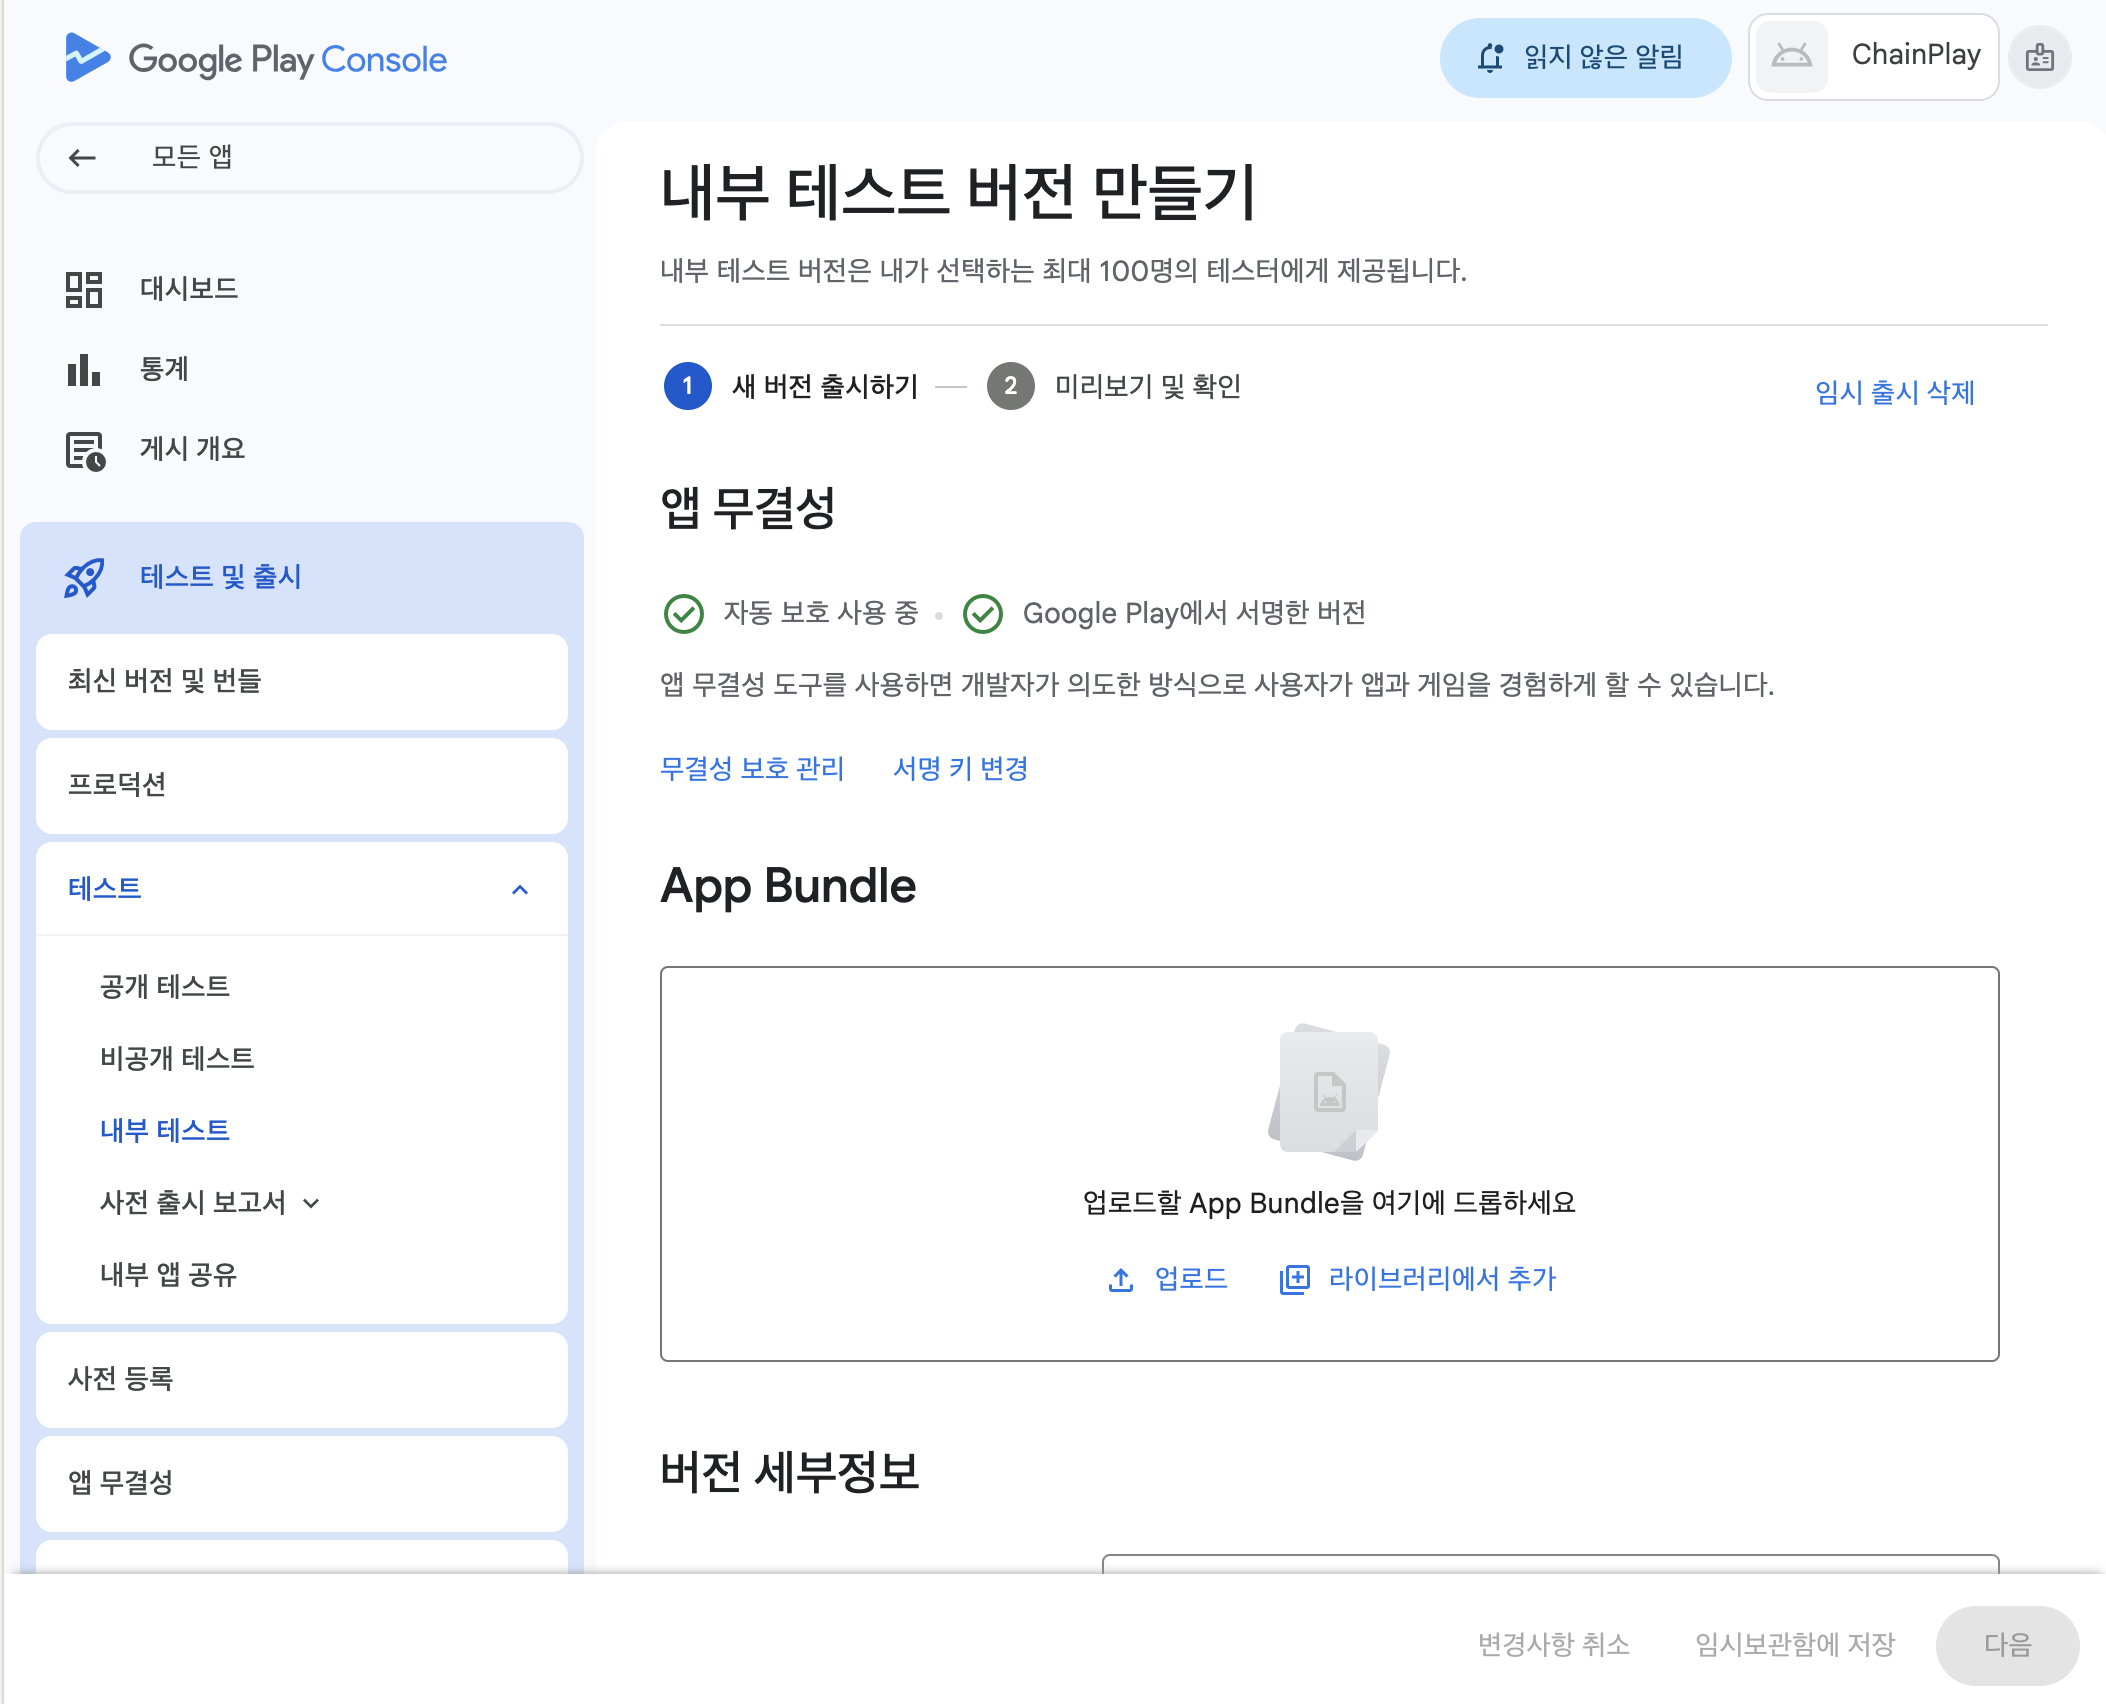
Upload the App Bundle (.aab) file.
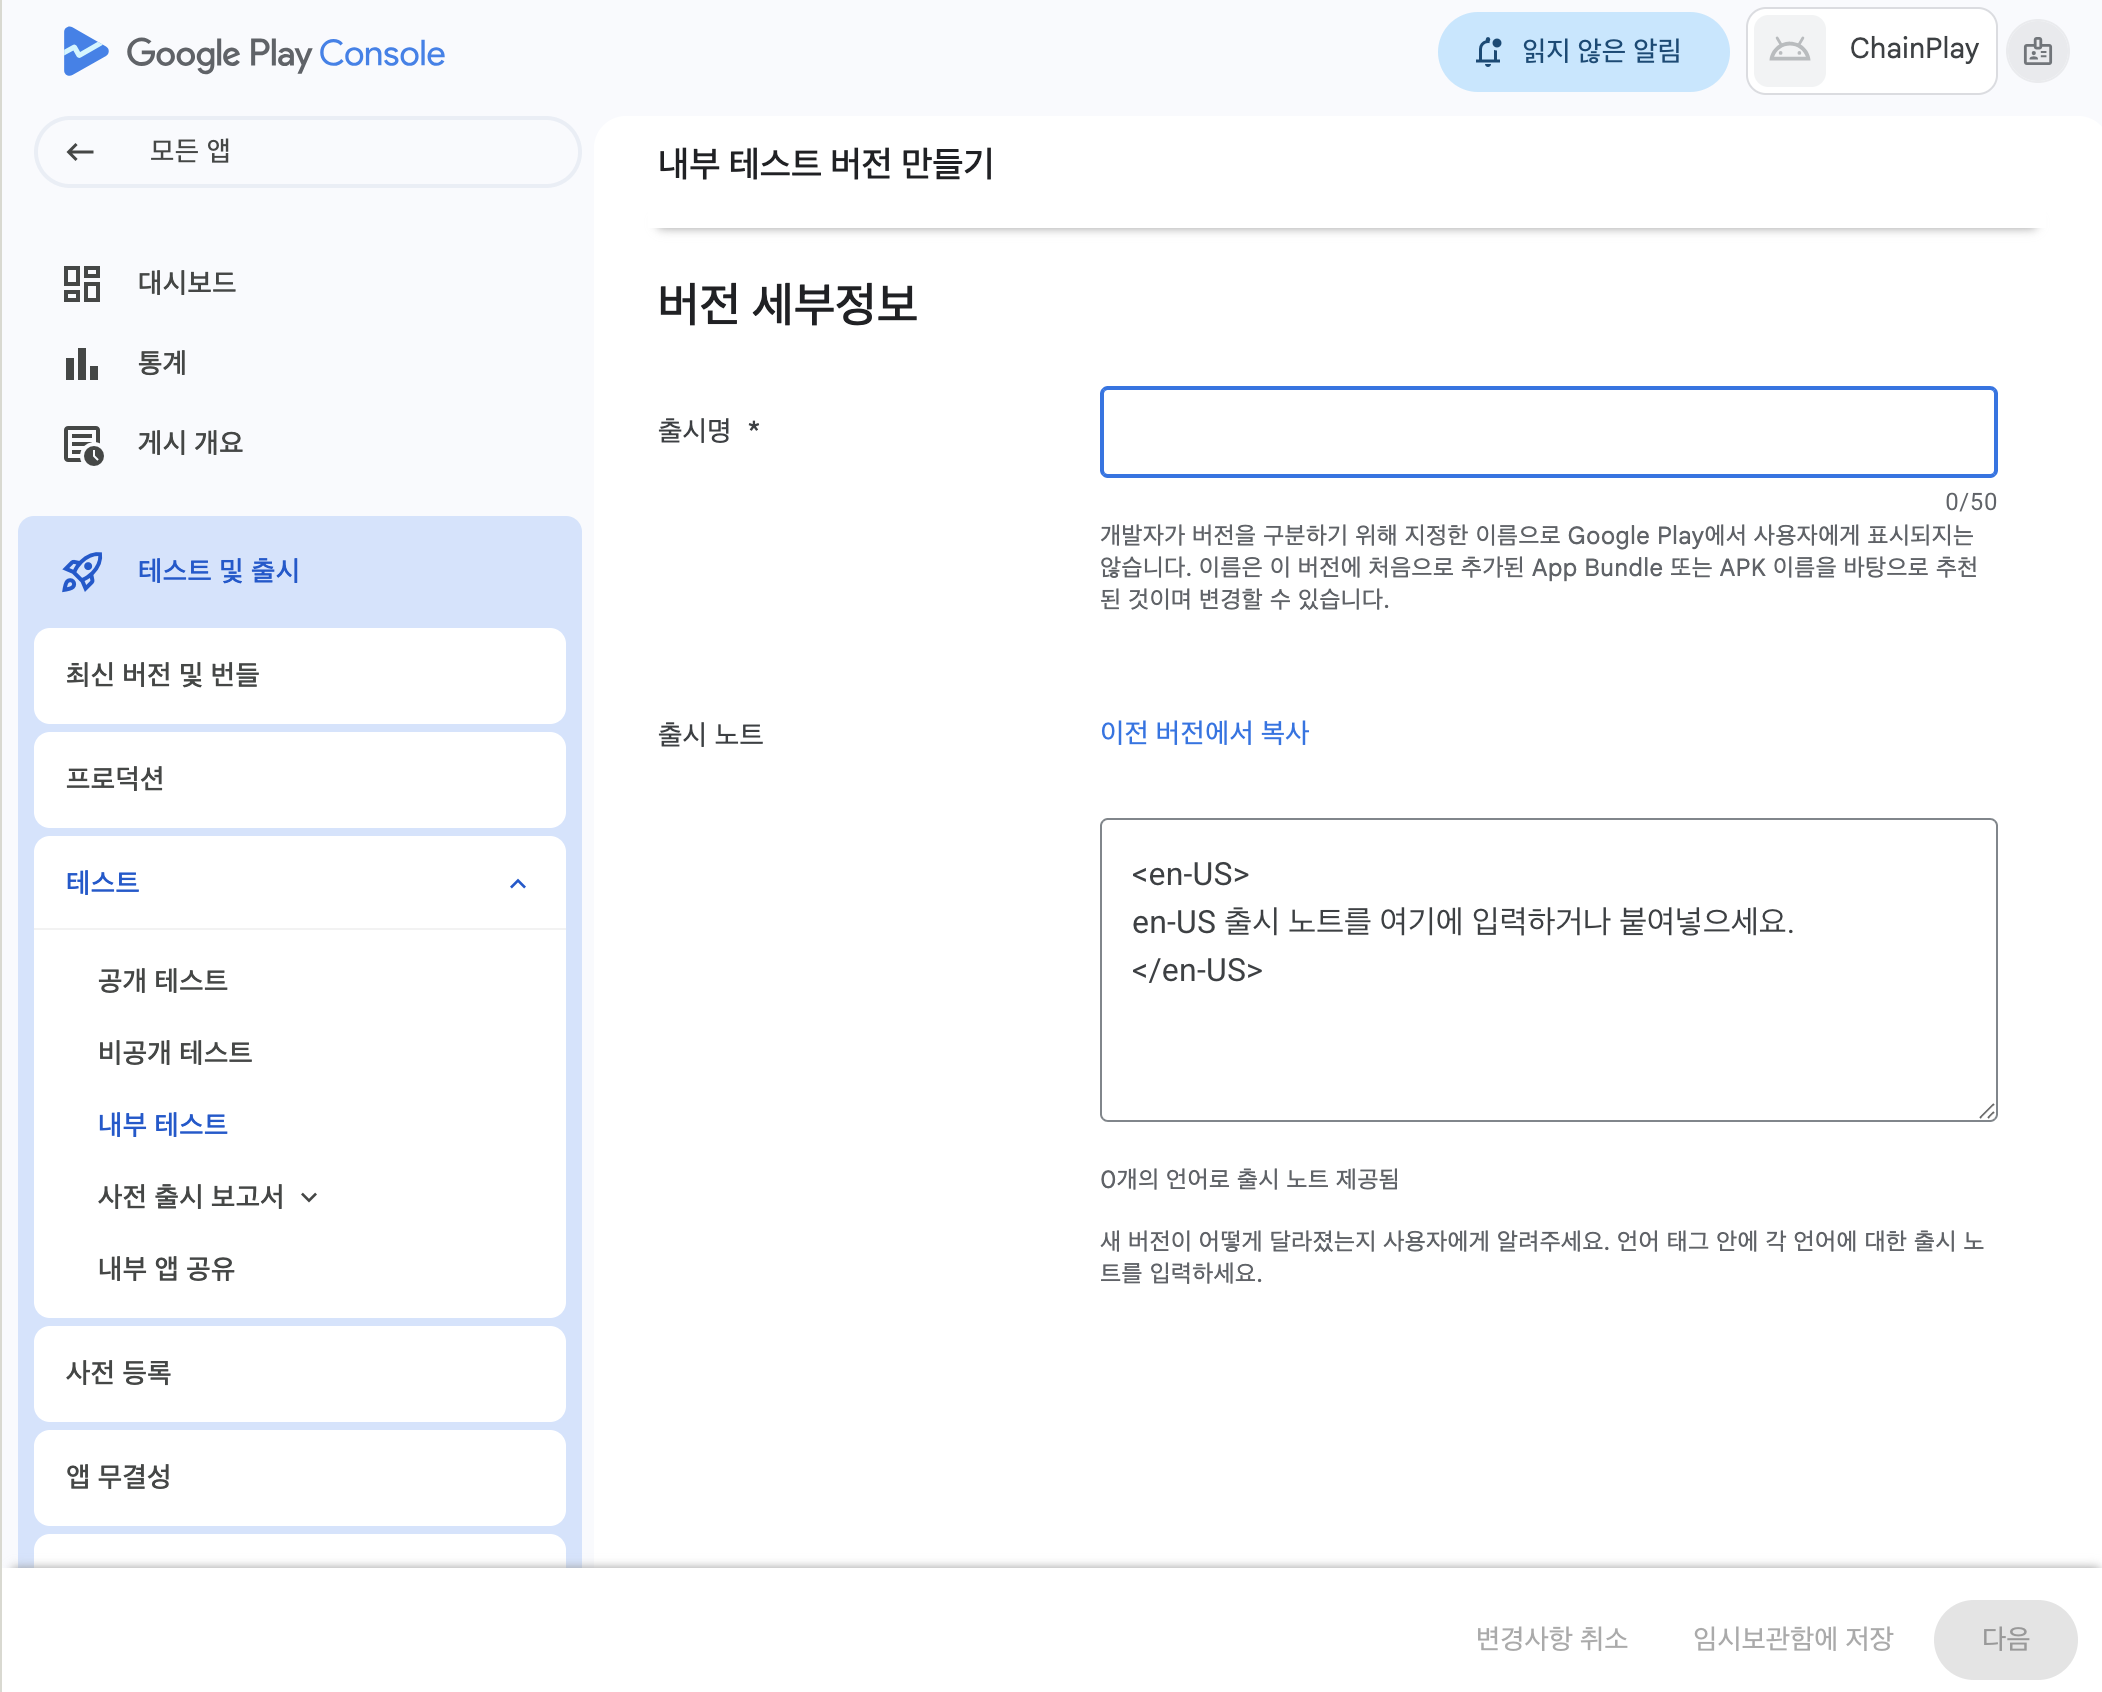
Write release notes

For multilingual support, specify the language tag
- English:
<en-US> - Korean:
<ko-KR>
You can ignore the warning message.
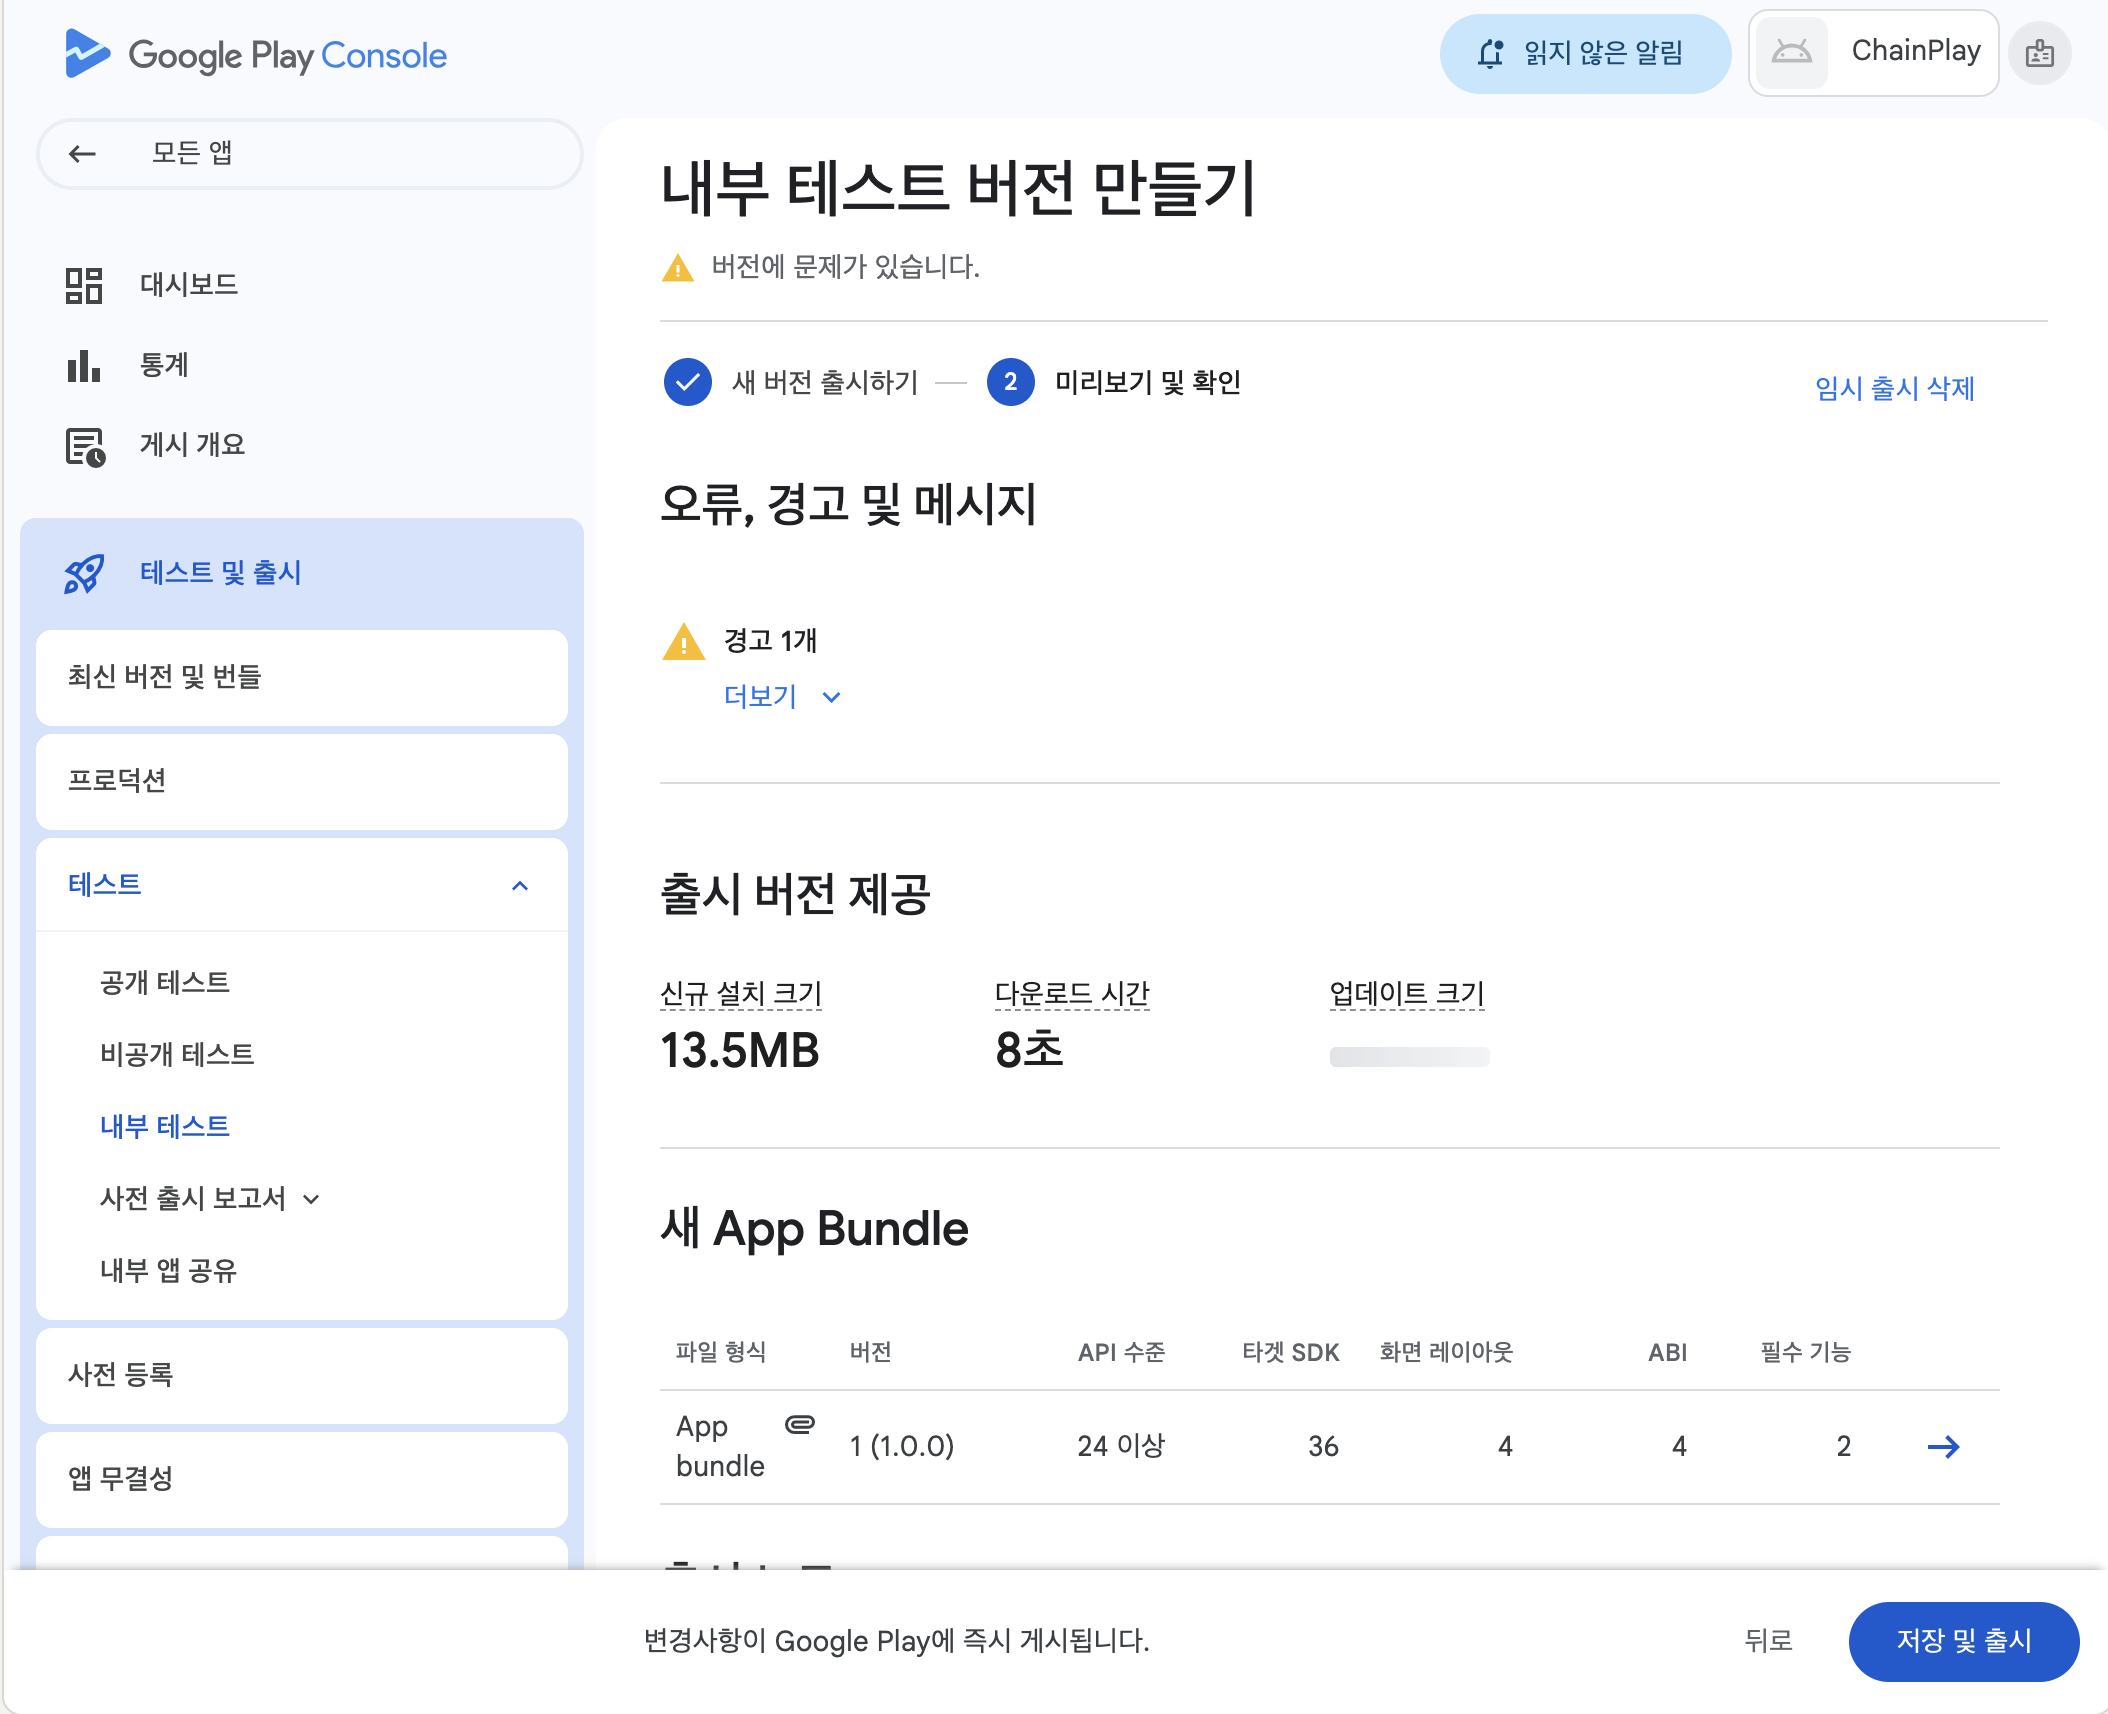
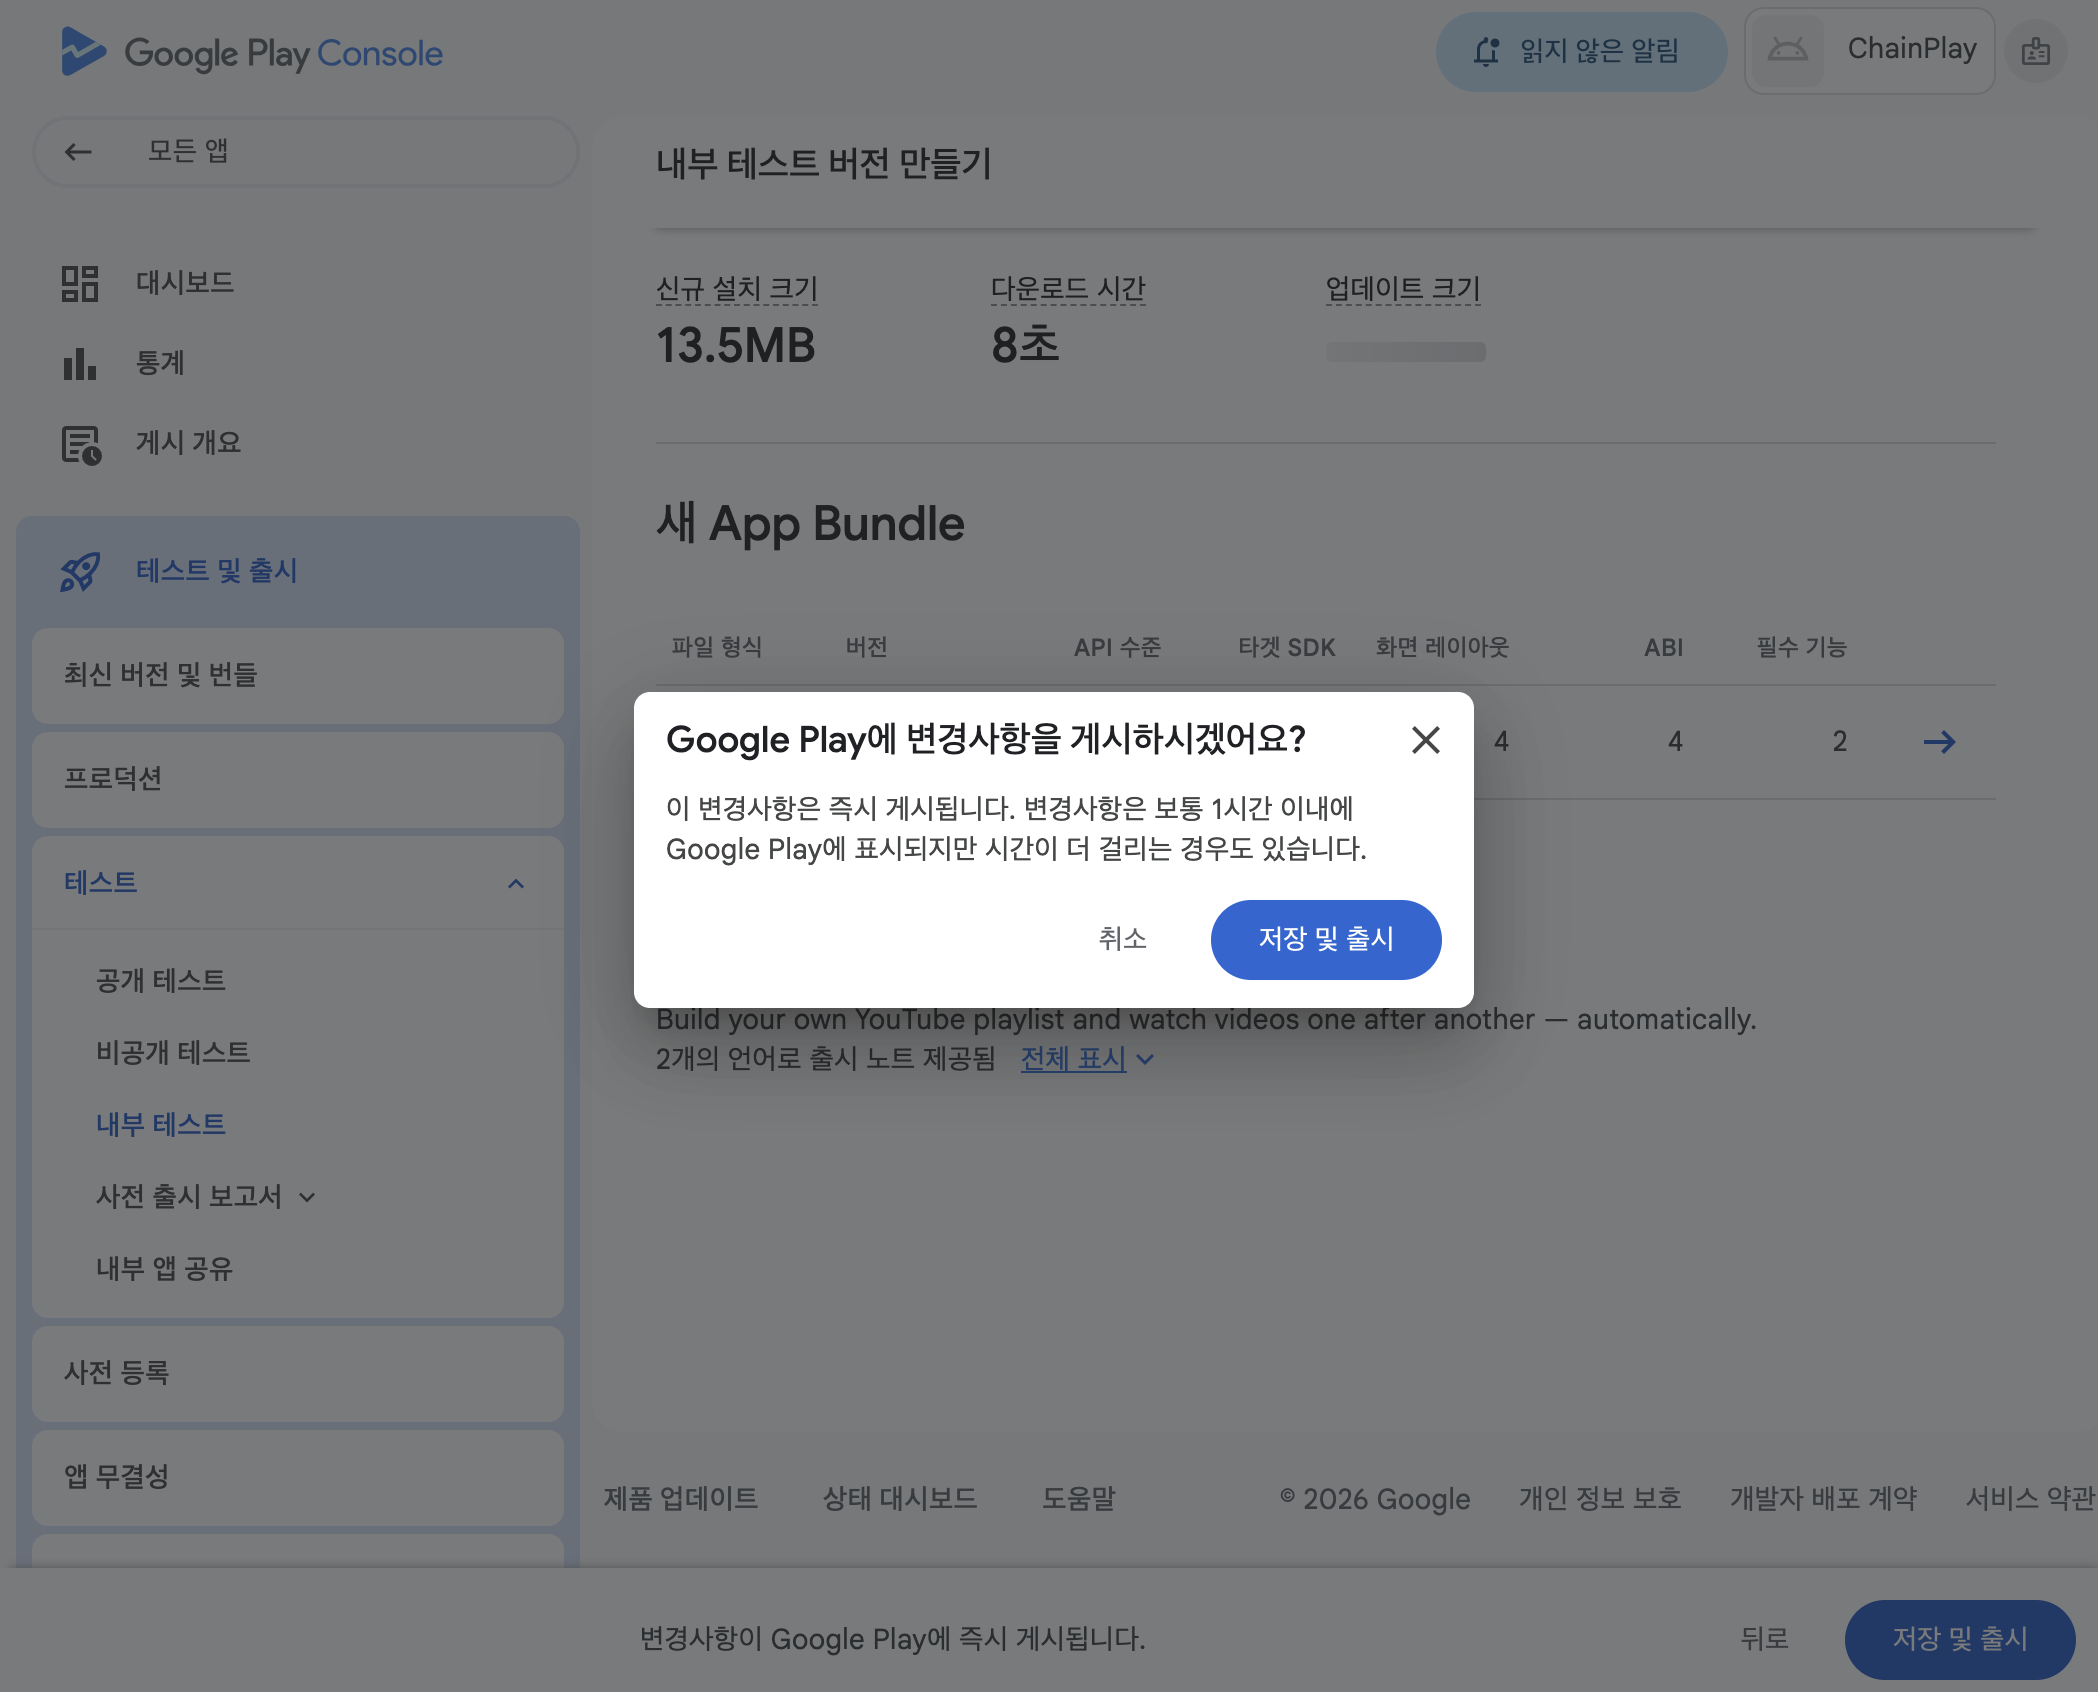
Save and launch:
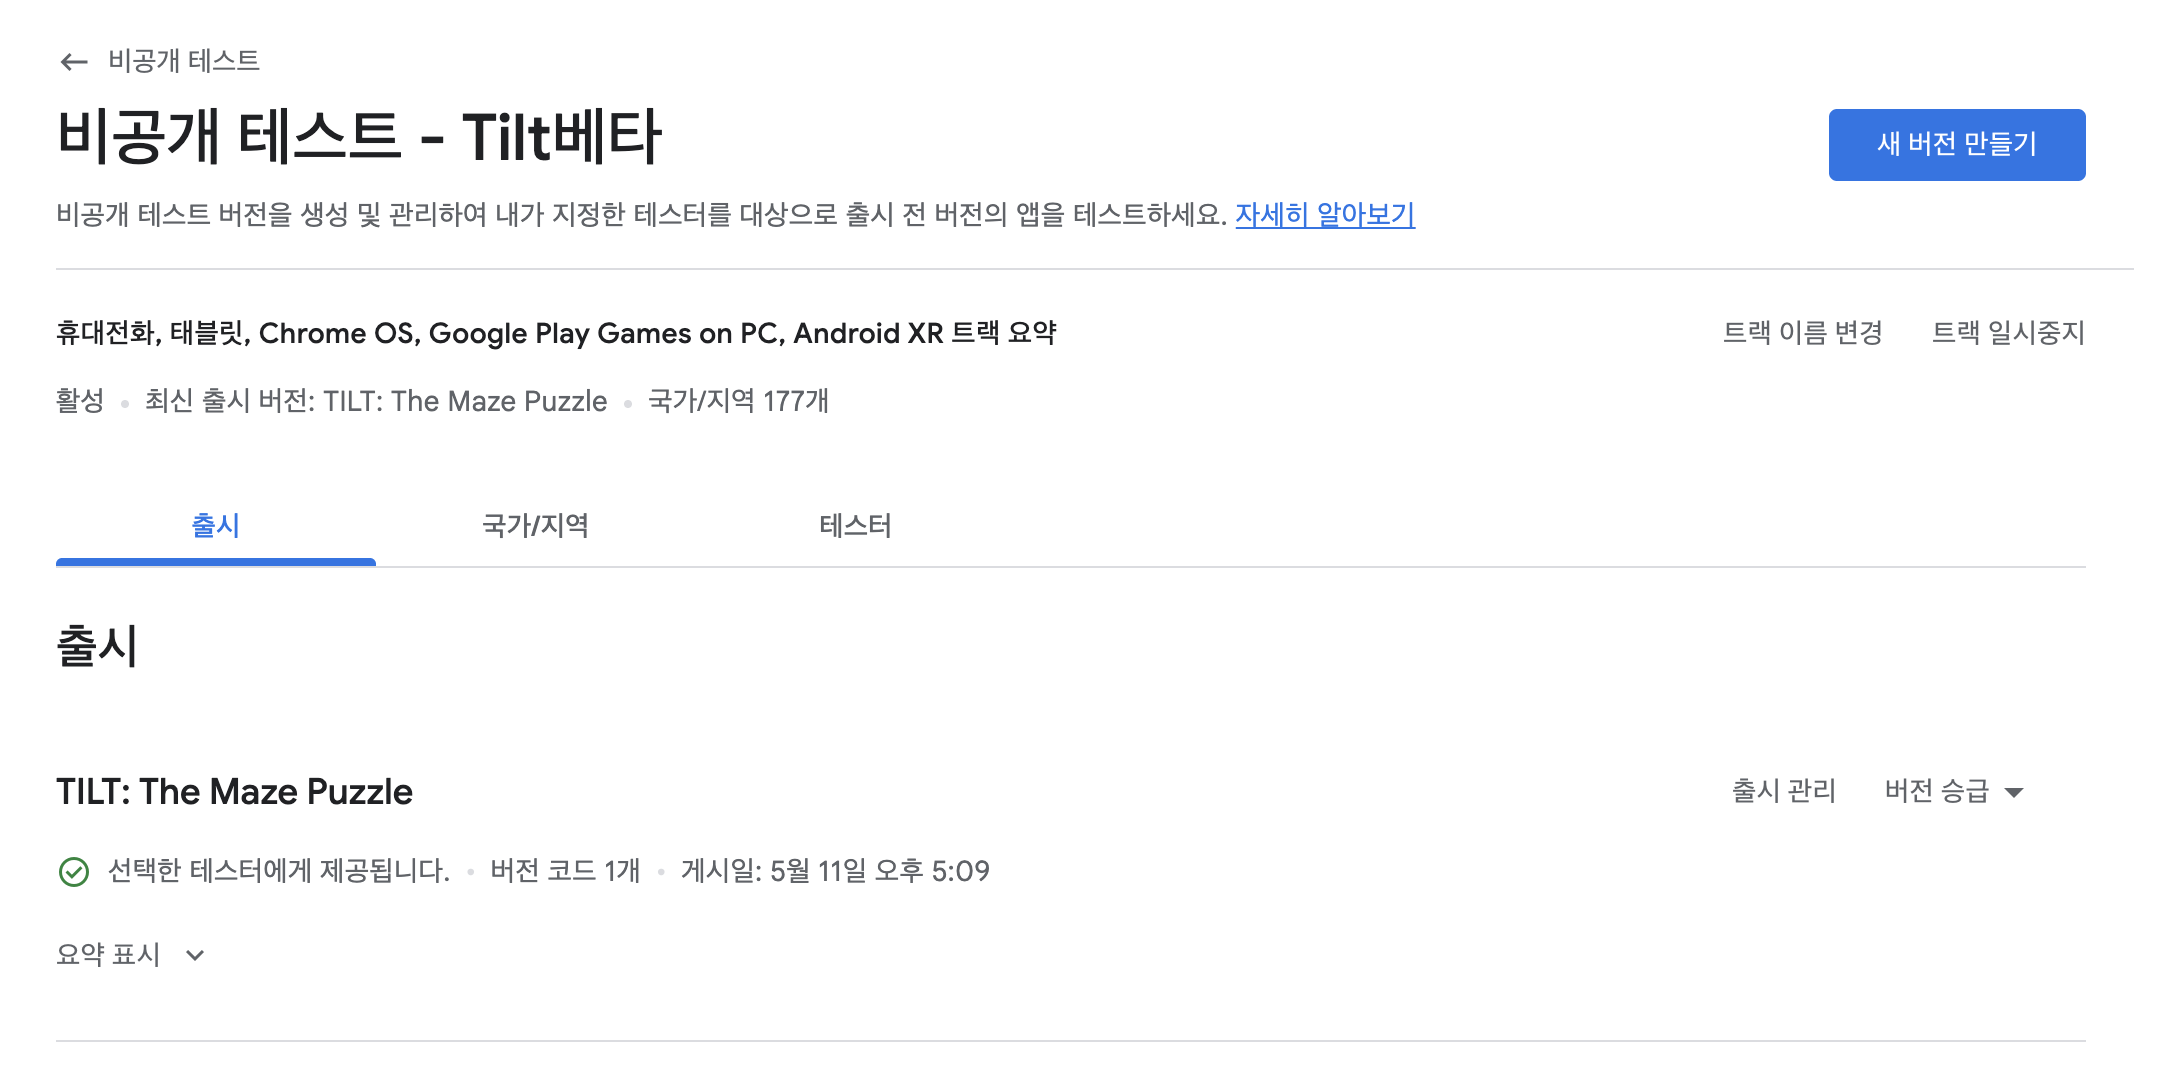
Verify release
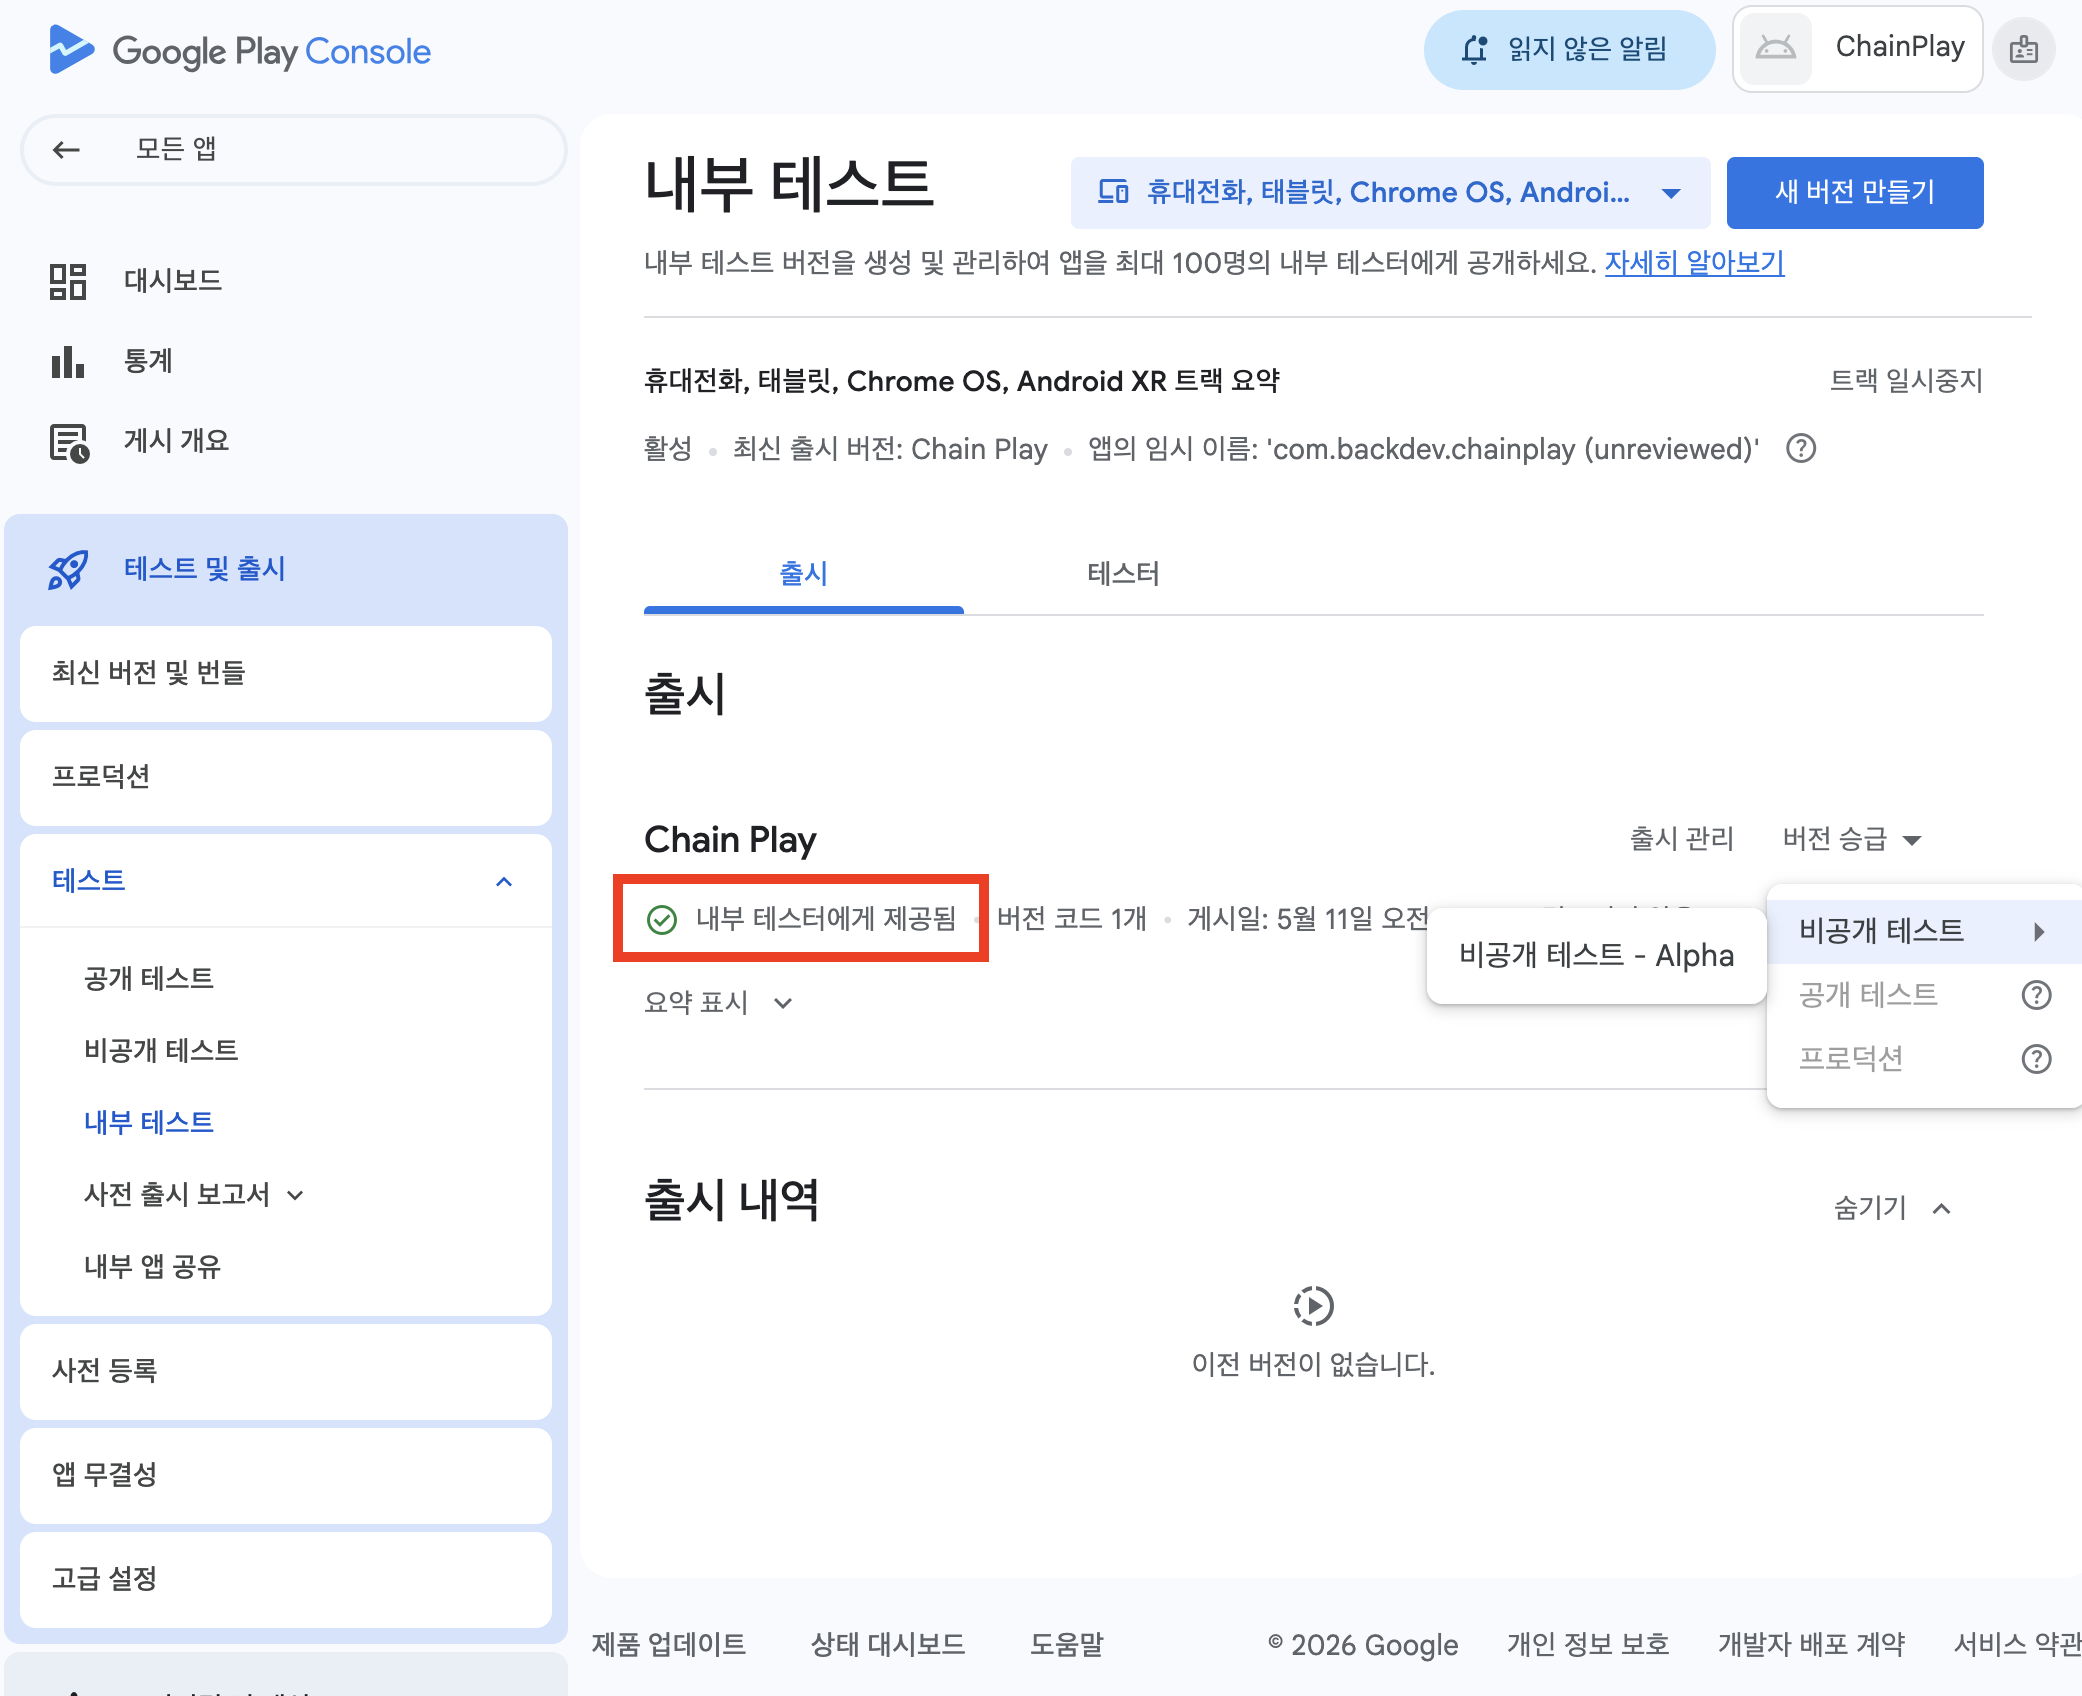
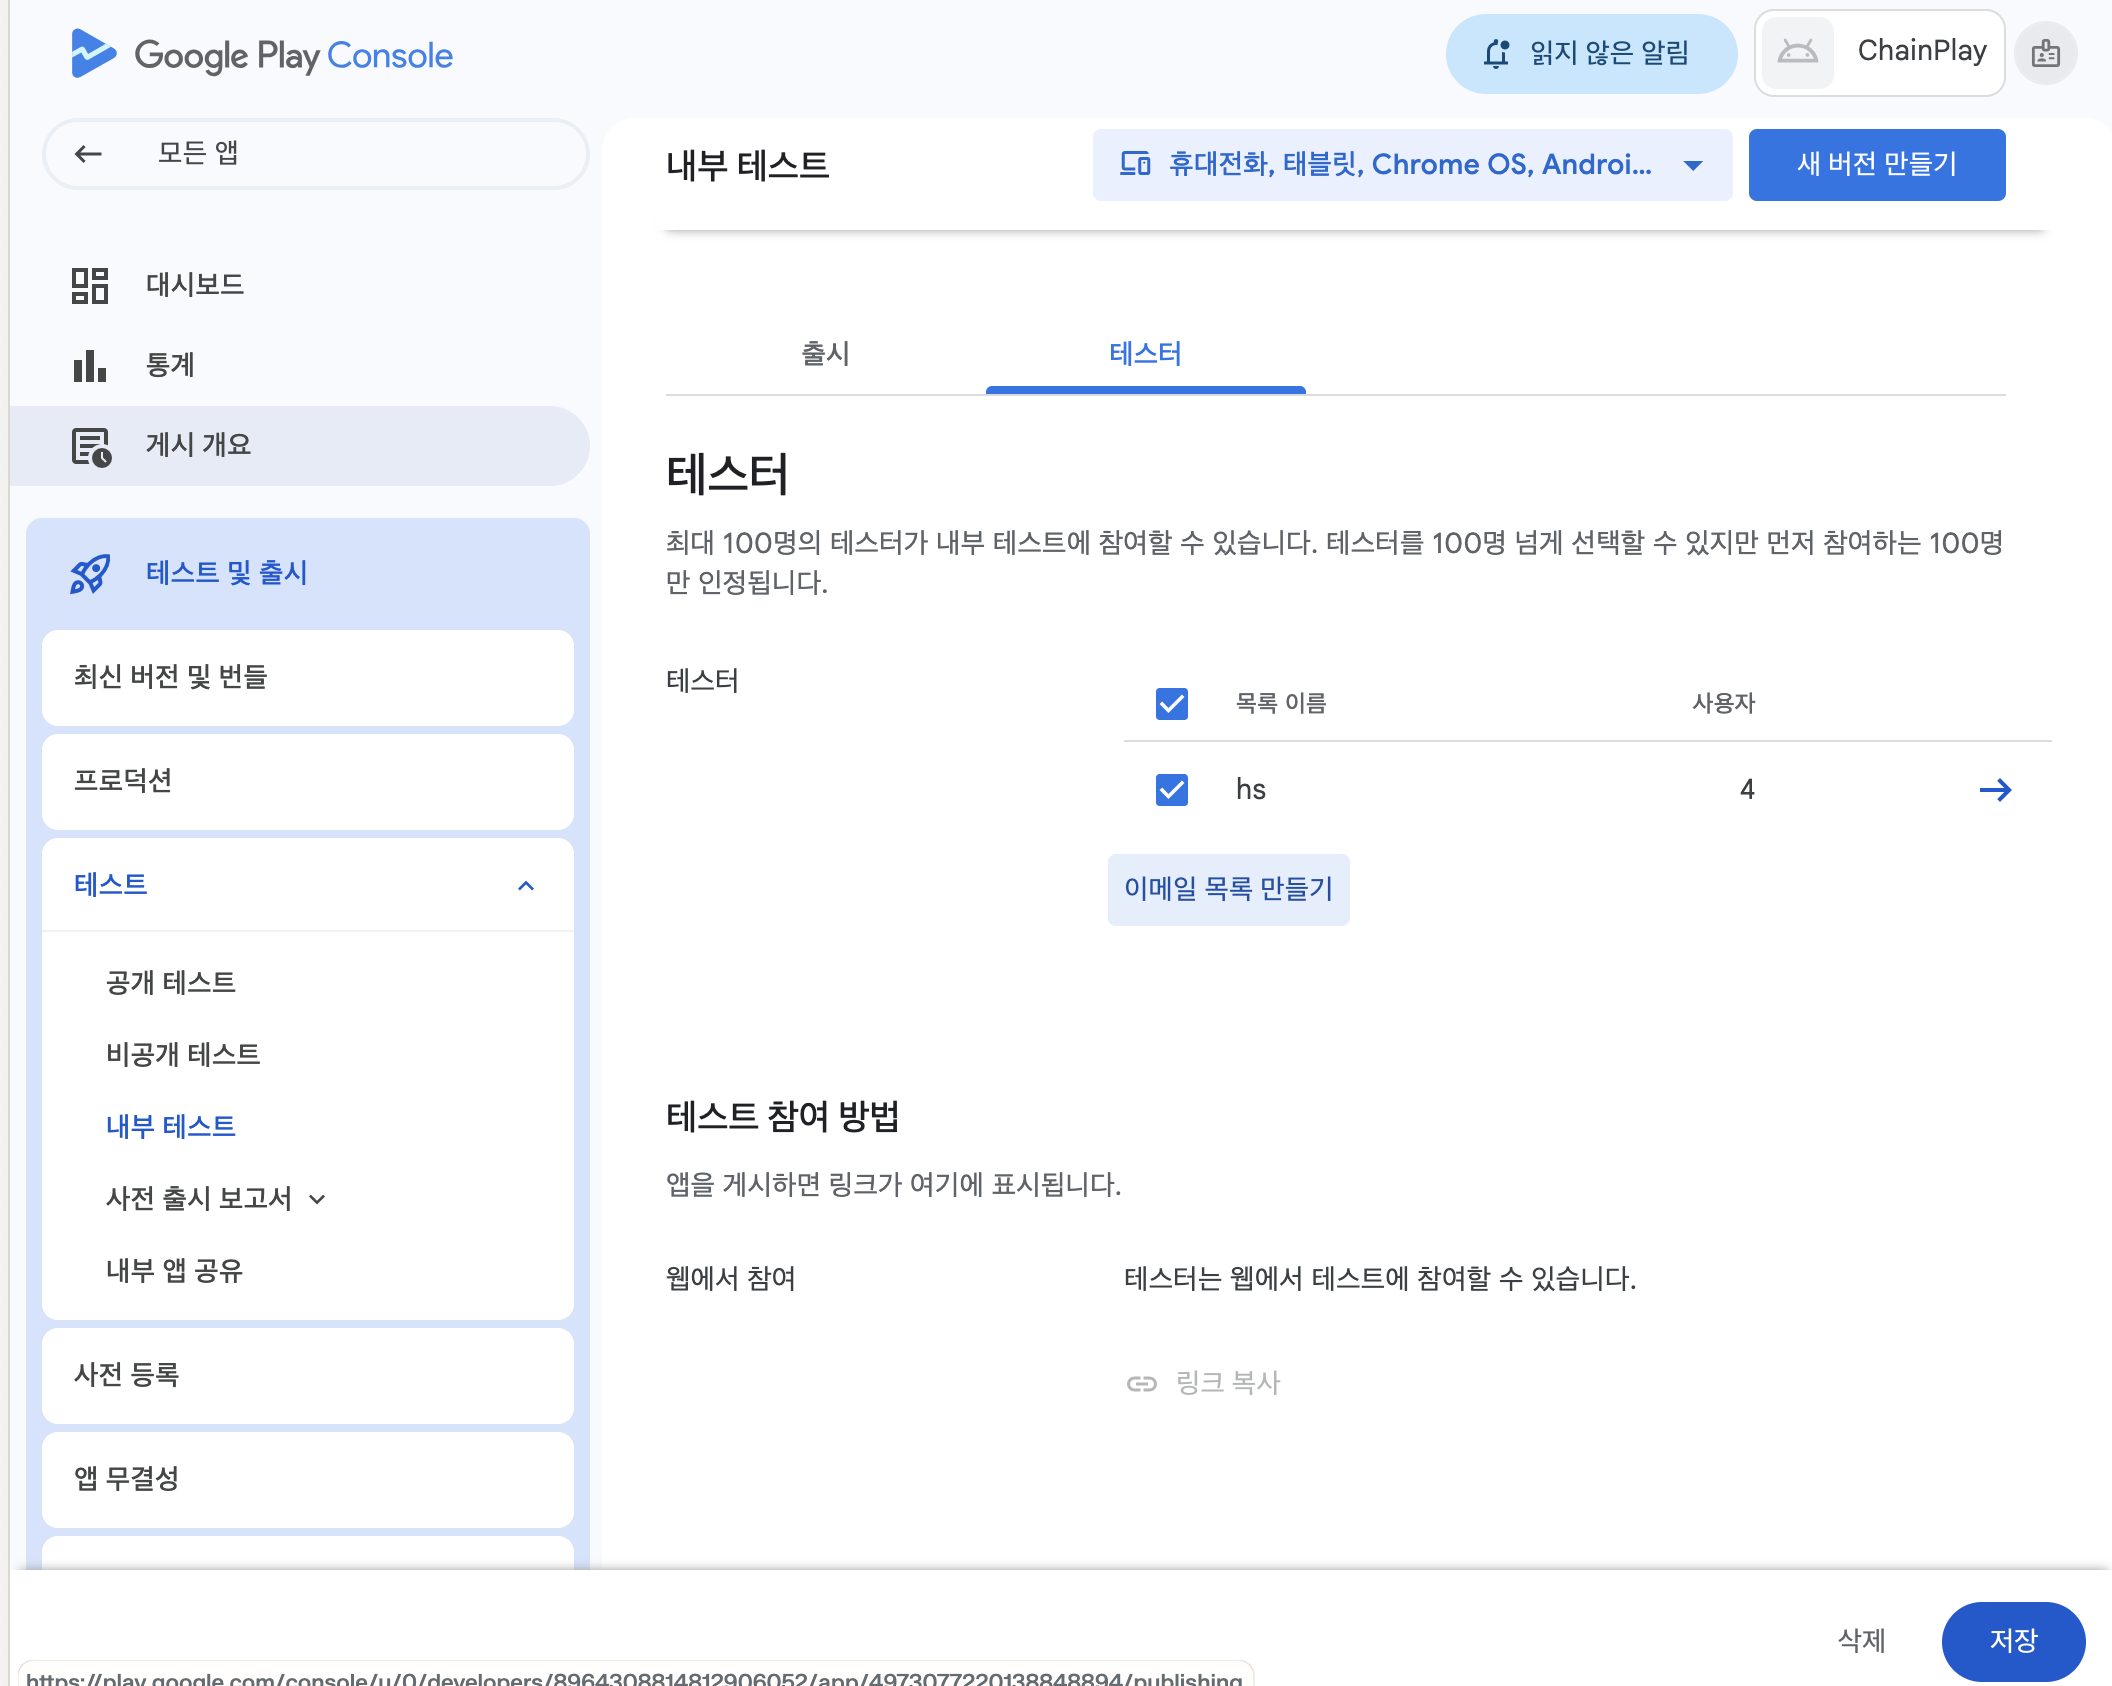
The green checkmark is key. If it looks like "Under Review", you need to wait for Google approval. Once approved, the link to invite testers will be active.
Since private test approval takes time, we recommend that you create an internal test link first to verify your installation.
Step 3 - Private test (required)
Mandatory step for public release. Requires 12 testers participating for at least 14 days.
Create a track
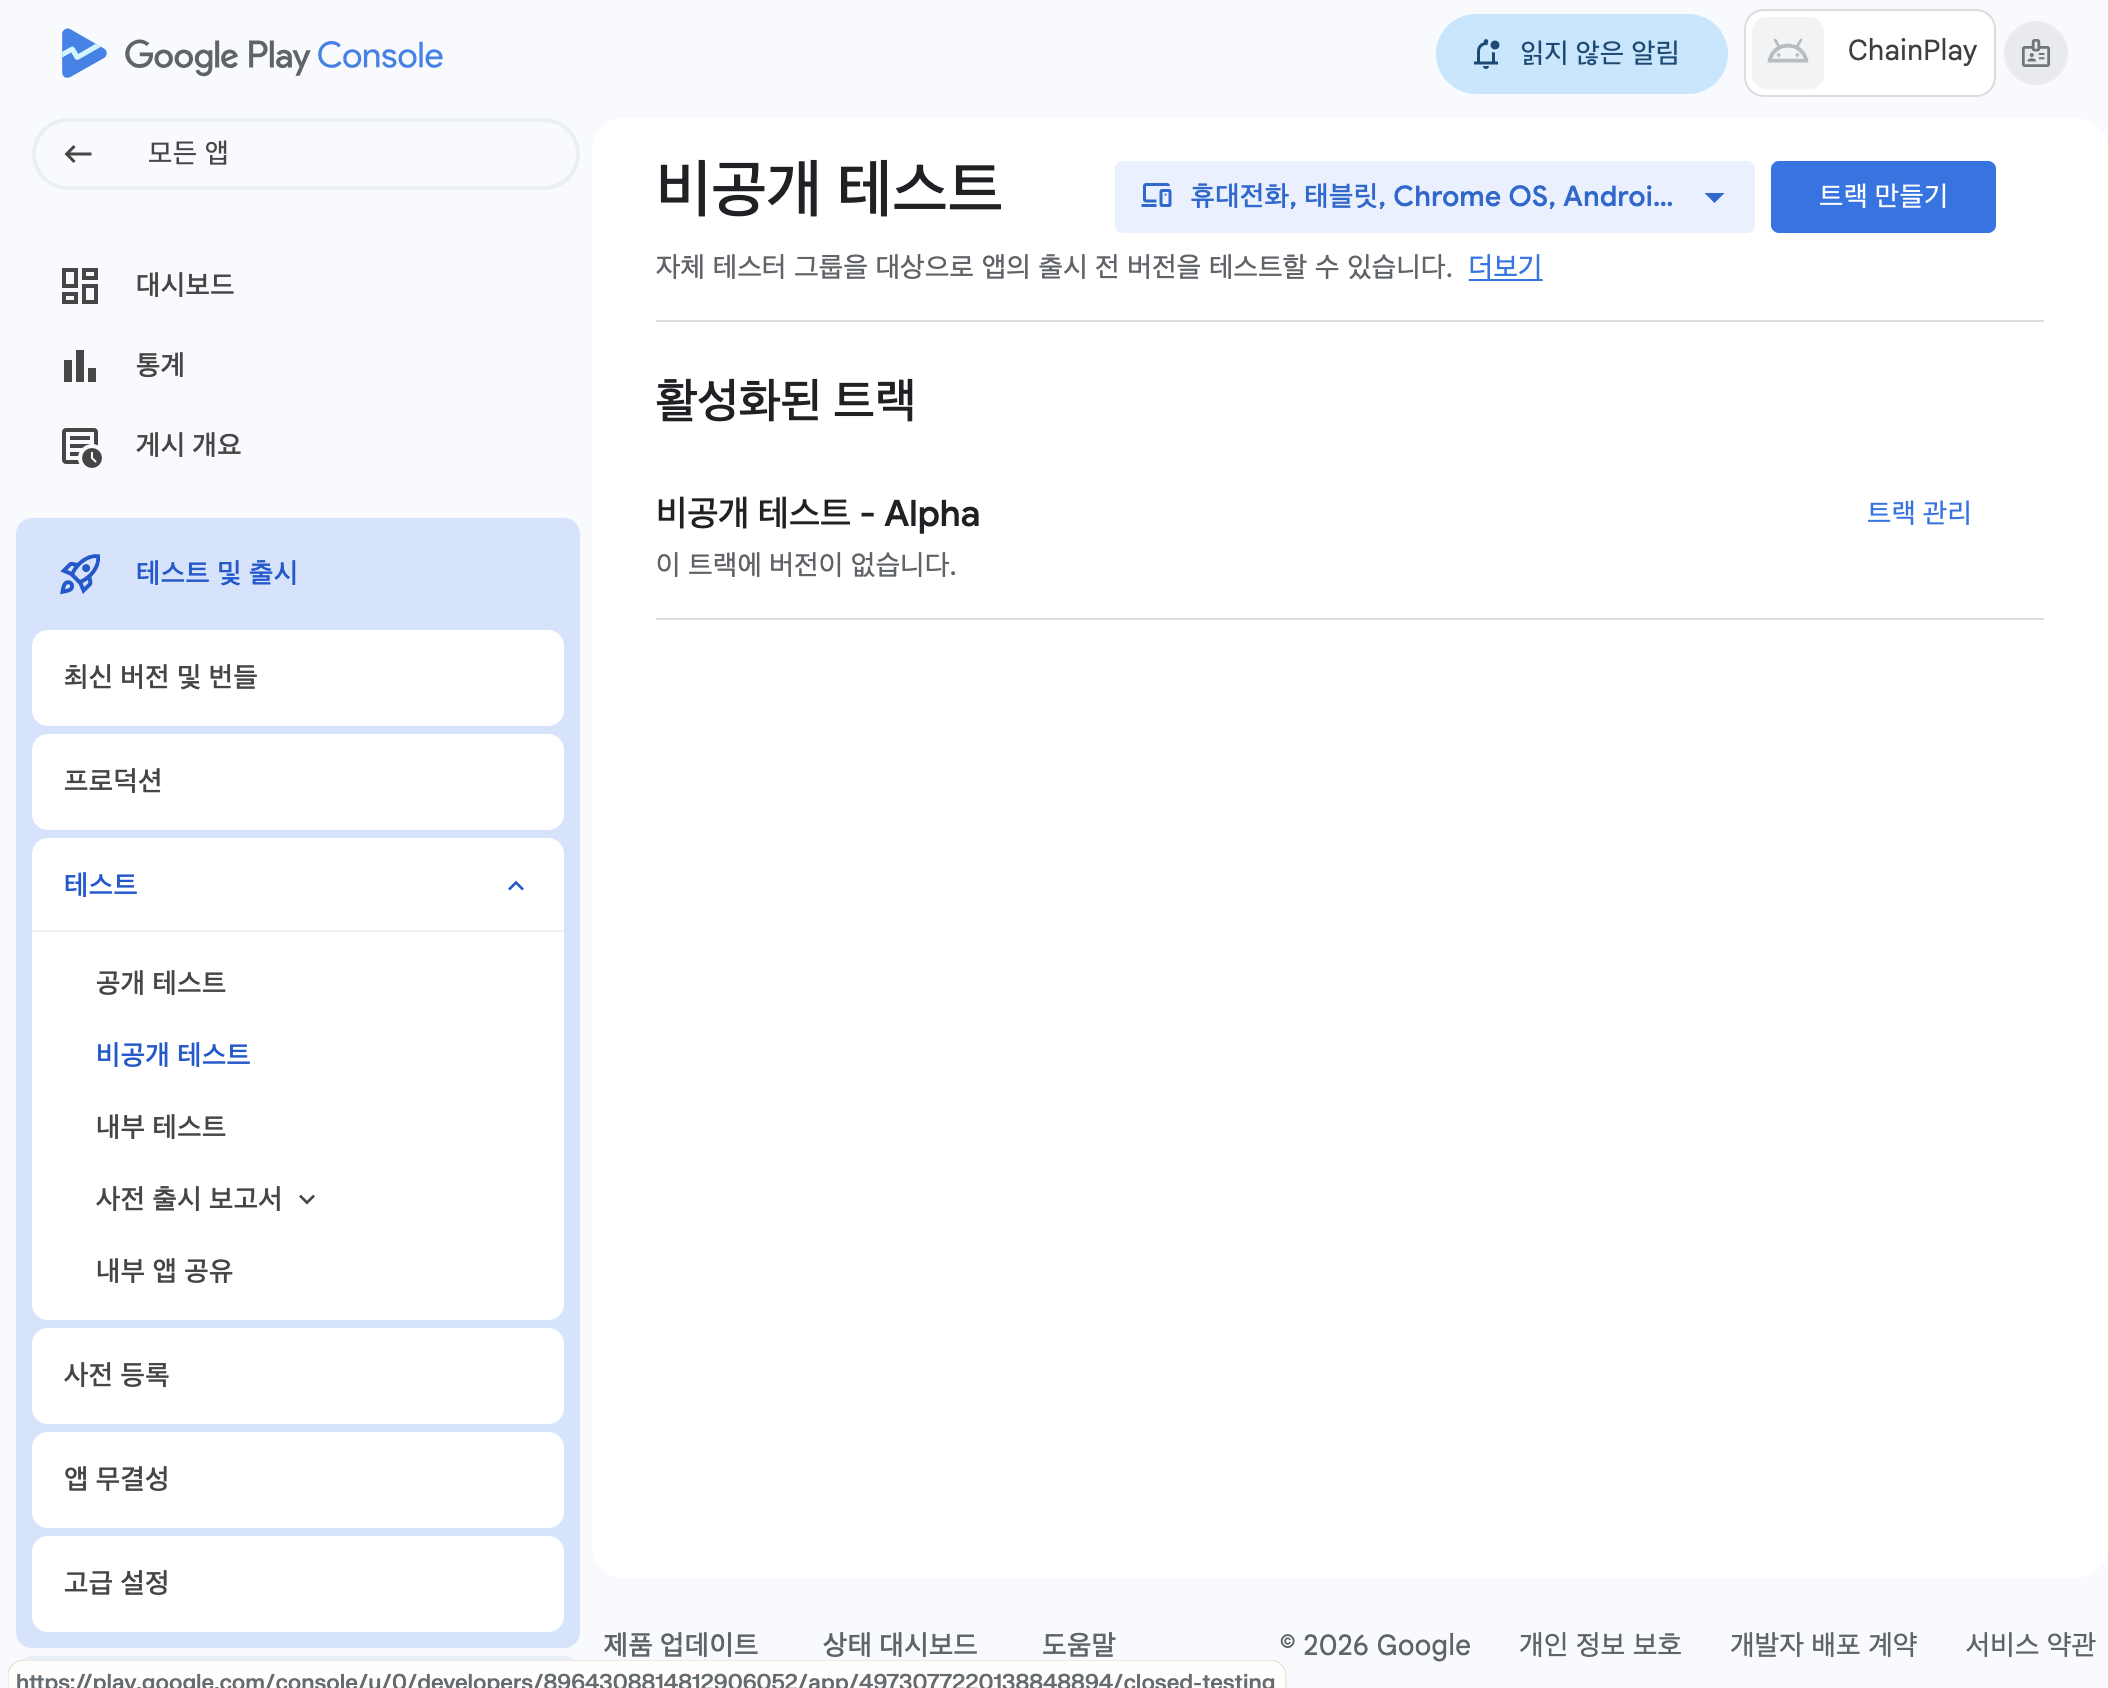
In the Google Play Console, version units are called "tracks". You can organize them as Alpha/Beta, or if you're confused, Track1 and Track2.
You should update your tracks periodically, even during private testing. If they are not updated, they may be rejected.
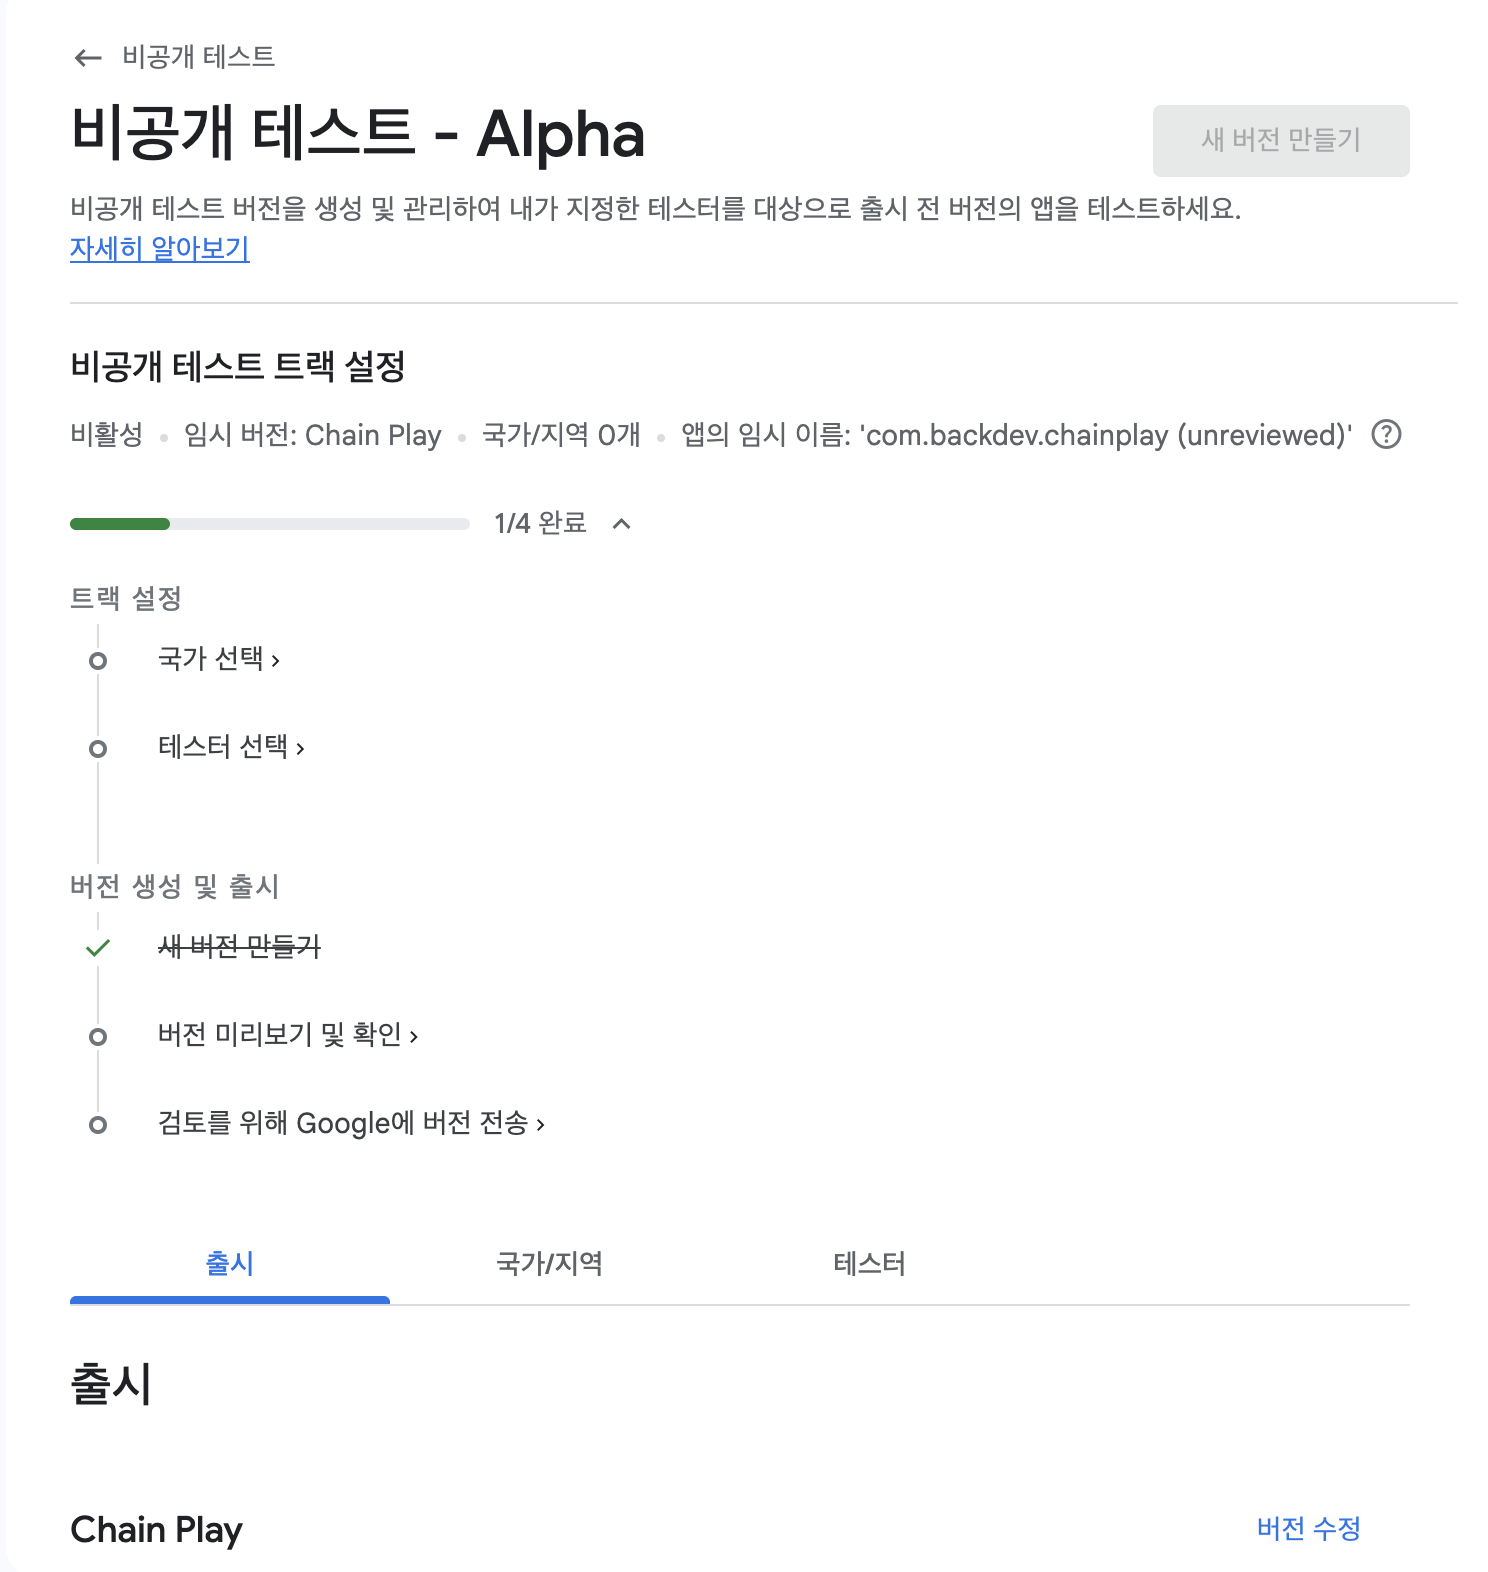
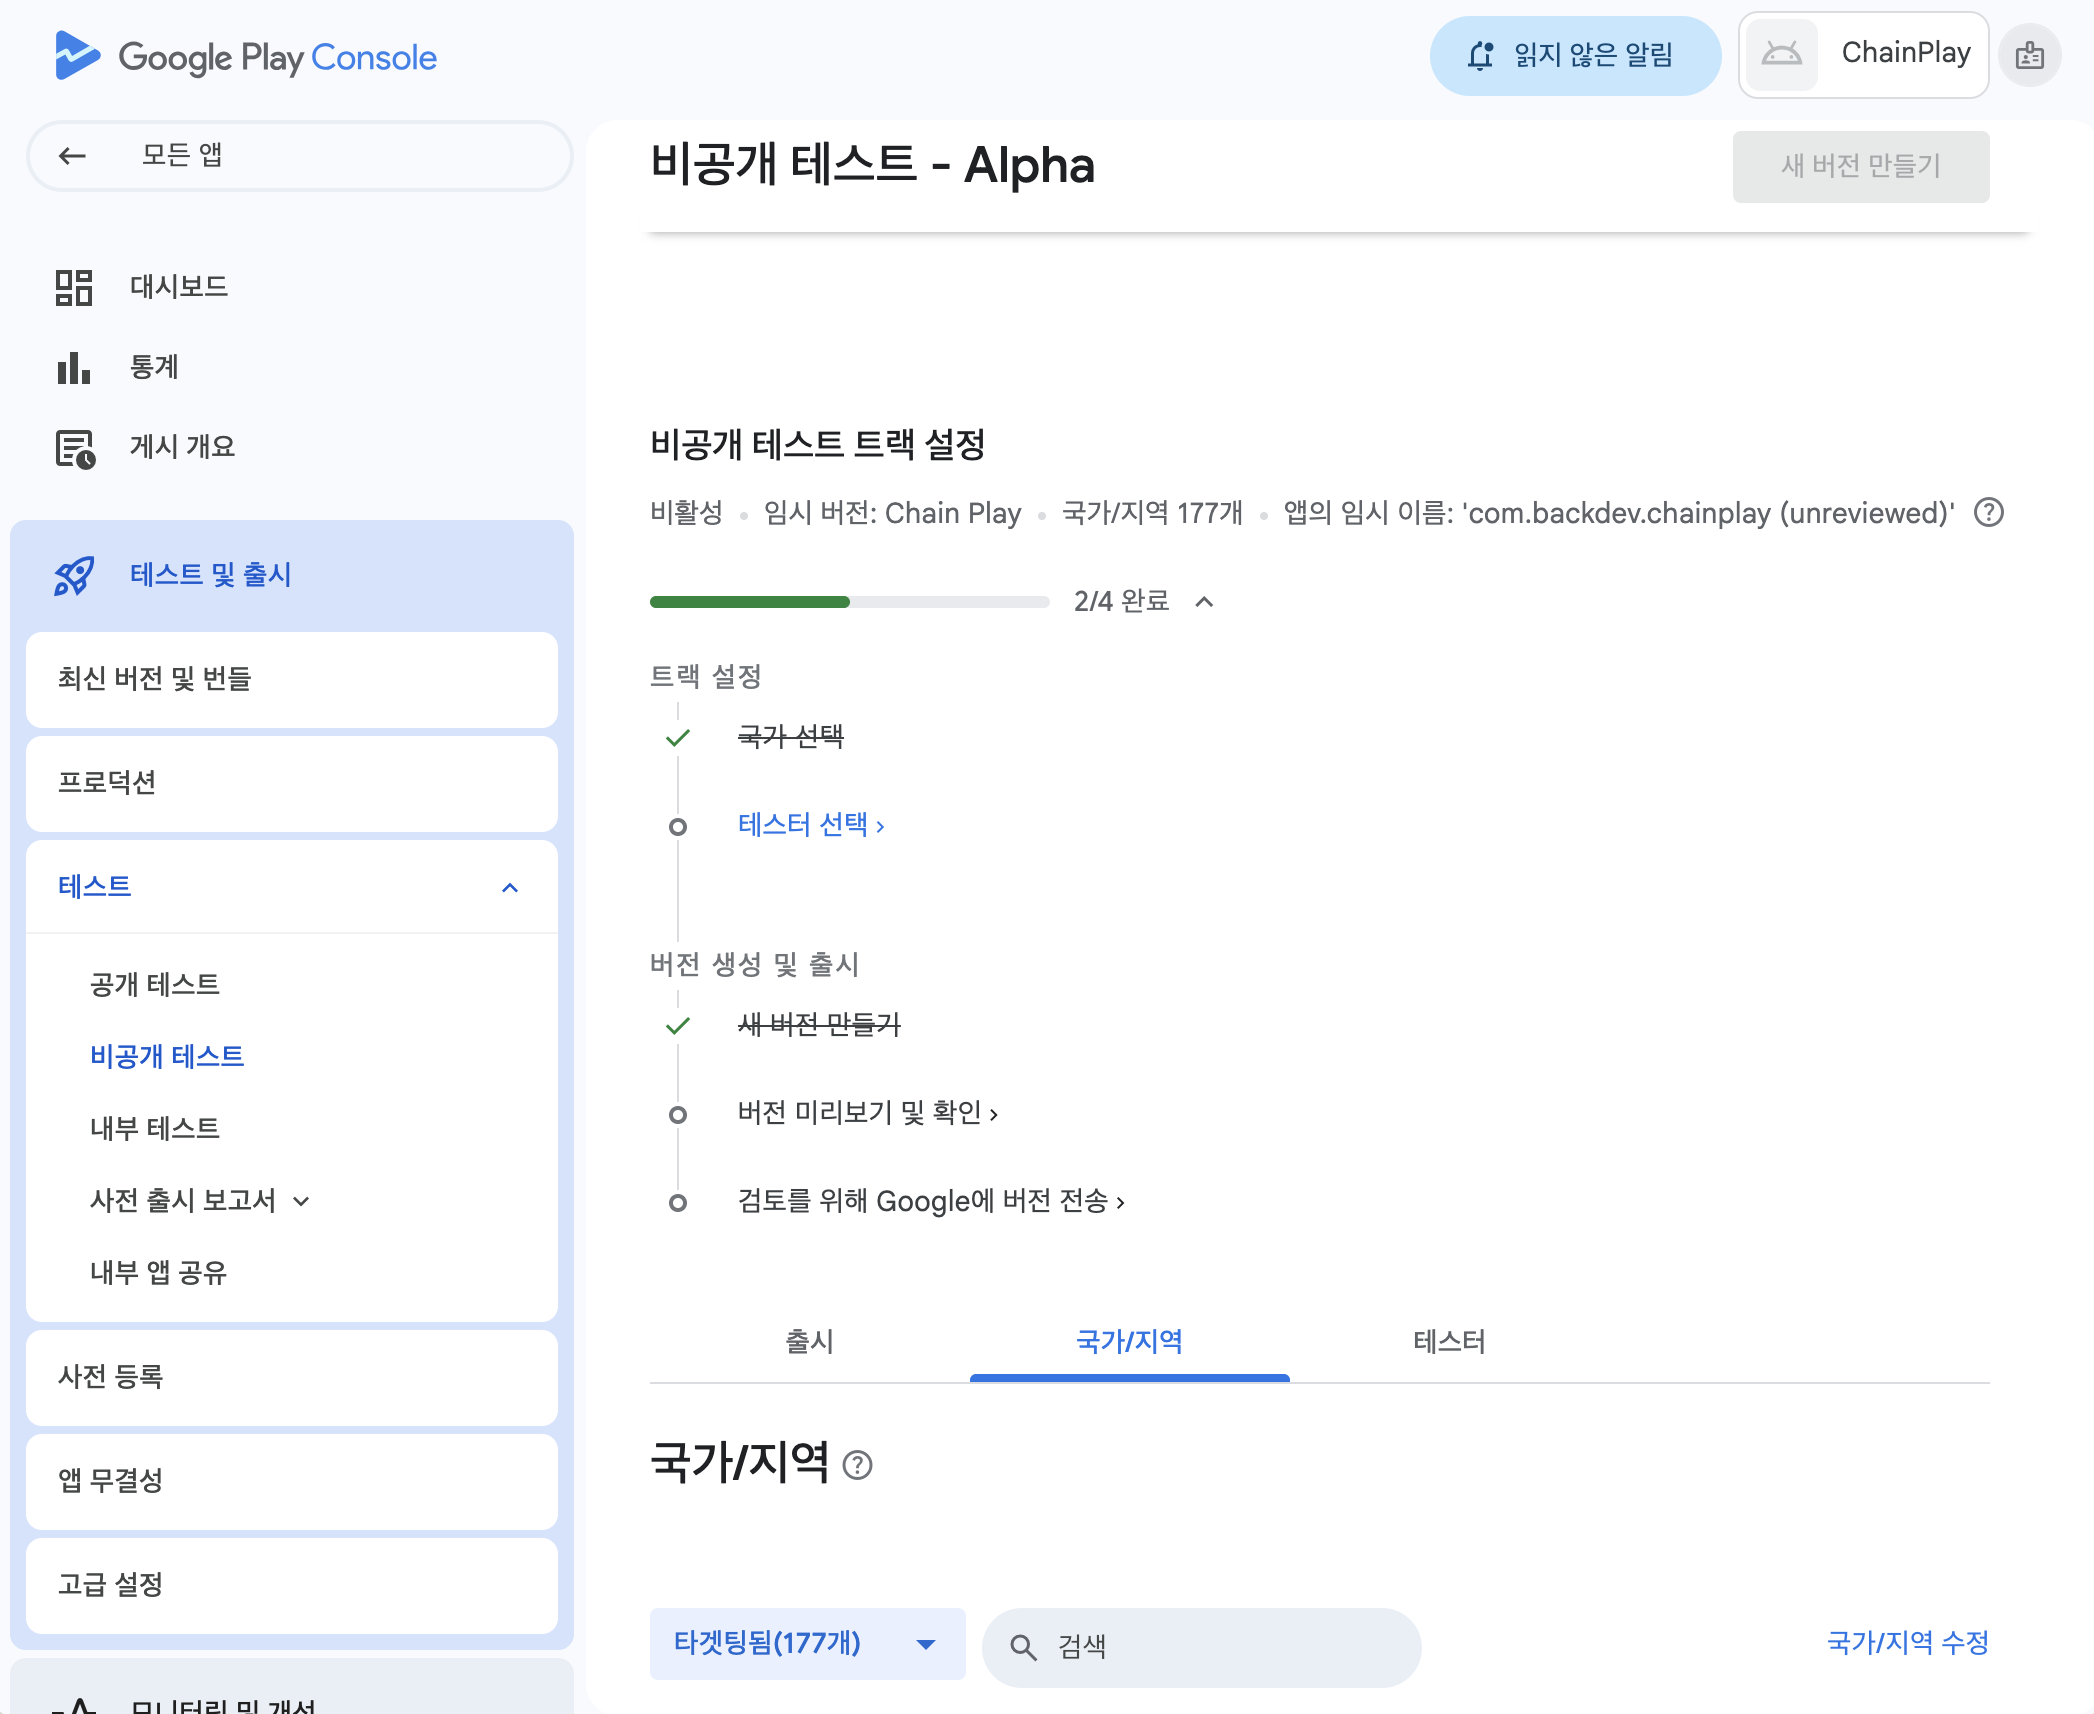
Procedure: Create track → Select country → Select testers → Create new version → Preview version → Send version to Google
Select country
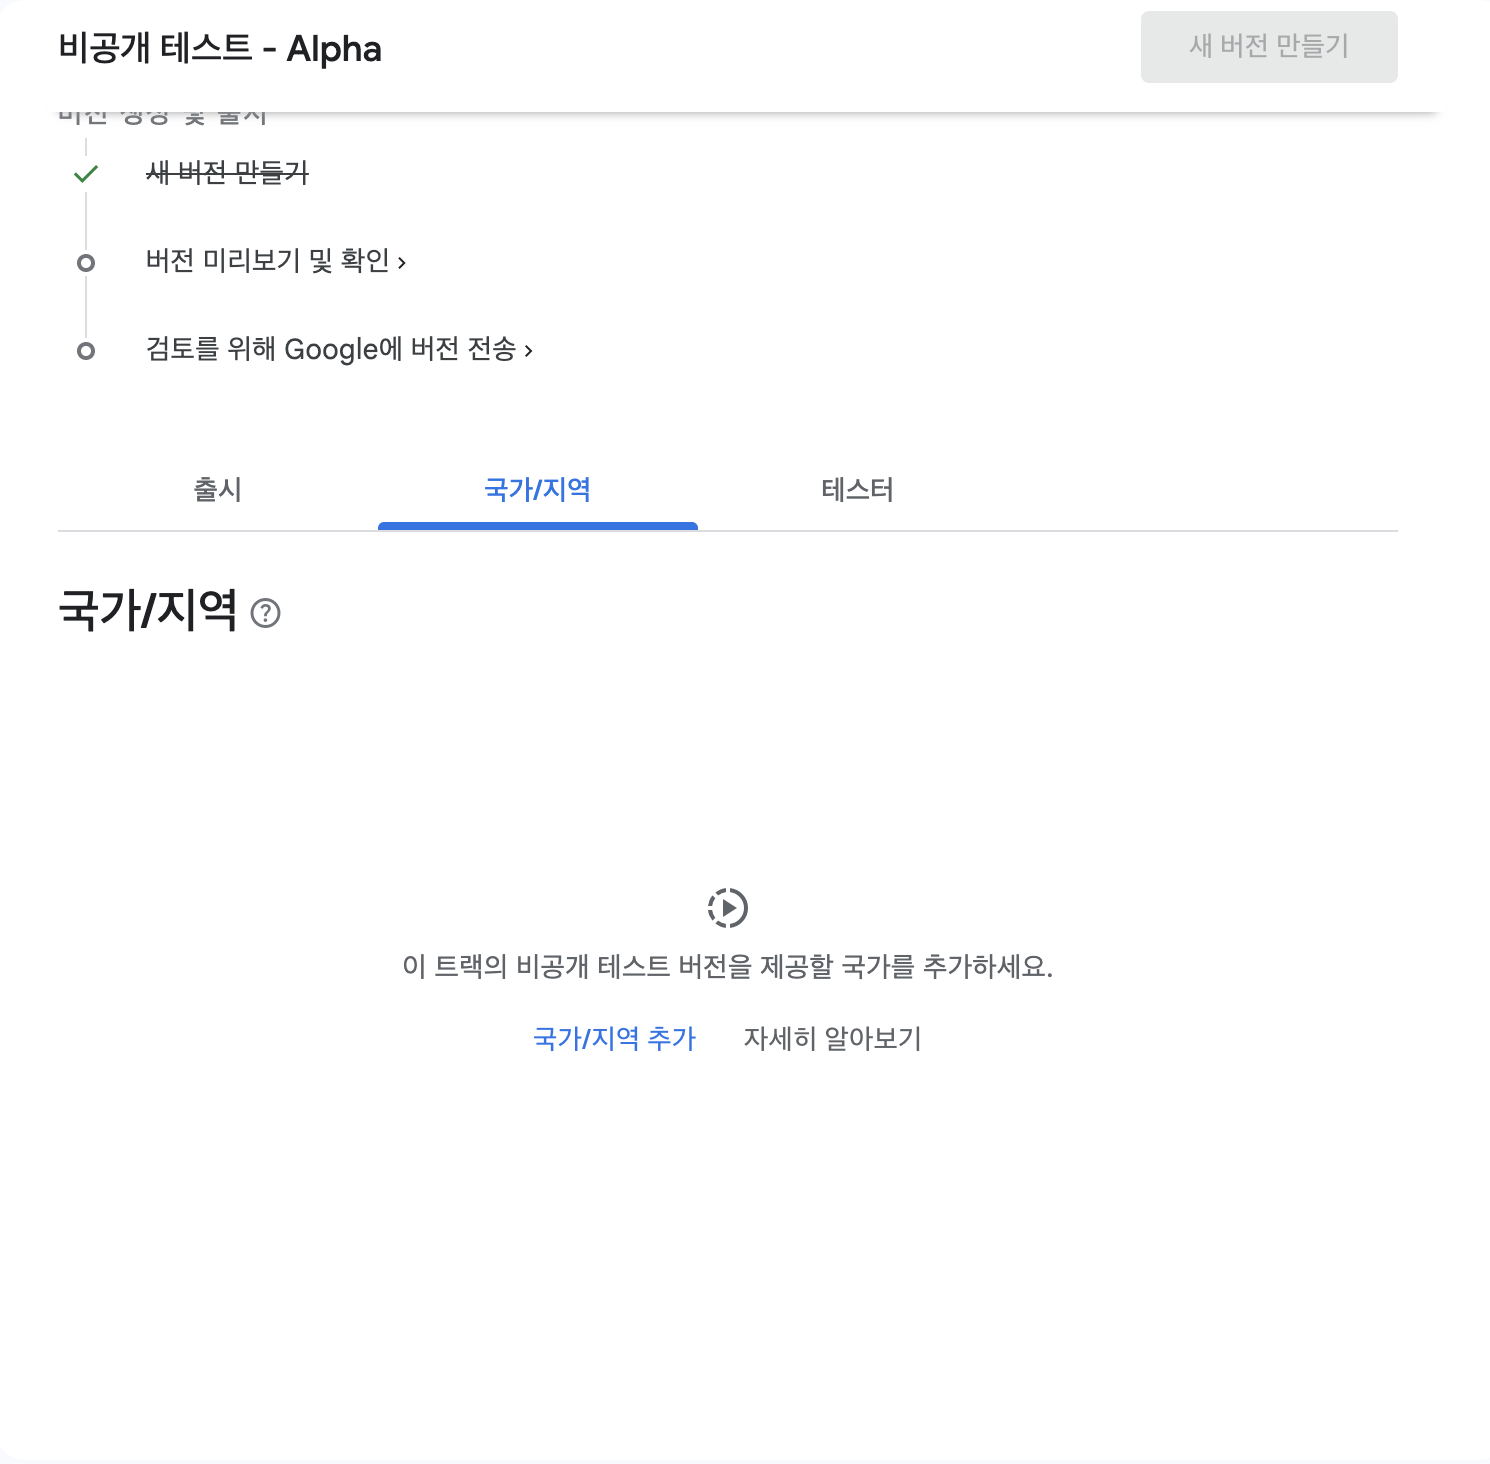
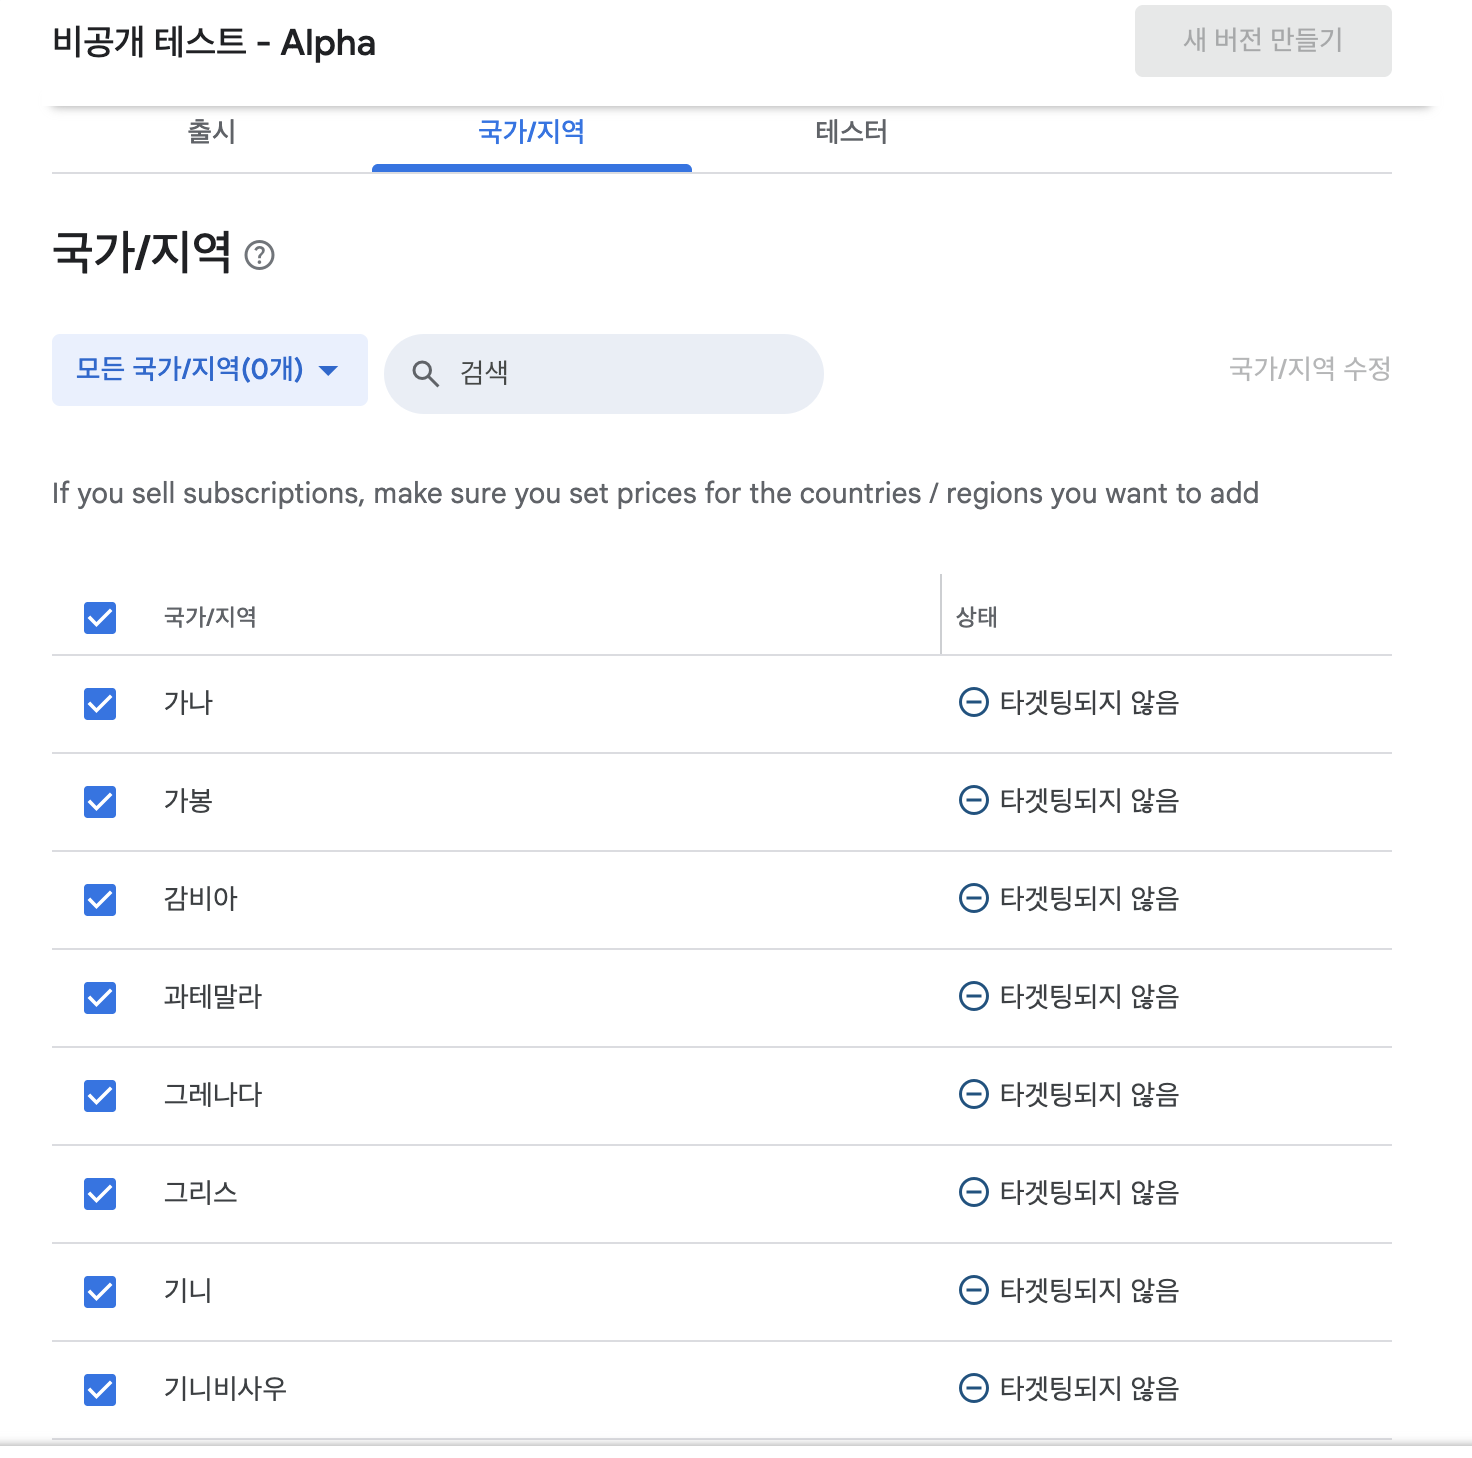
If there's no reason to limit it, you can select all.
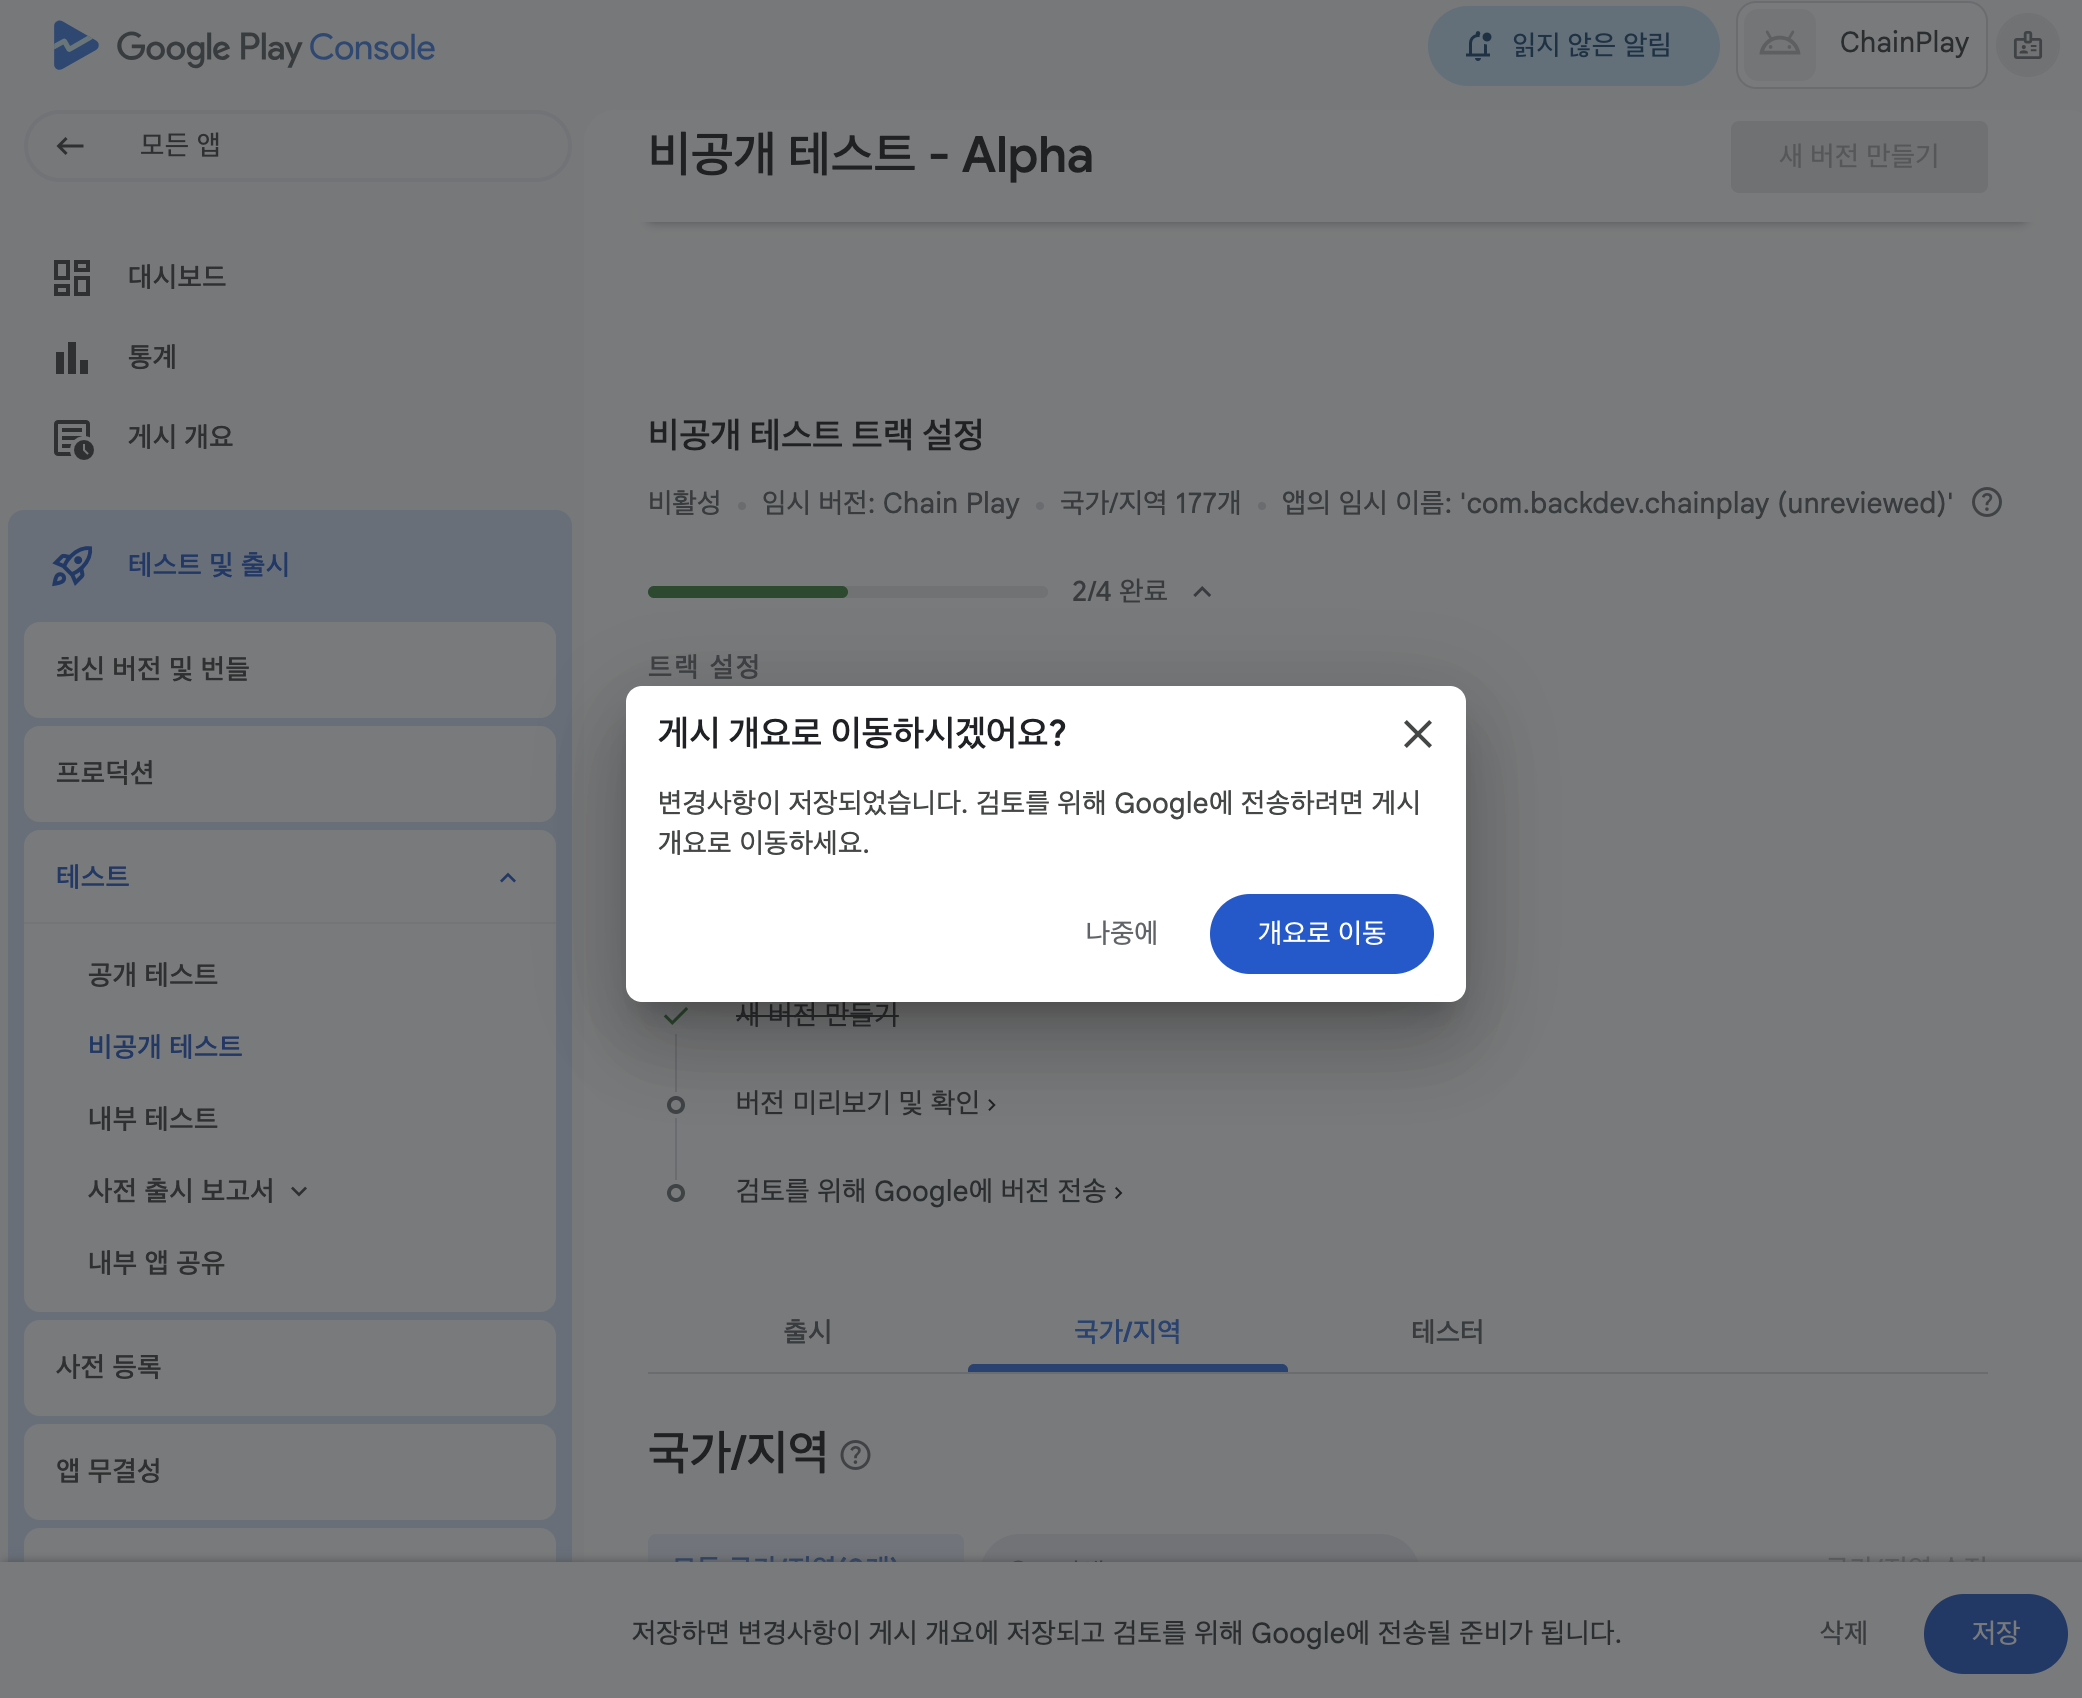
After completing each page, I get a popup asking "Would you like to go to the publishing overview?", but clicking "Go to overview" takes me to the dashboard and breaks my workflow. It's easier to hit the "Later" button and go back and continue working.
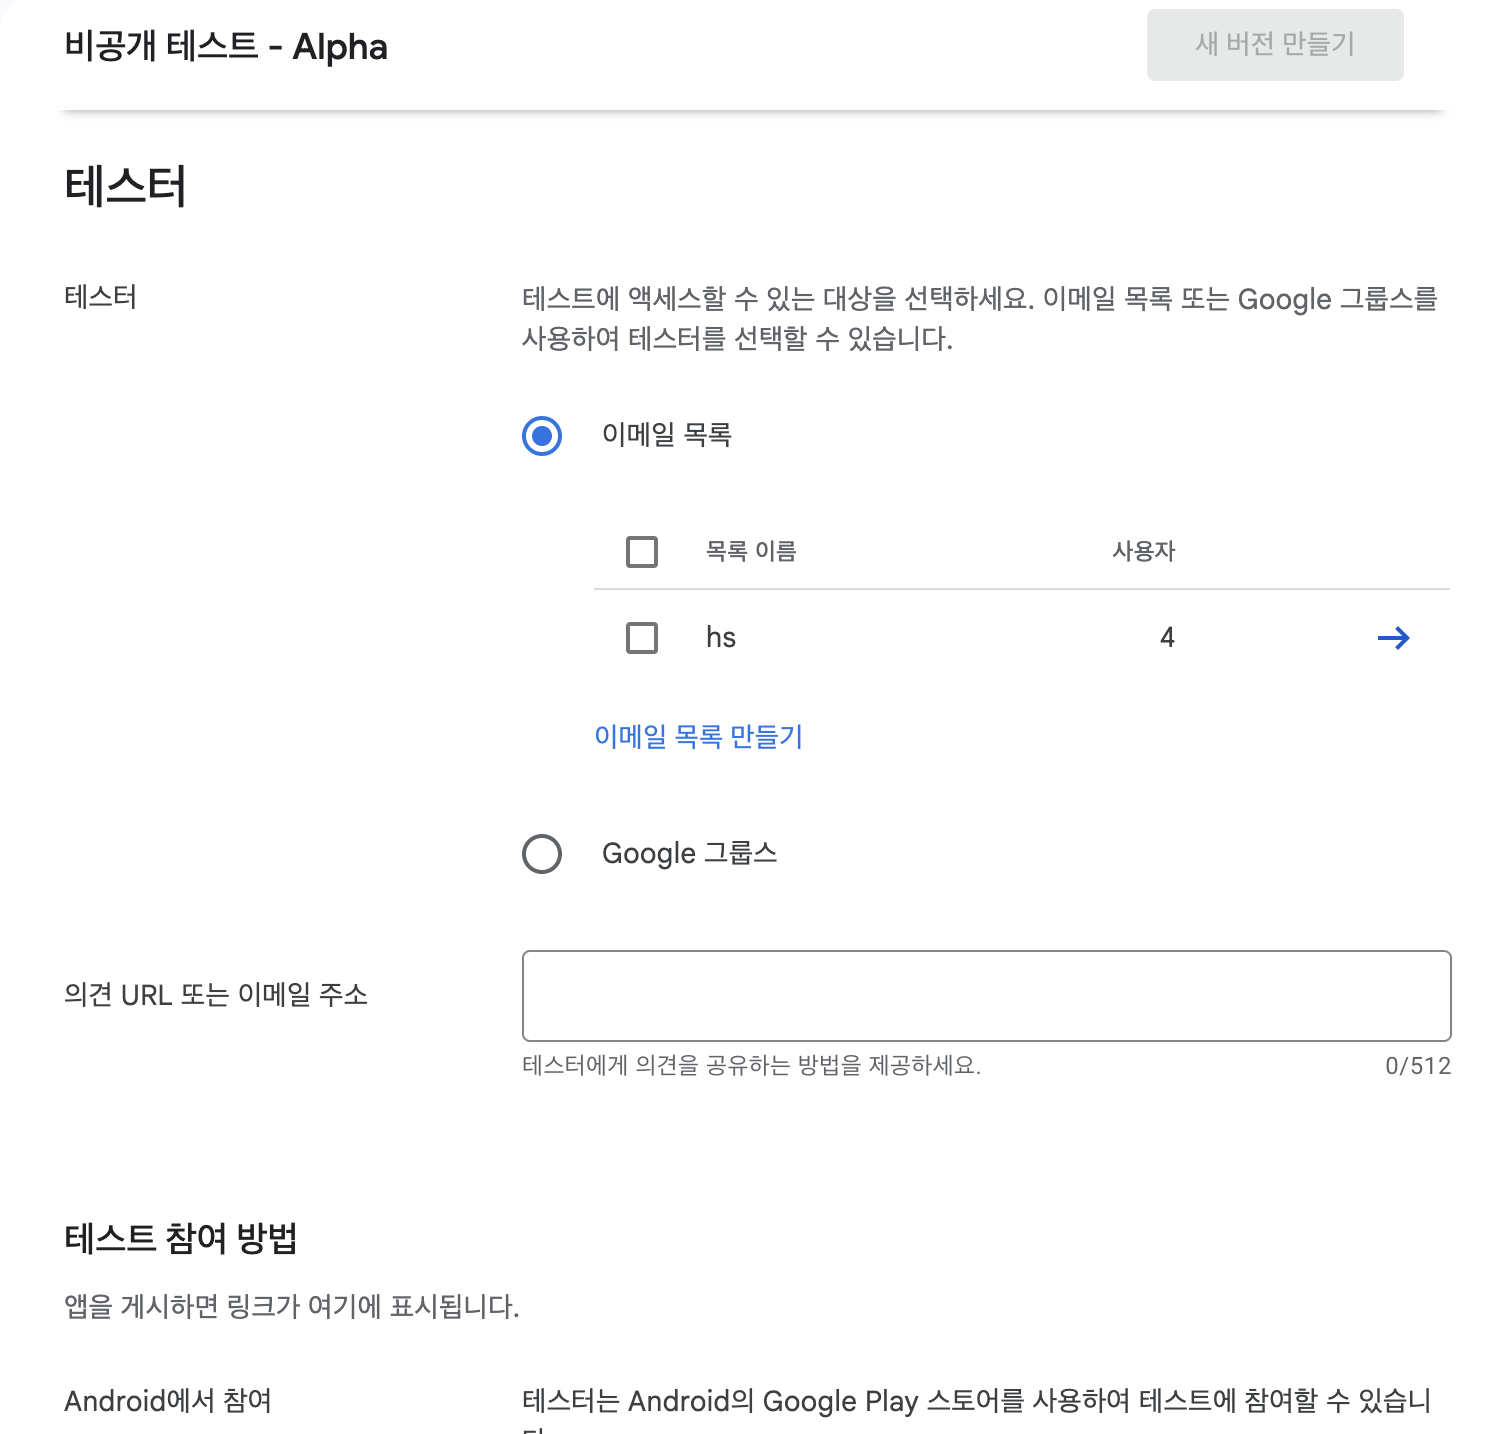
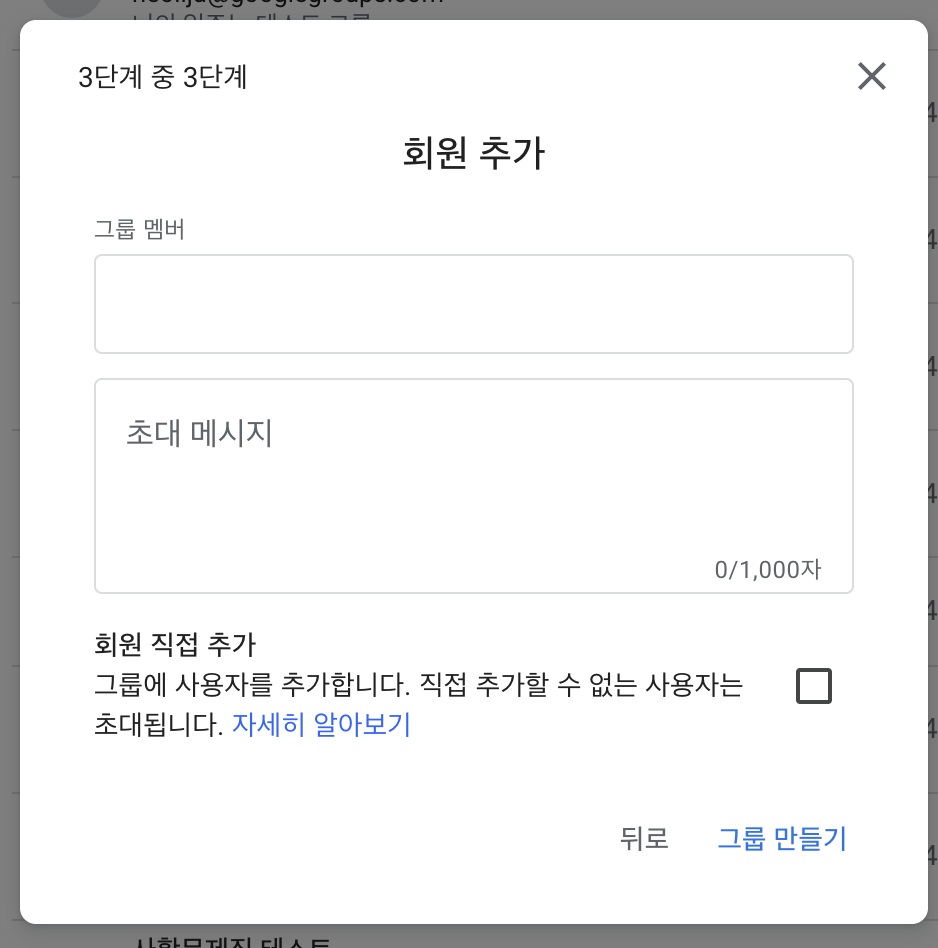
Setting up testers - recommend utilizing Google Groups
If I manually add people by email, I have to approve them and they have to wait. With Google Groups, users can join the group directly and join right away.
Step 4 - Create Google Groups
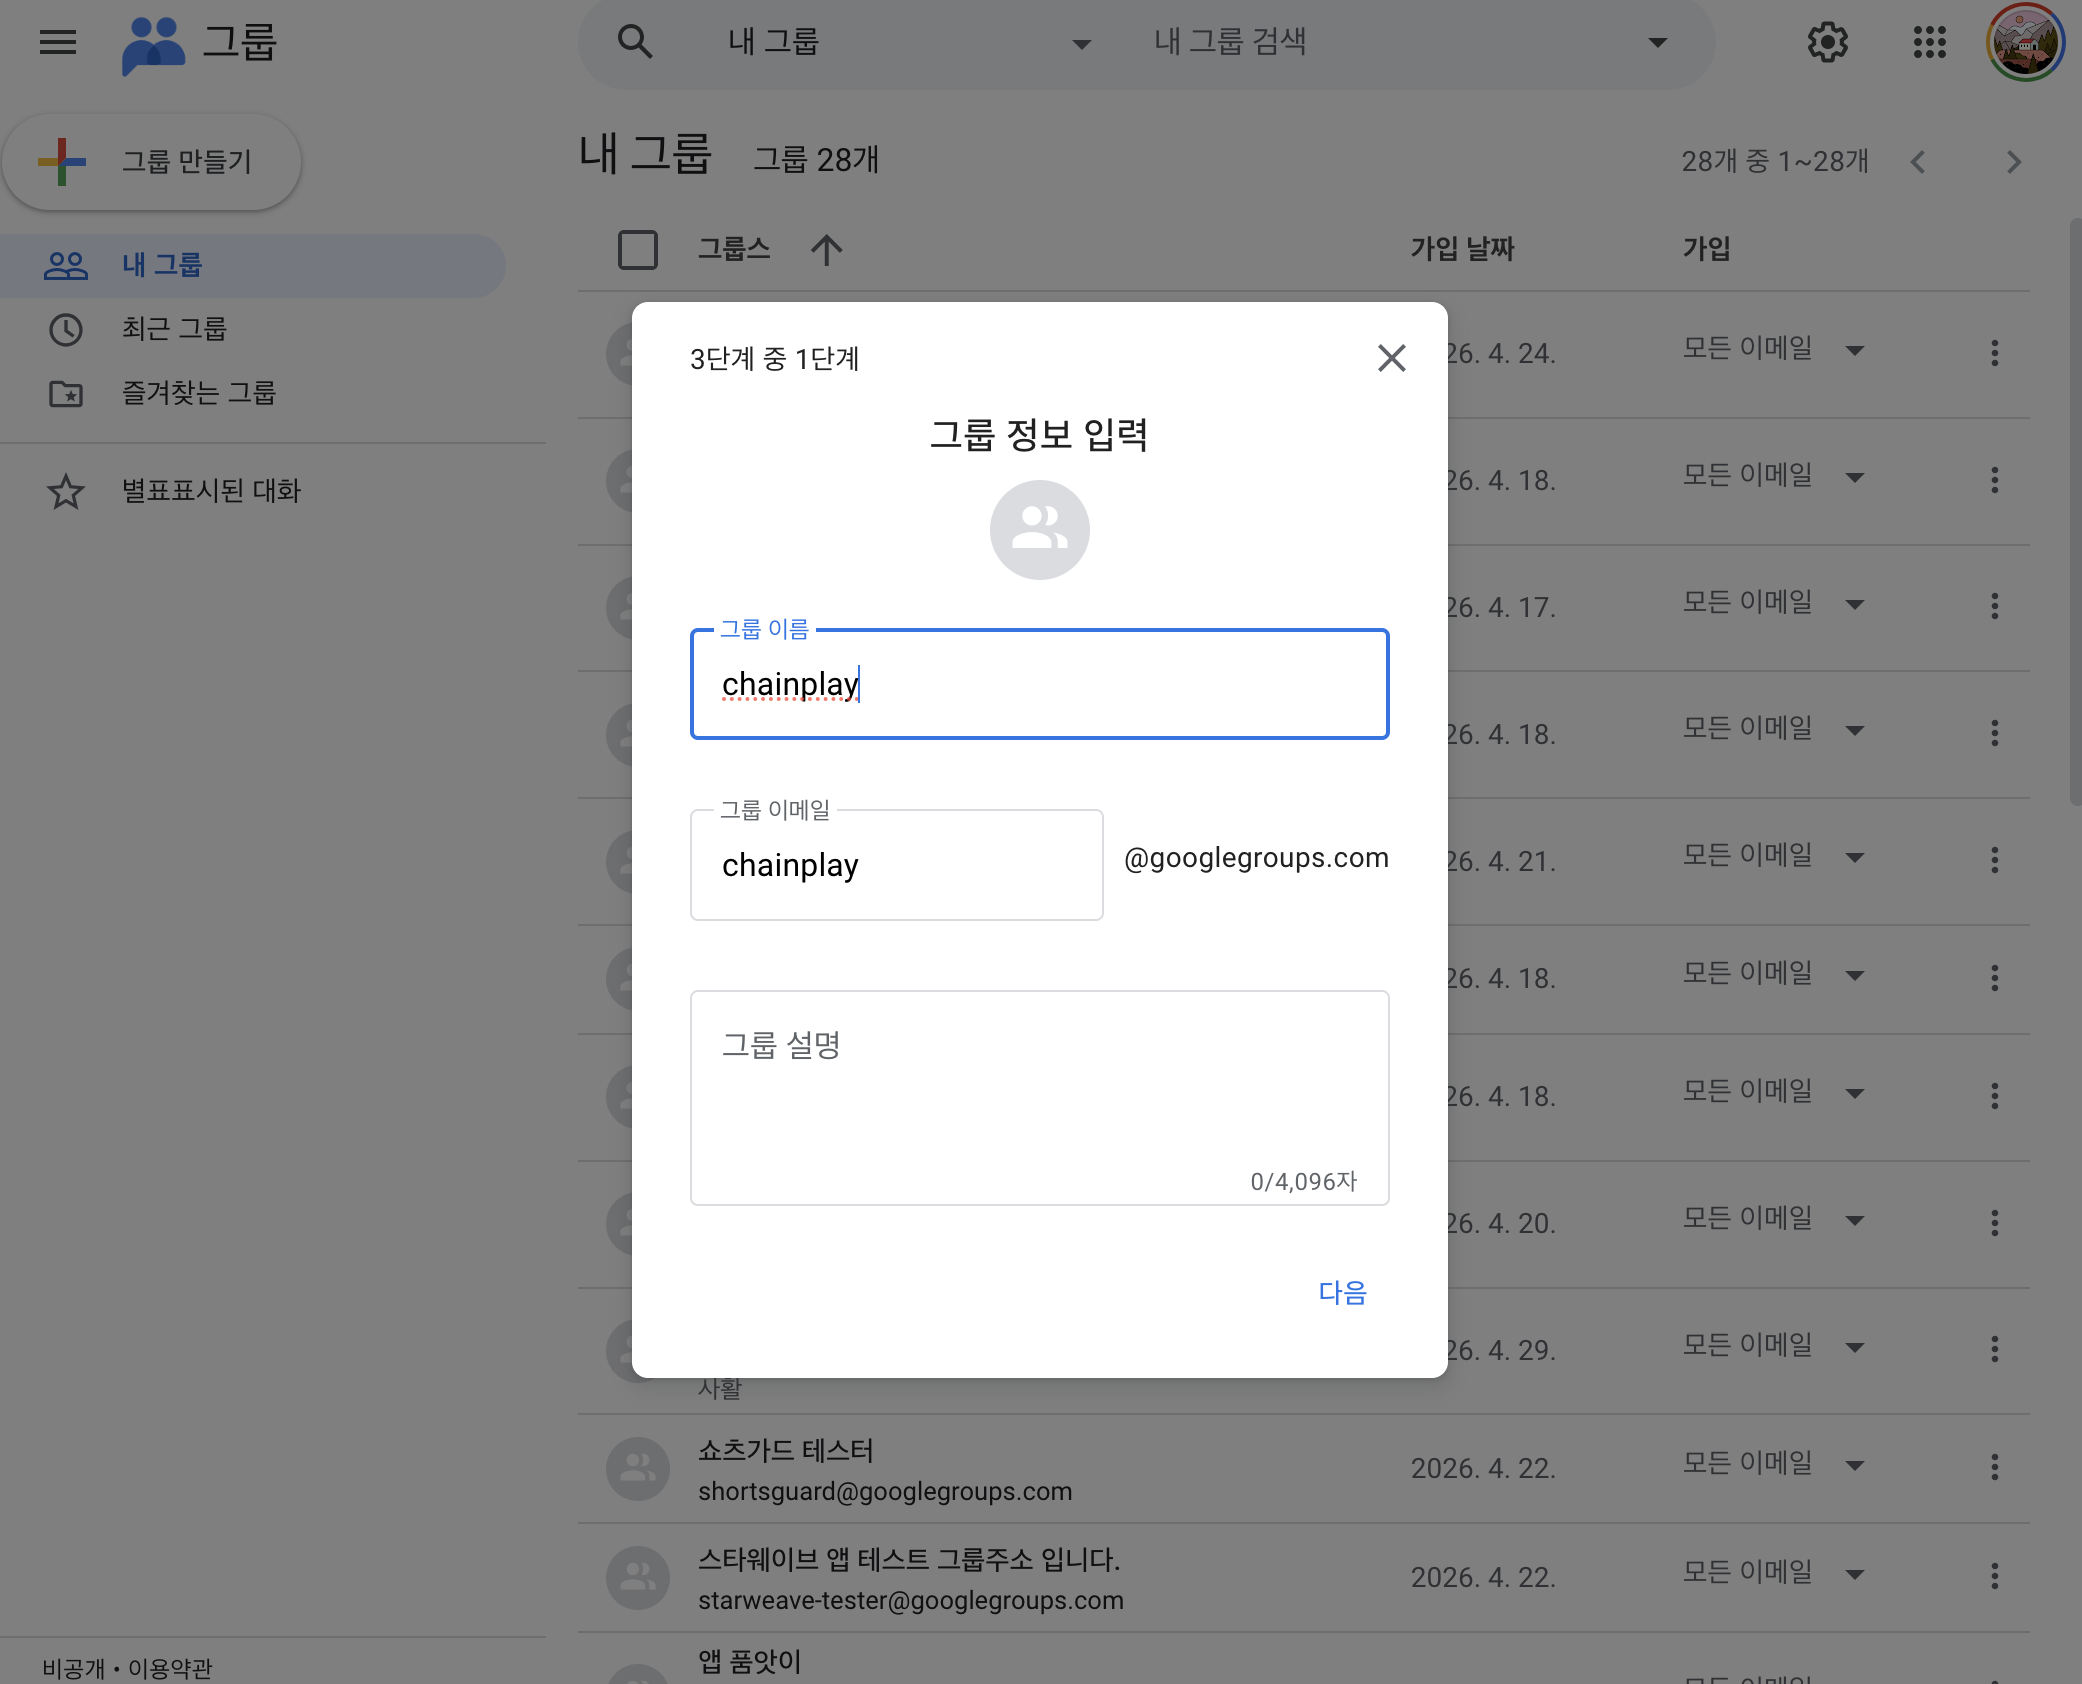
Privacy settings are important - if they're too restrictive, people will give up on joining.
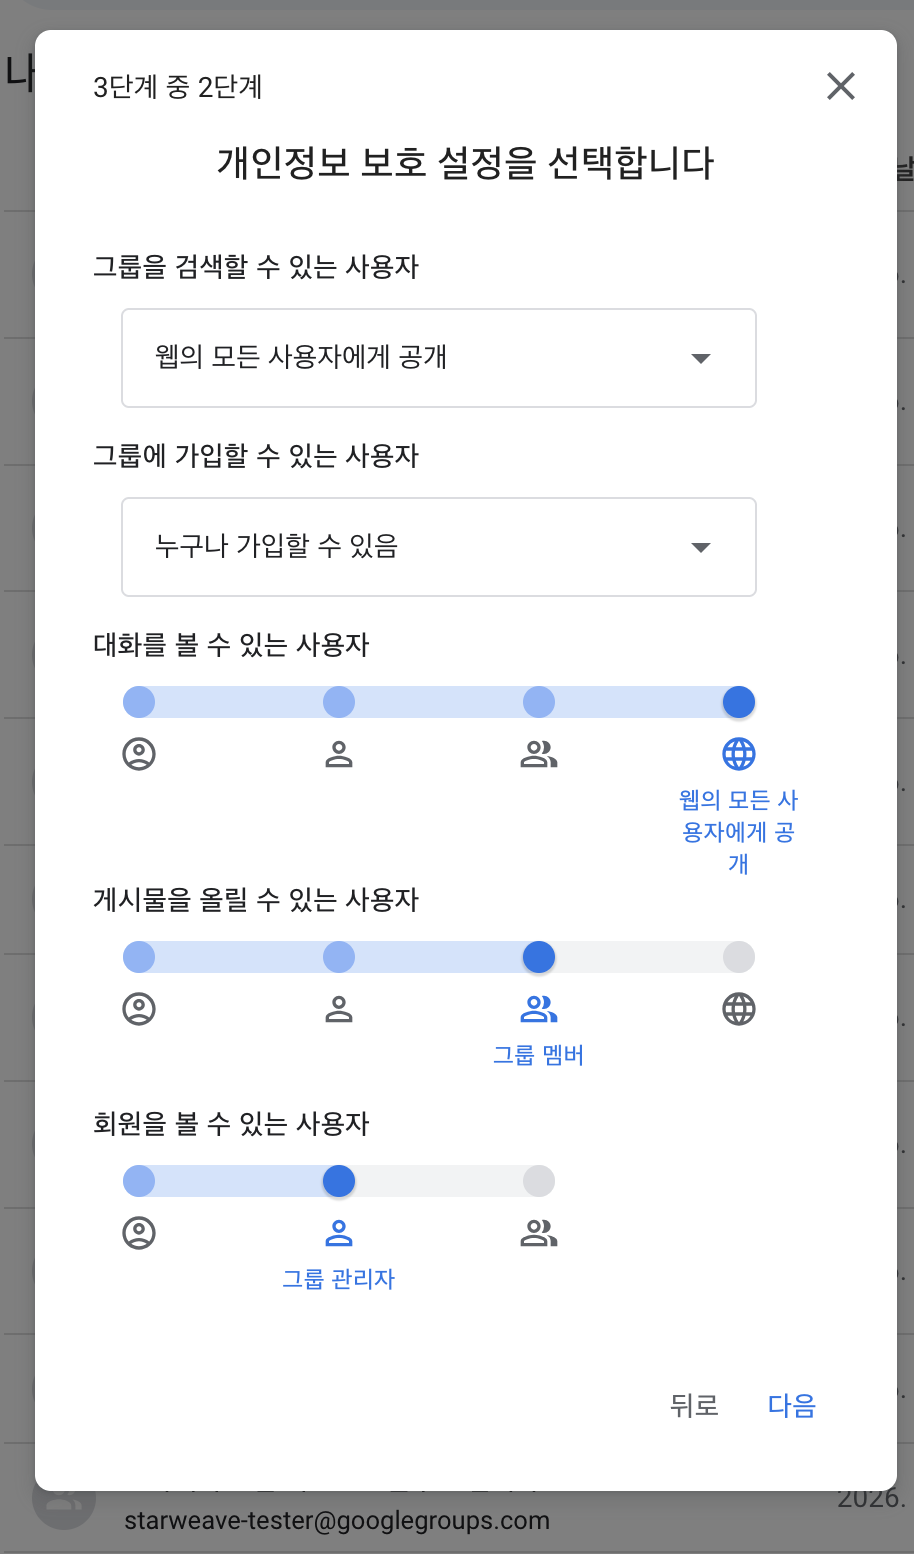
Recommended settings:
| Items | Settings |
|---|---|
| Group Search | Open to everyone on the web |
| Join a group | Anyone can join |
| Browse conversations | open to anyone on the web |
| Create posts | Group members |
| View members | Group admin |
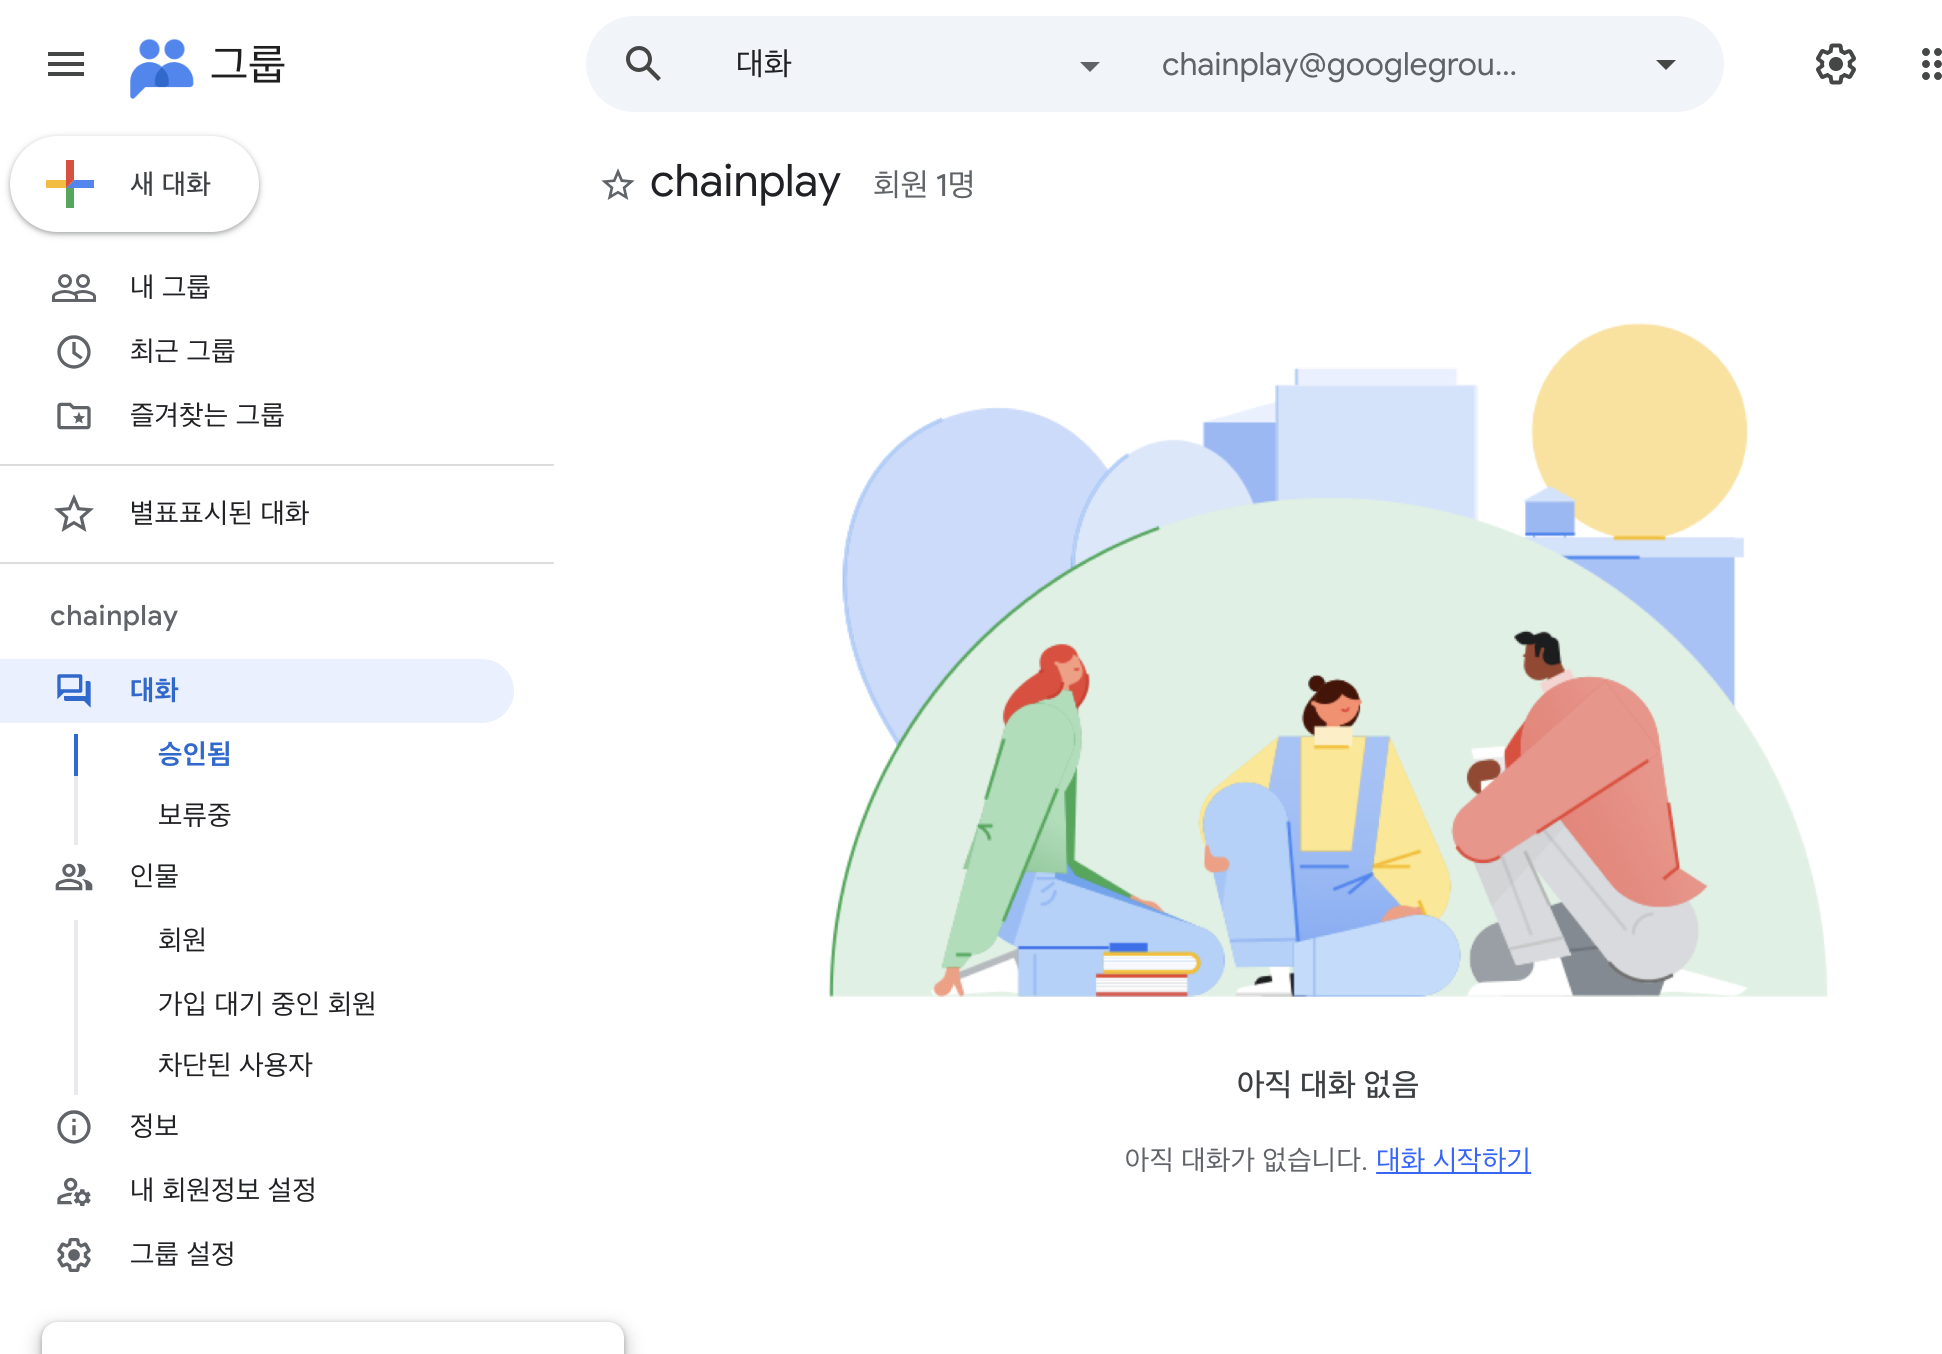
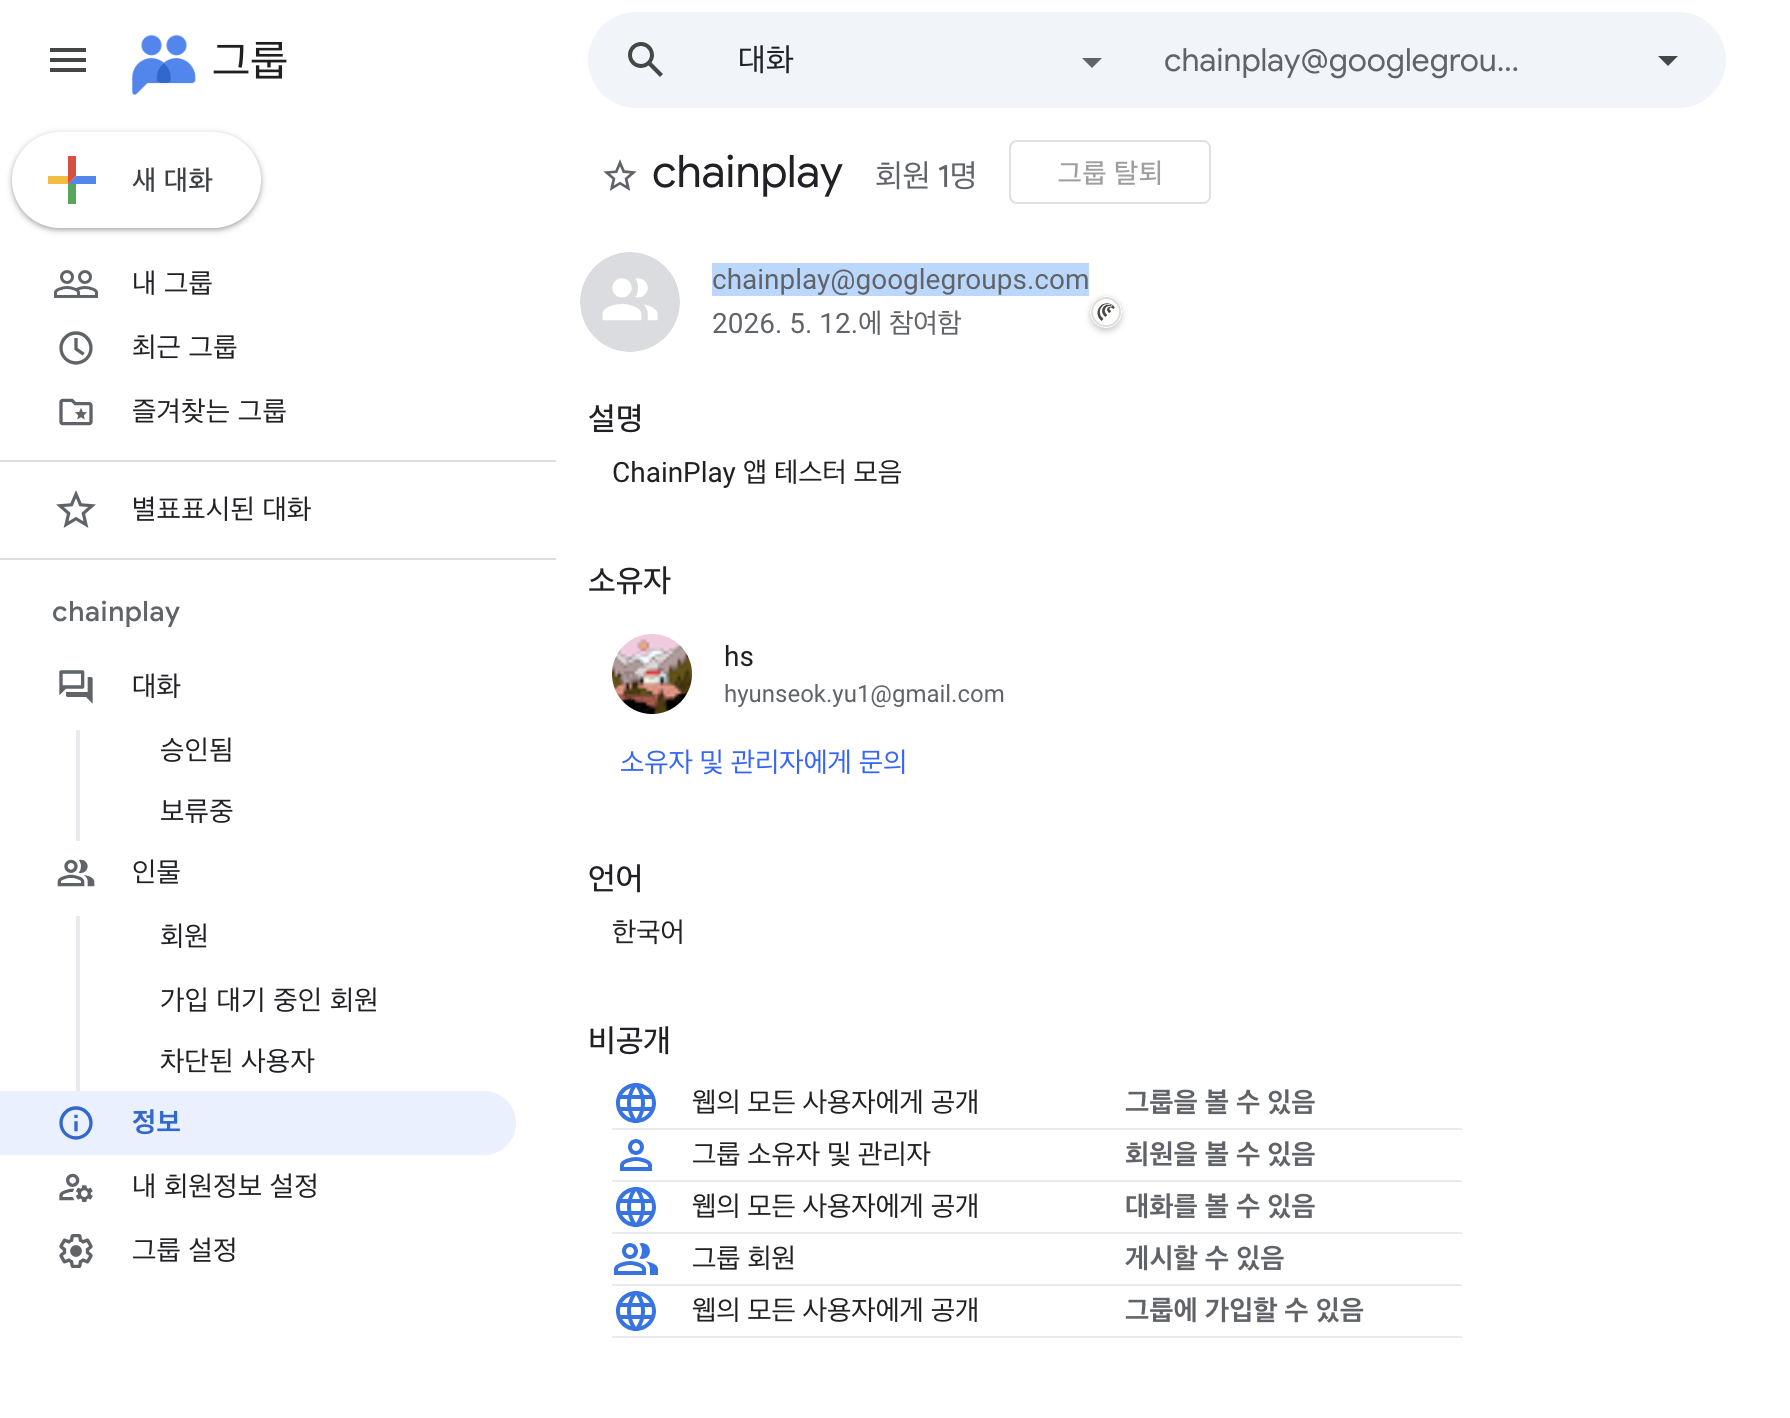
Copy the group address email (이름@googlegroups.com) from the group information.
Step 5 - Connect Google Groups to the tester
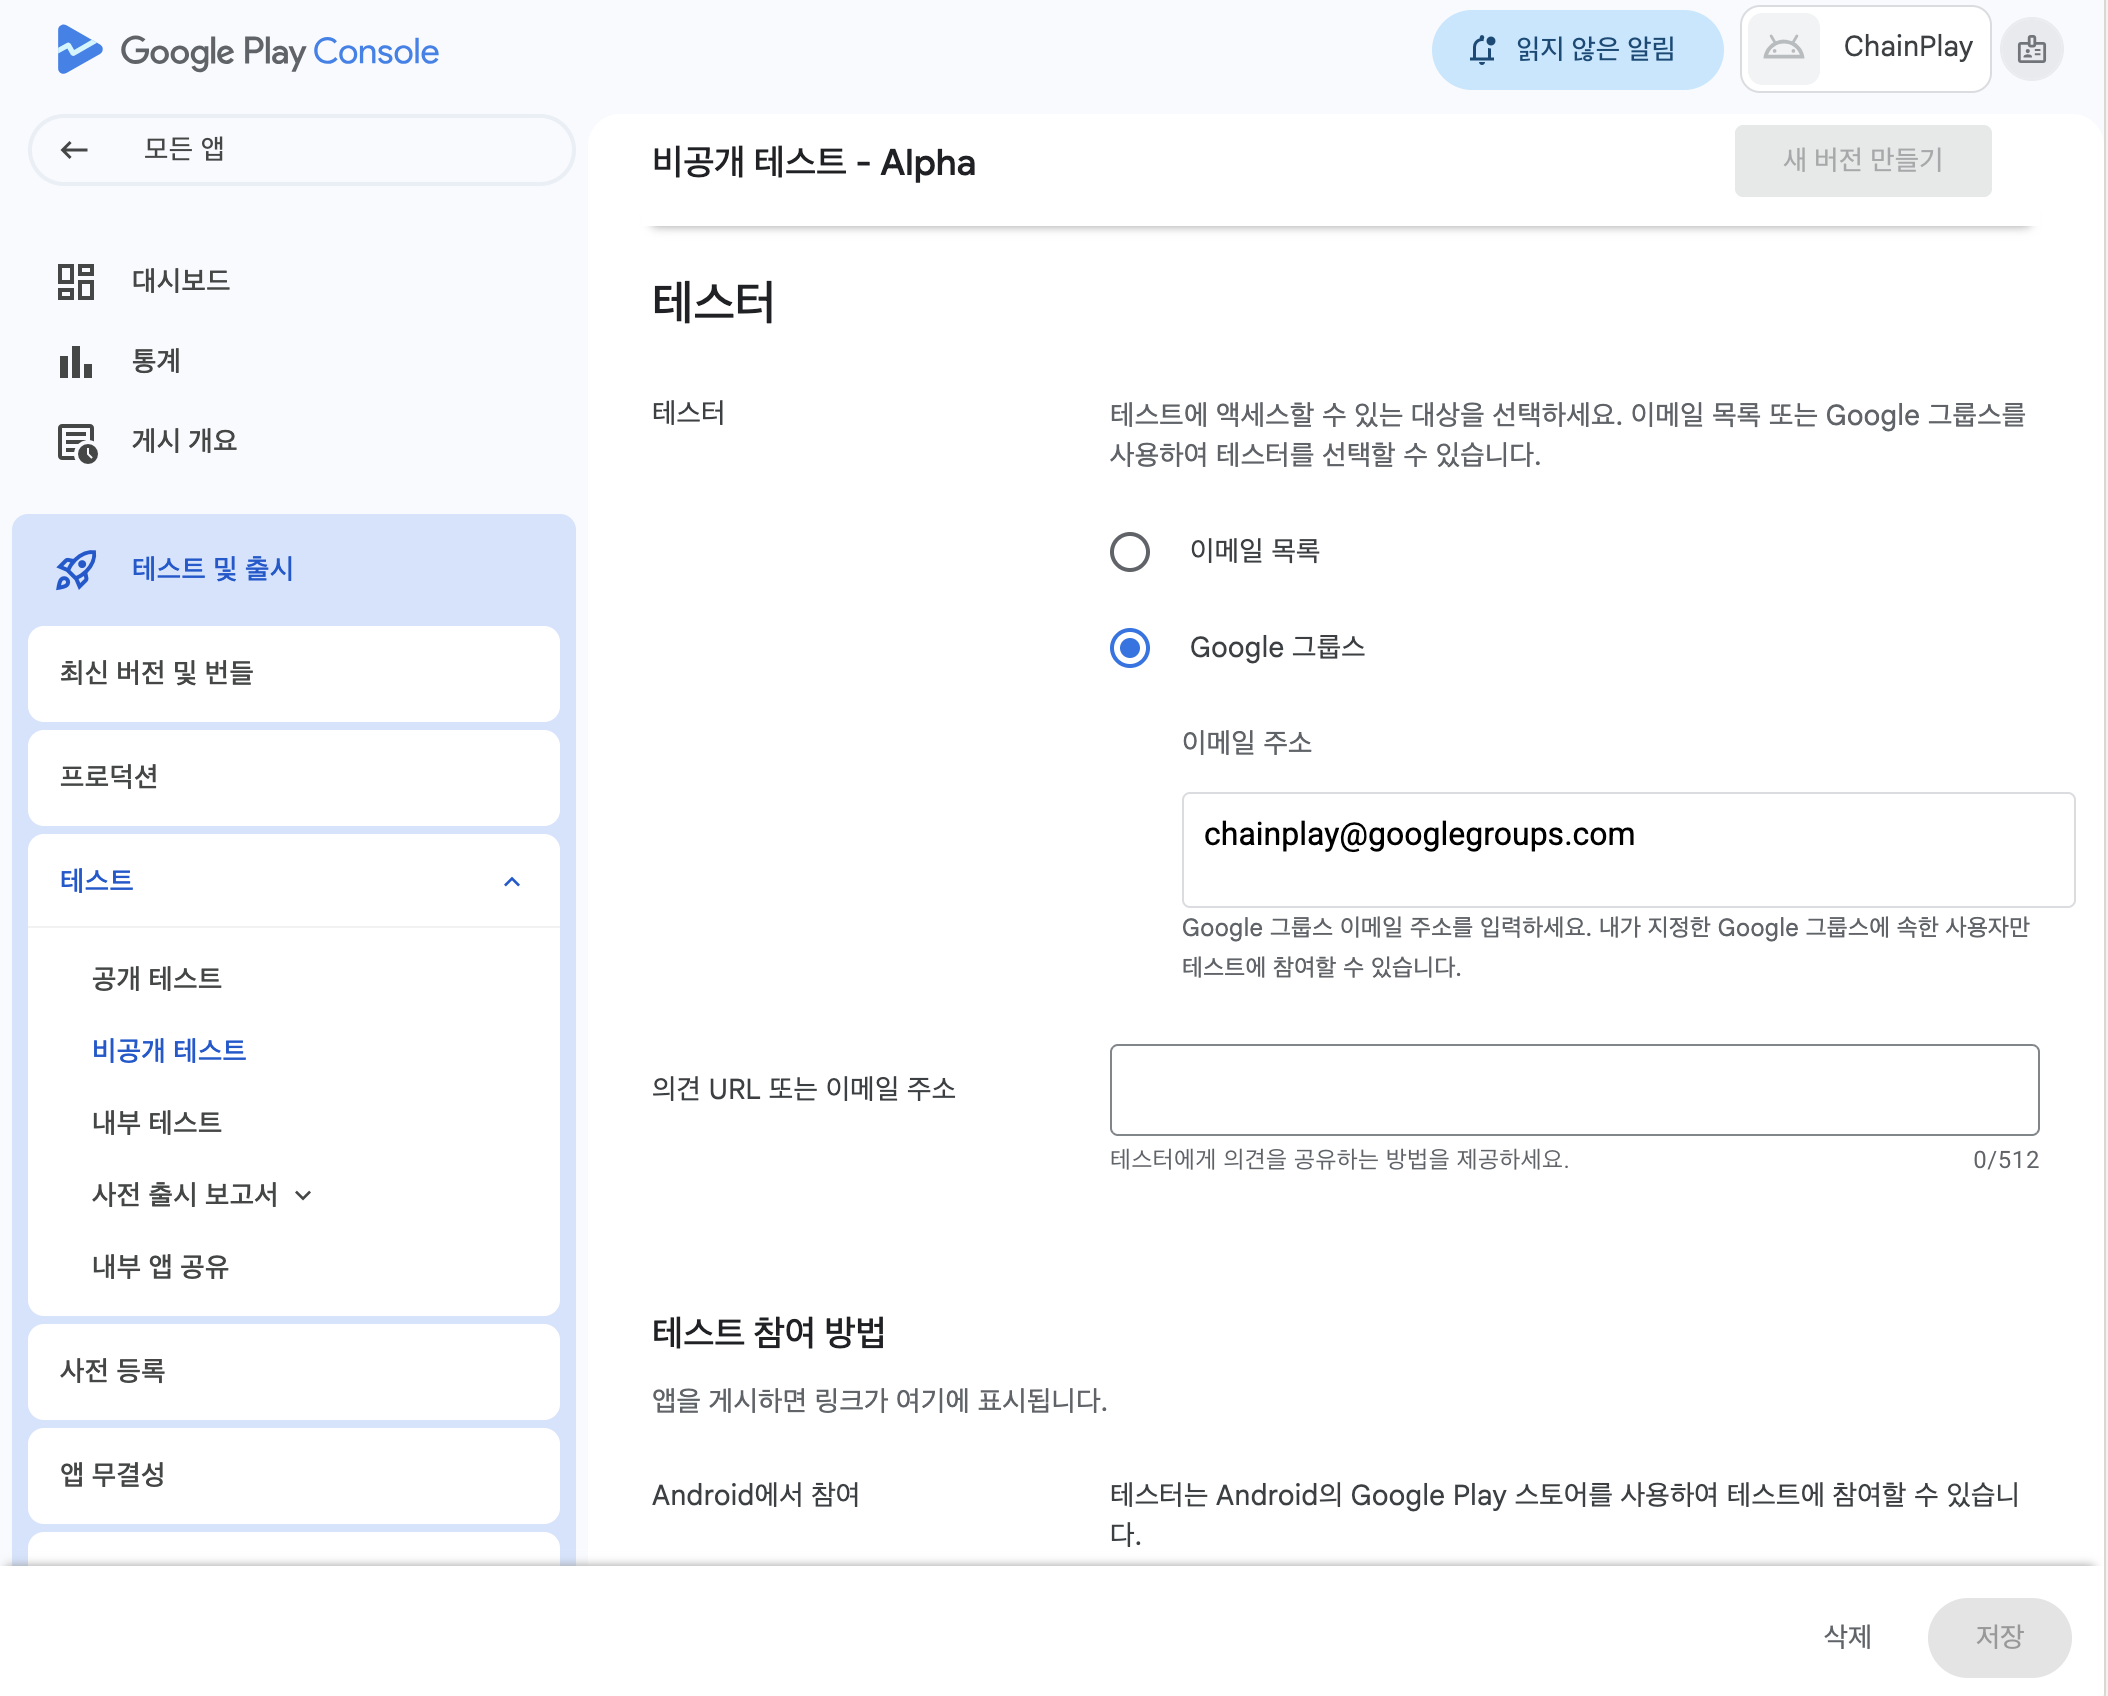
In the tester settings, select Google Groups and add the group email you copied.
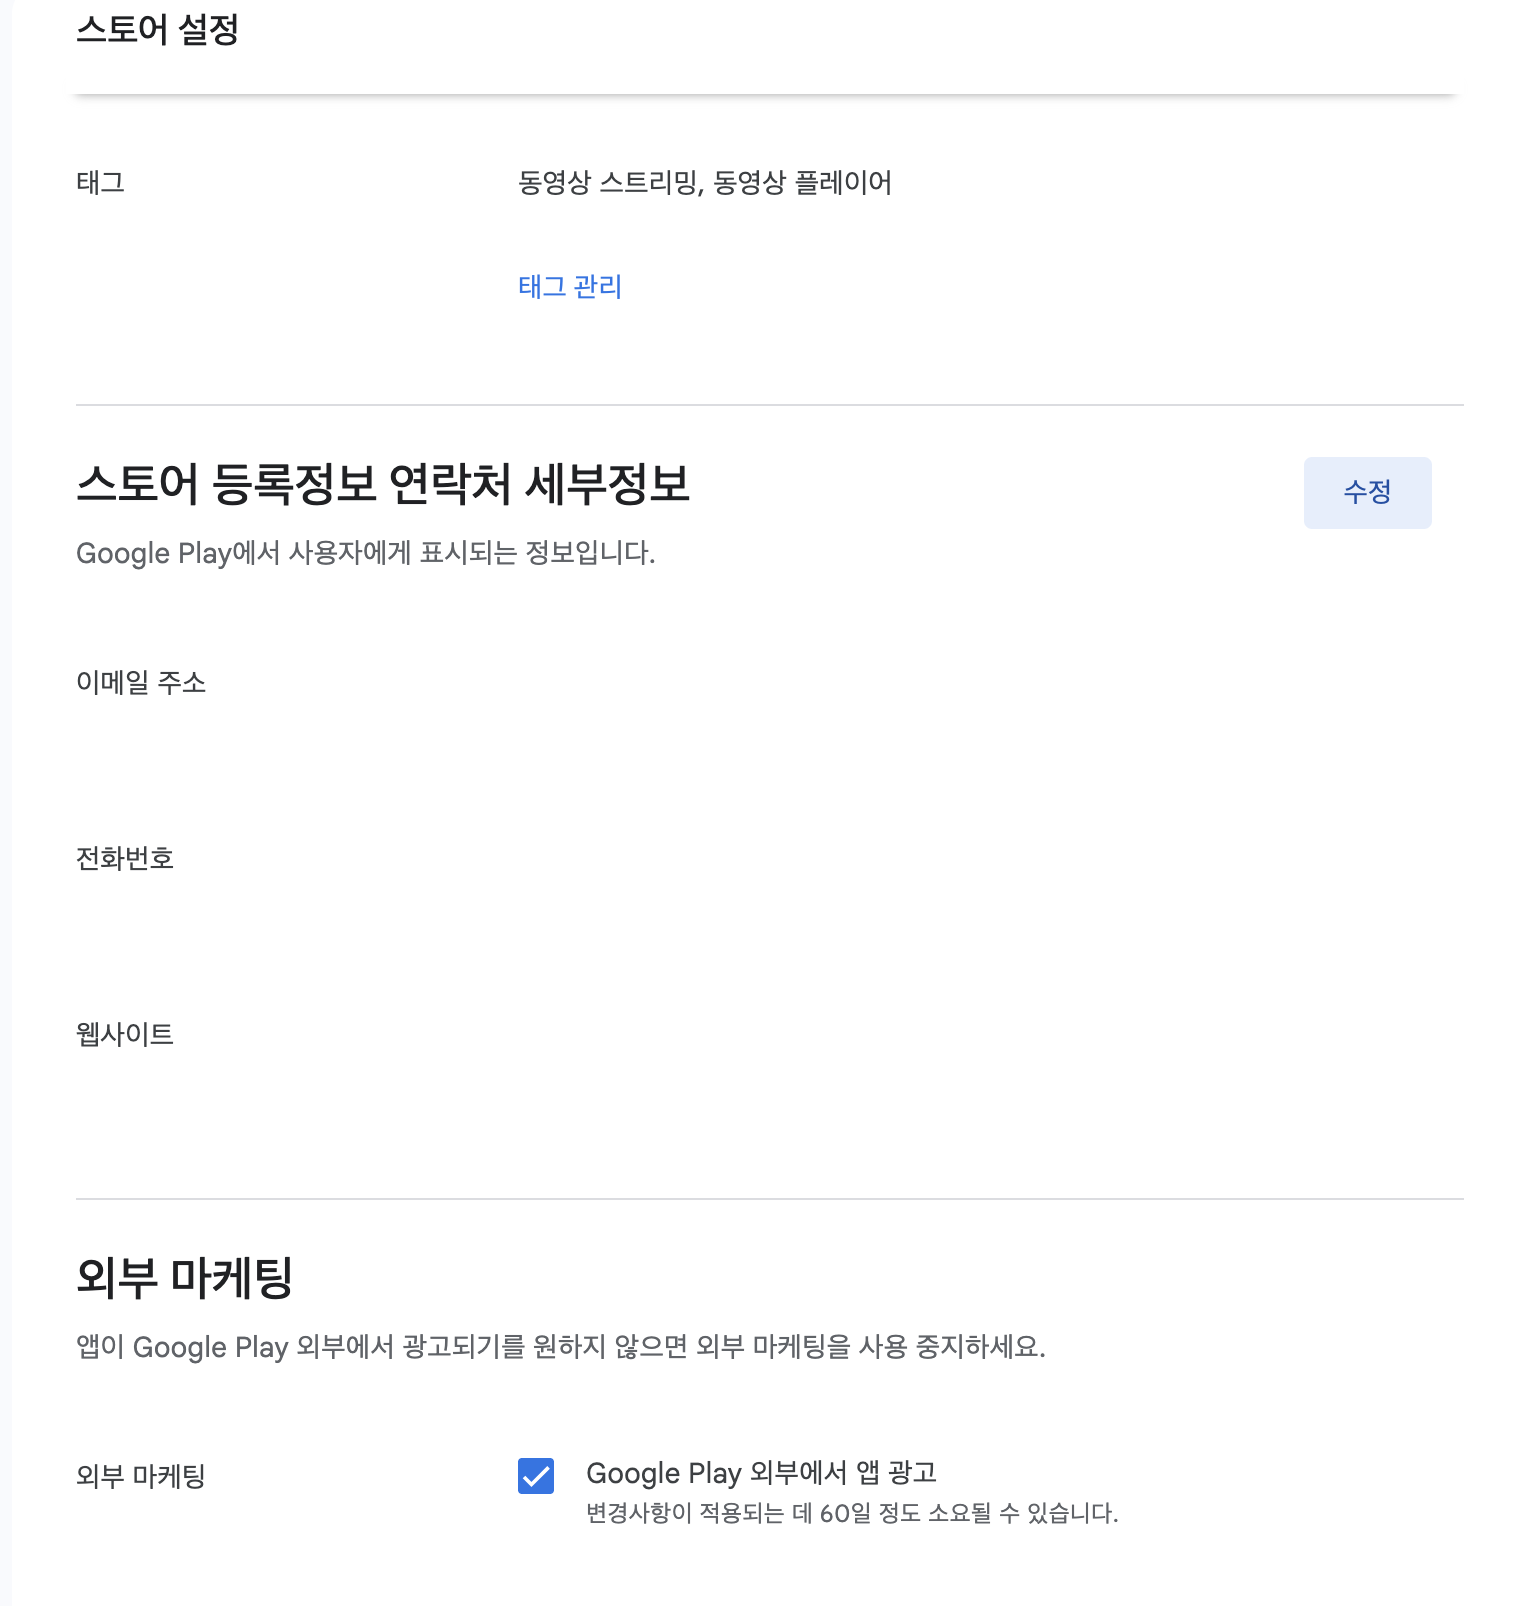
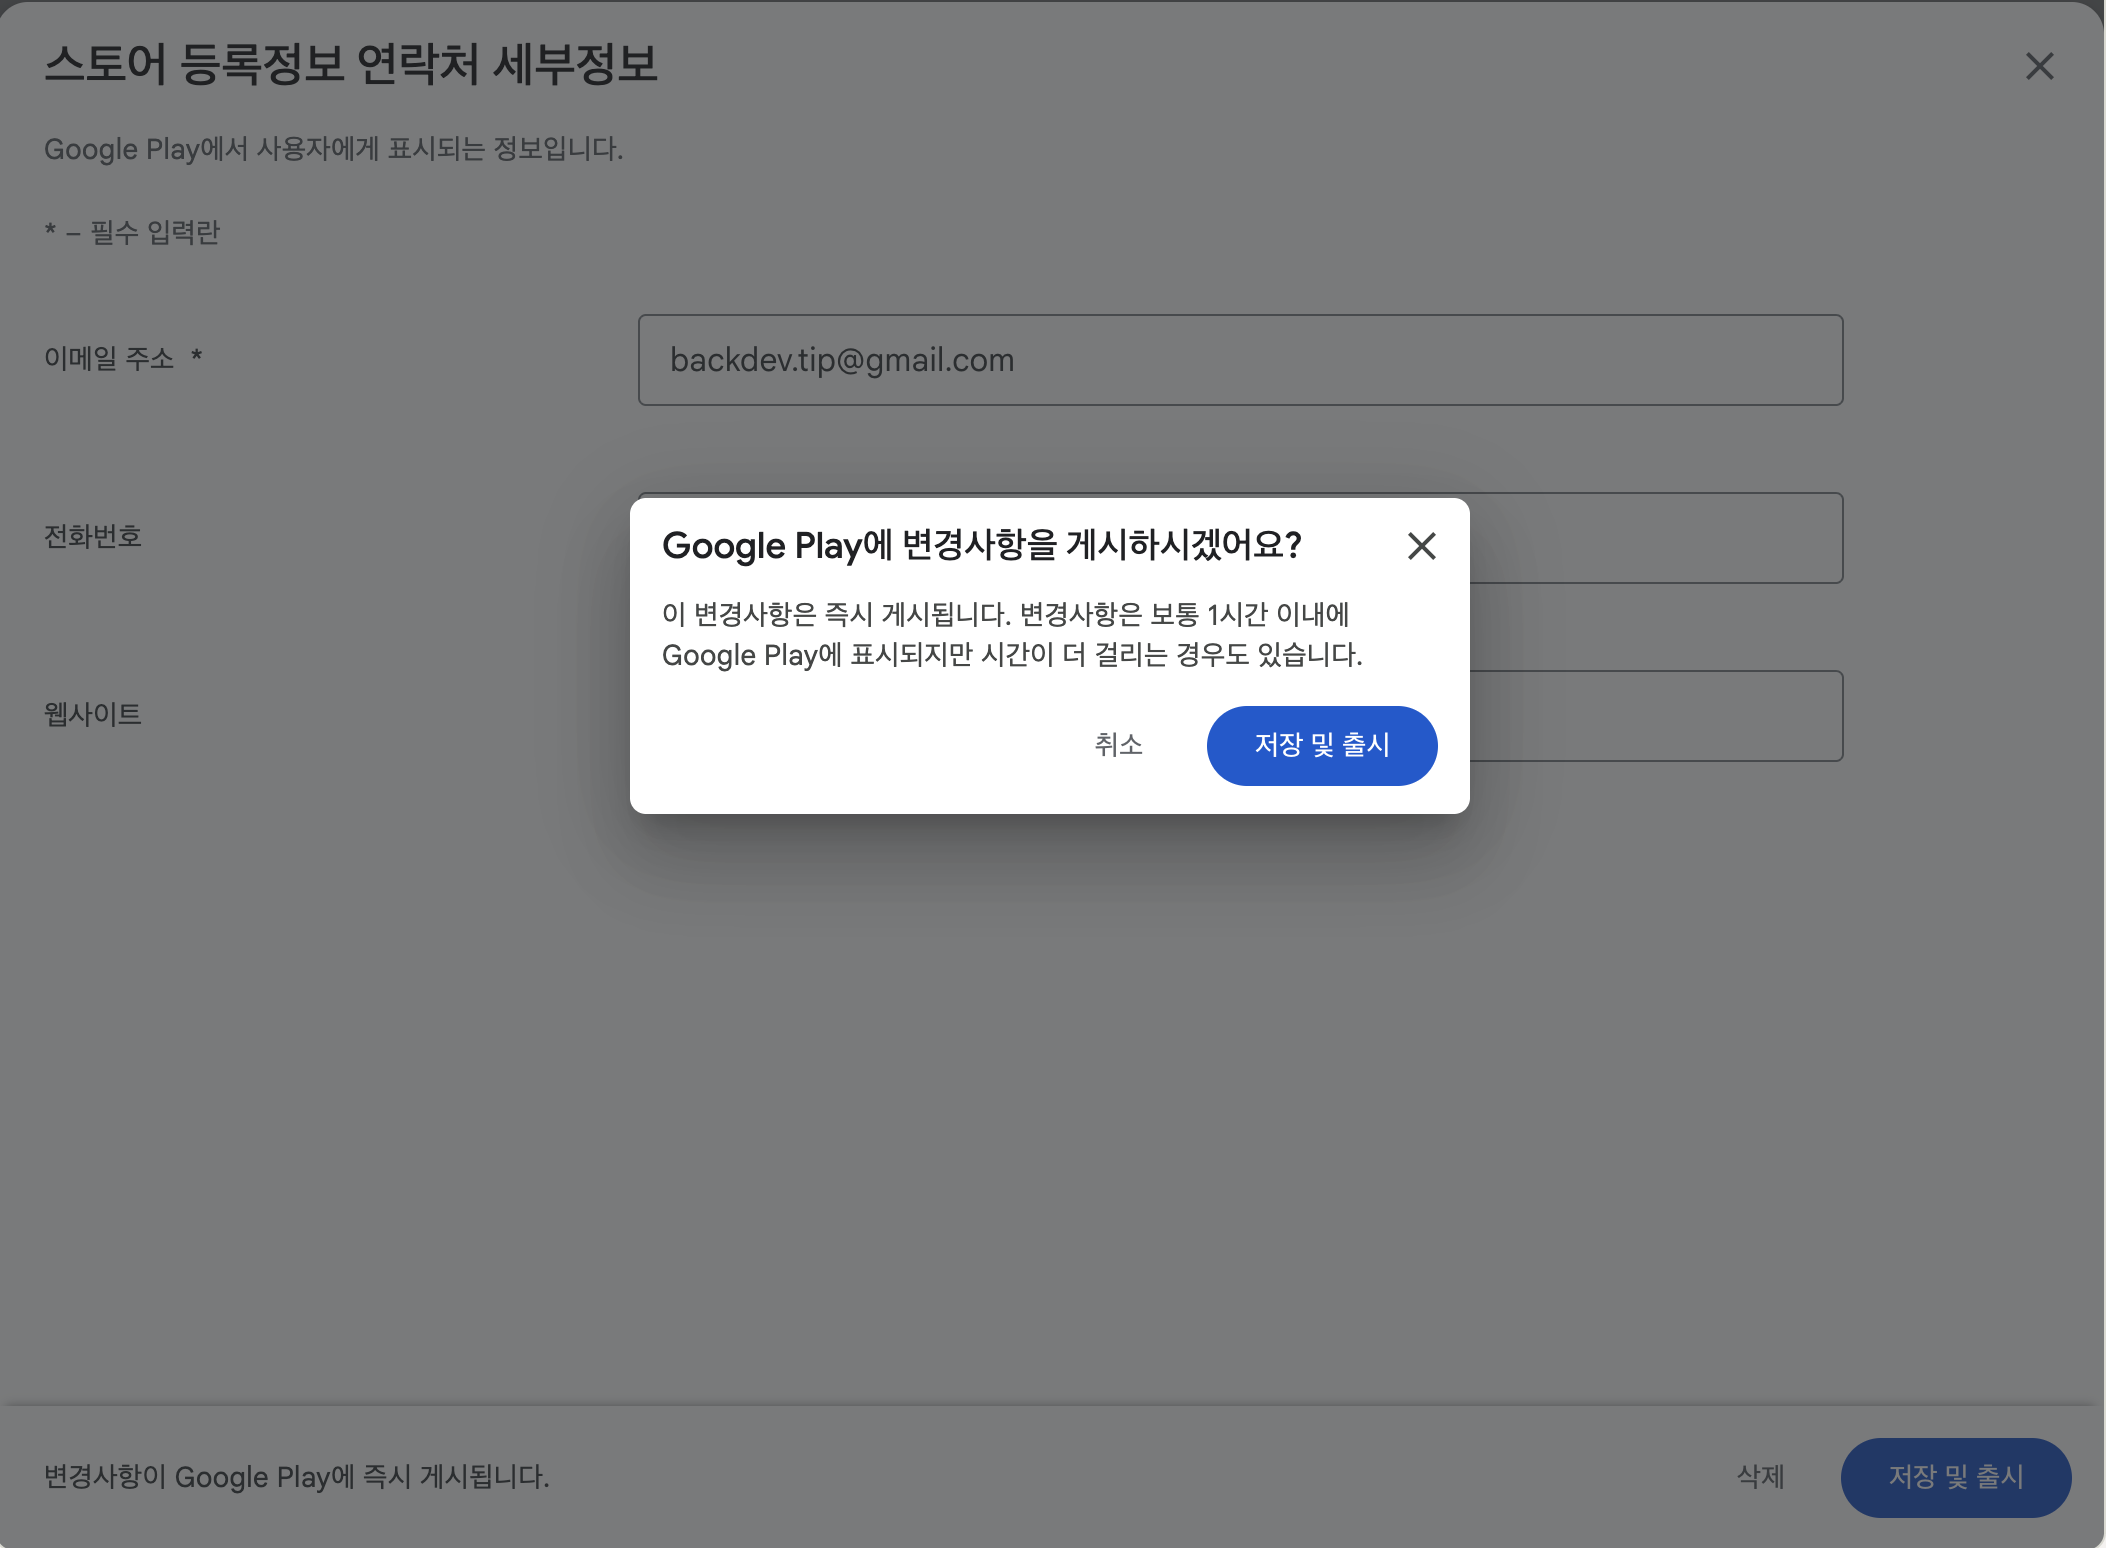
Step 6 - Register your comment URL/email
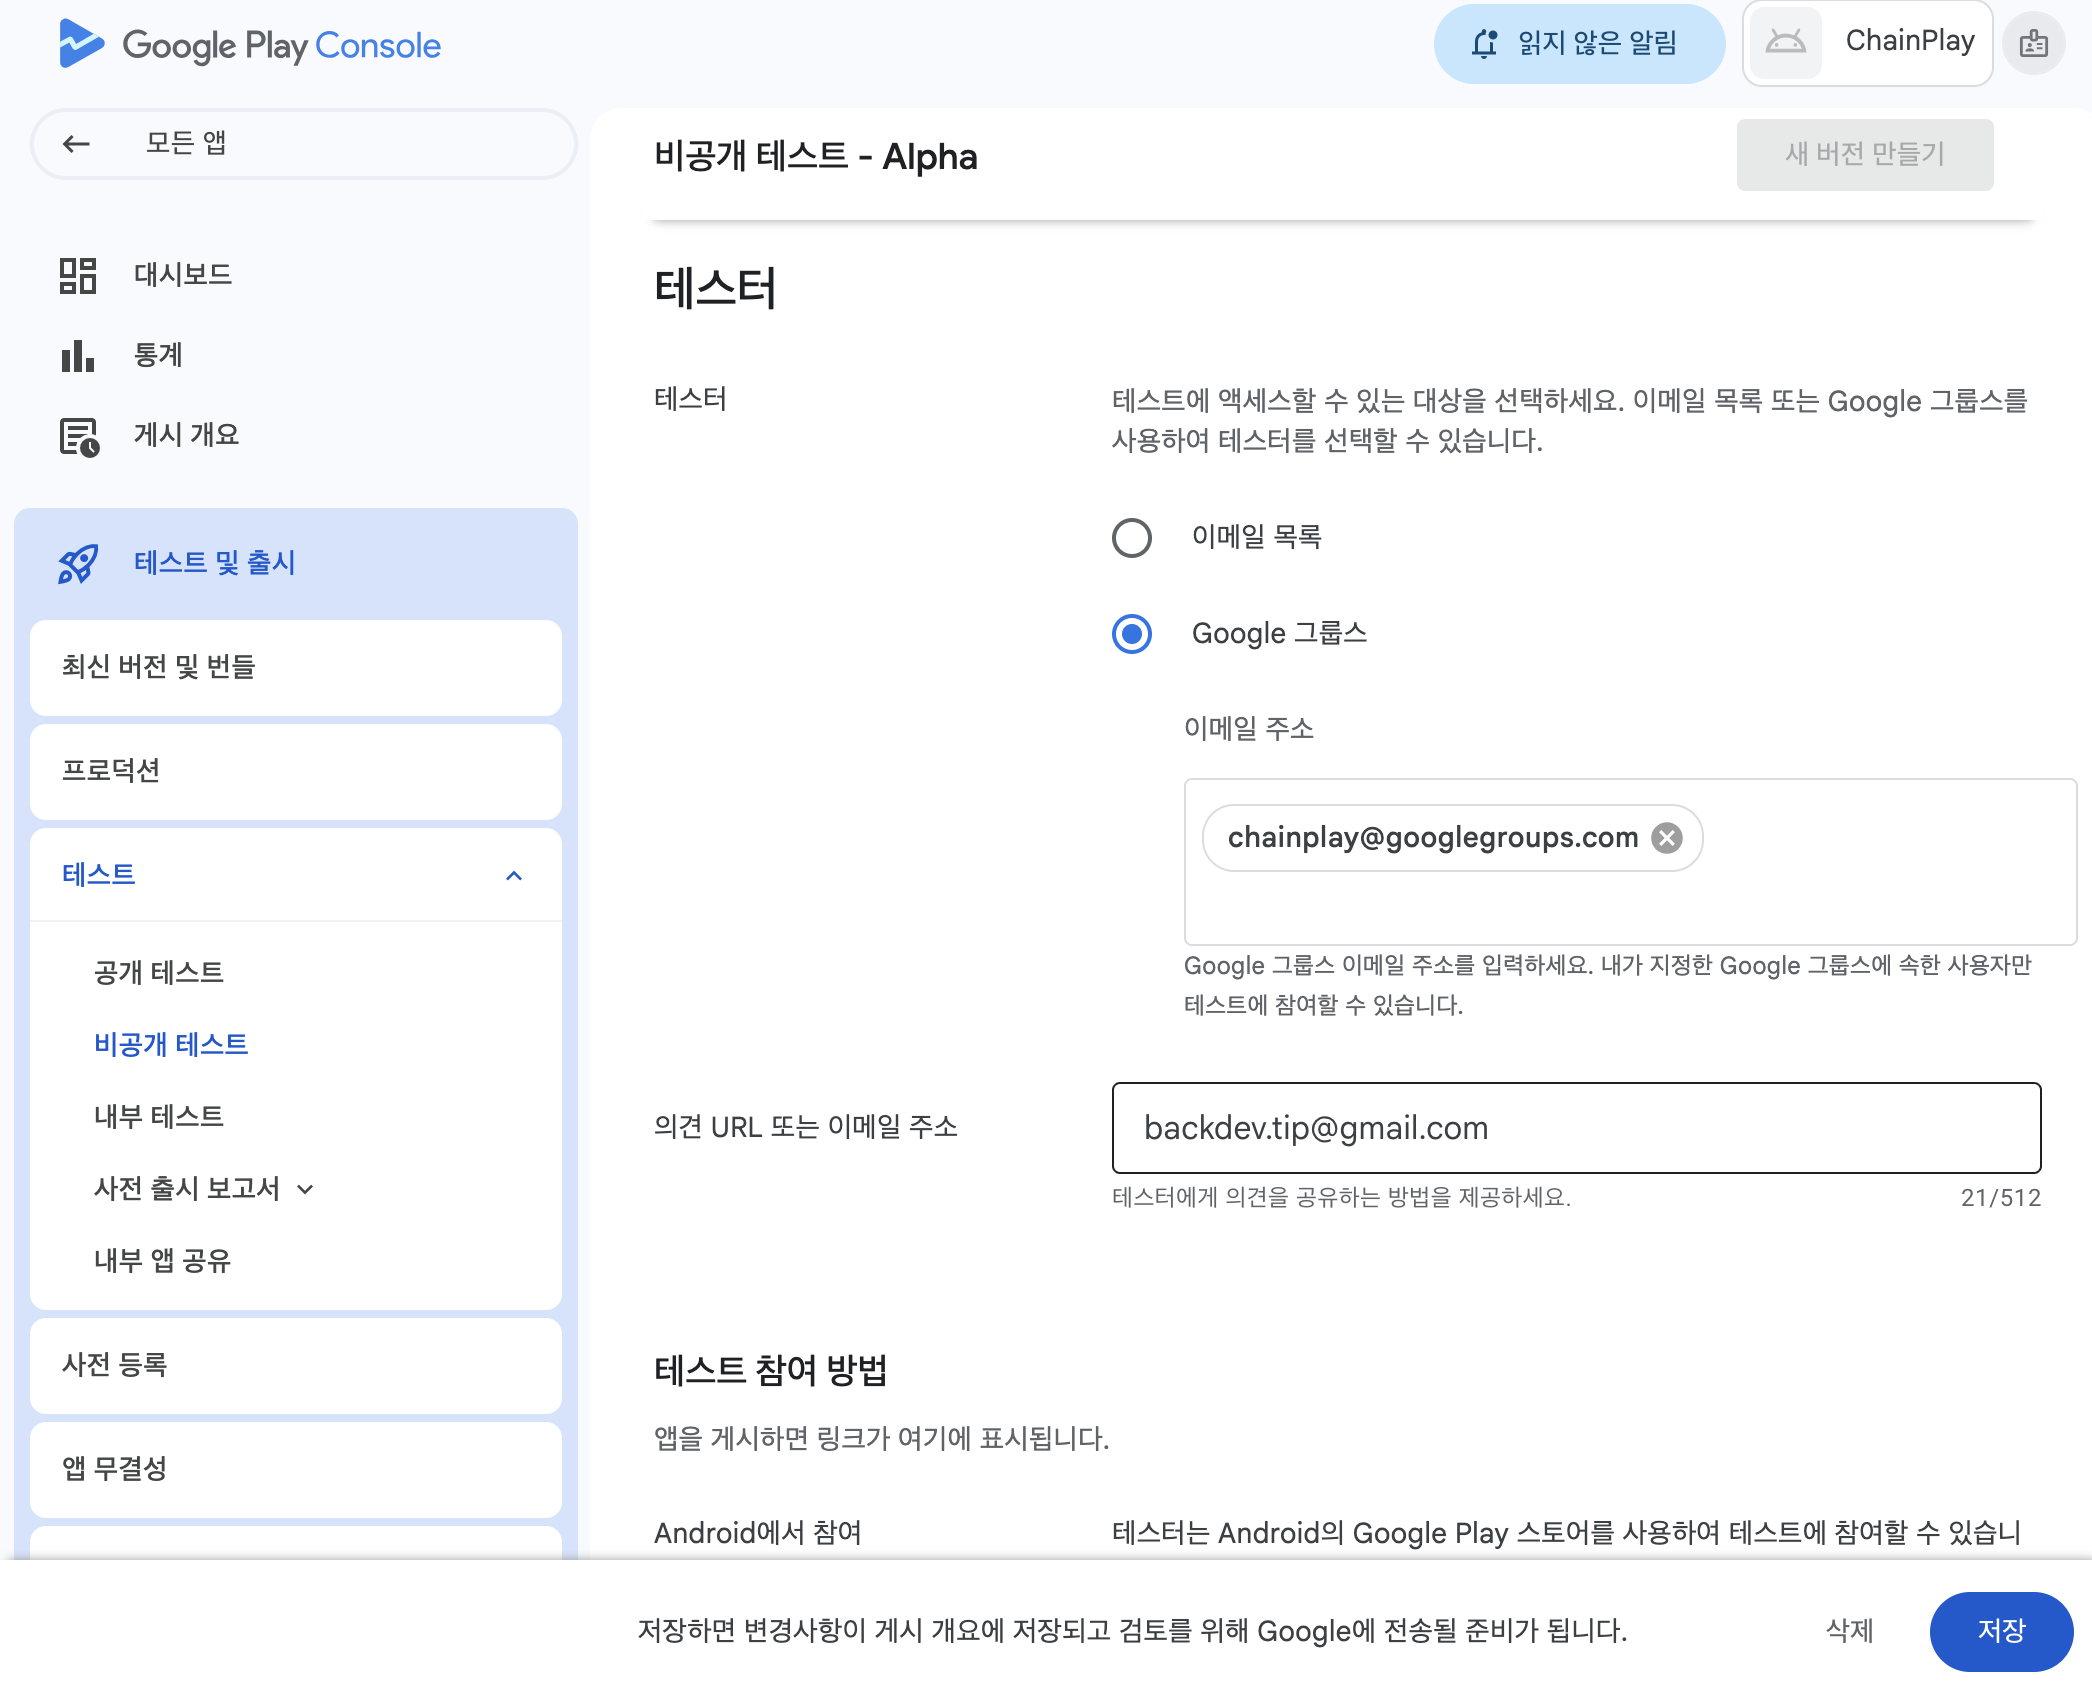
We recommend that you create and manage a separate email account for your store, as you will receive more emails about your app than you think.
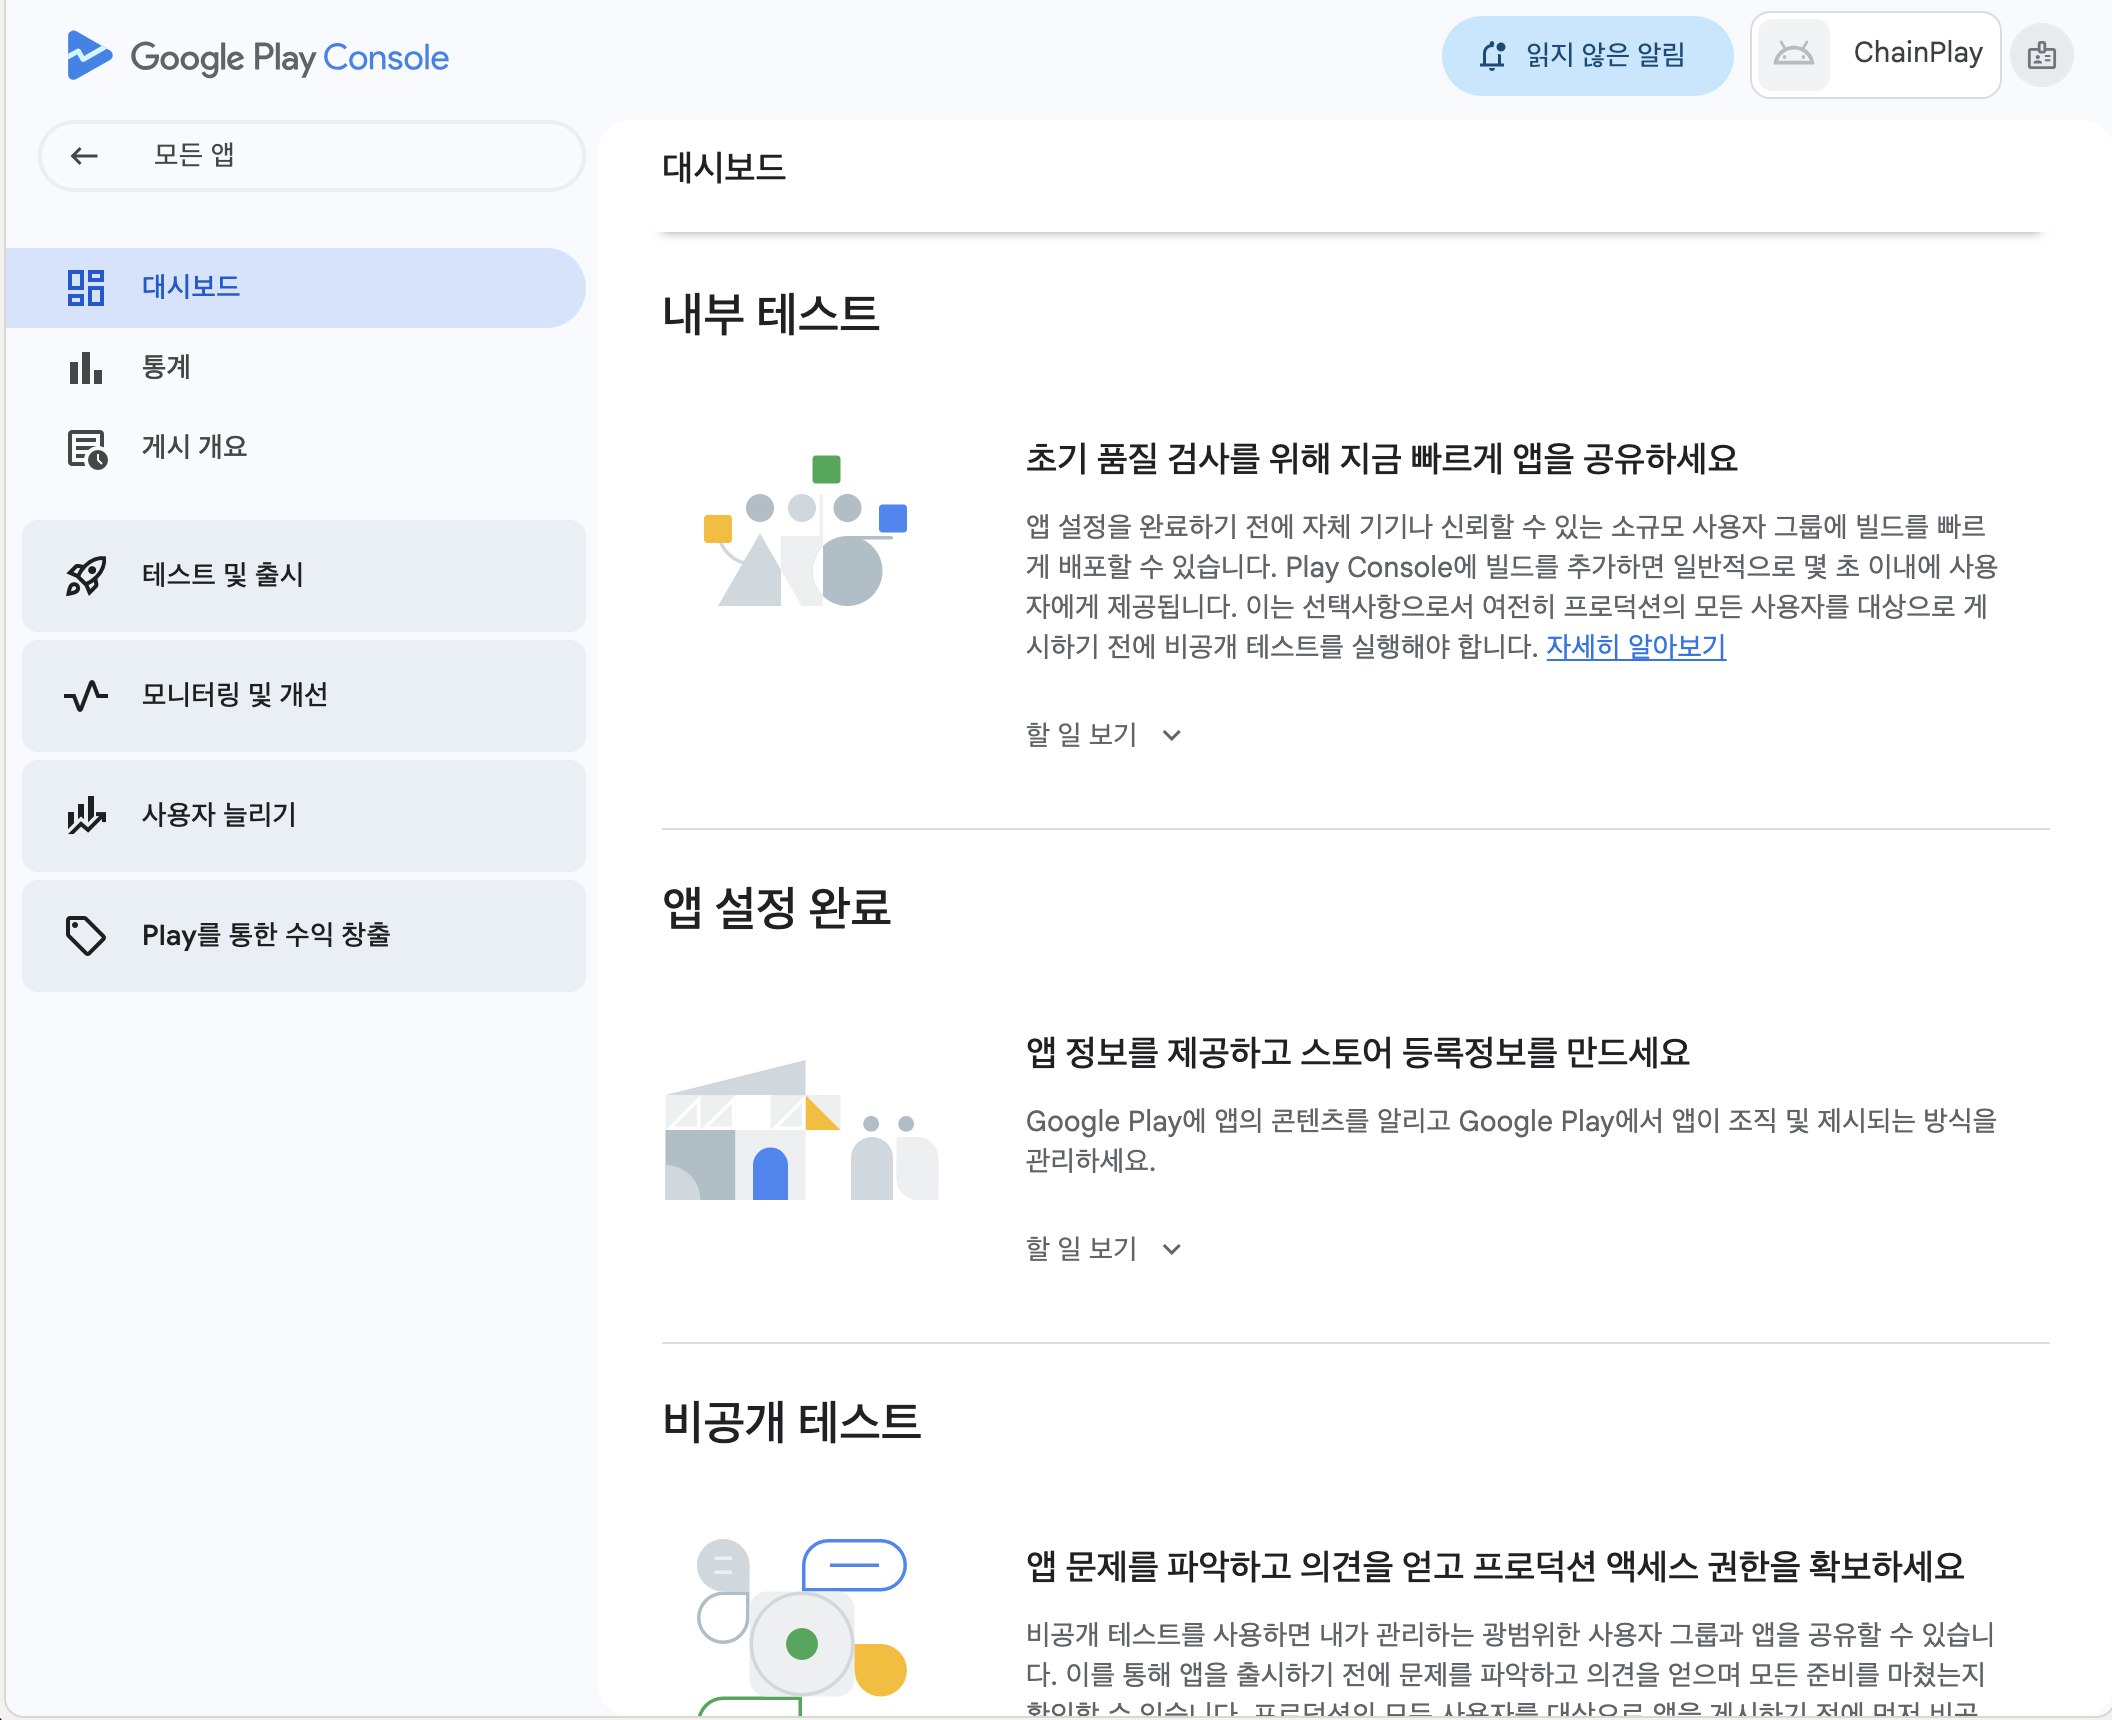
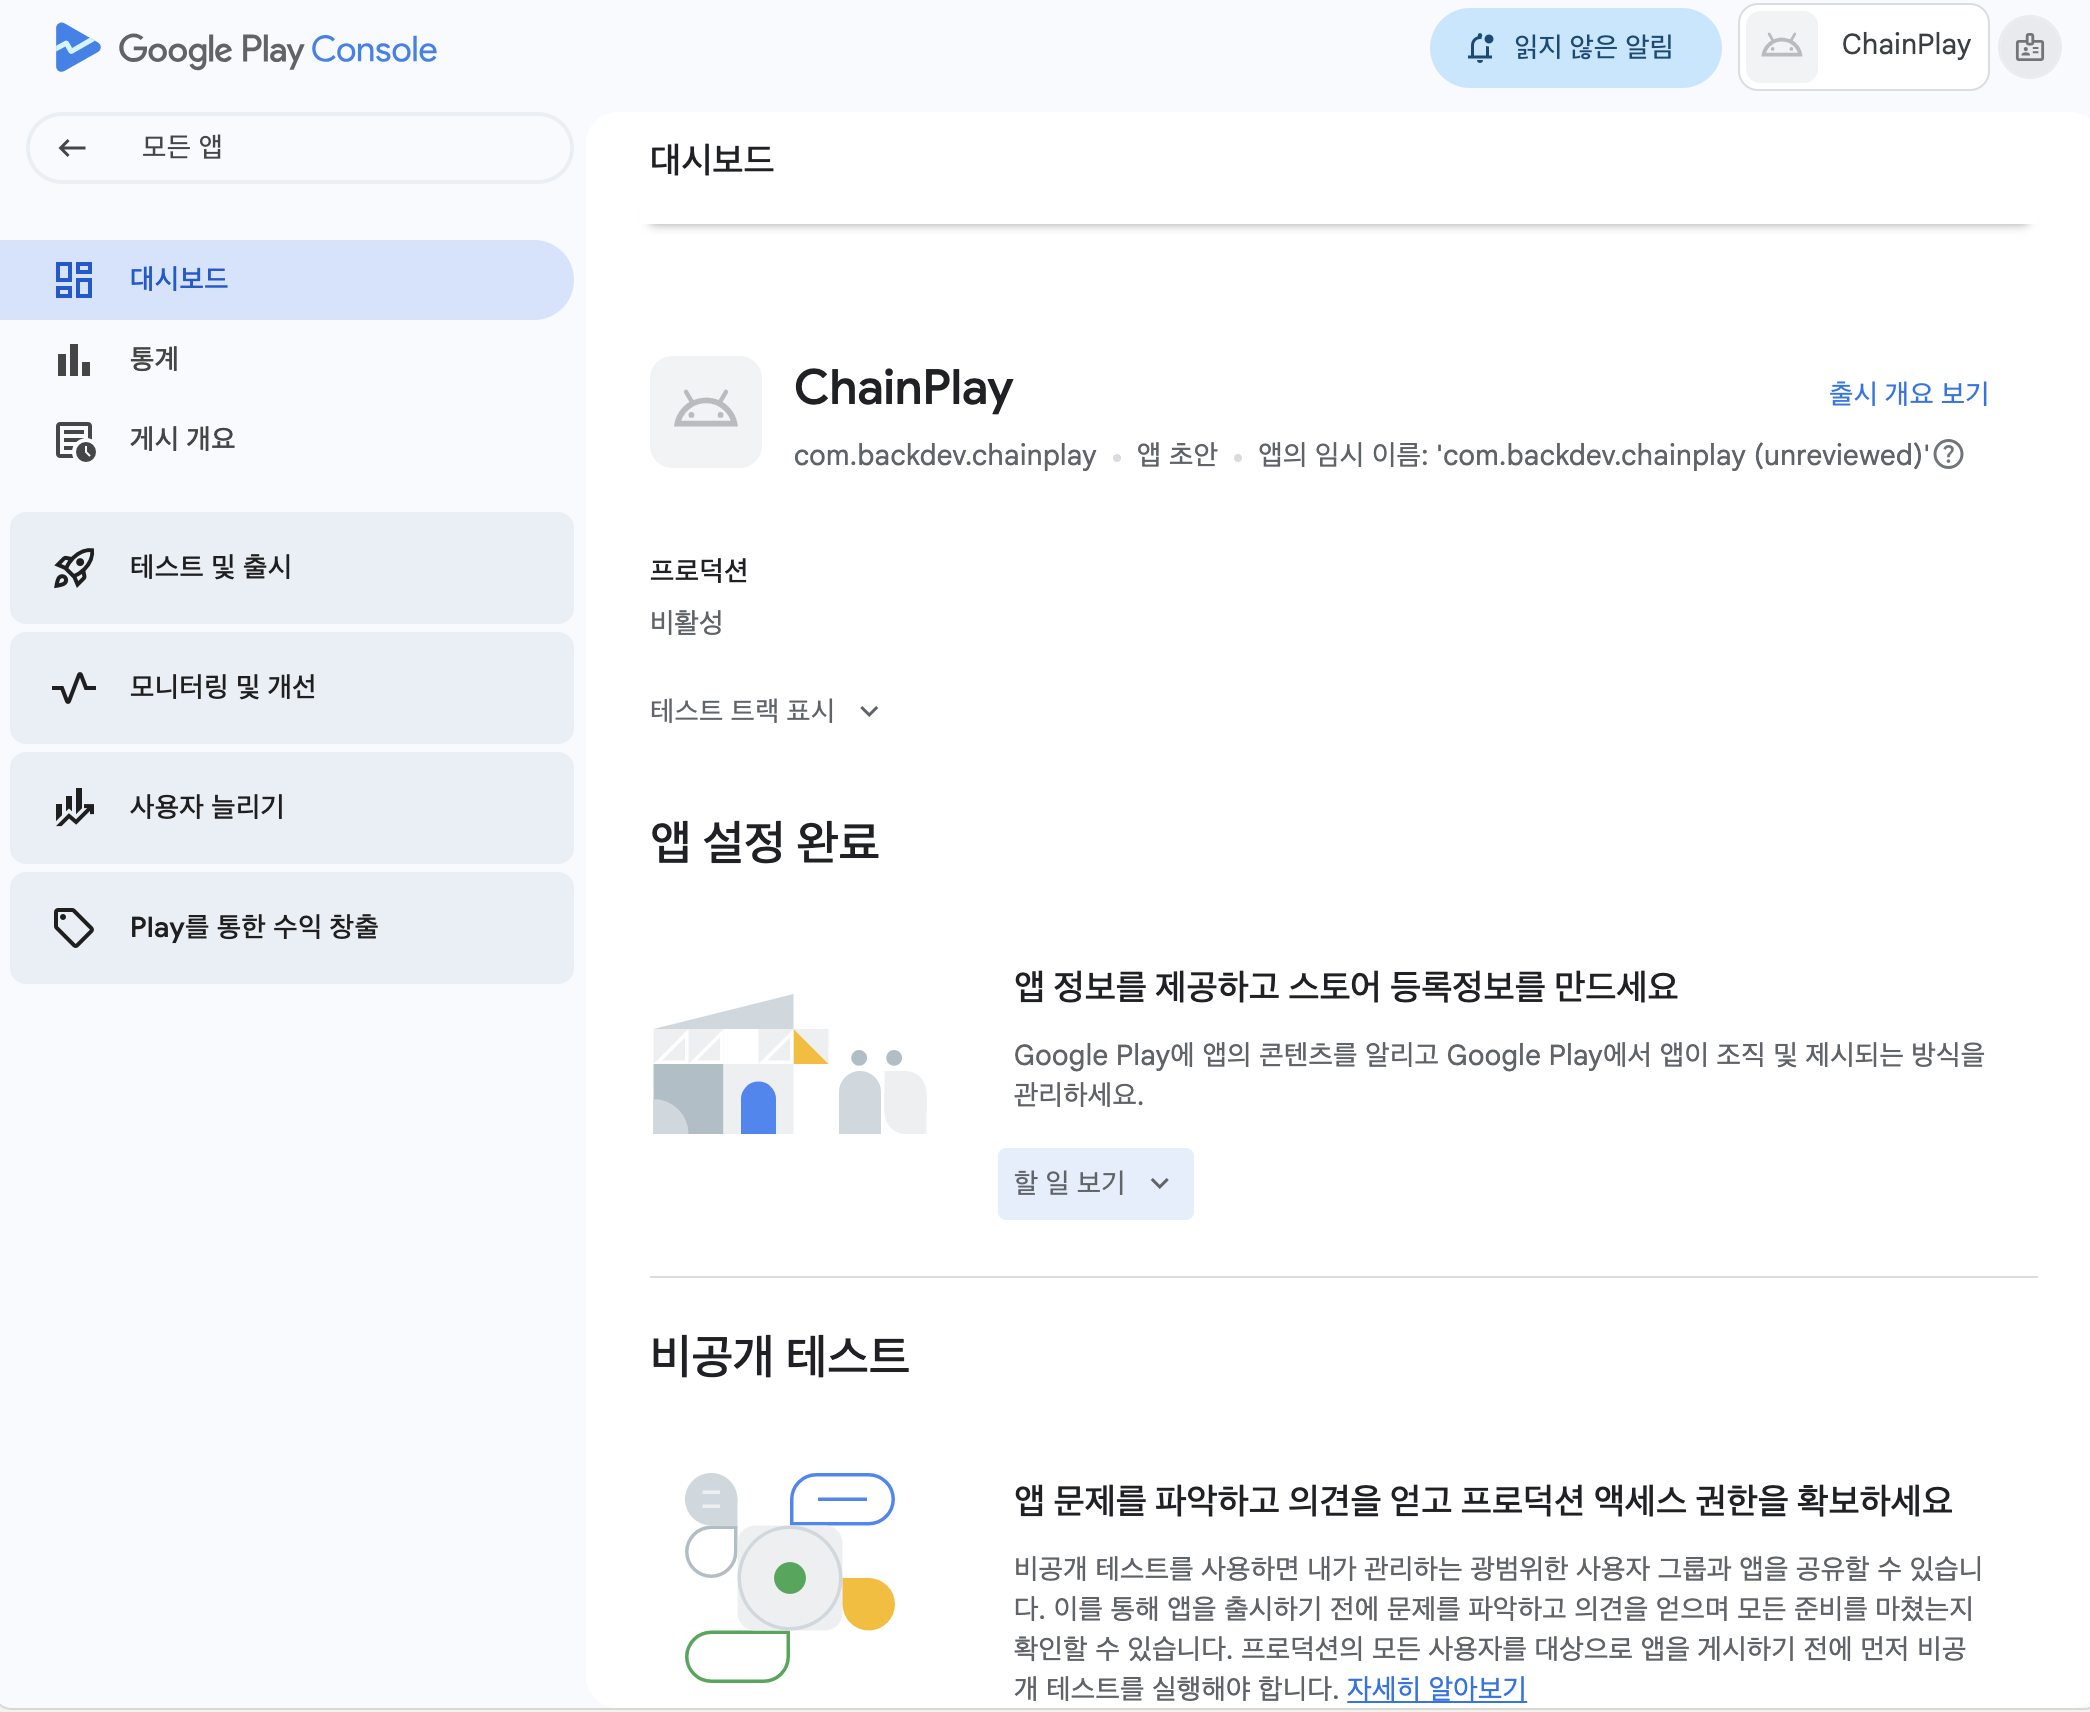
Step 7 - Process your to-do list
You should expand the "To Do View" of your dashboard and complete the items below one by one.
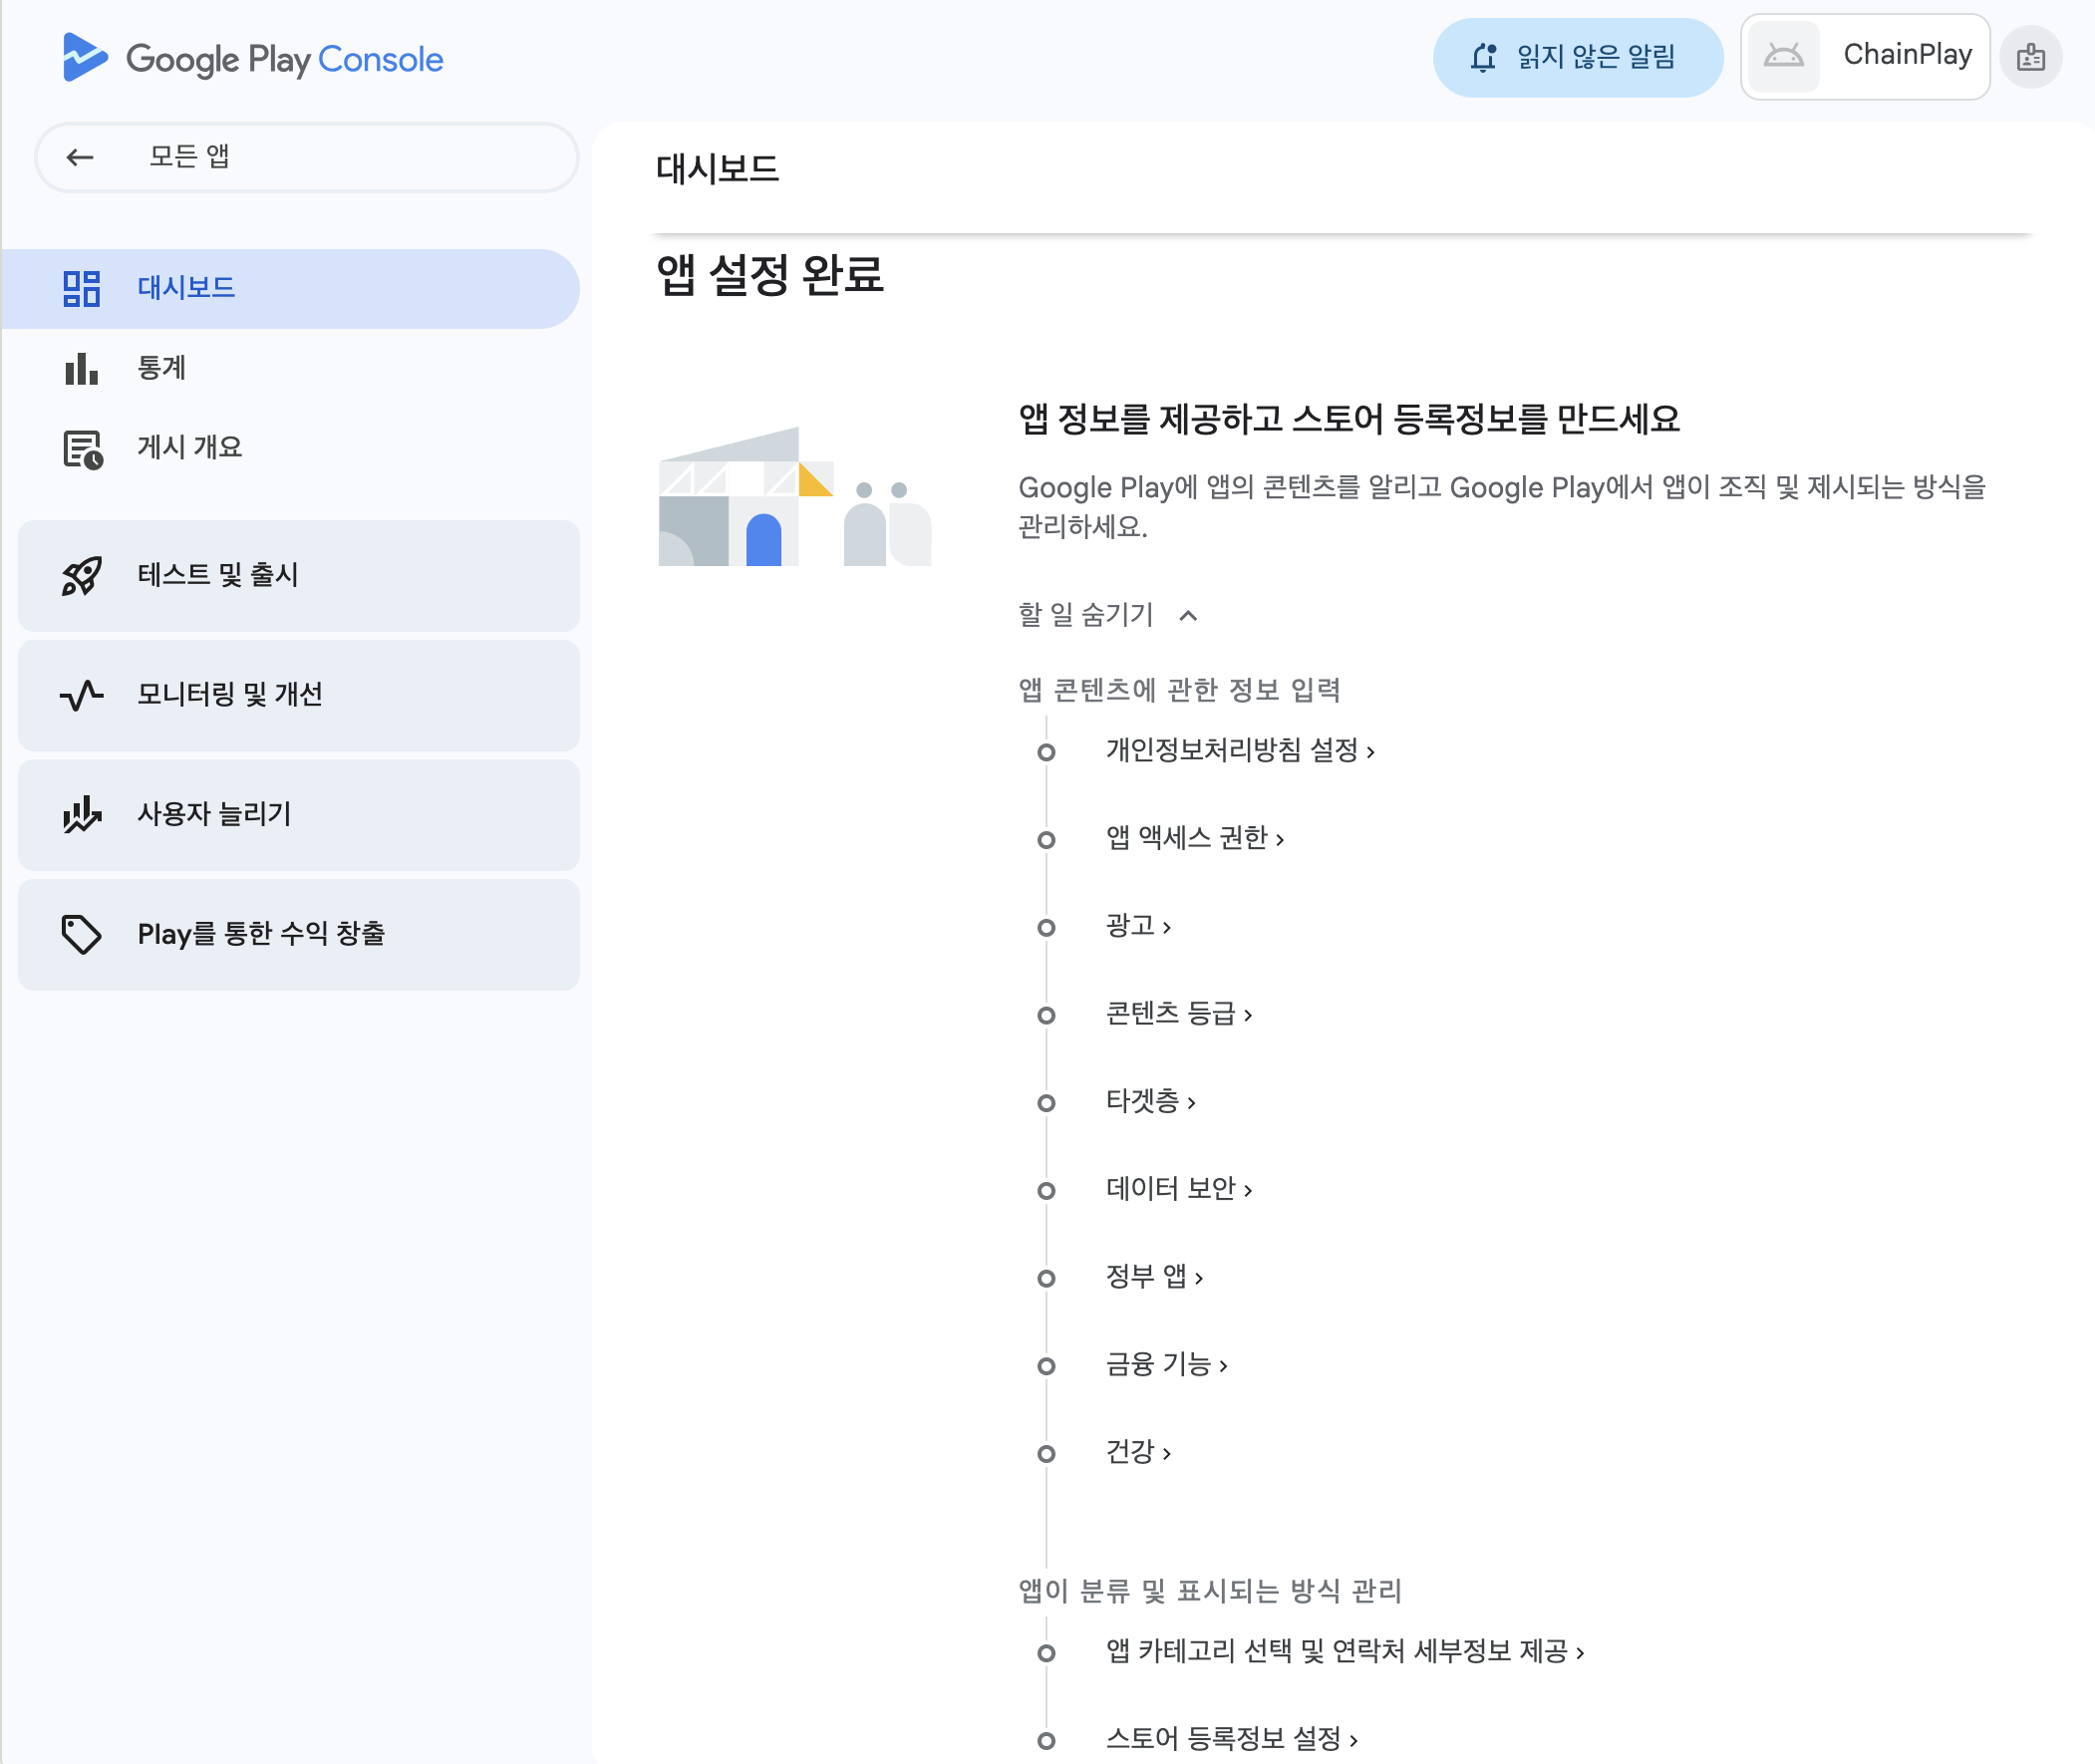
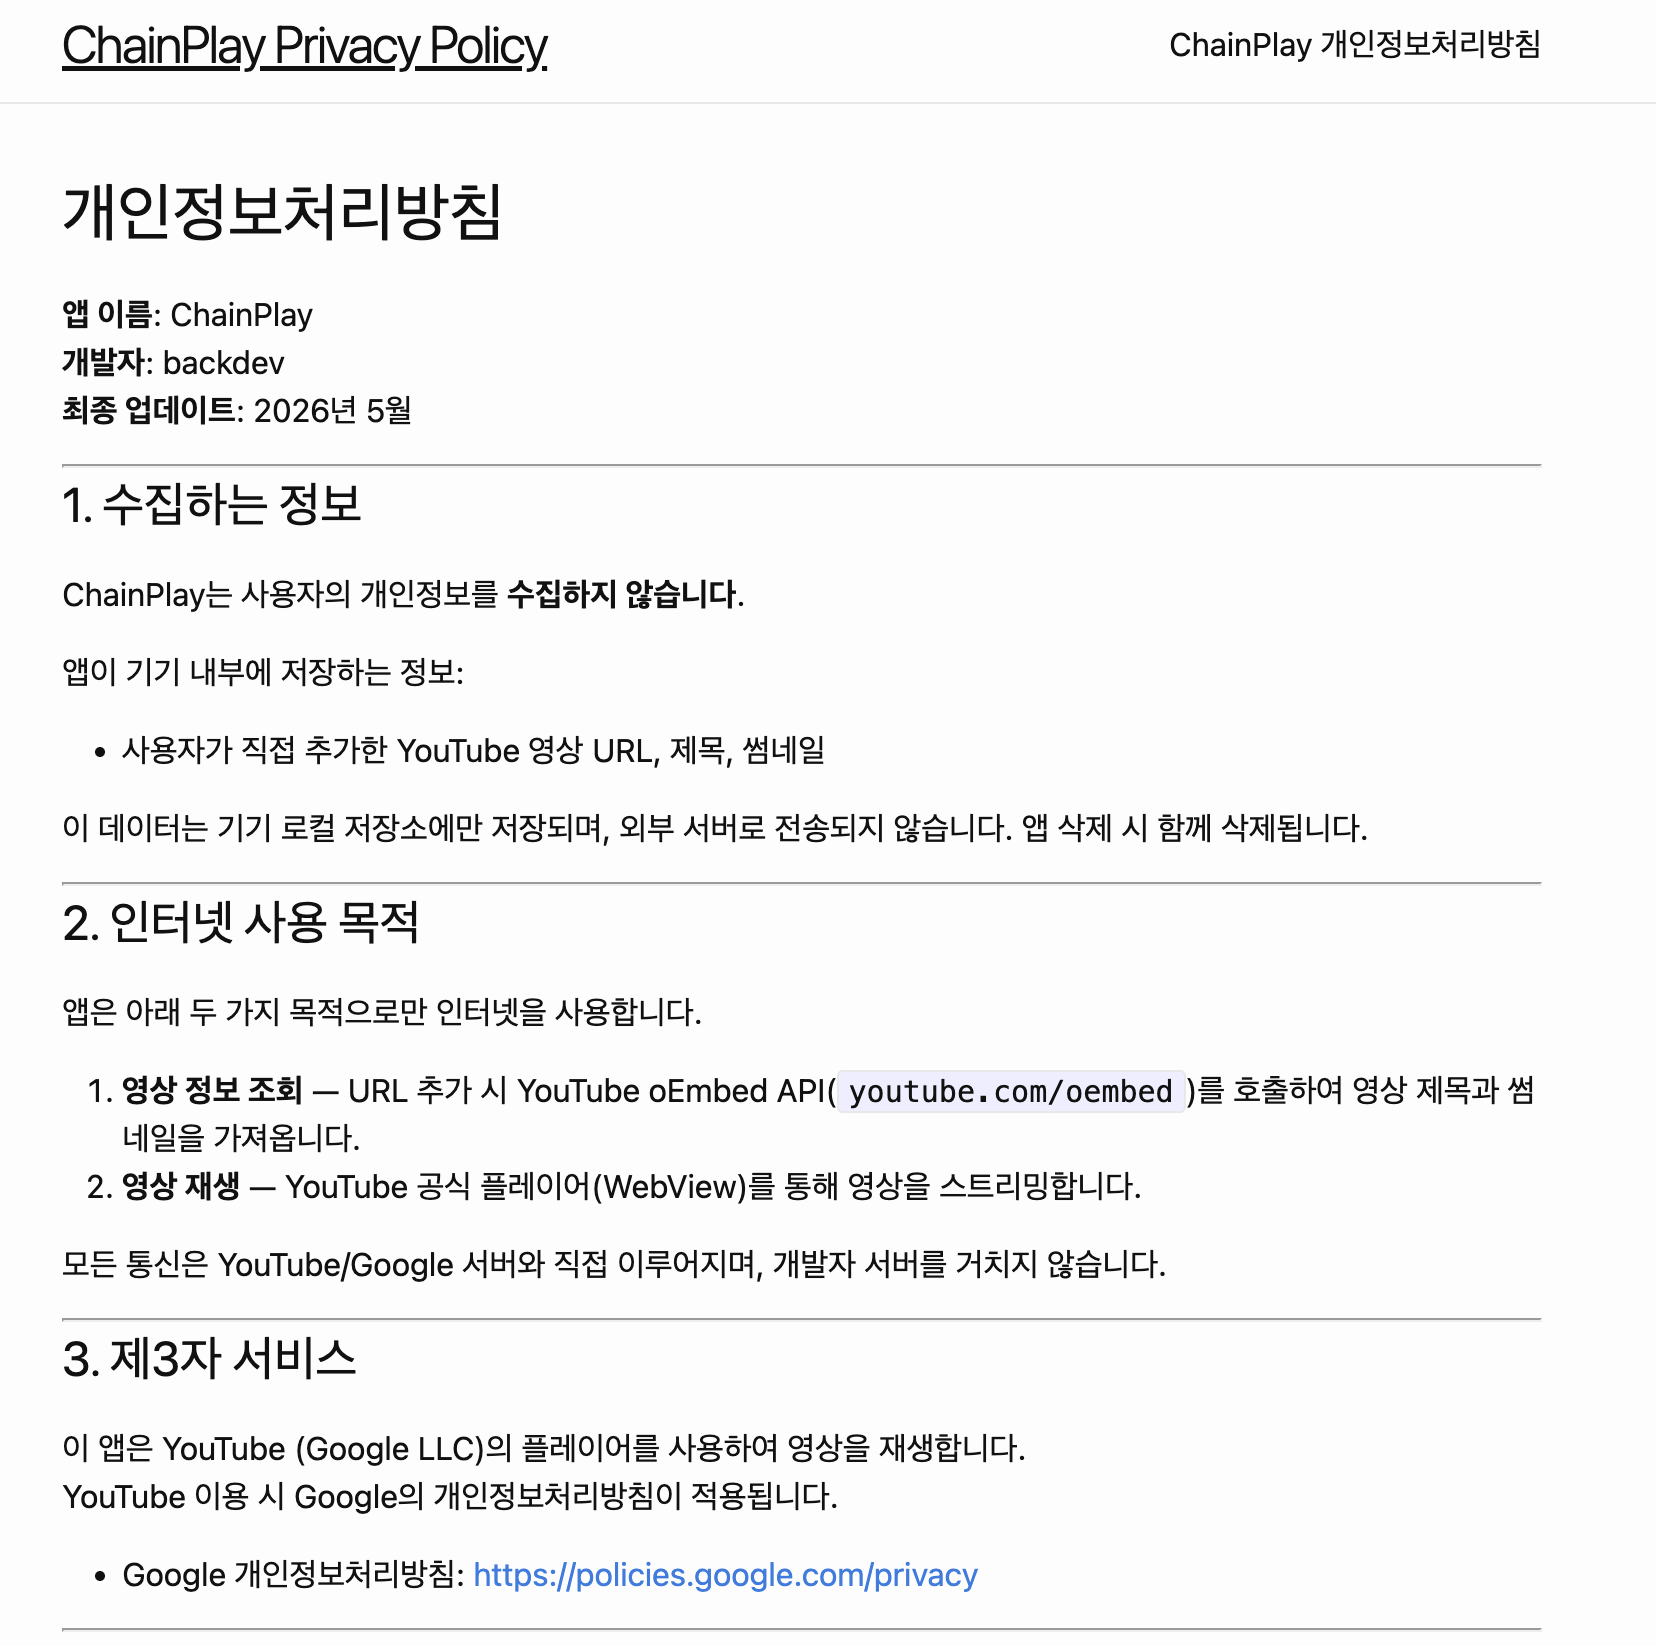
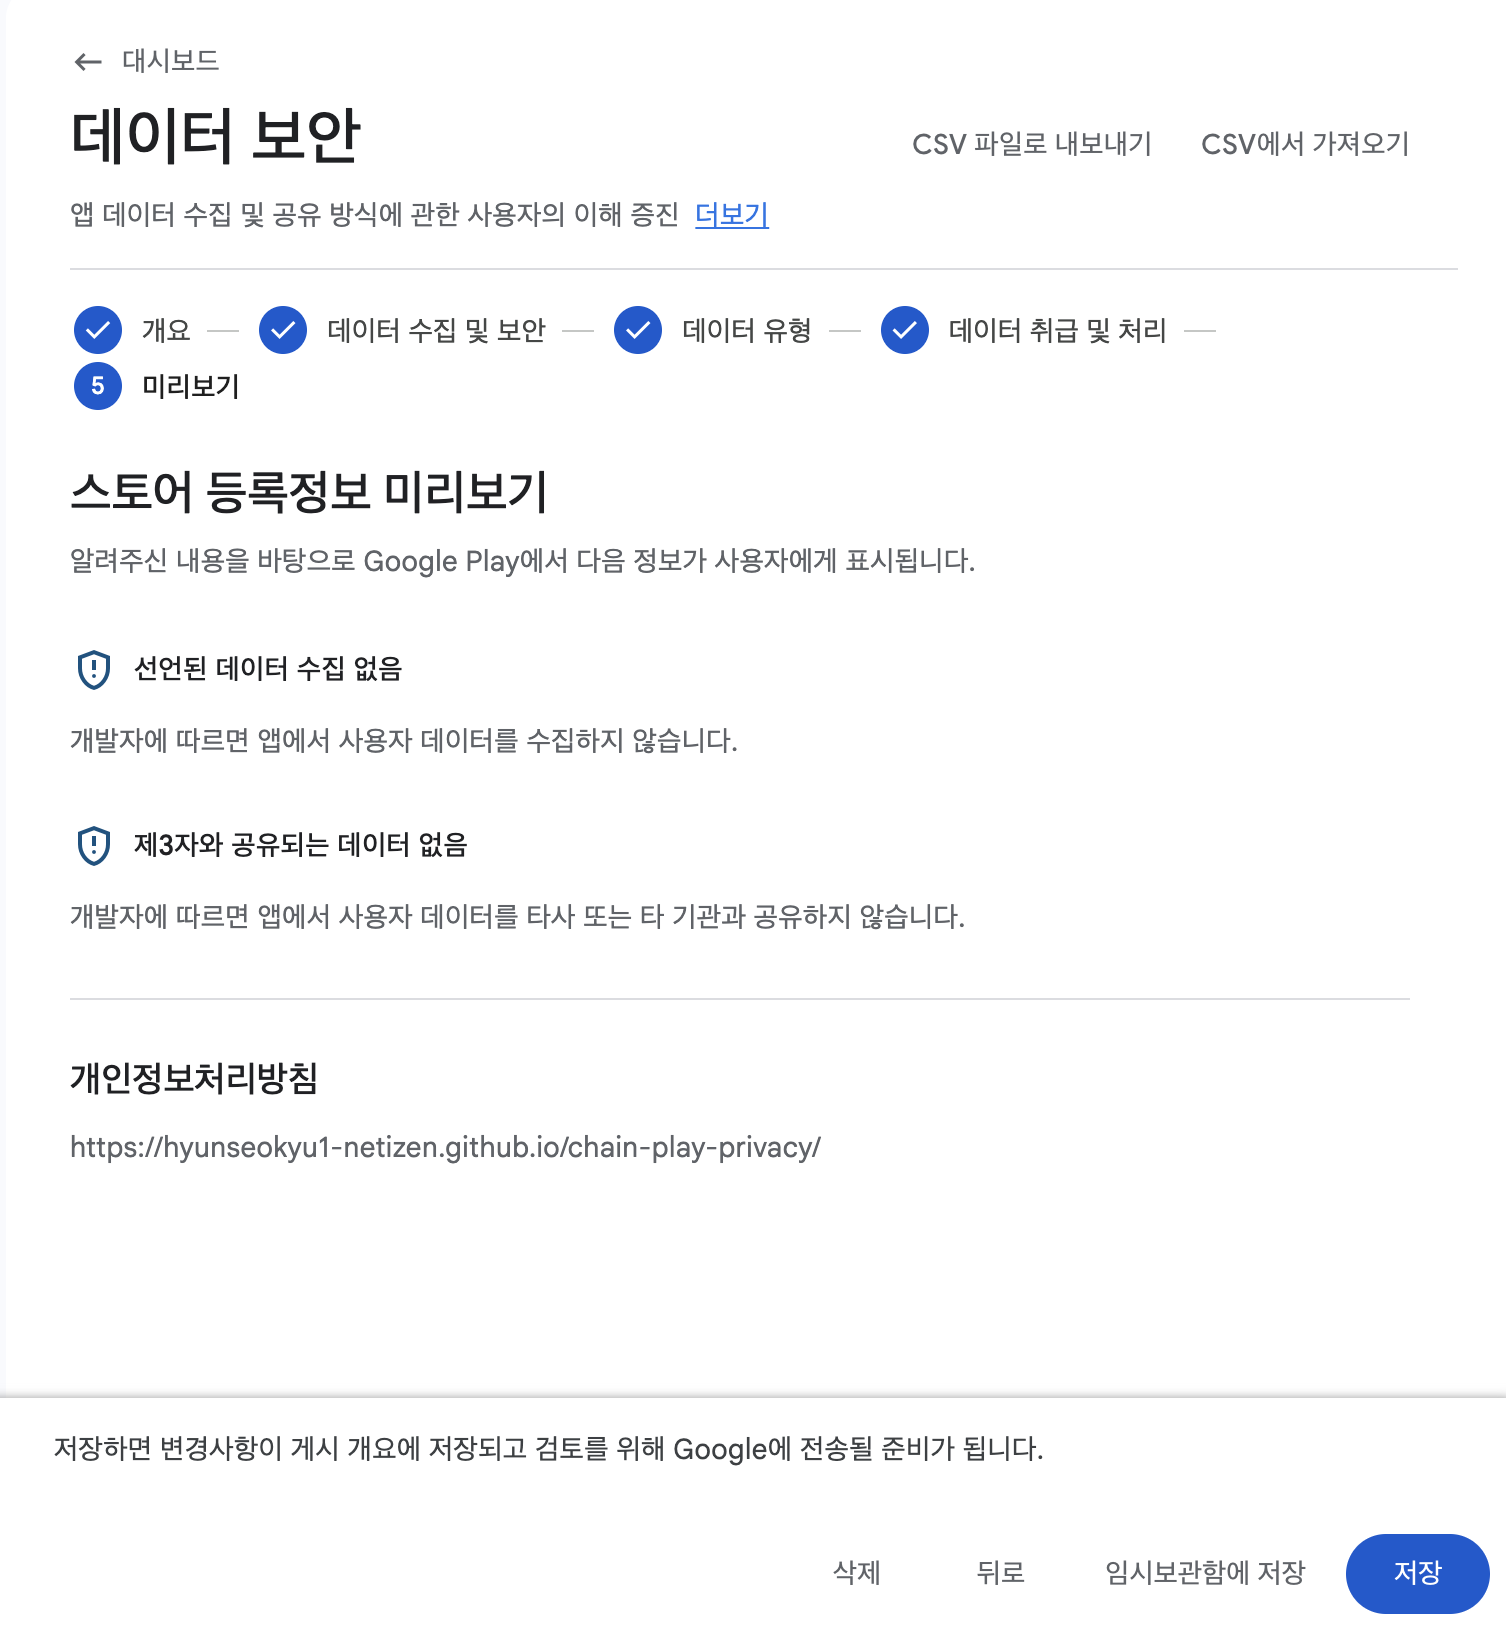
Privacy Policy
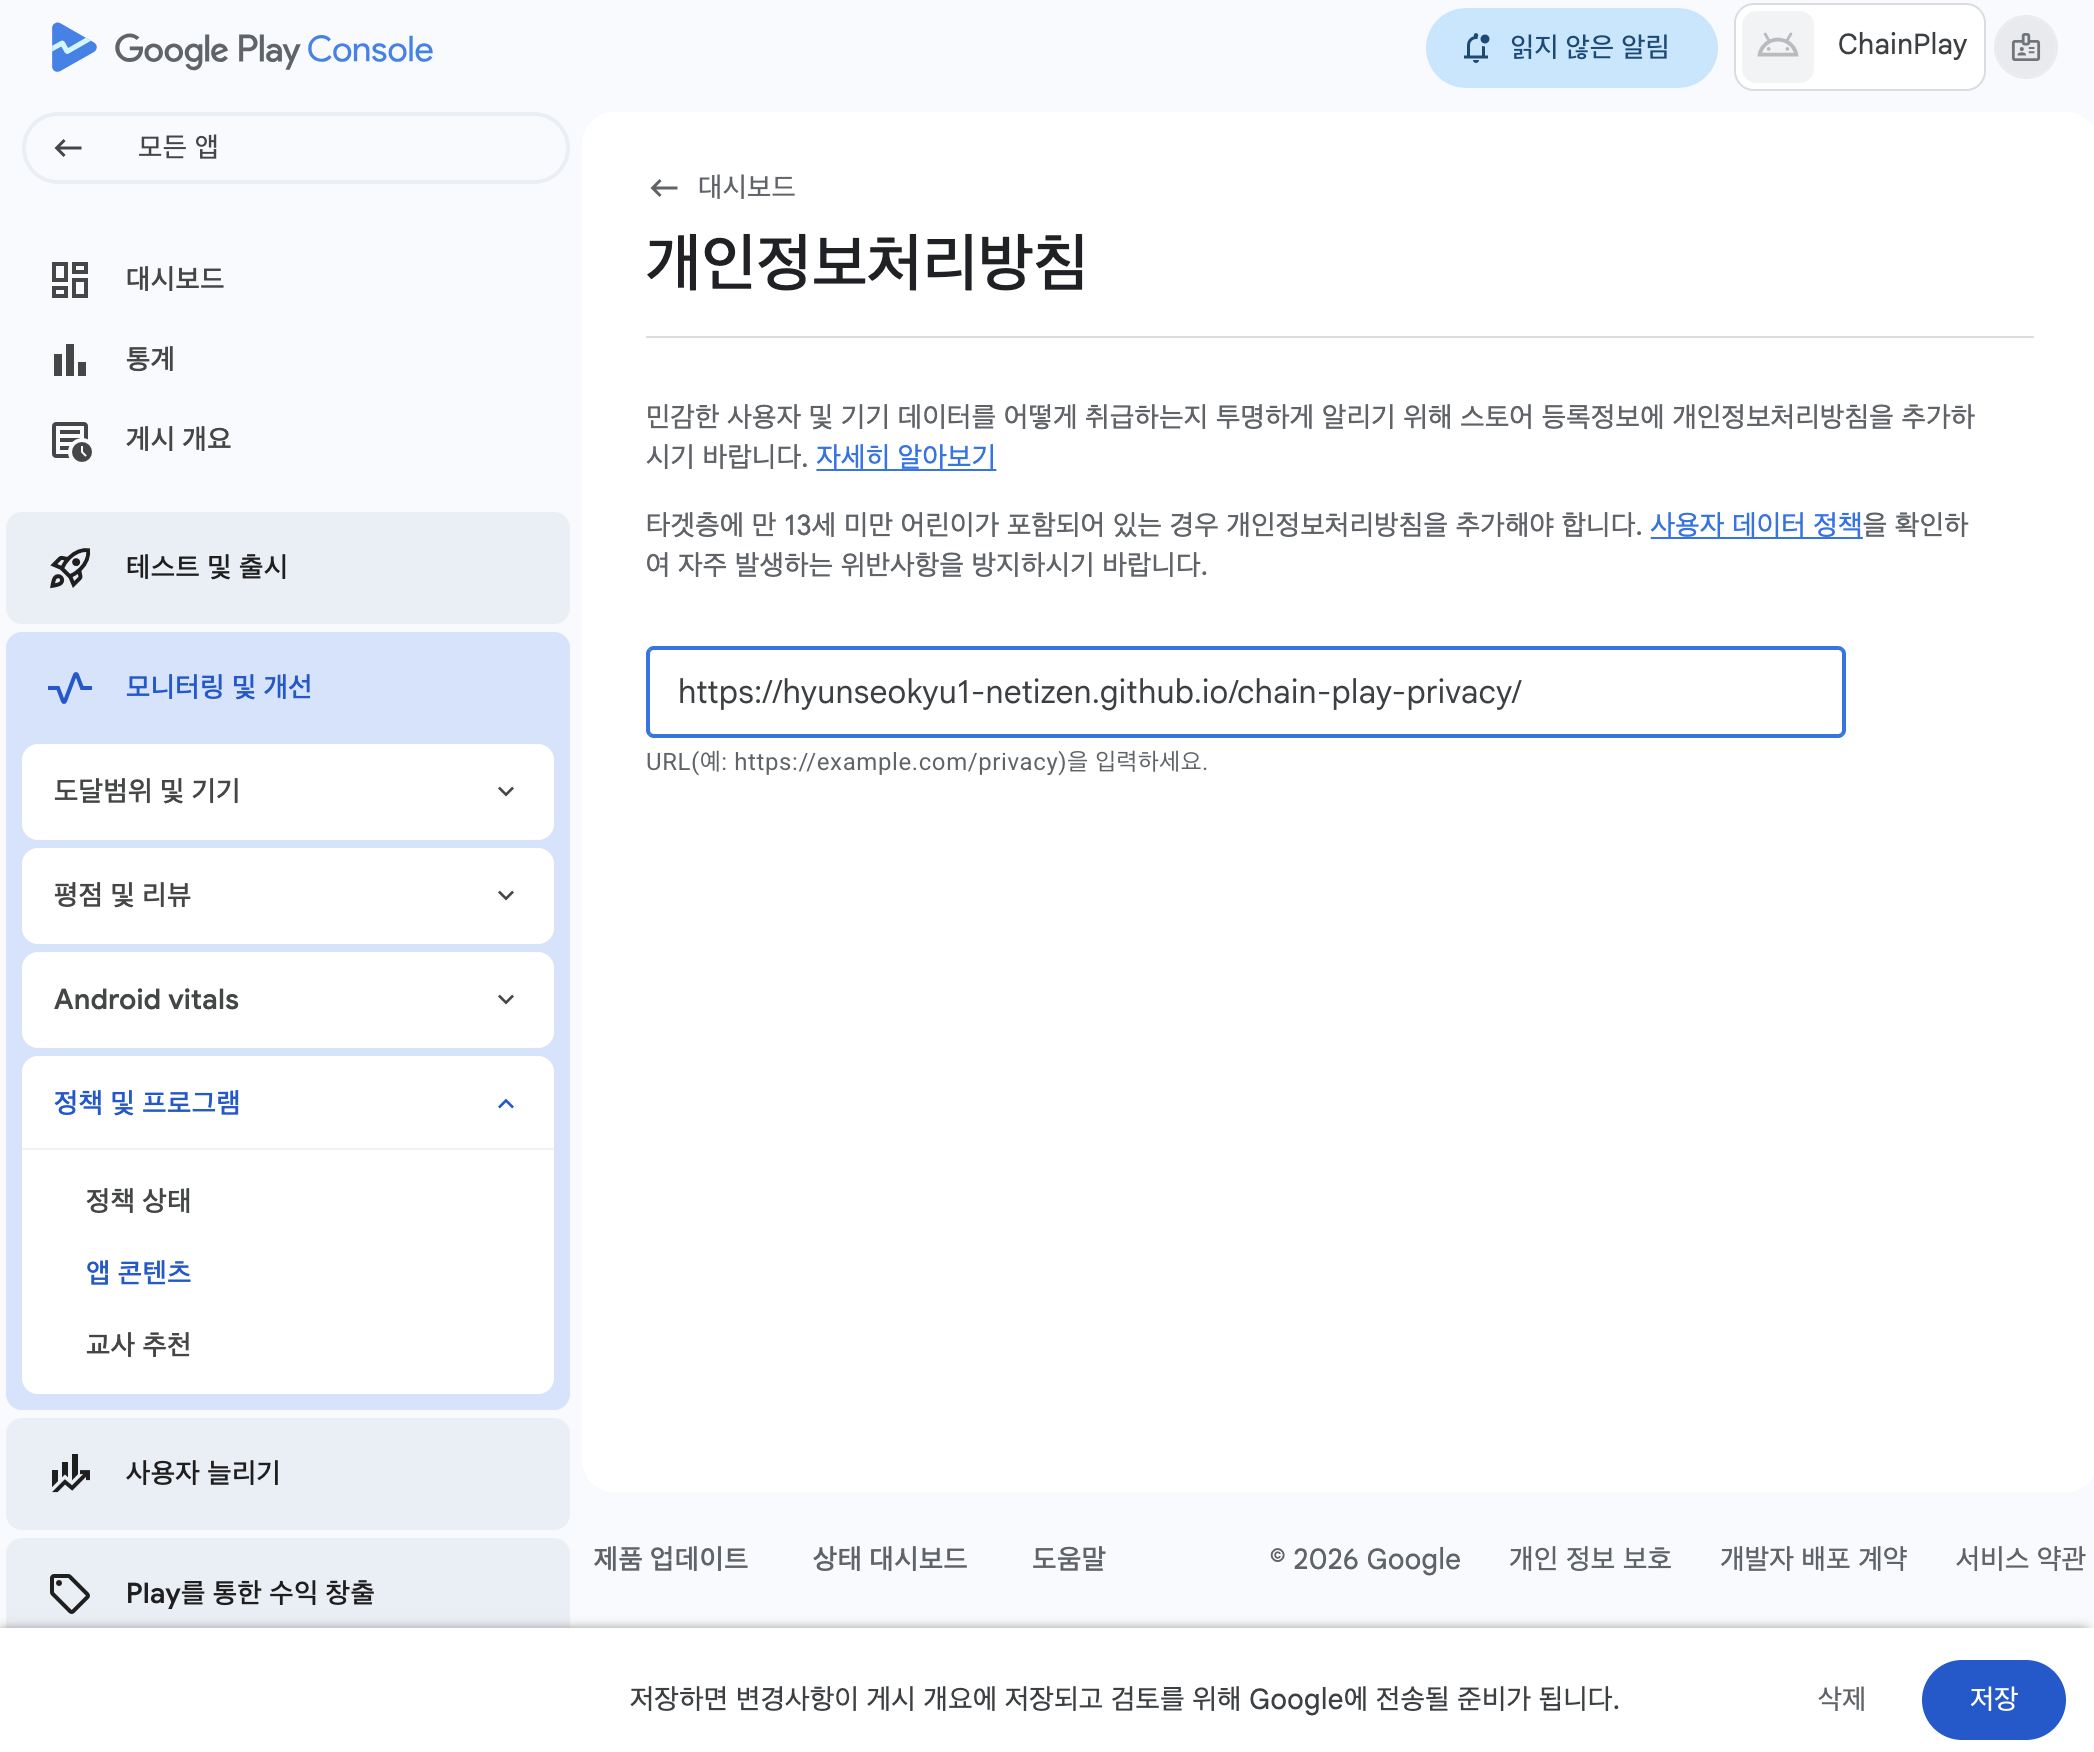
You must have a URL for your privacy policy. You can either create a separate site, or create a web-viewable page with GitHub Pages.
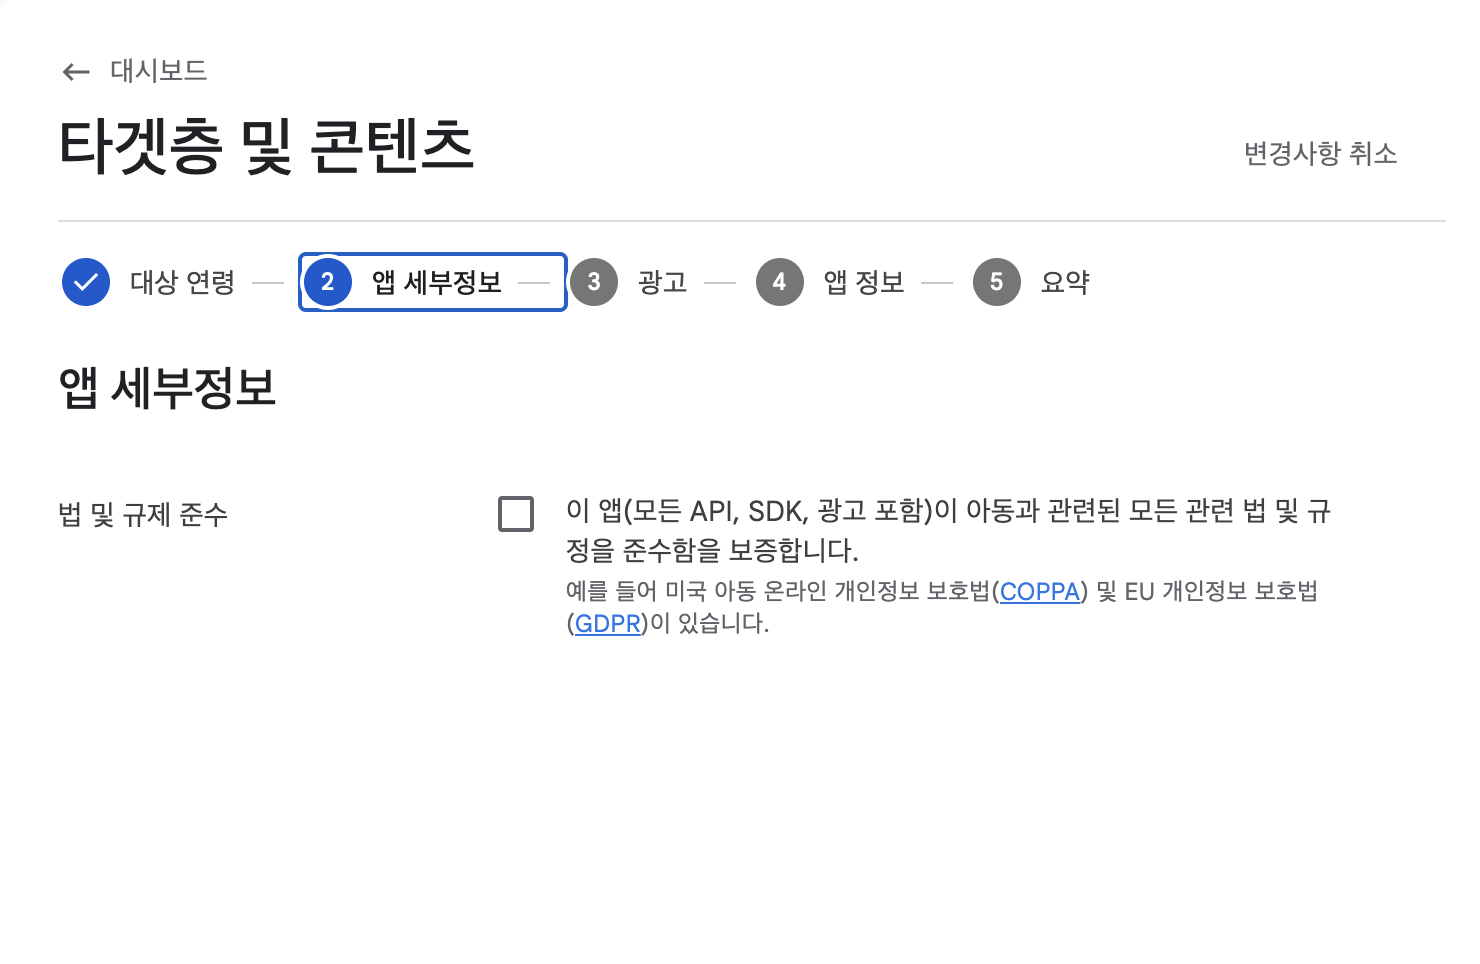
App access permissions

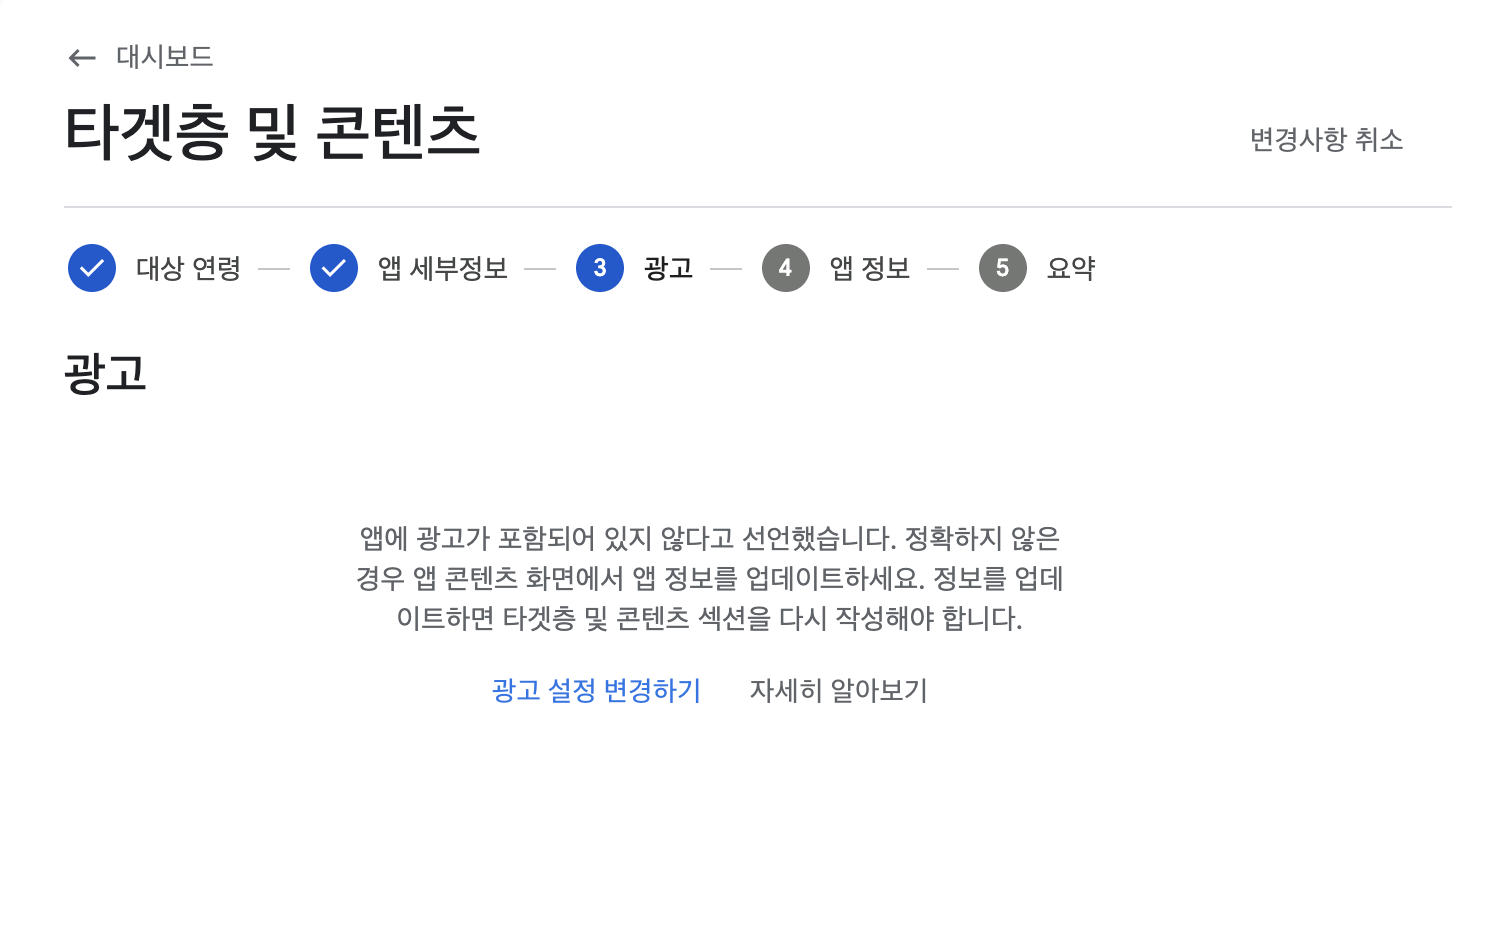
Ads

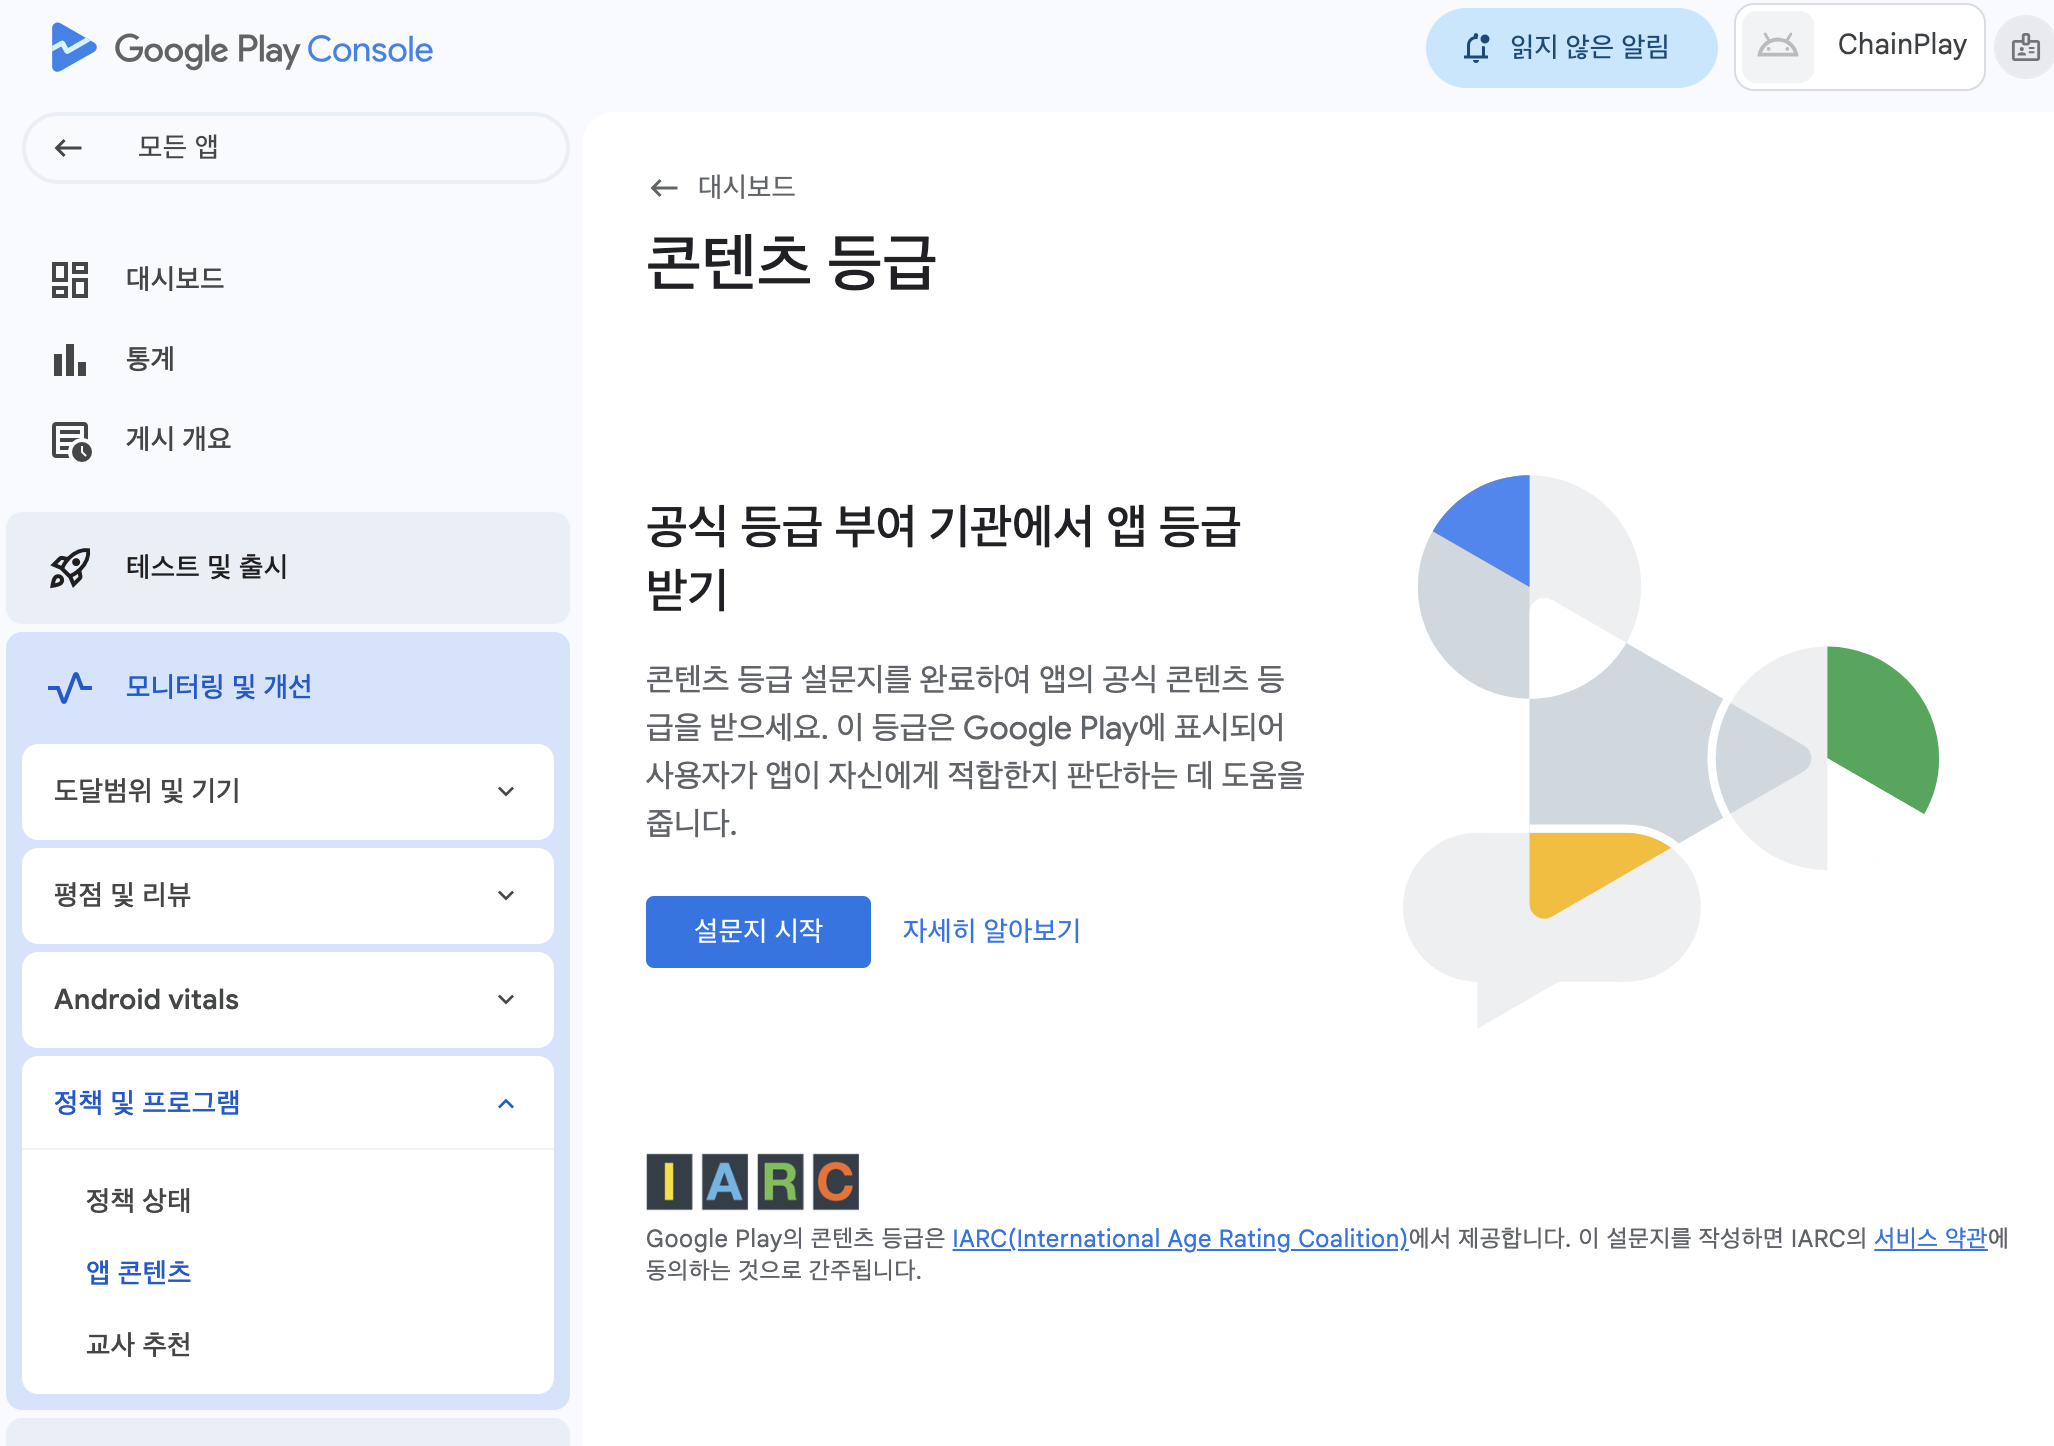
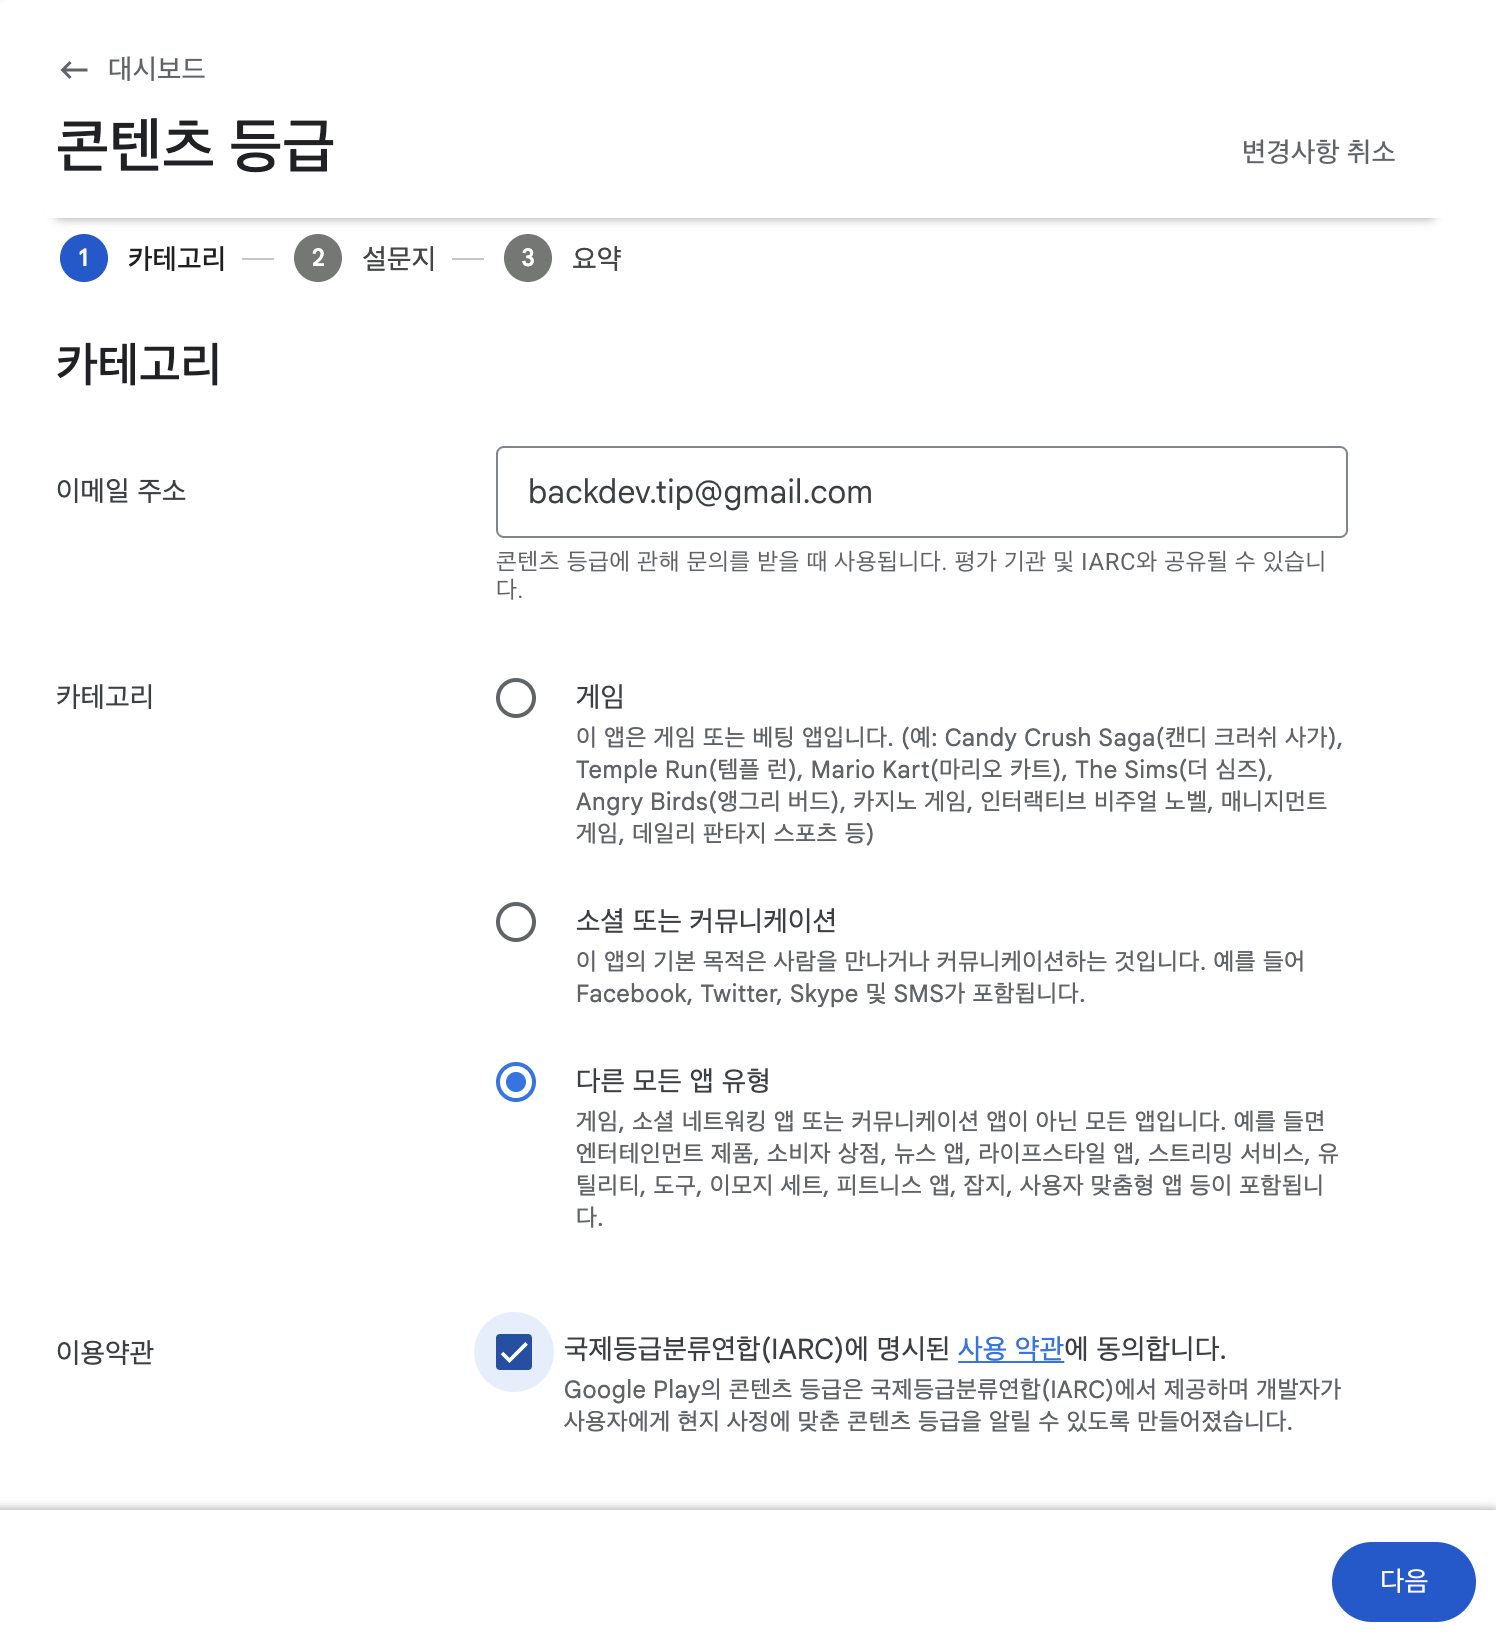
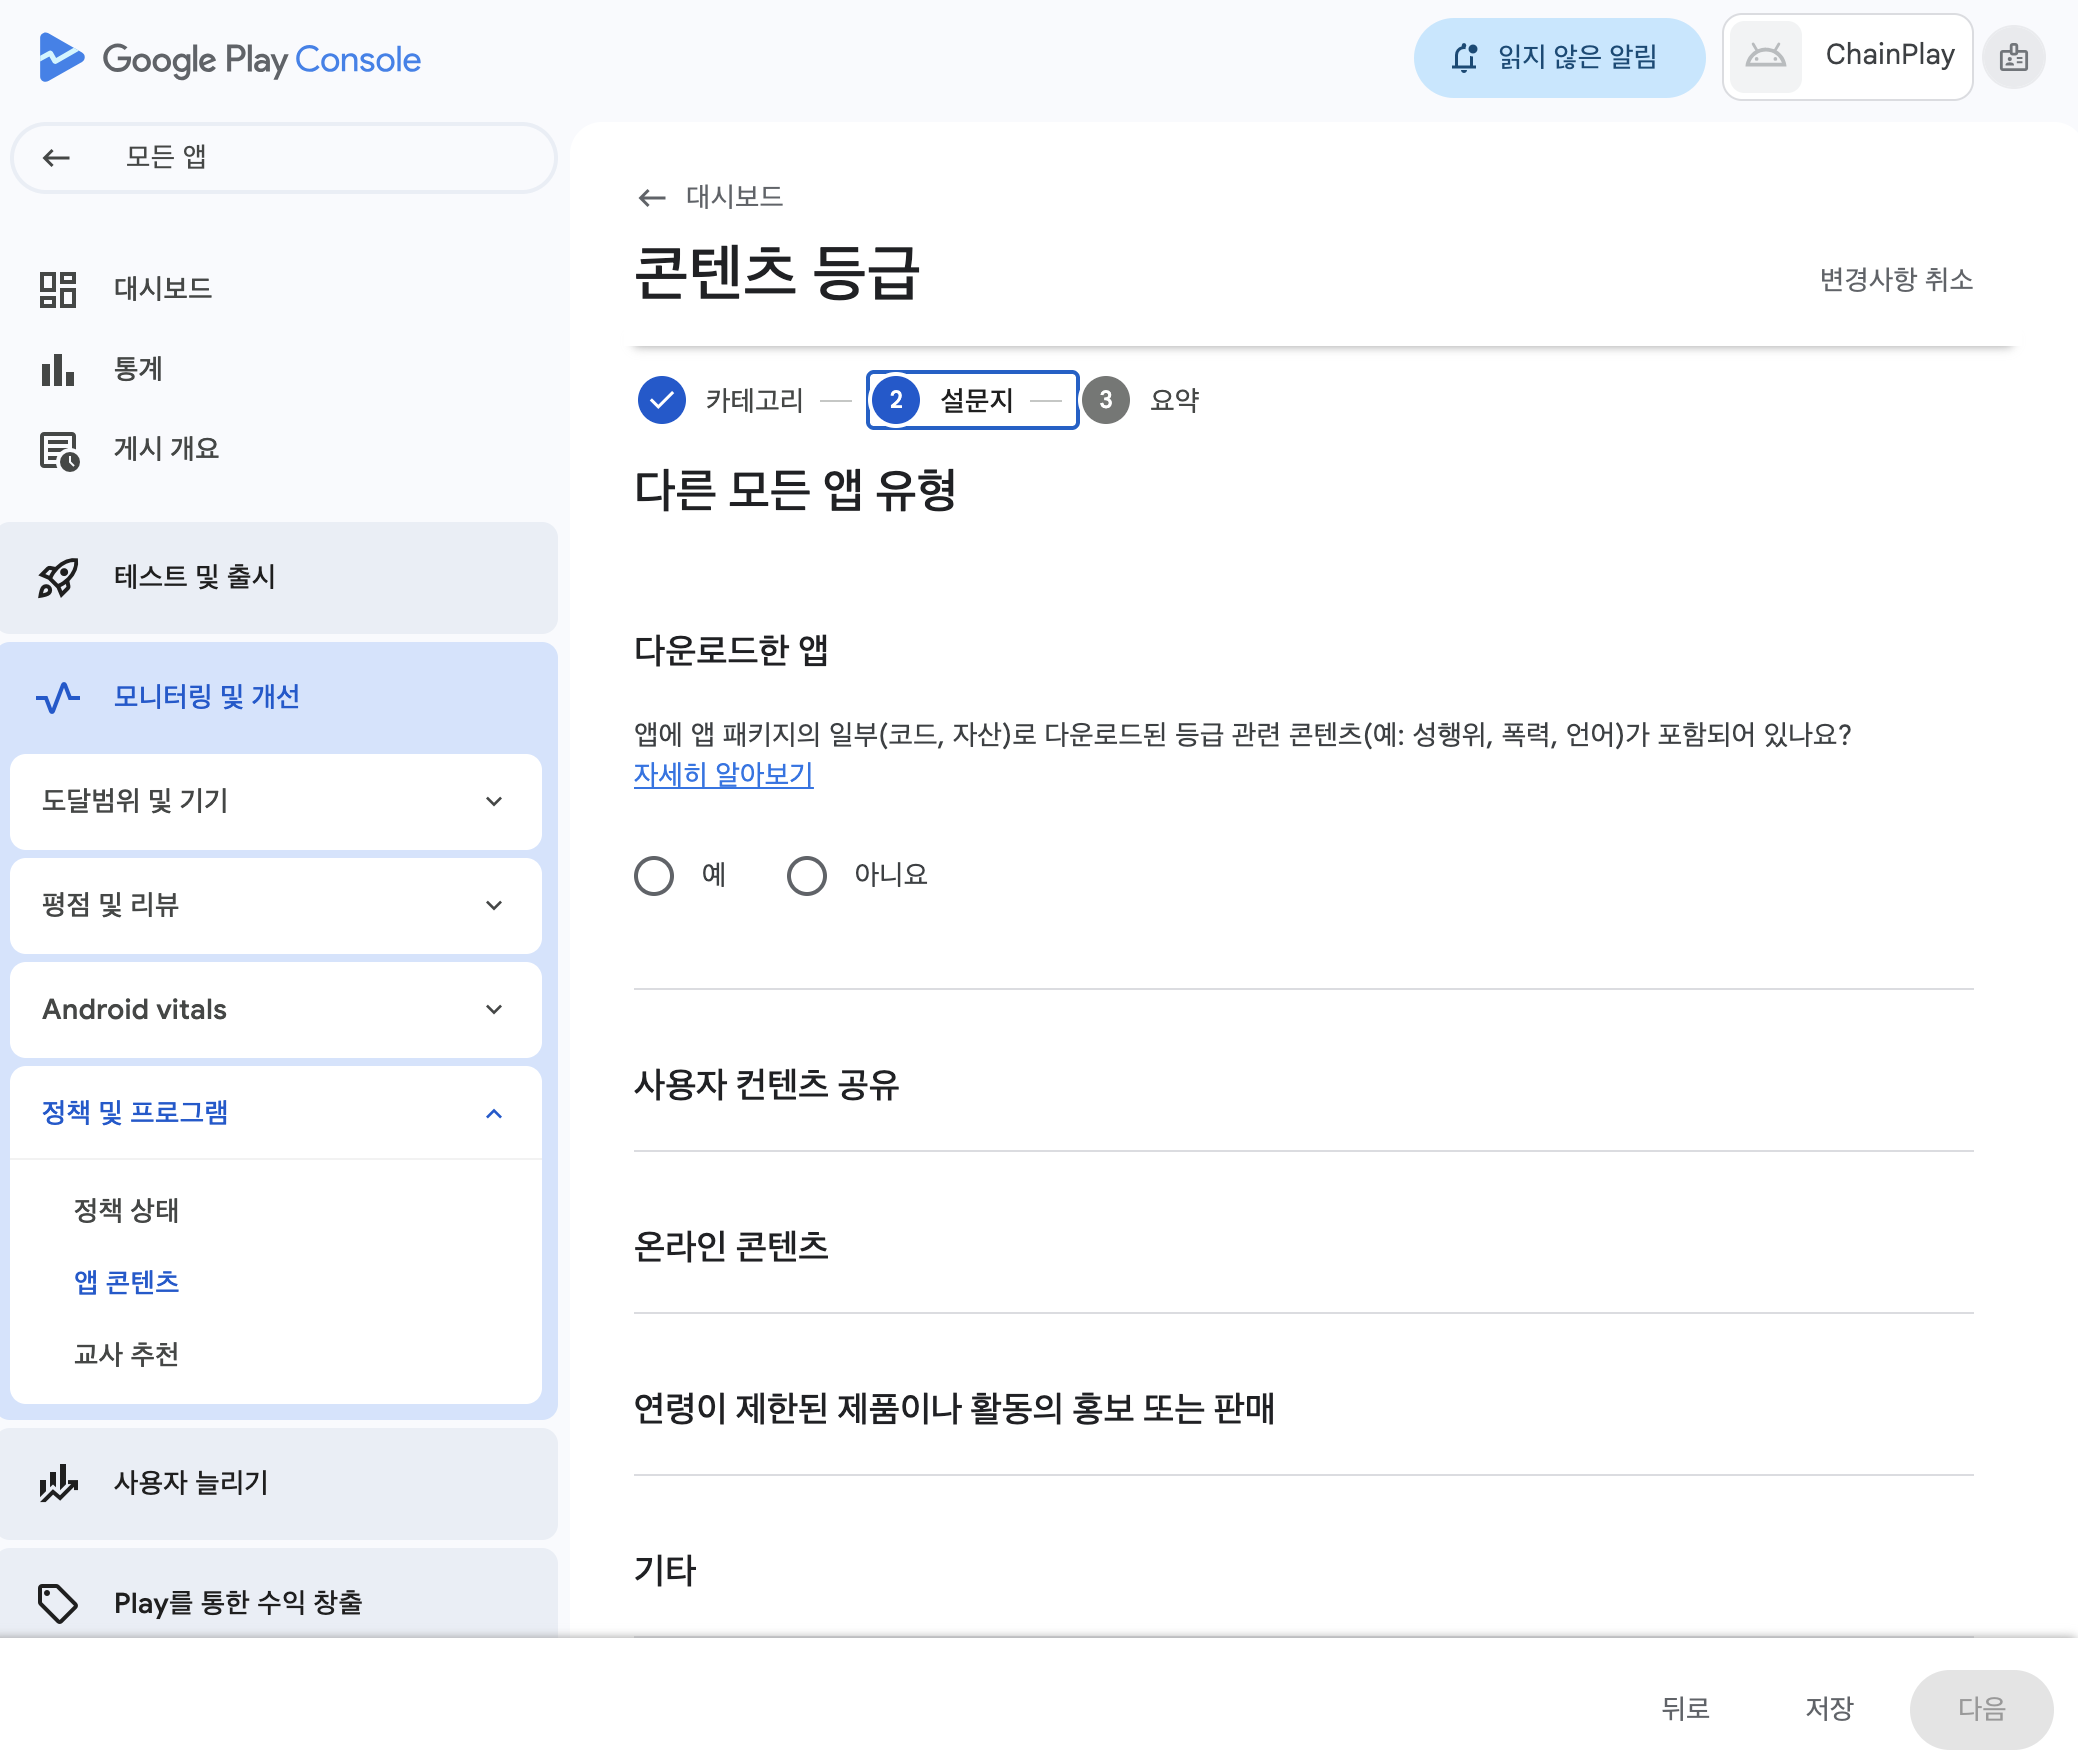
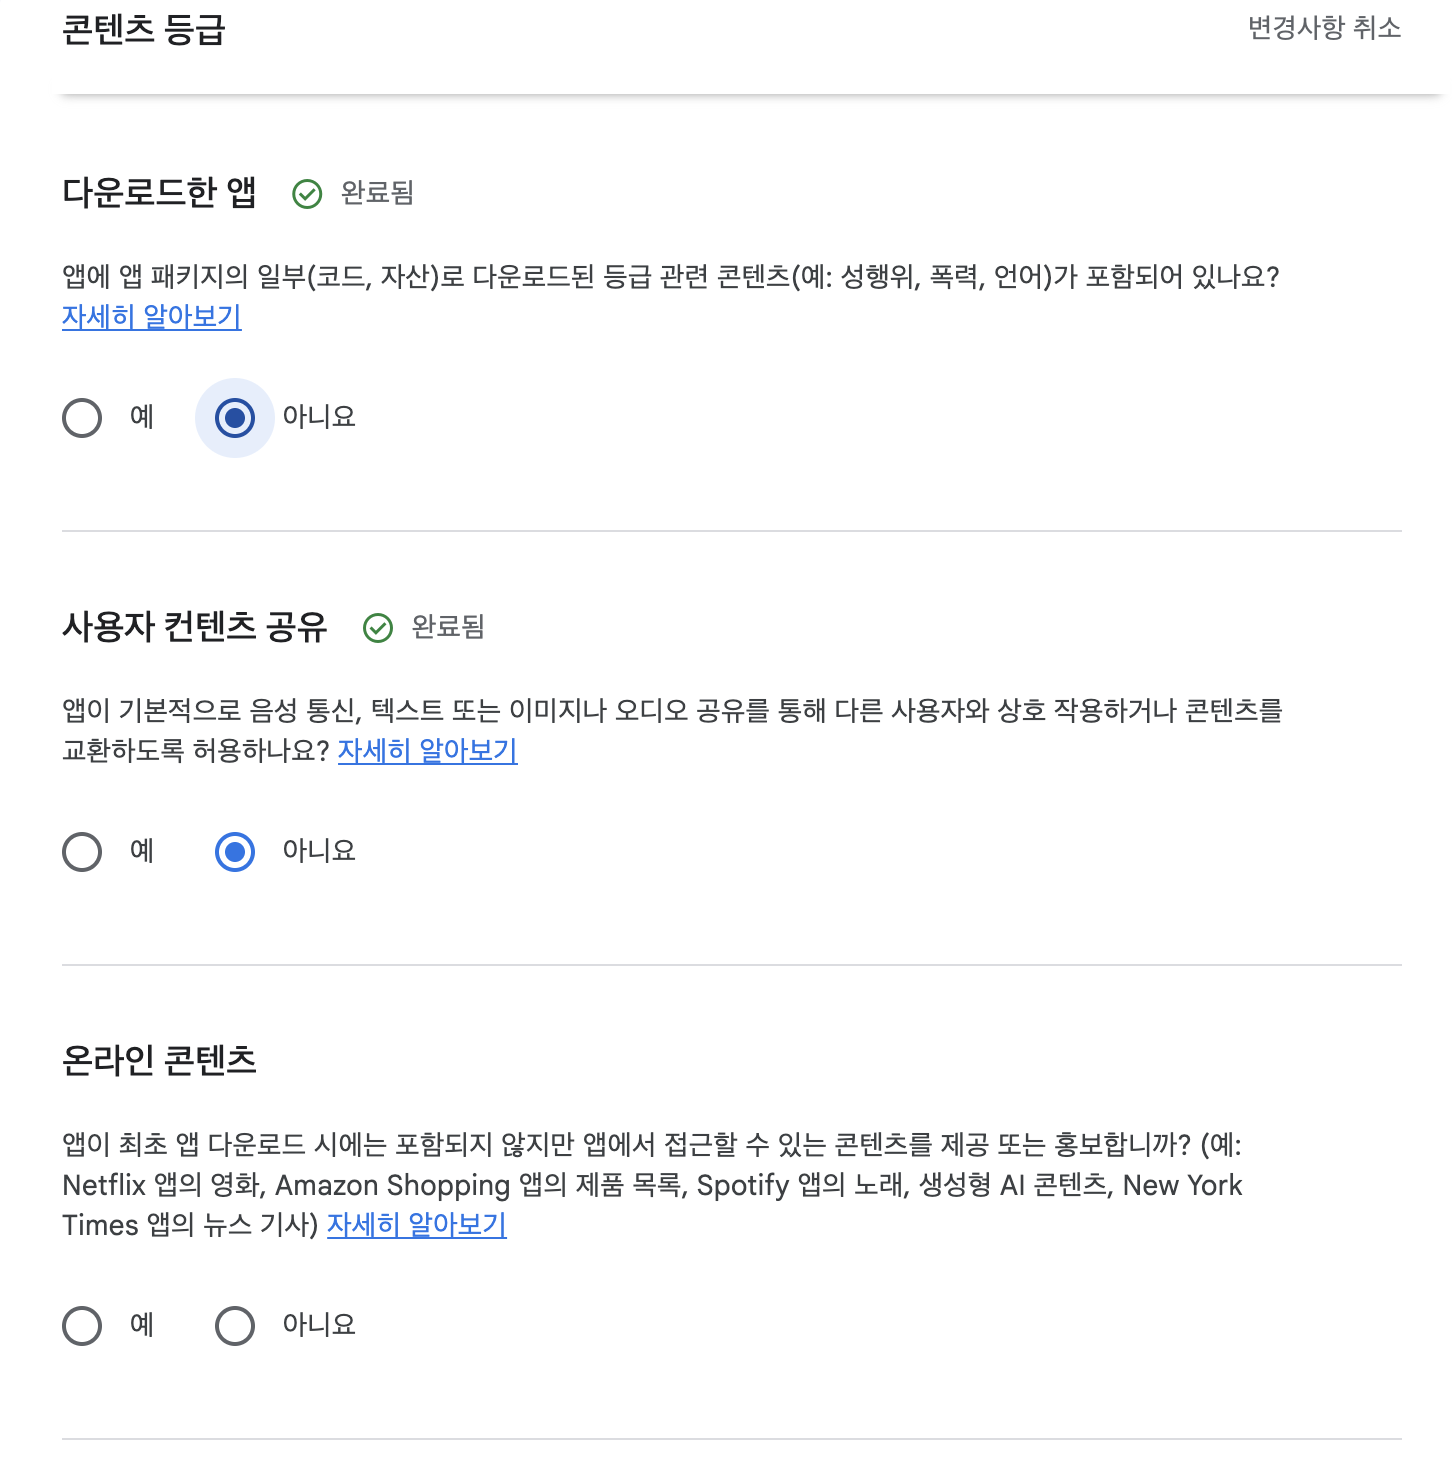
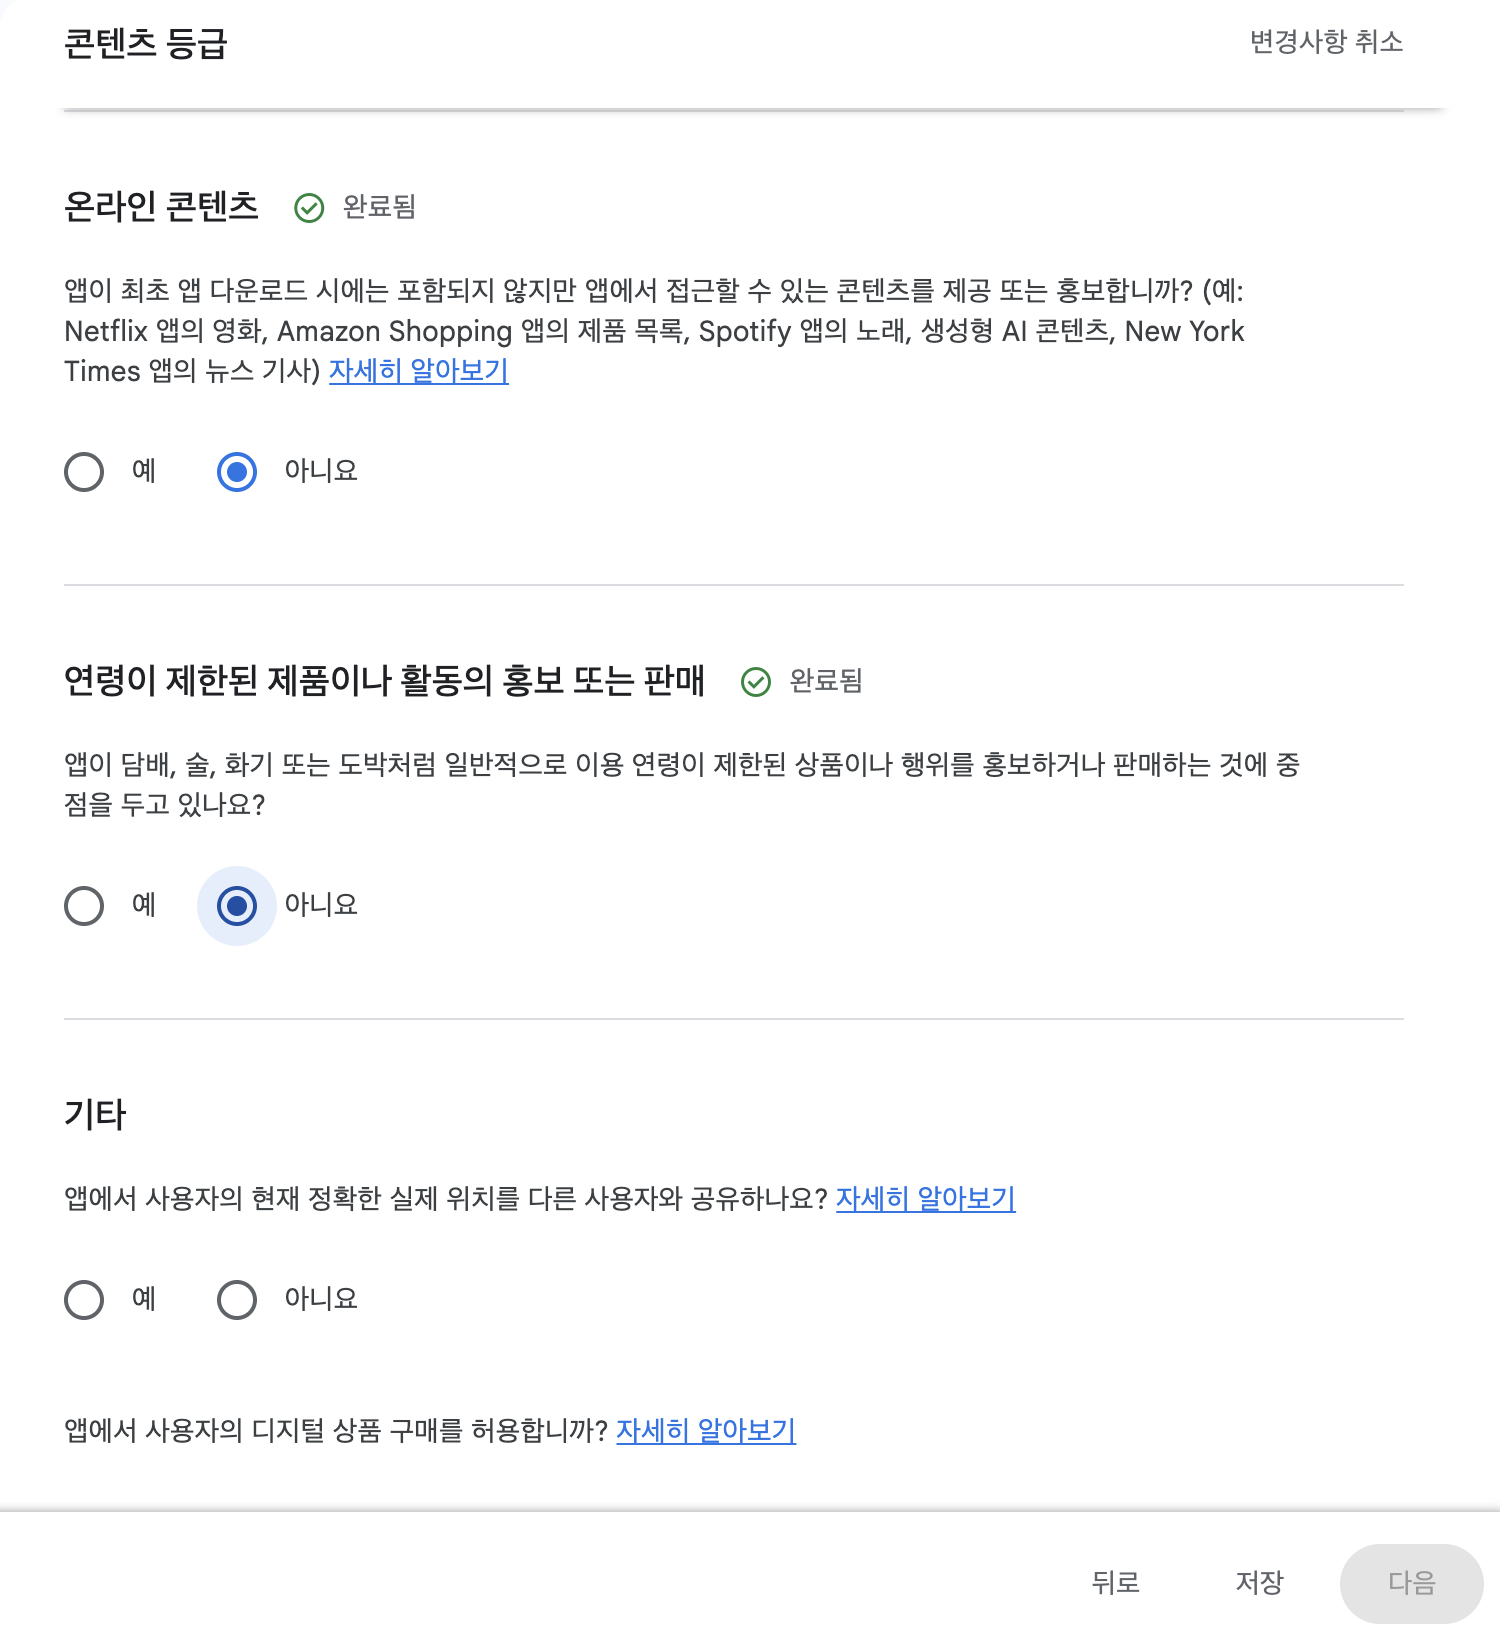
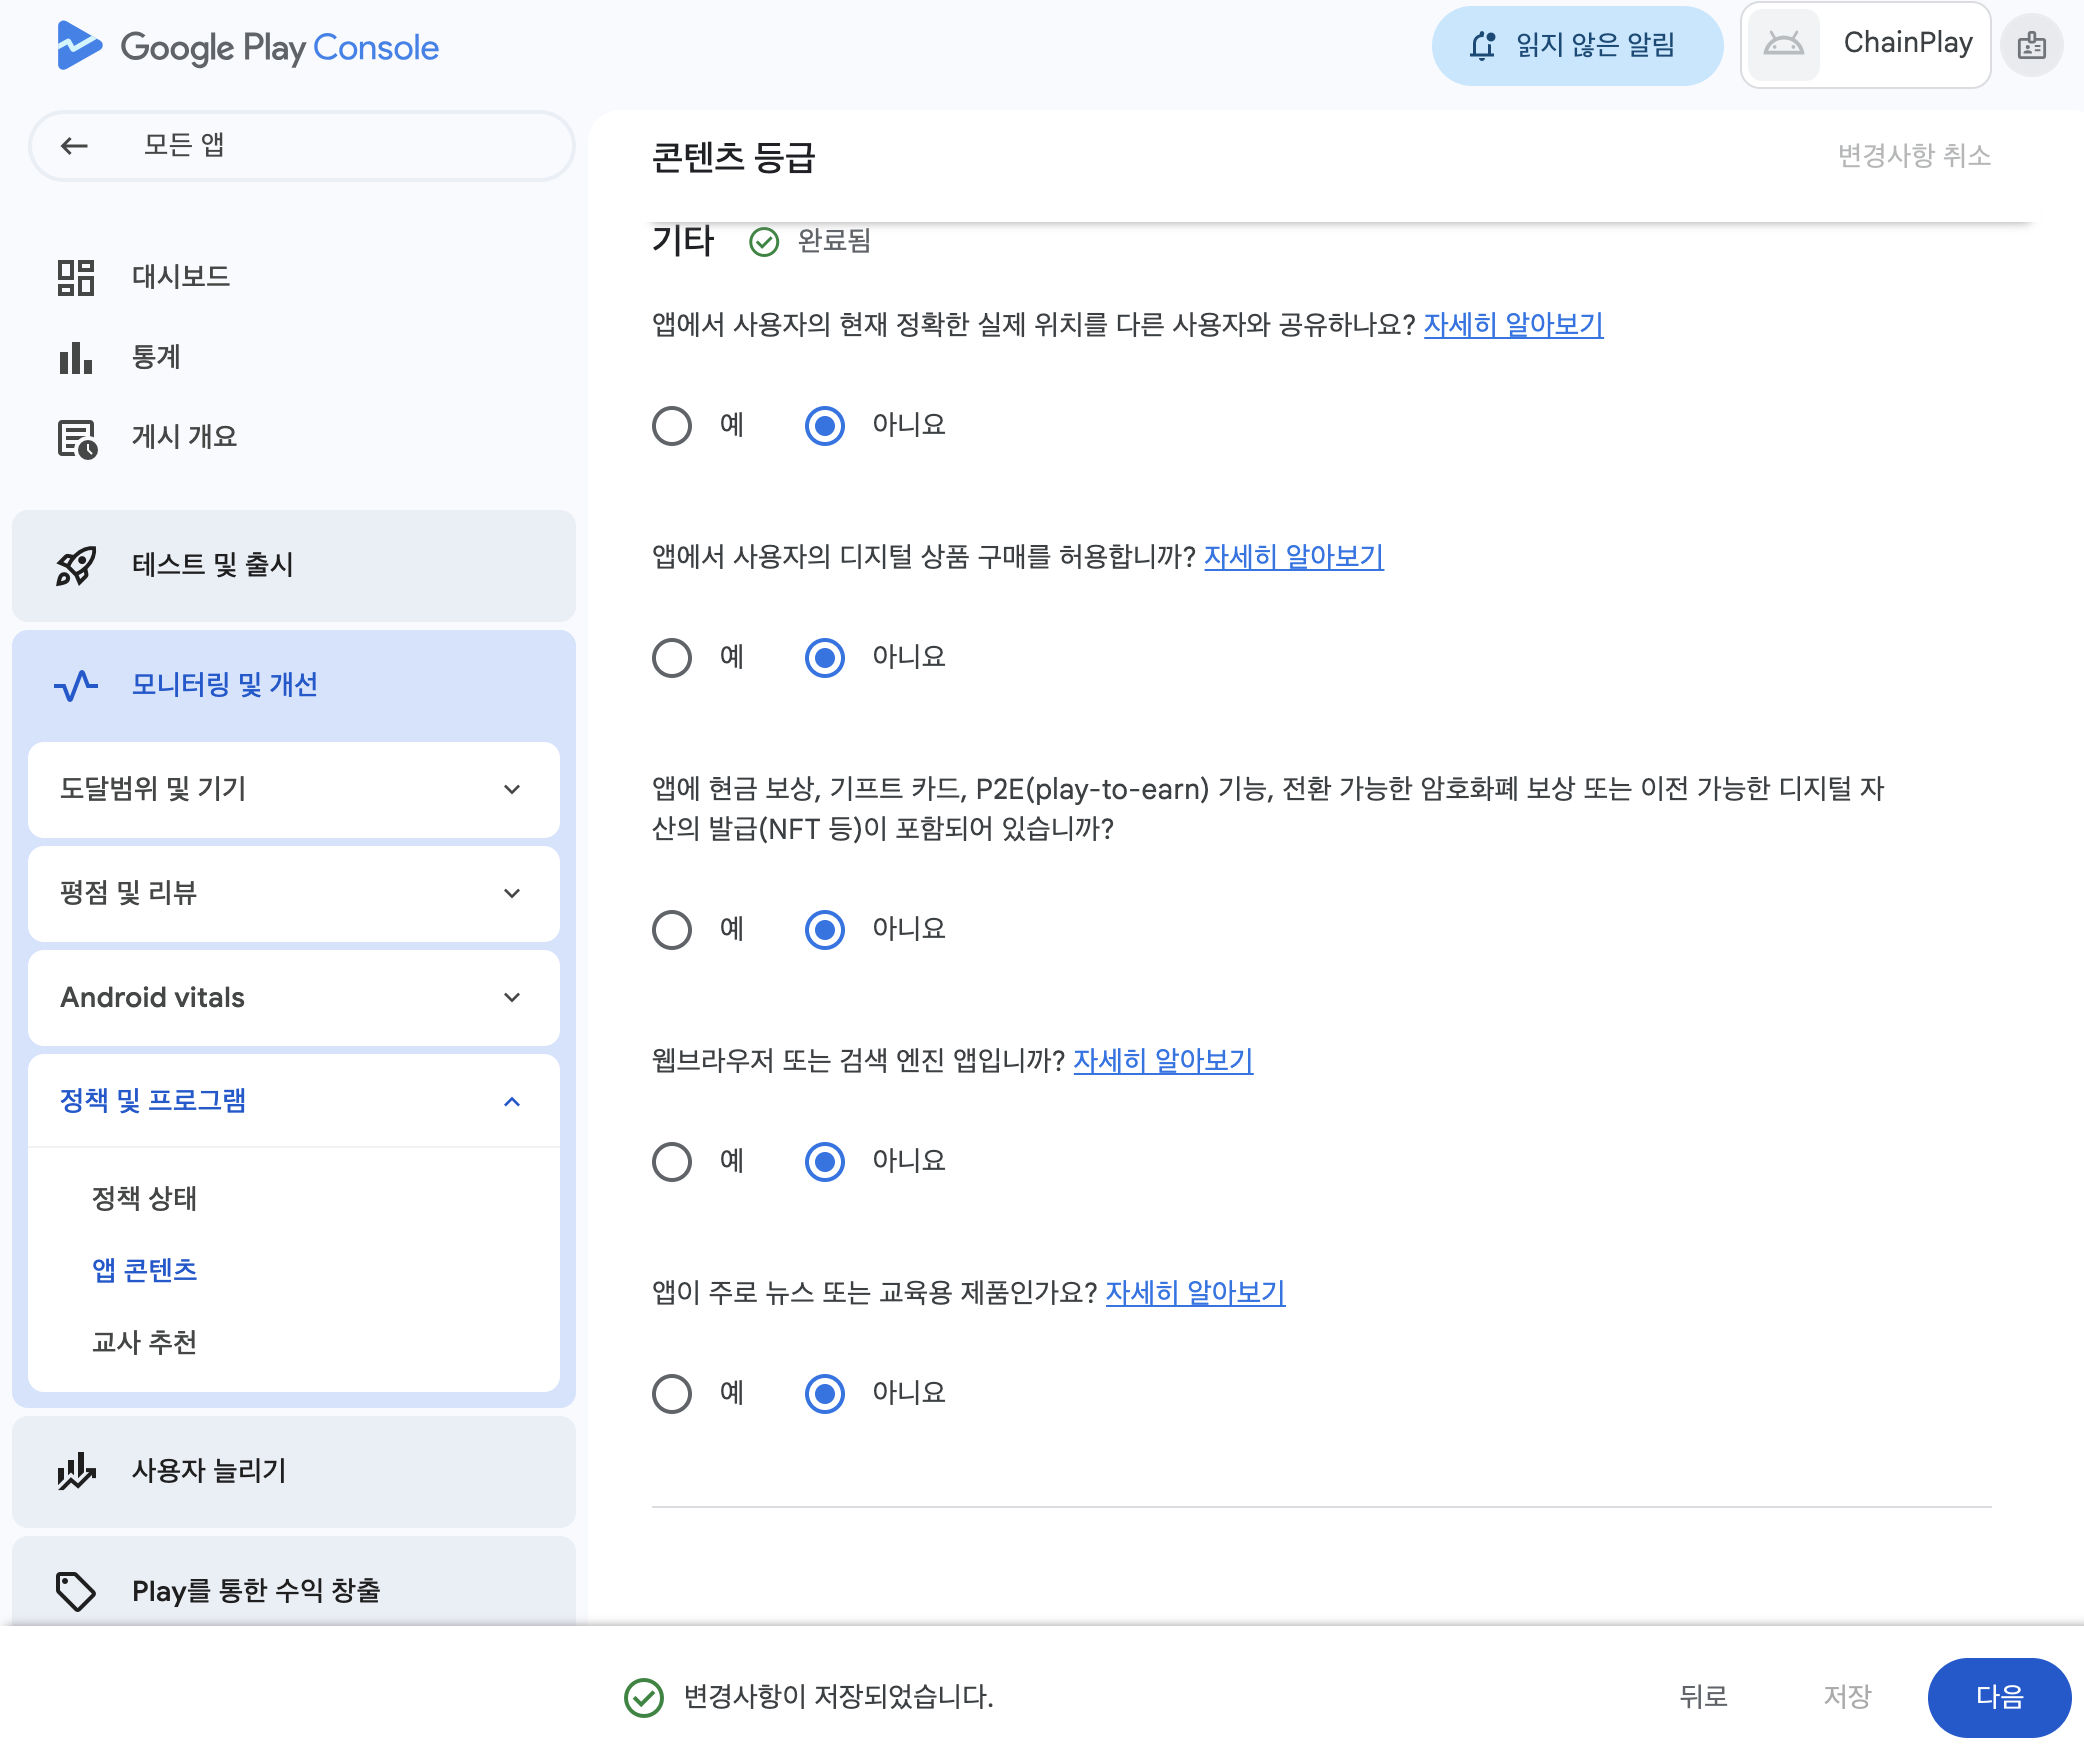
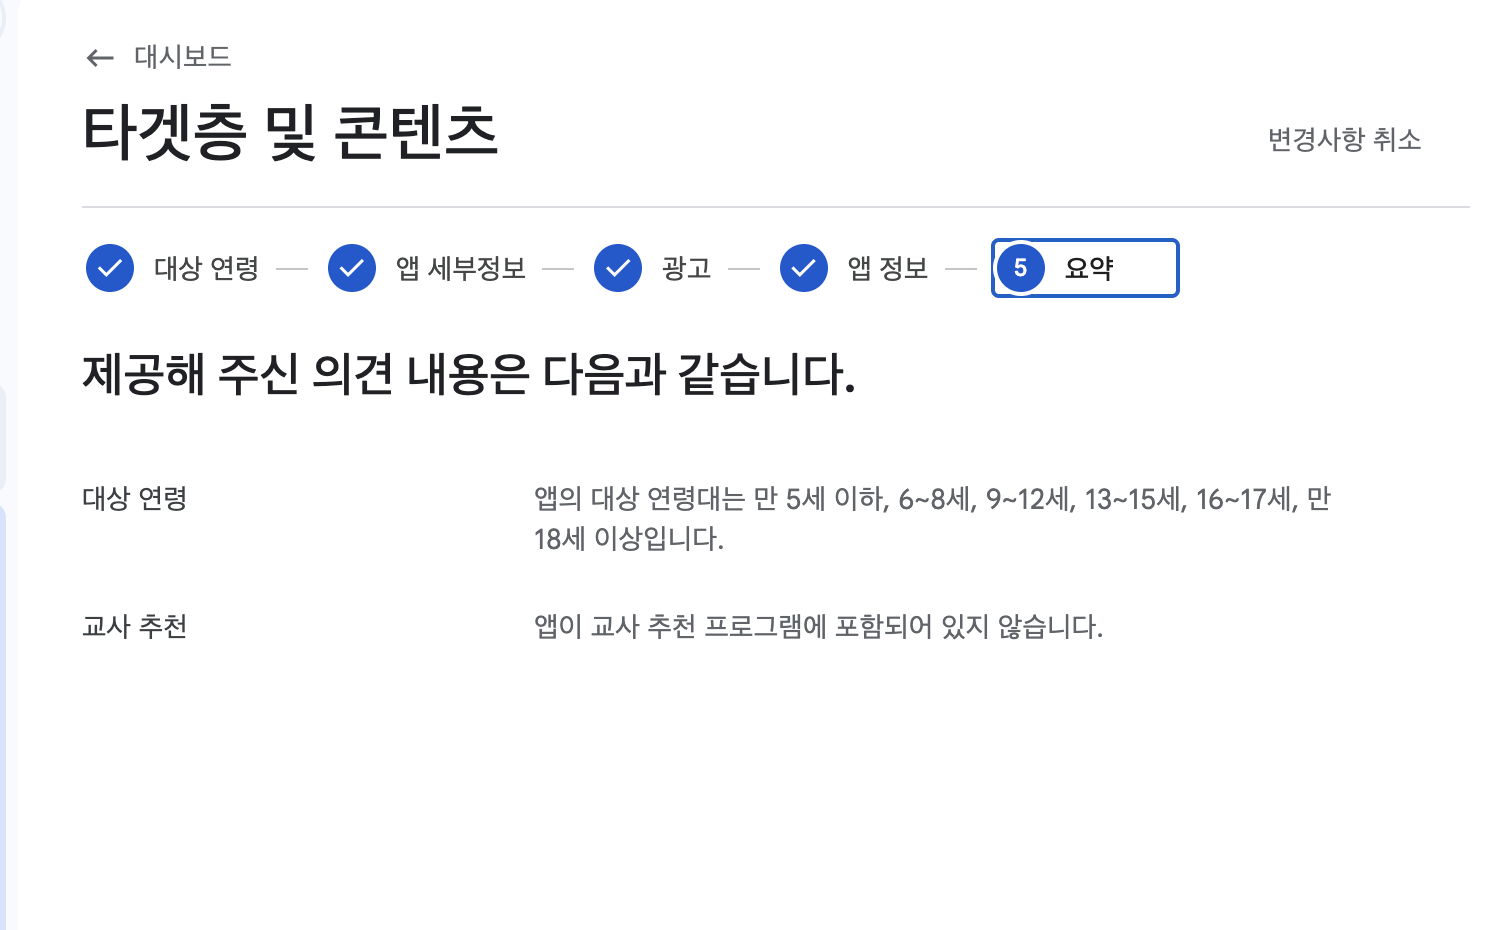
Content rating
Questionnaire format. Answering "yes" to any item will result in more questions. Answering "yes" to items related to violence will result in more detailed questions, so it's easier to answer "no" to items that don't apply.
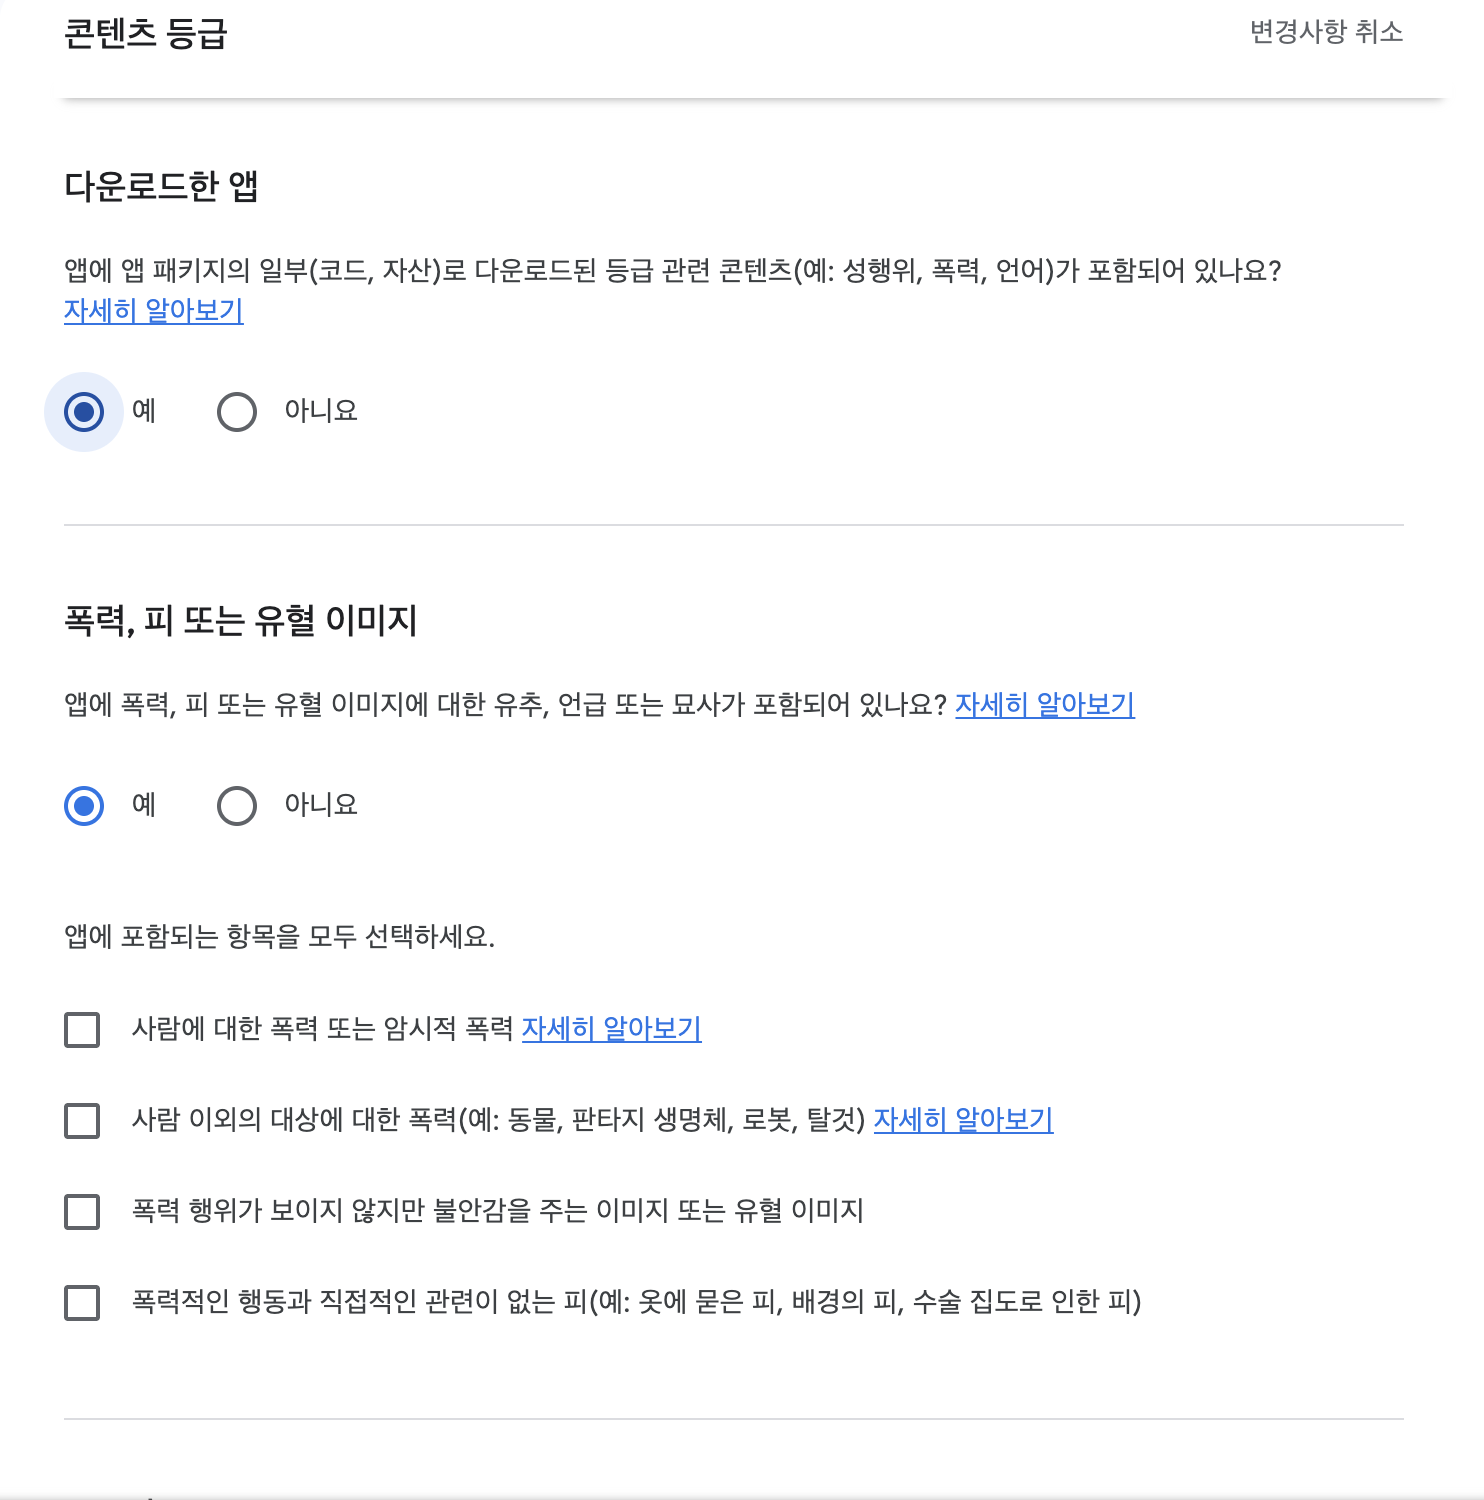
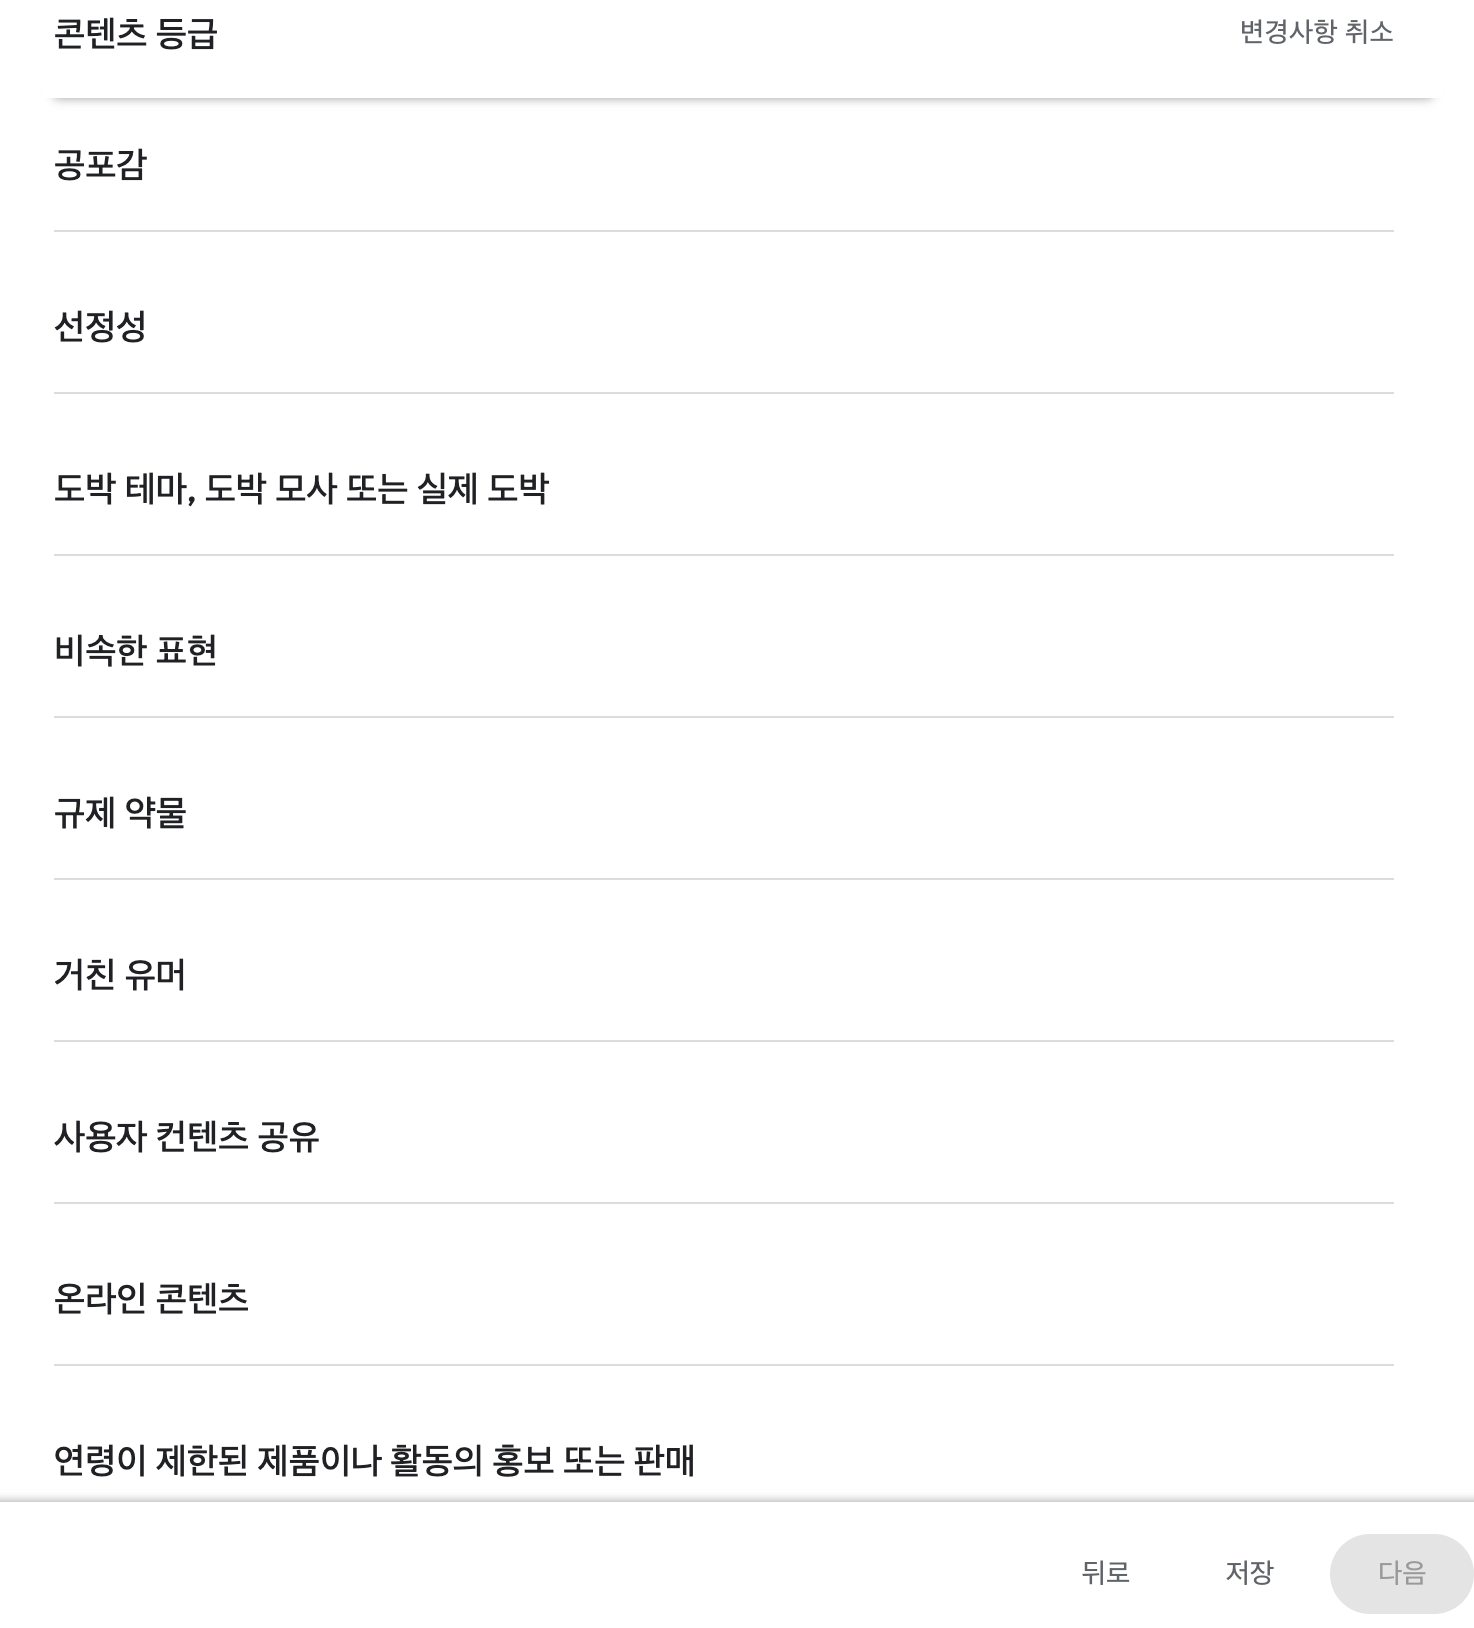
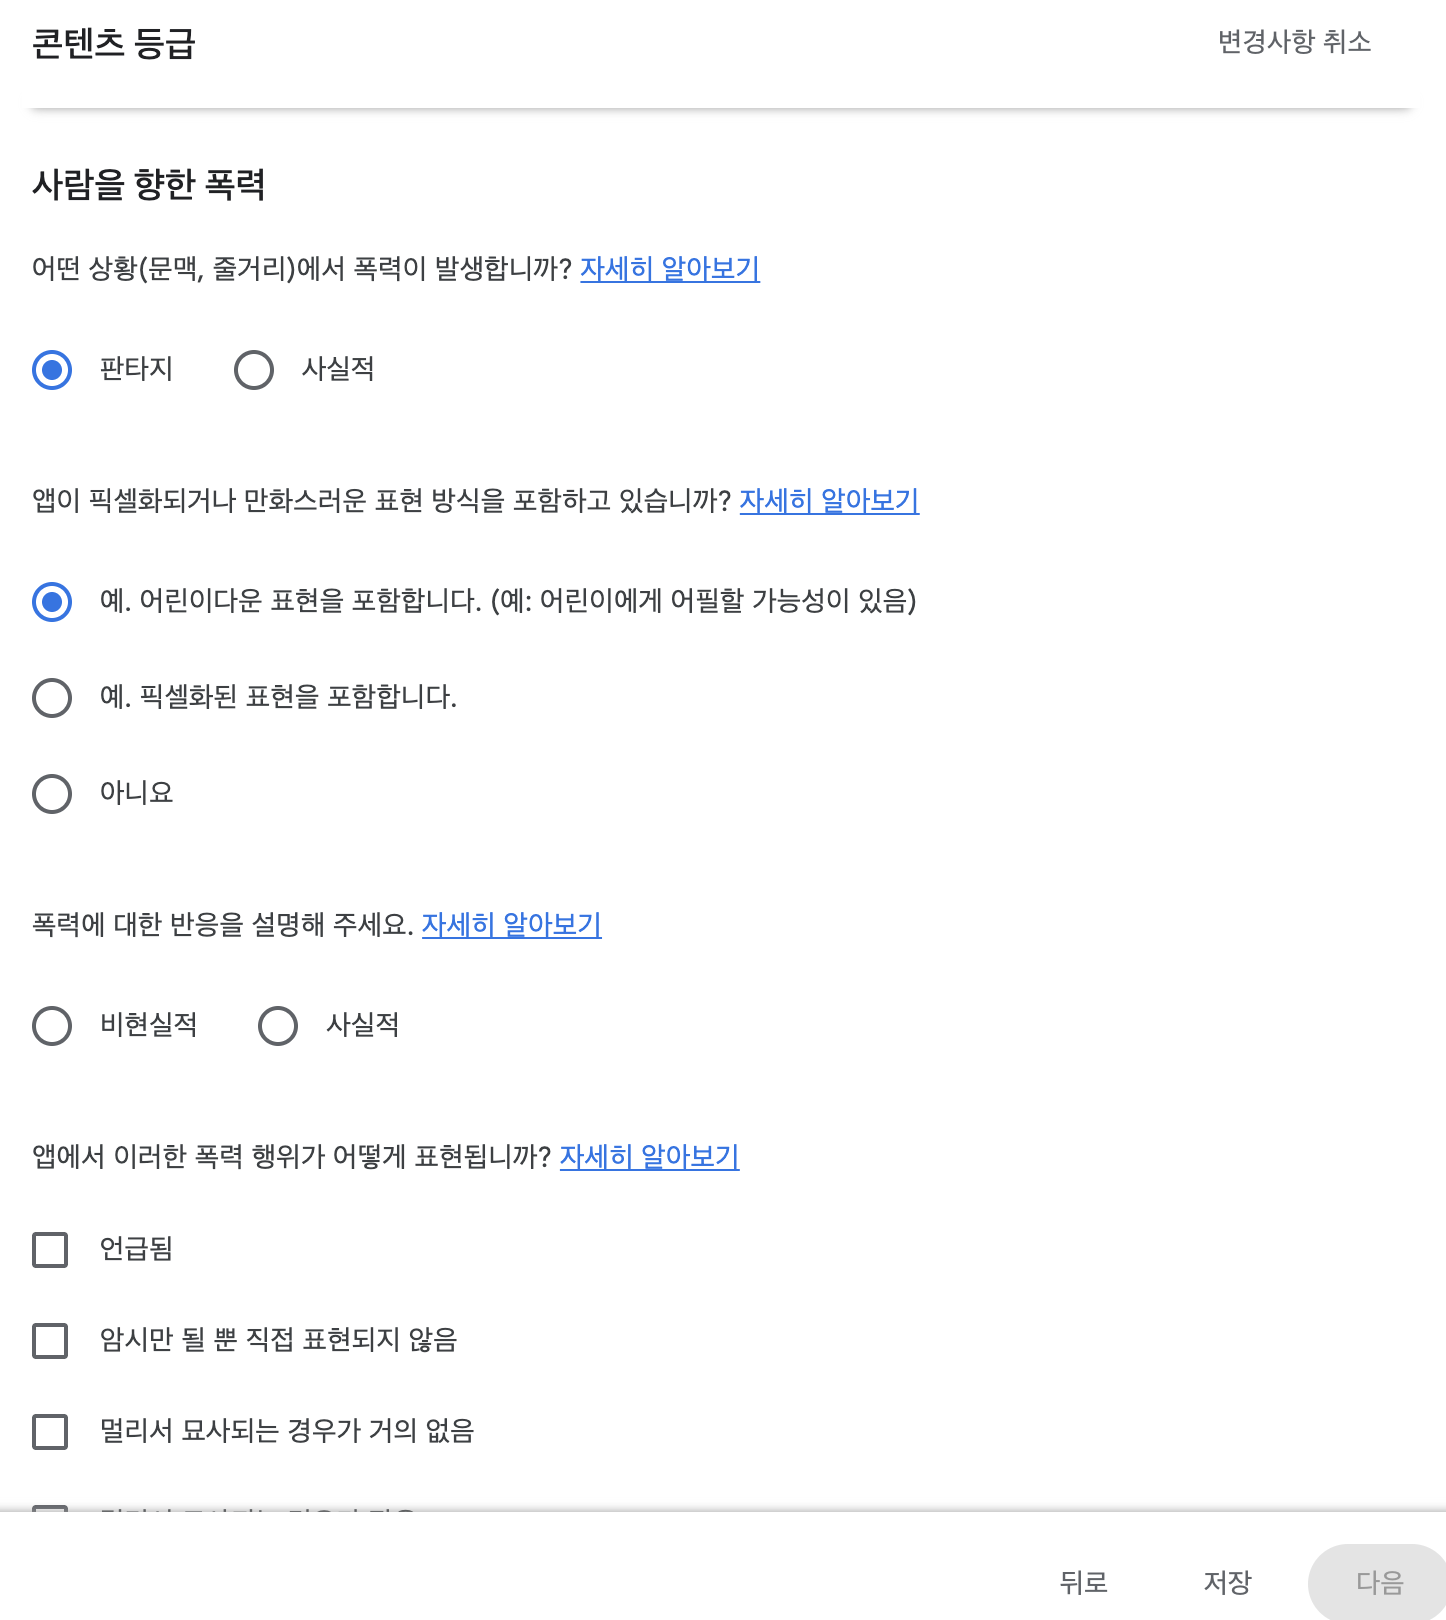
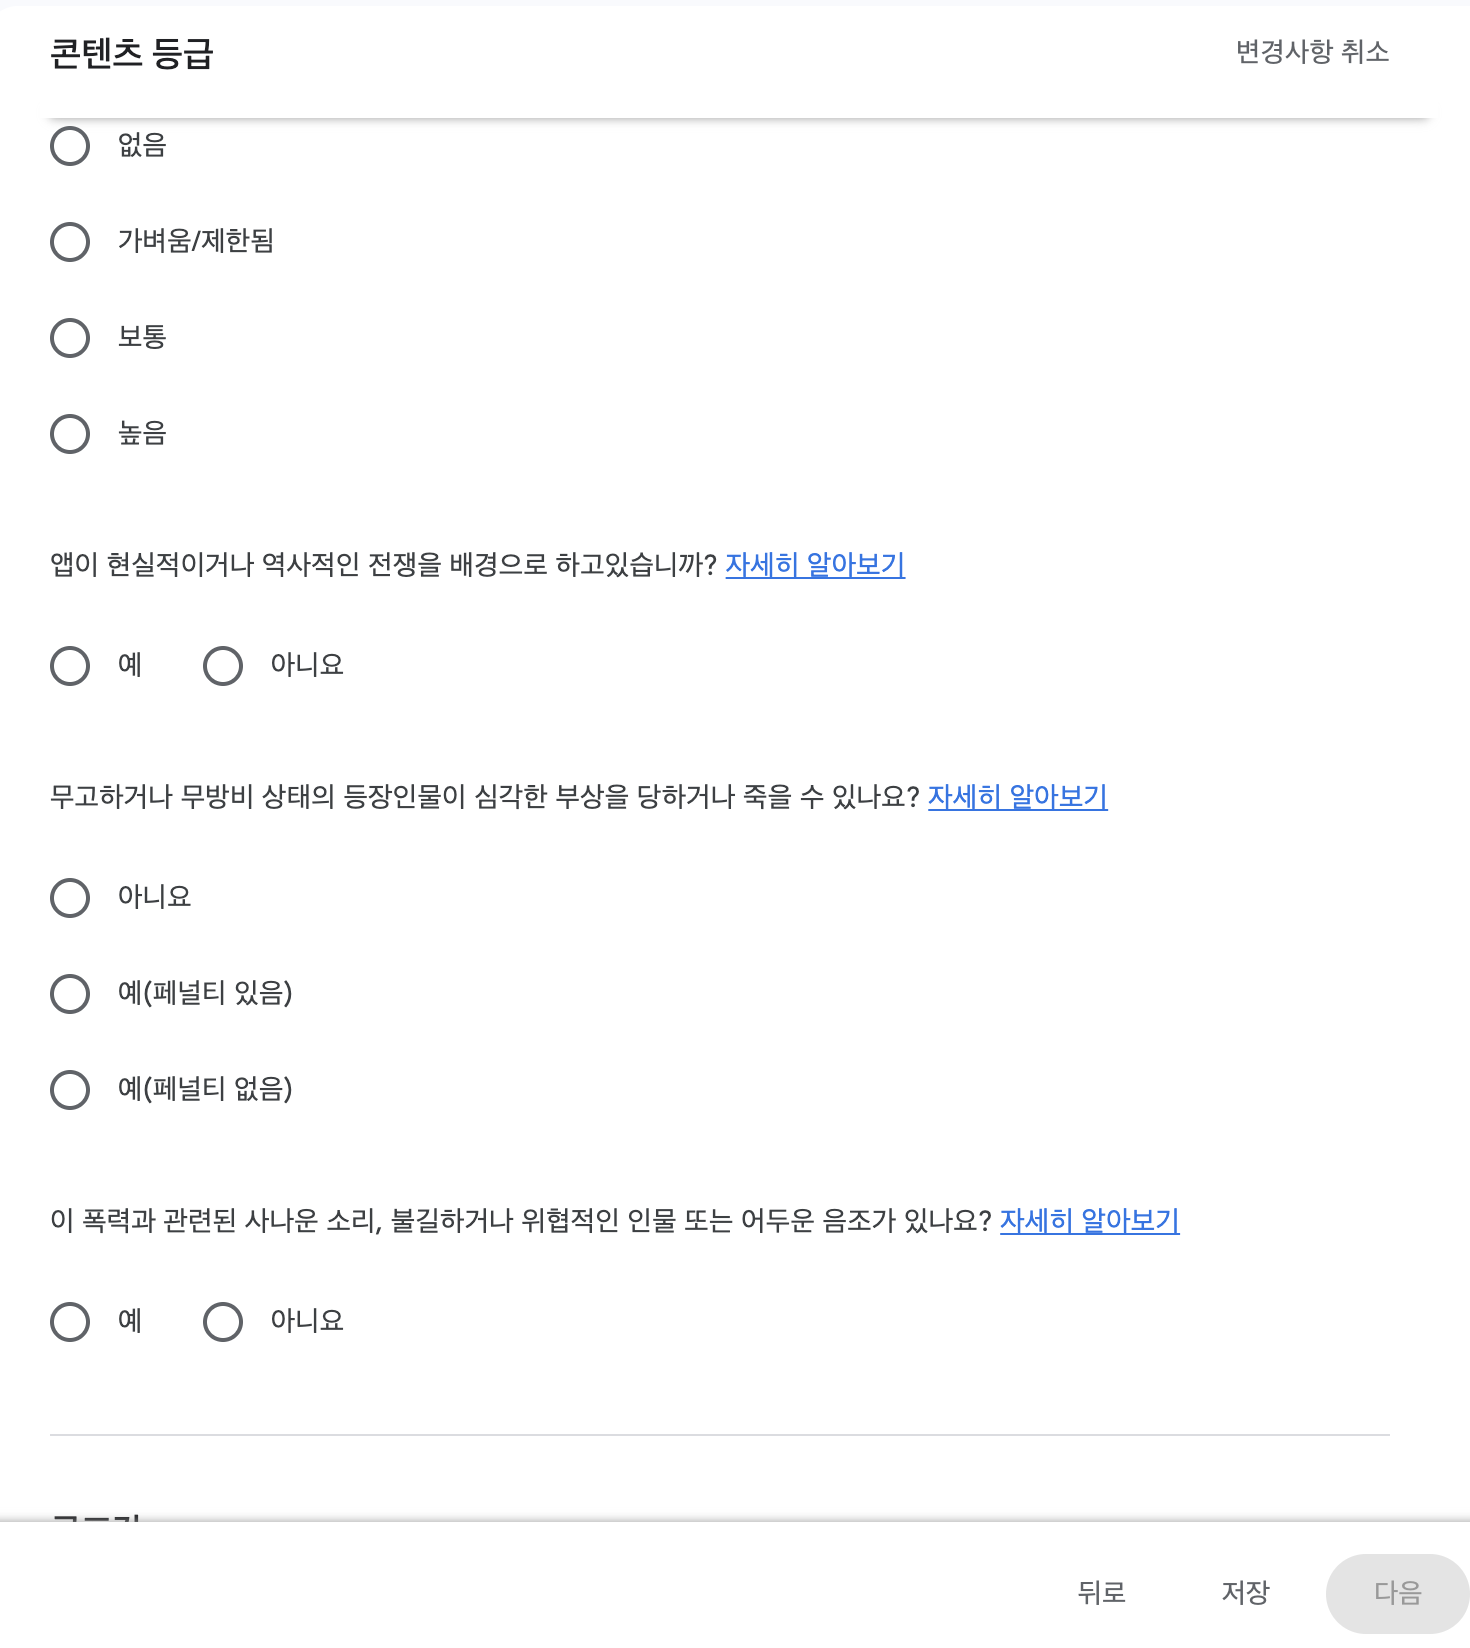
A list of cases with only 'no' answers:
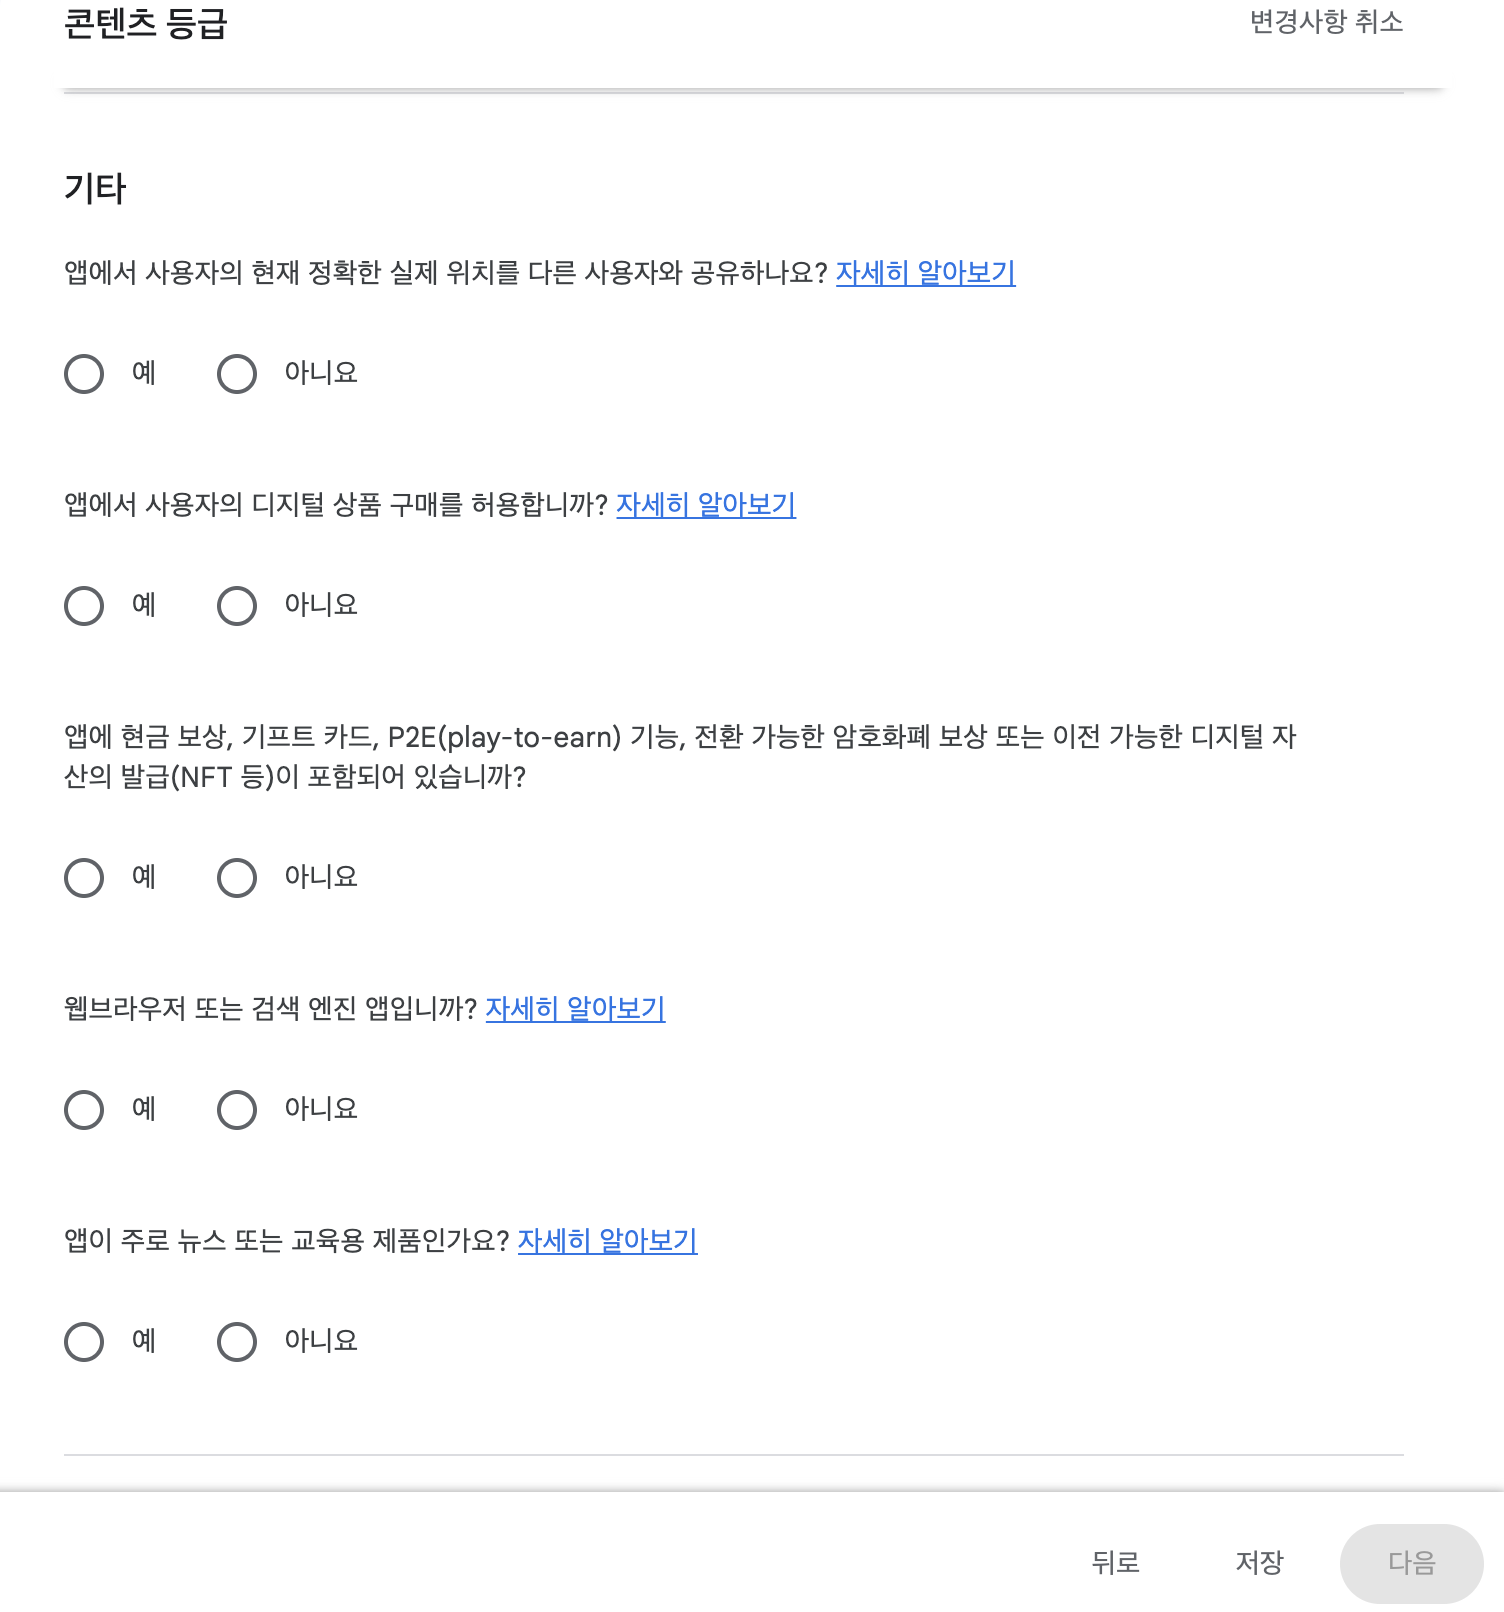
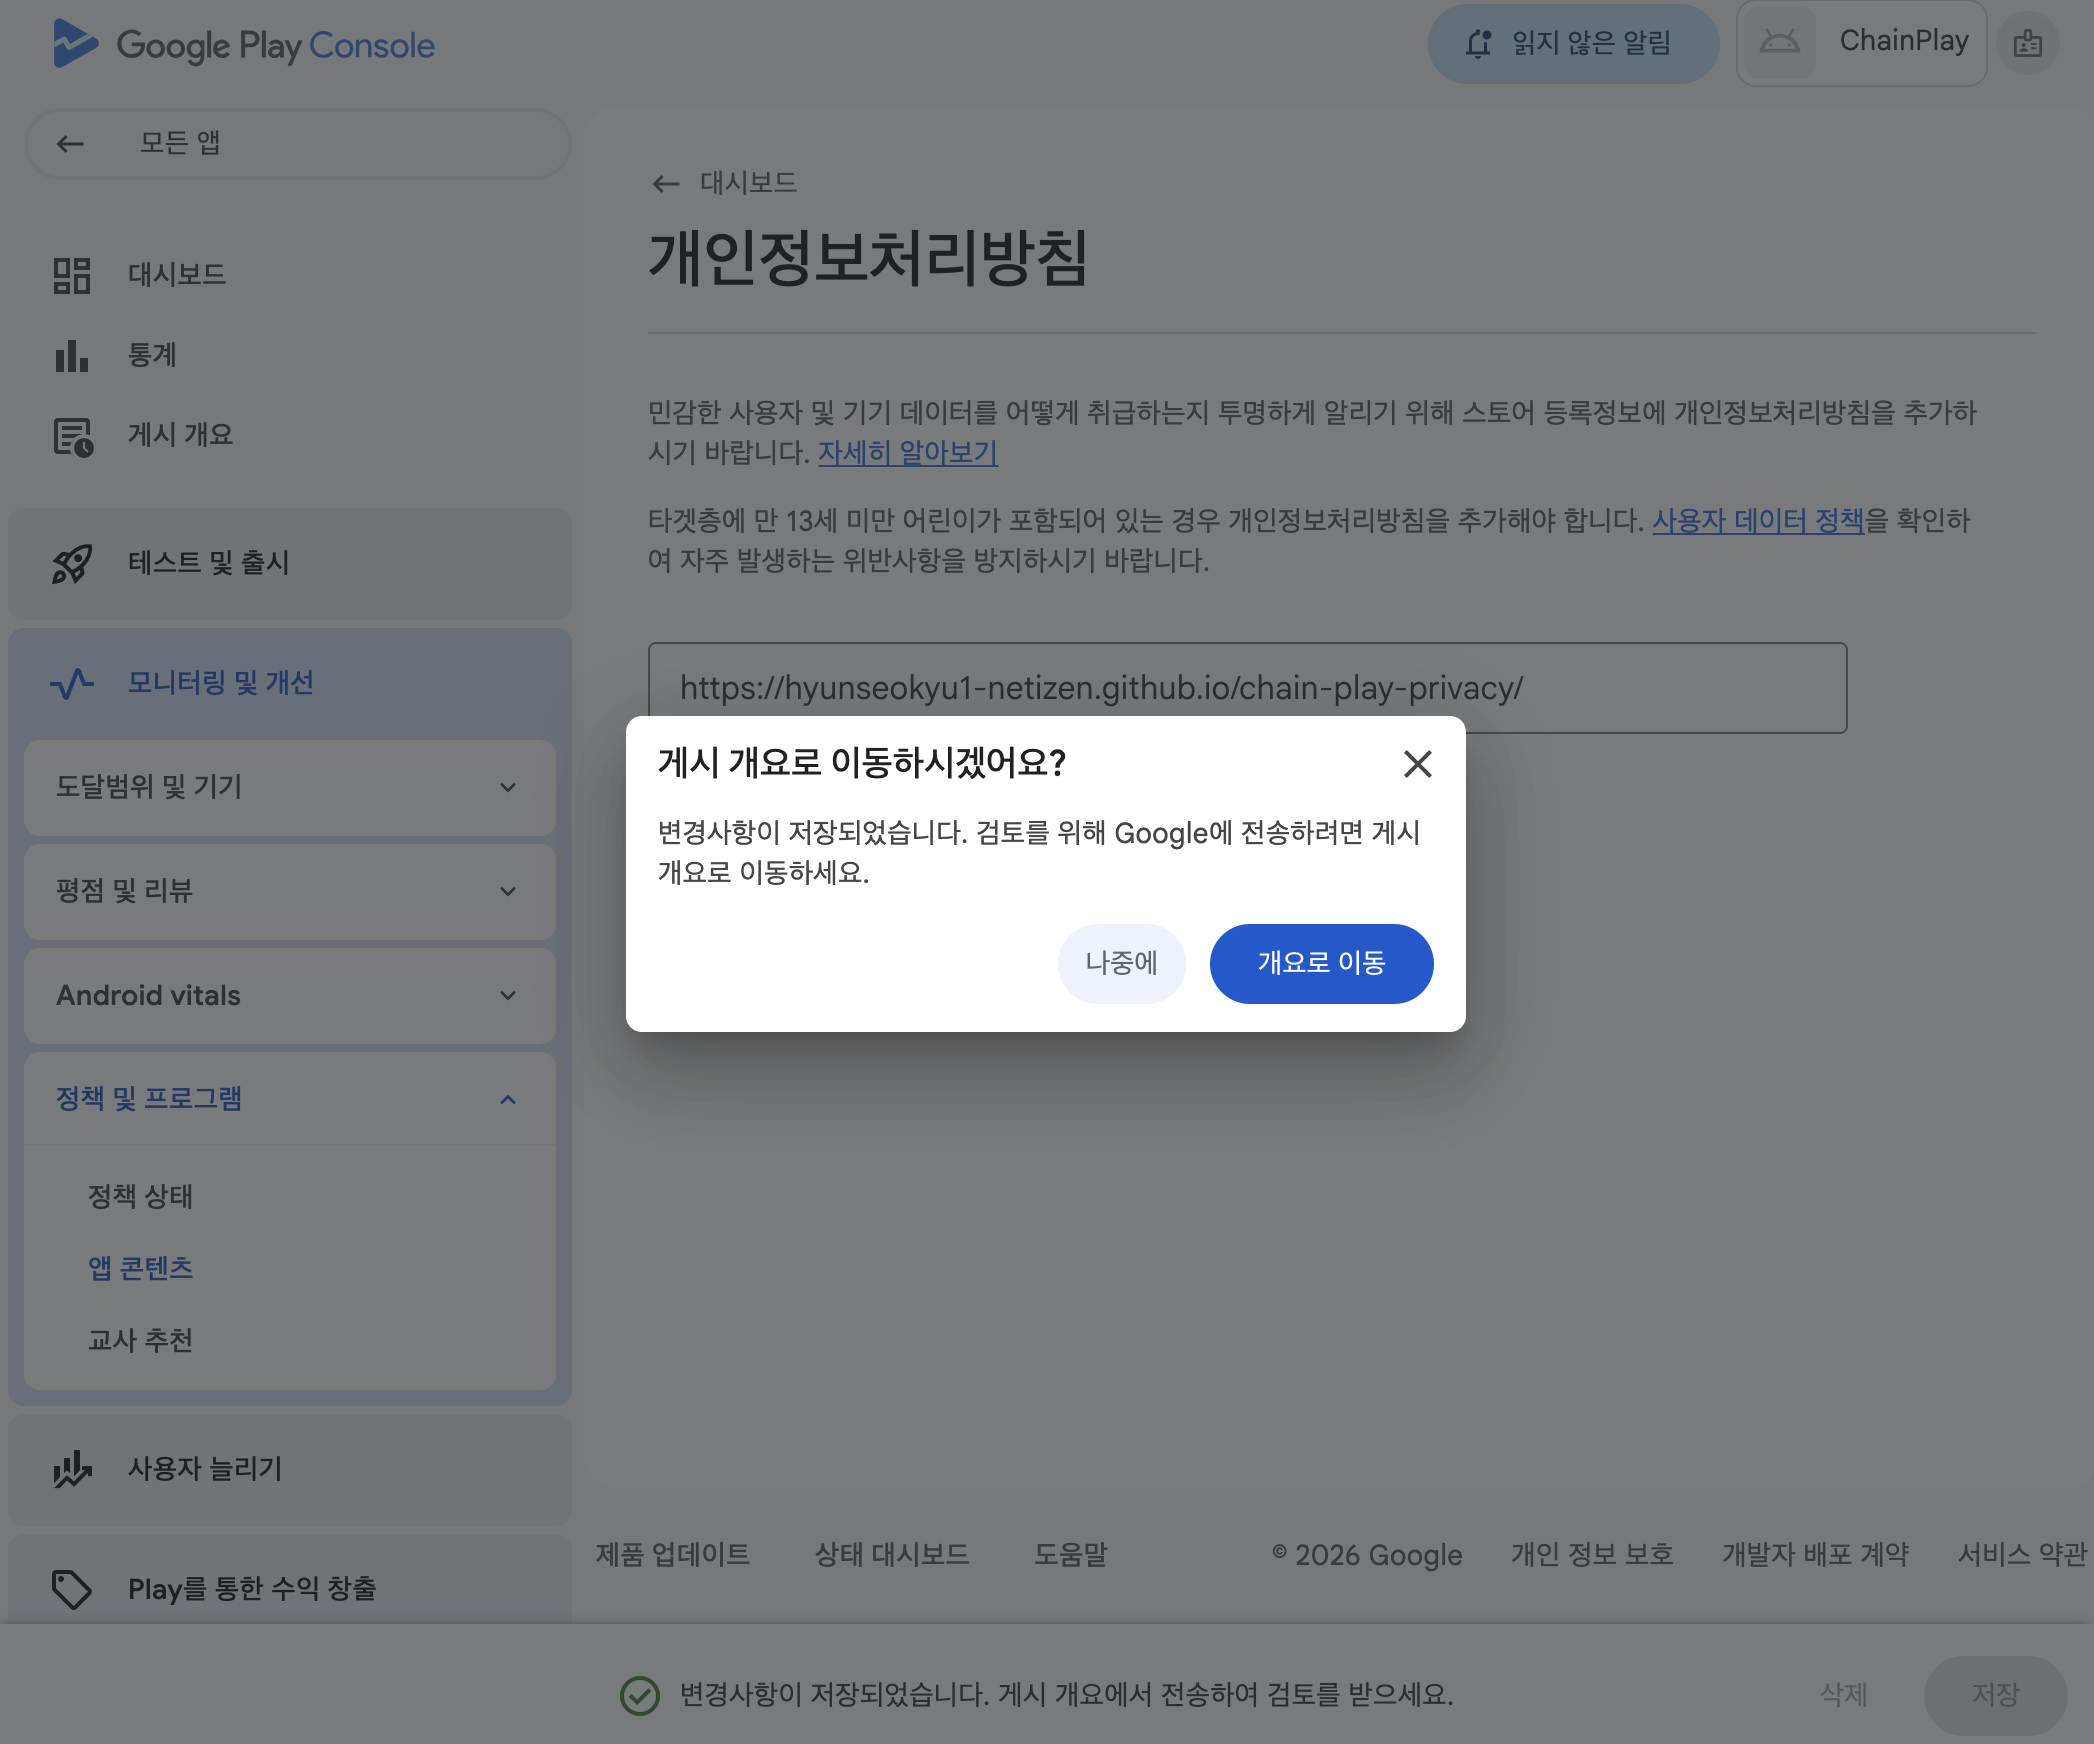
After completing the survey, you must press the Save button to activate the Next button, as it will not automatically advance.
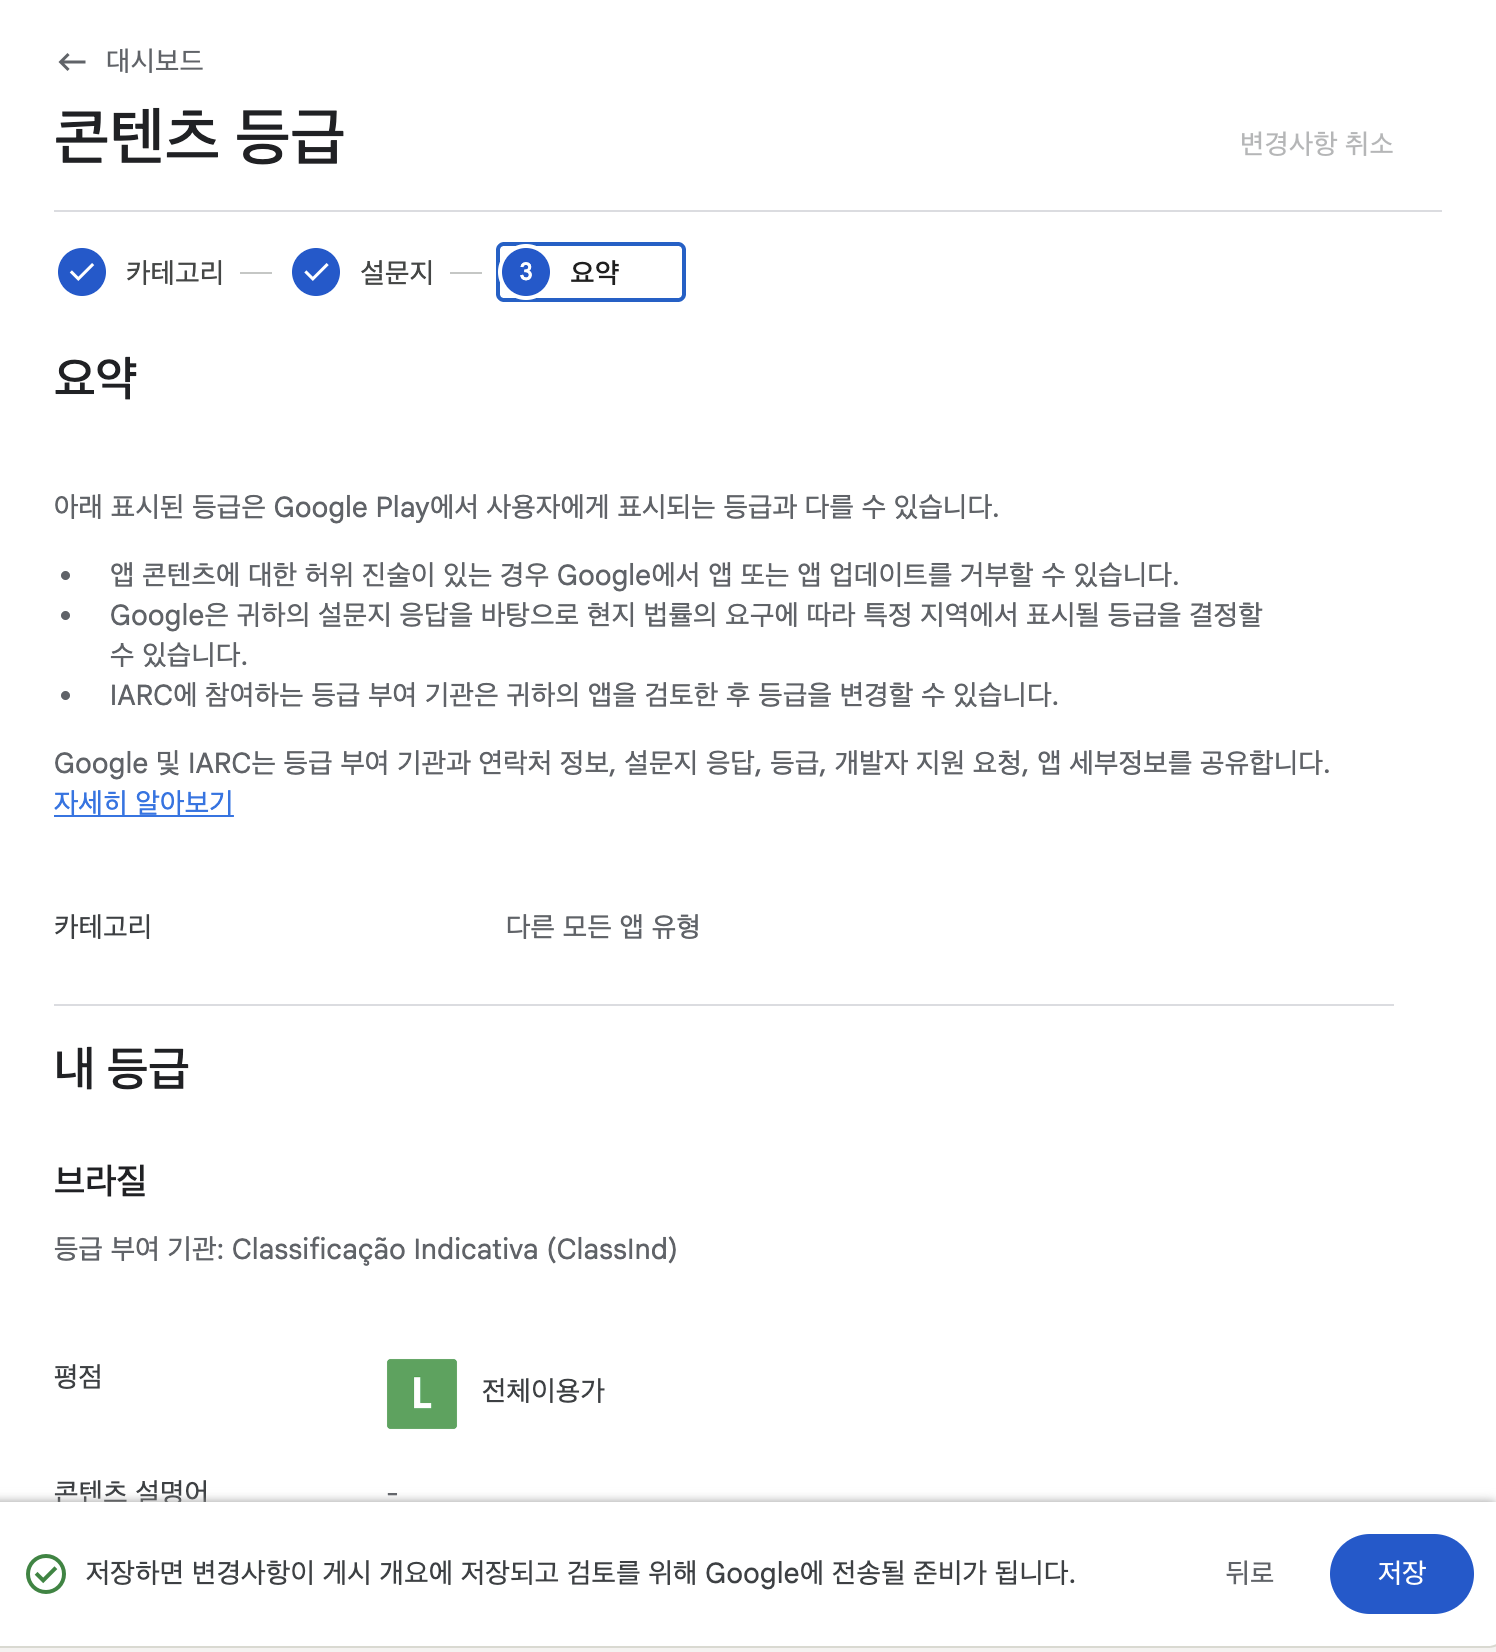
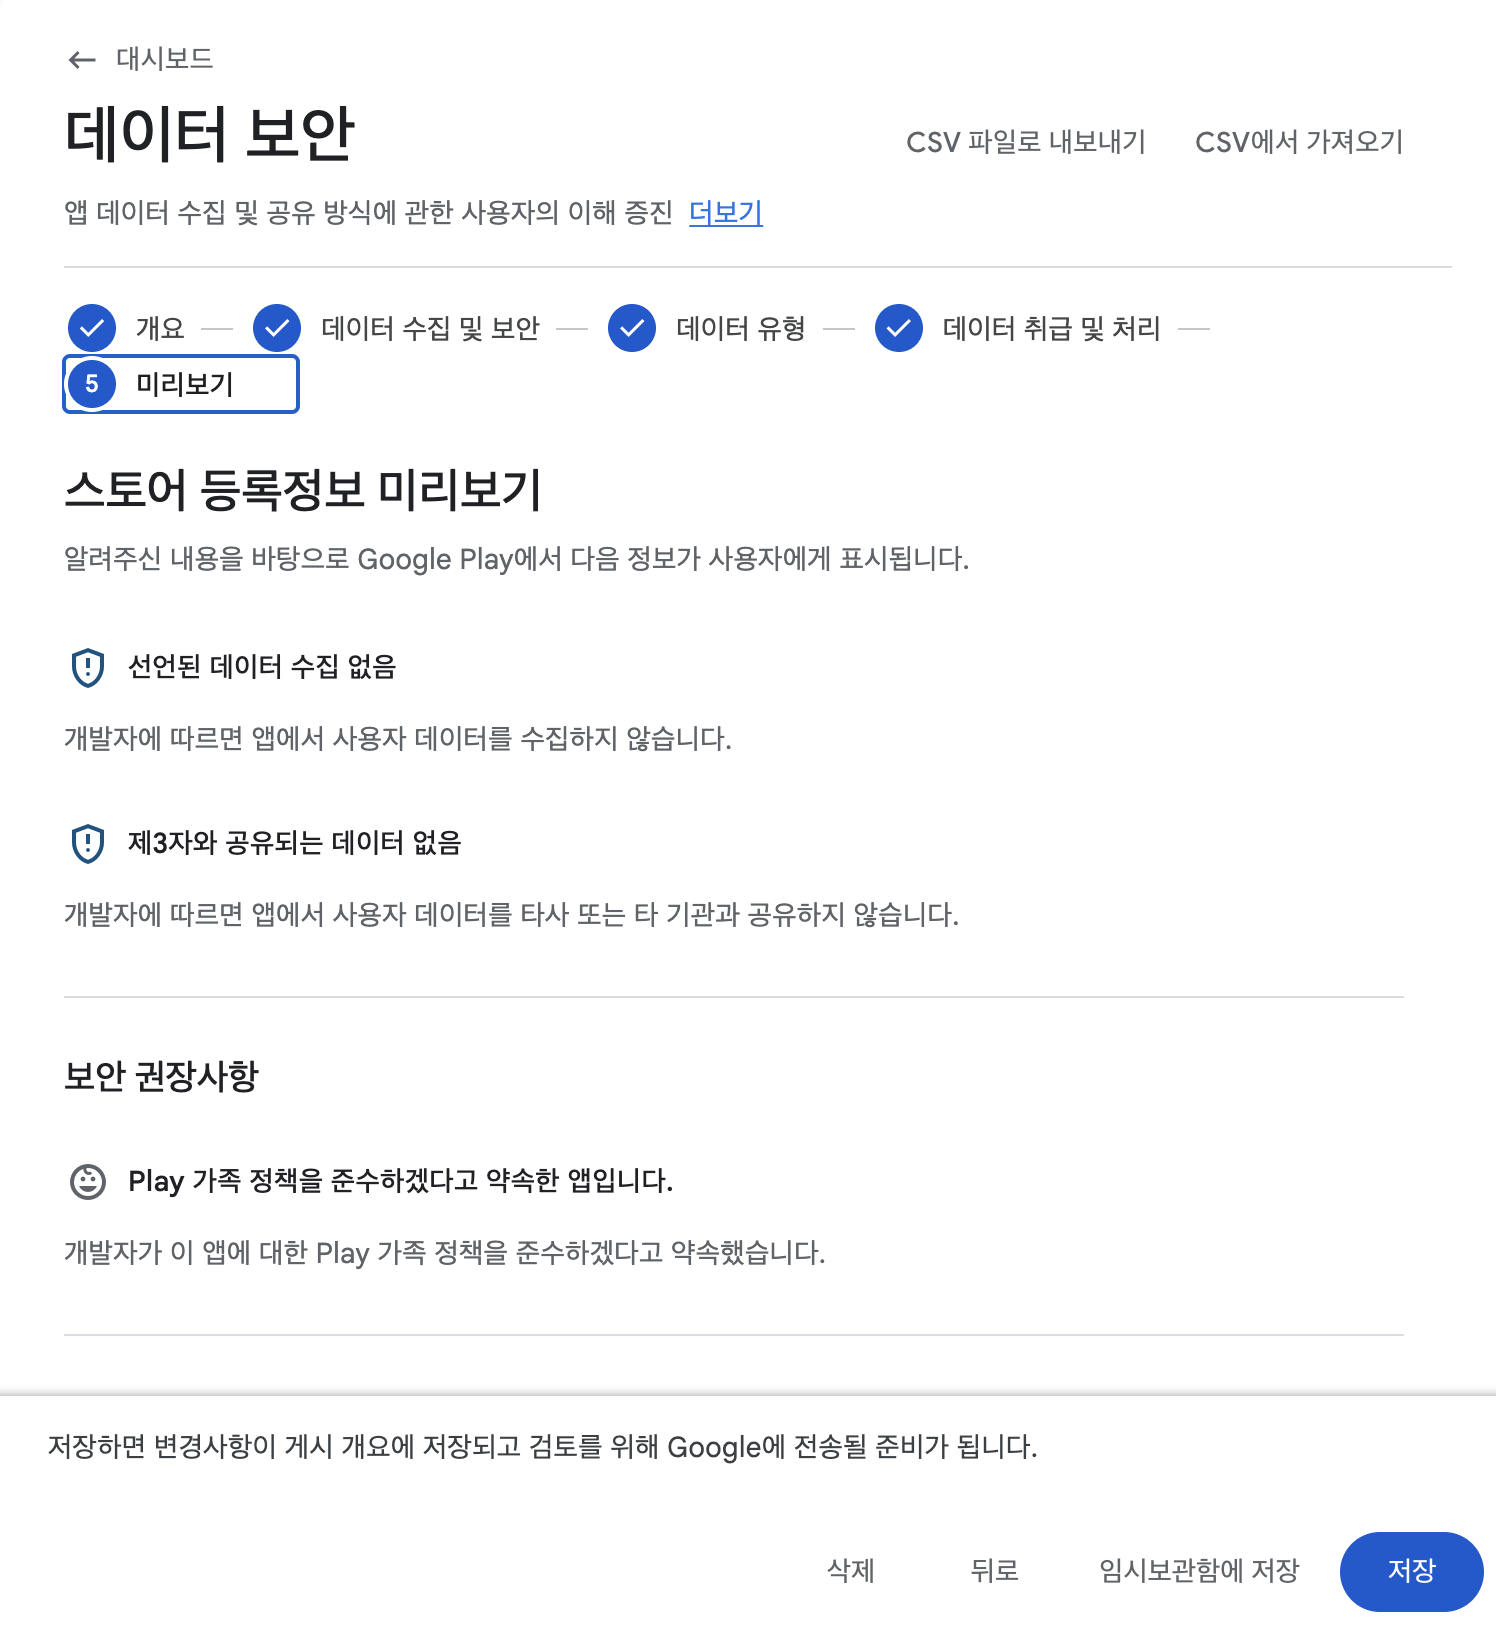
Check the summary:
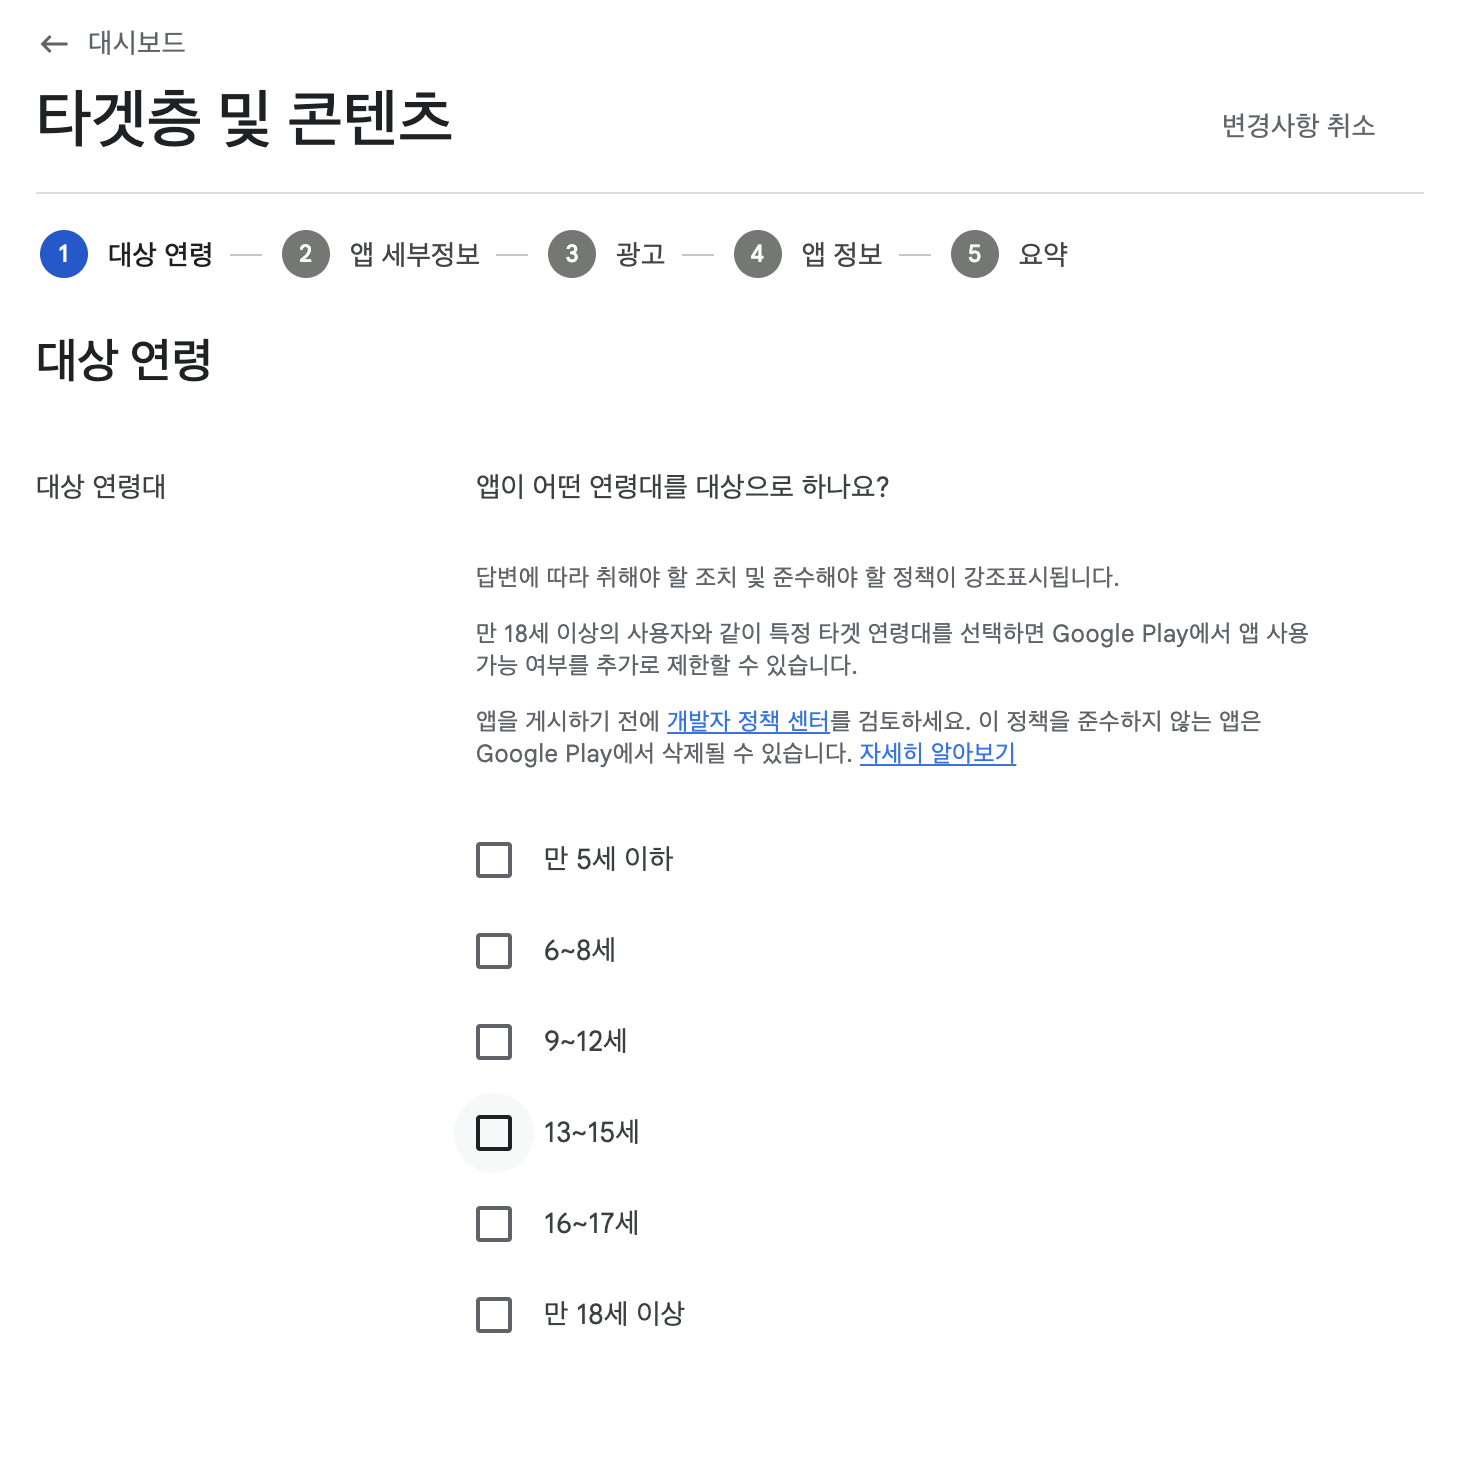
Target Audience
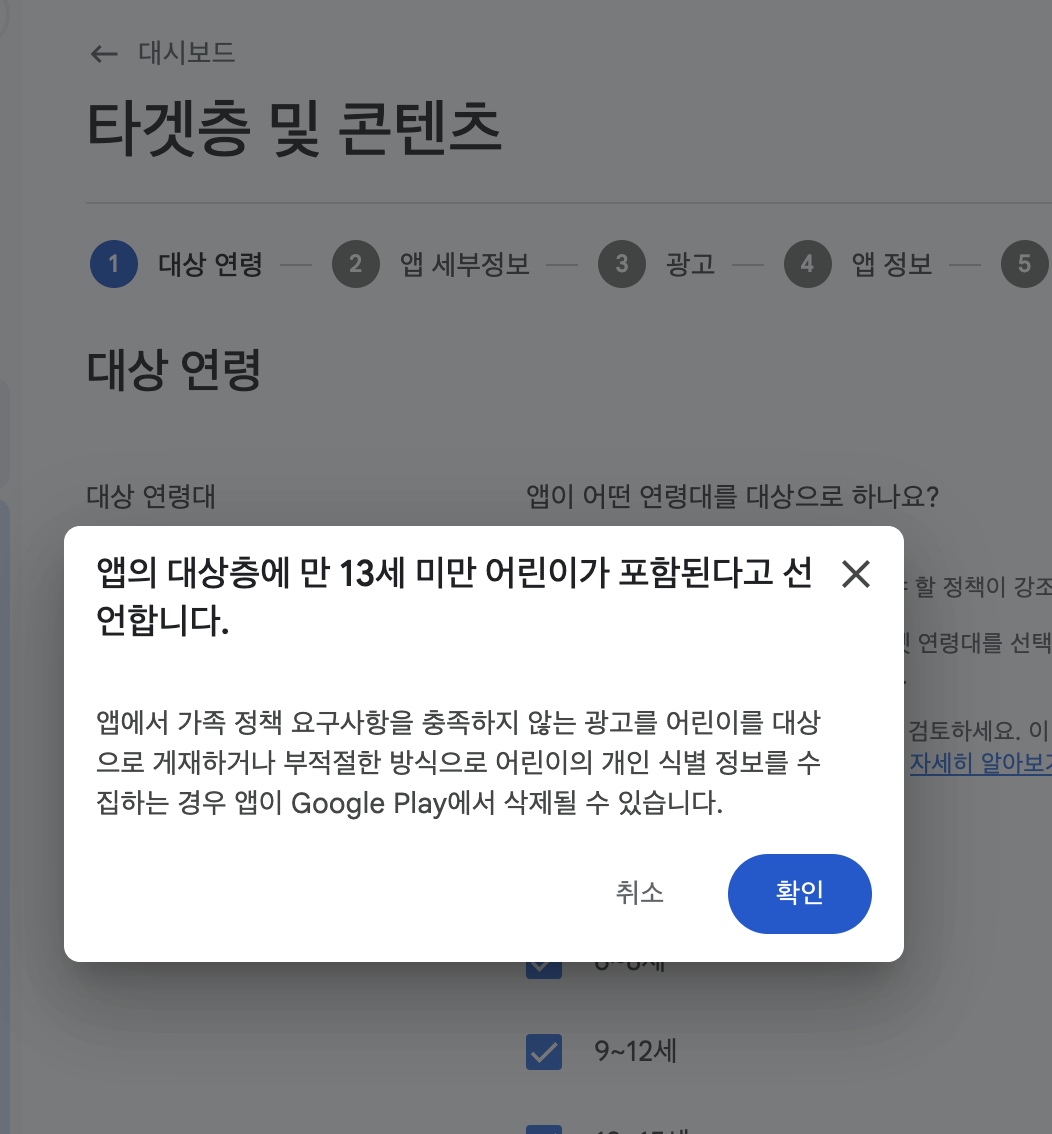
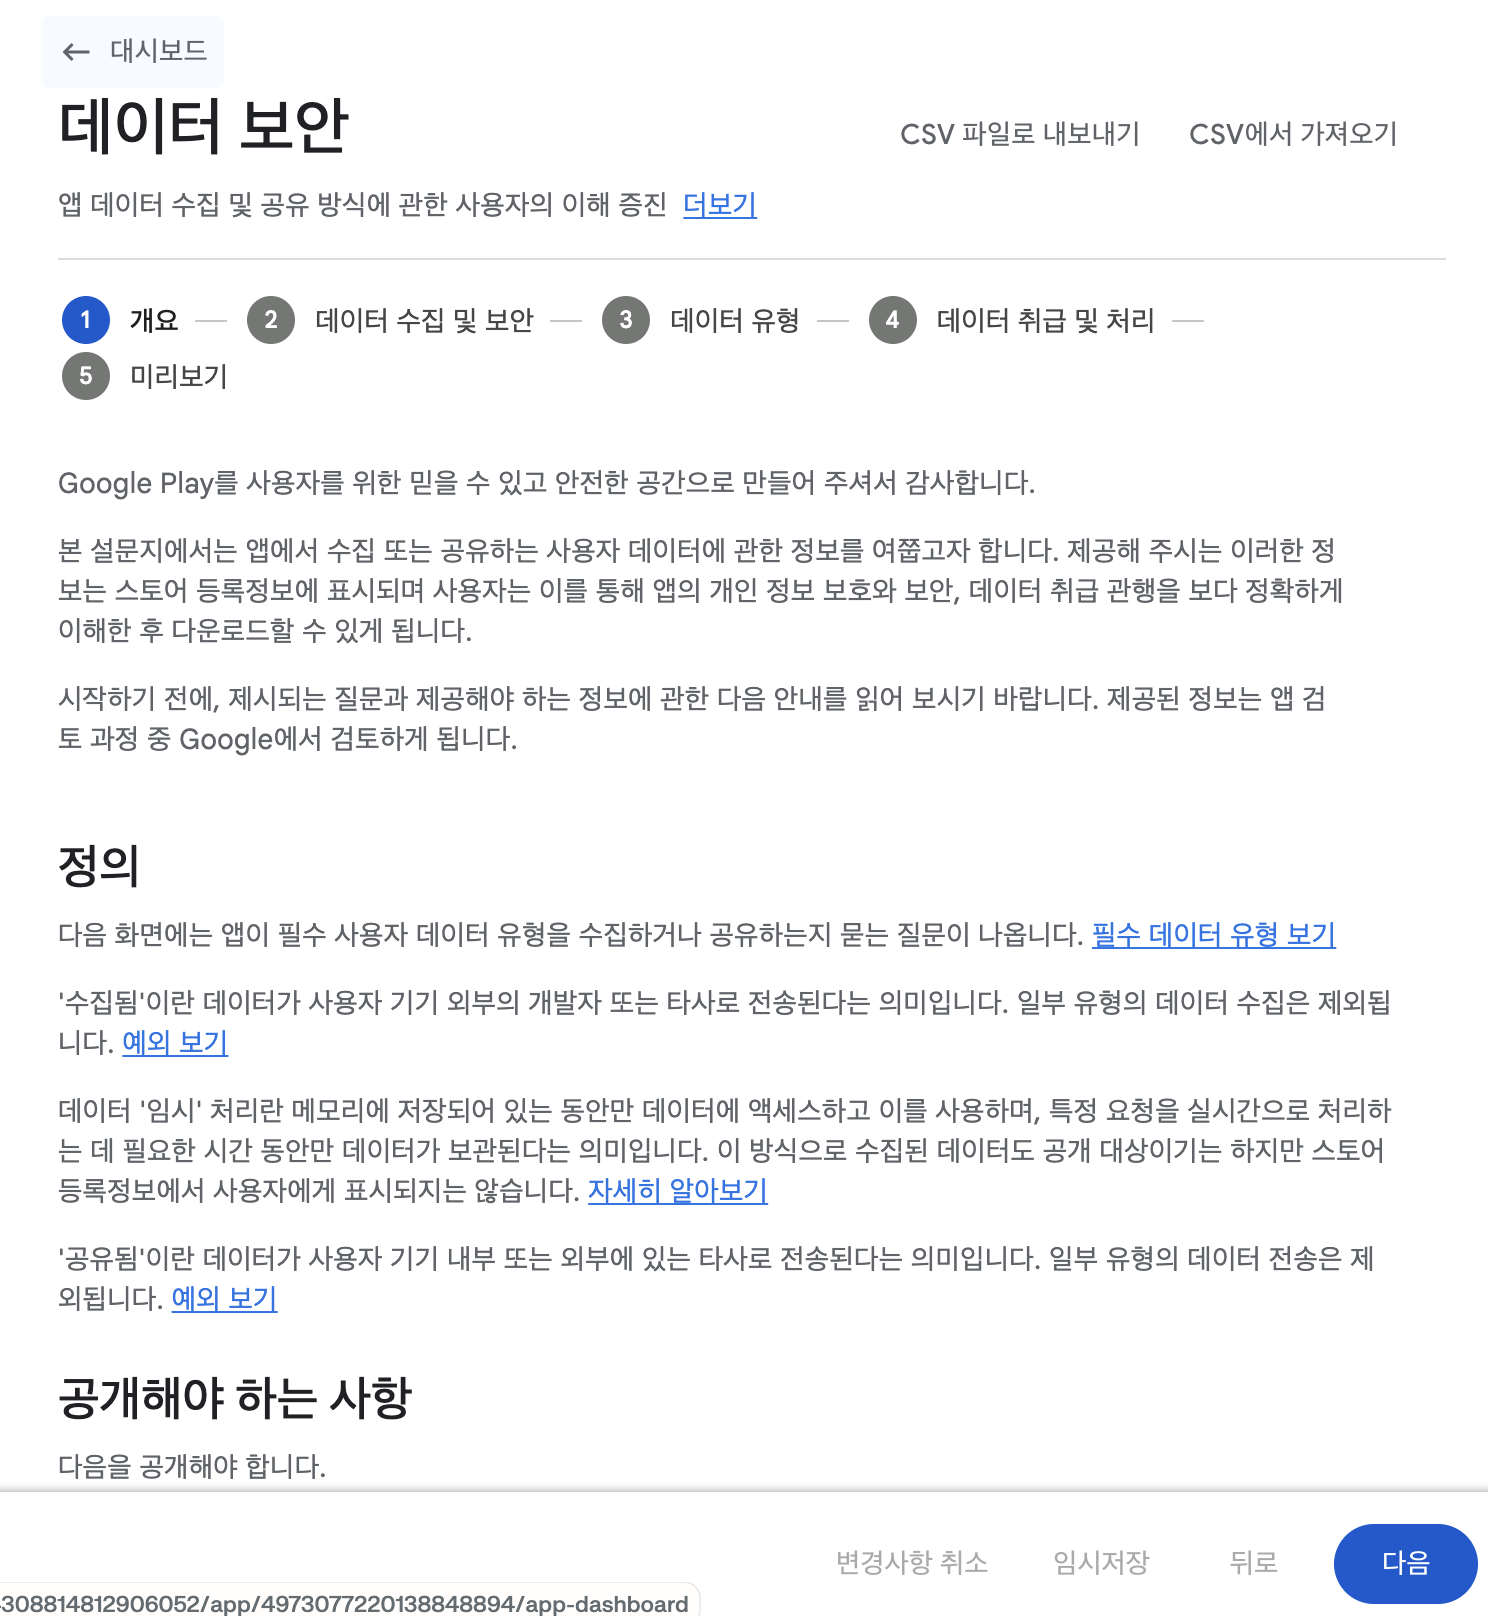
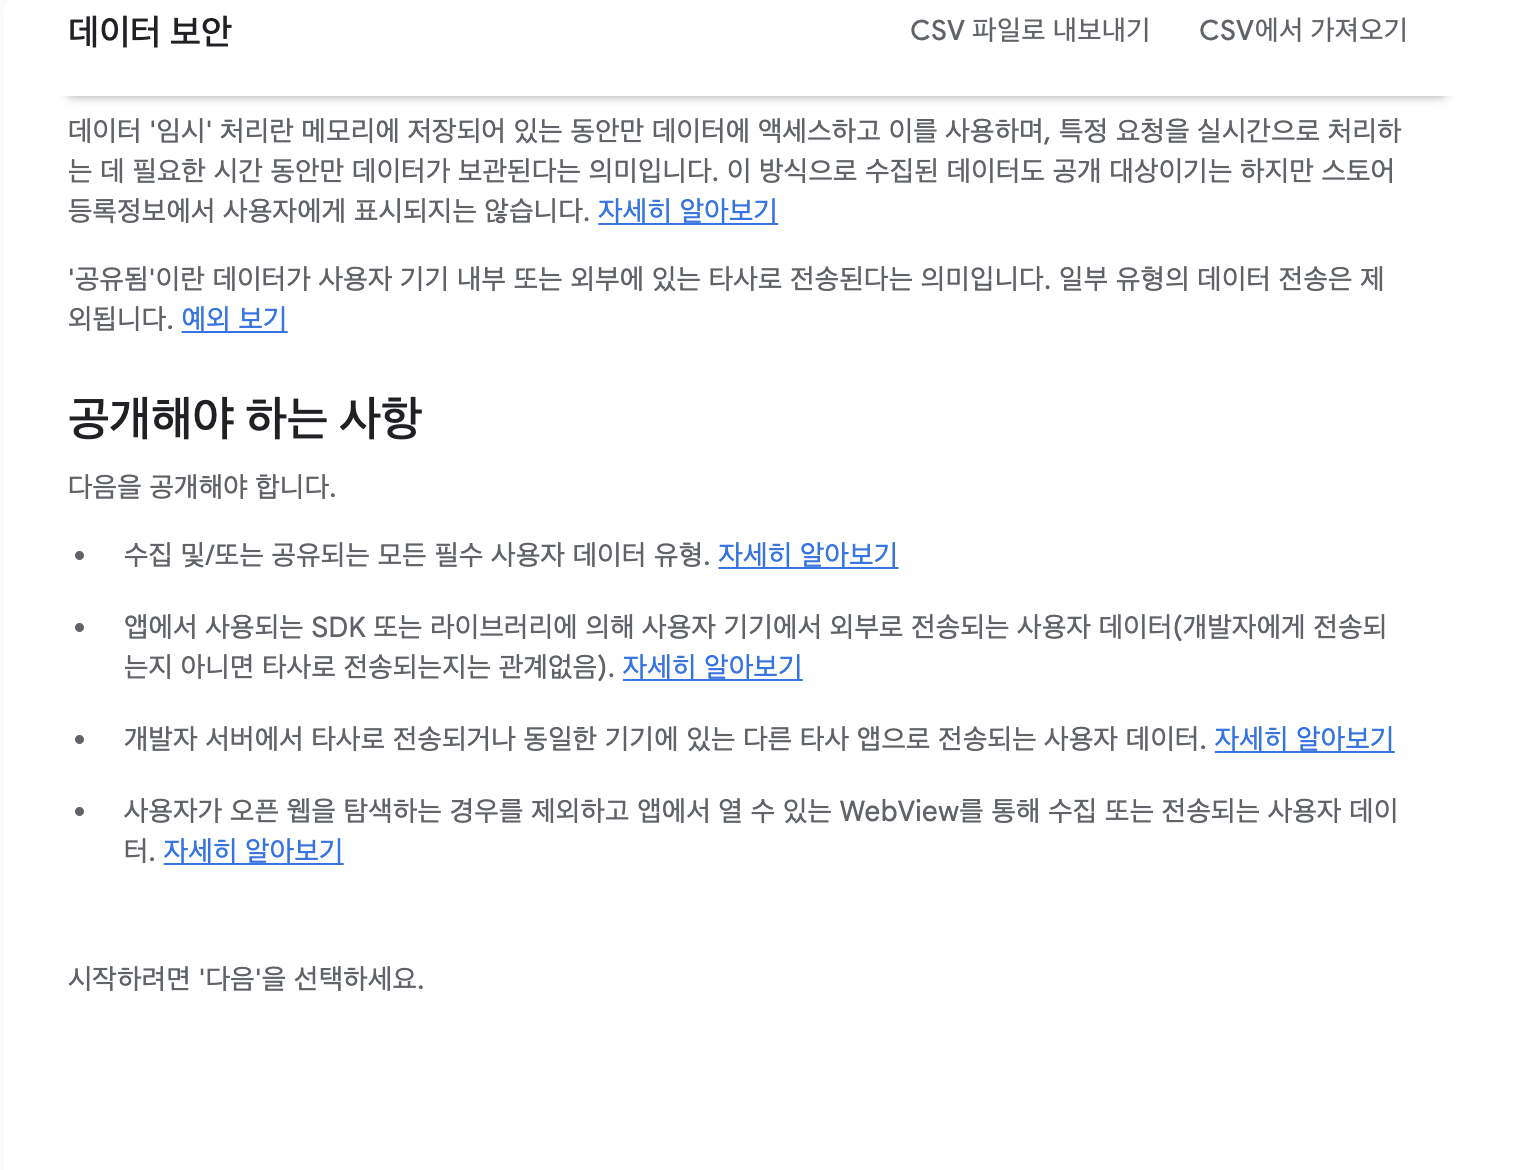
Data security
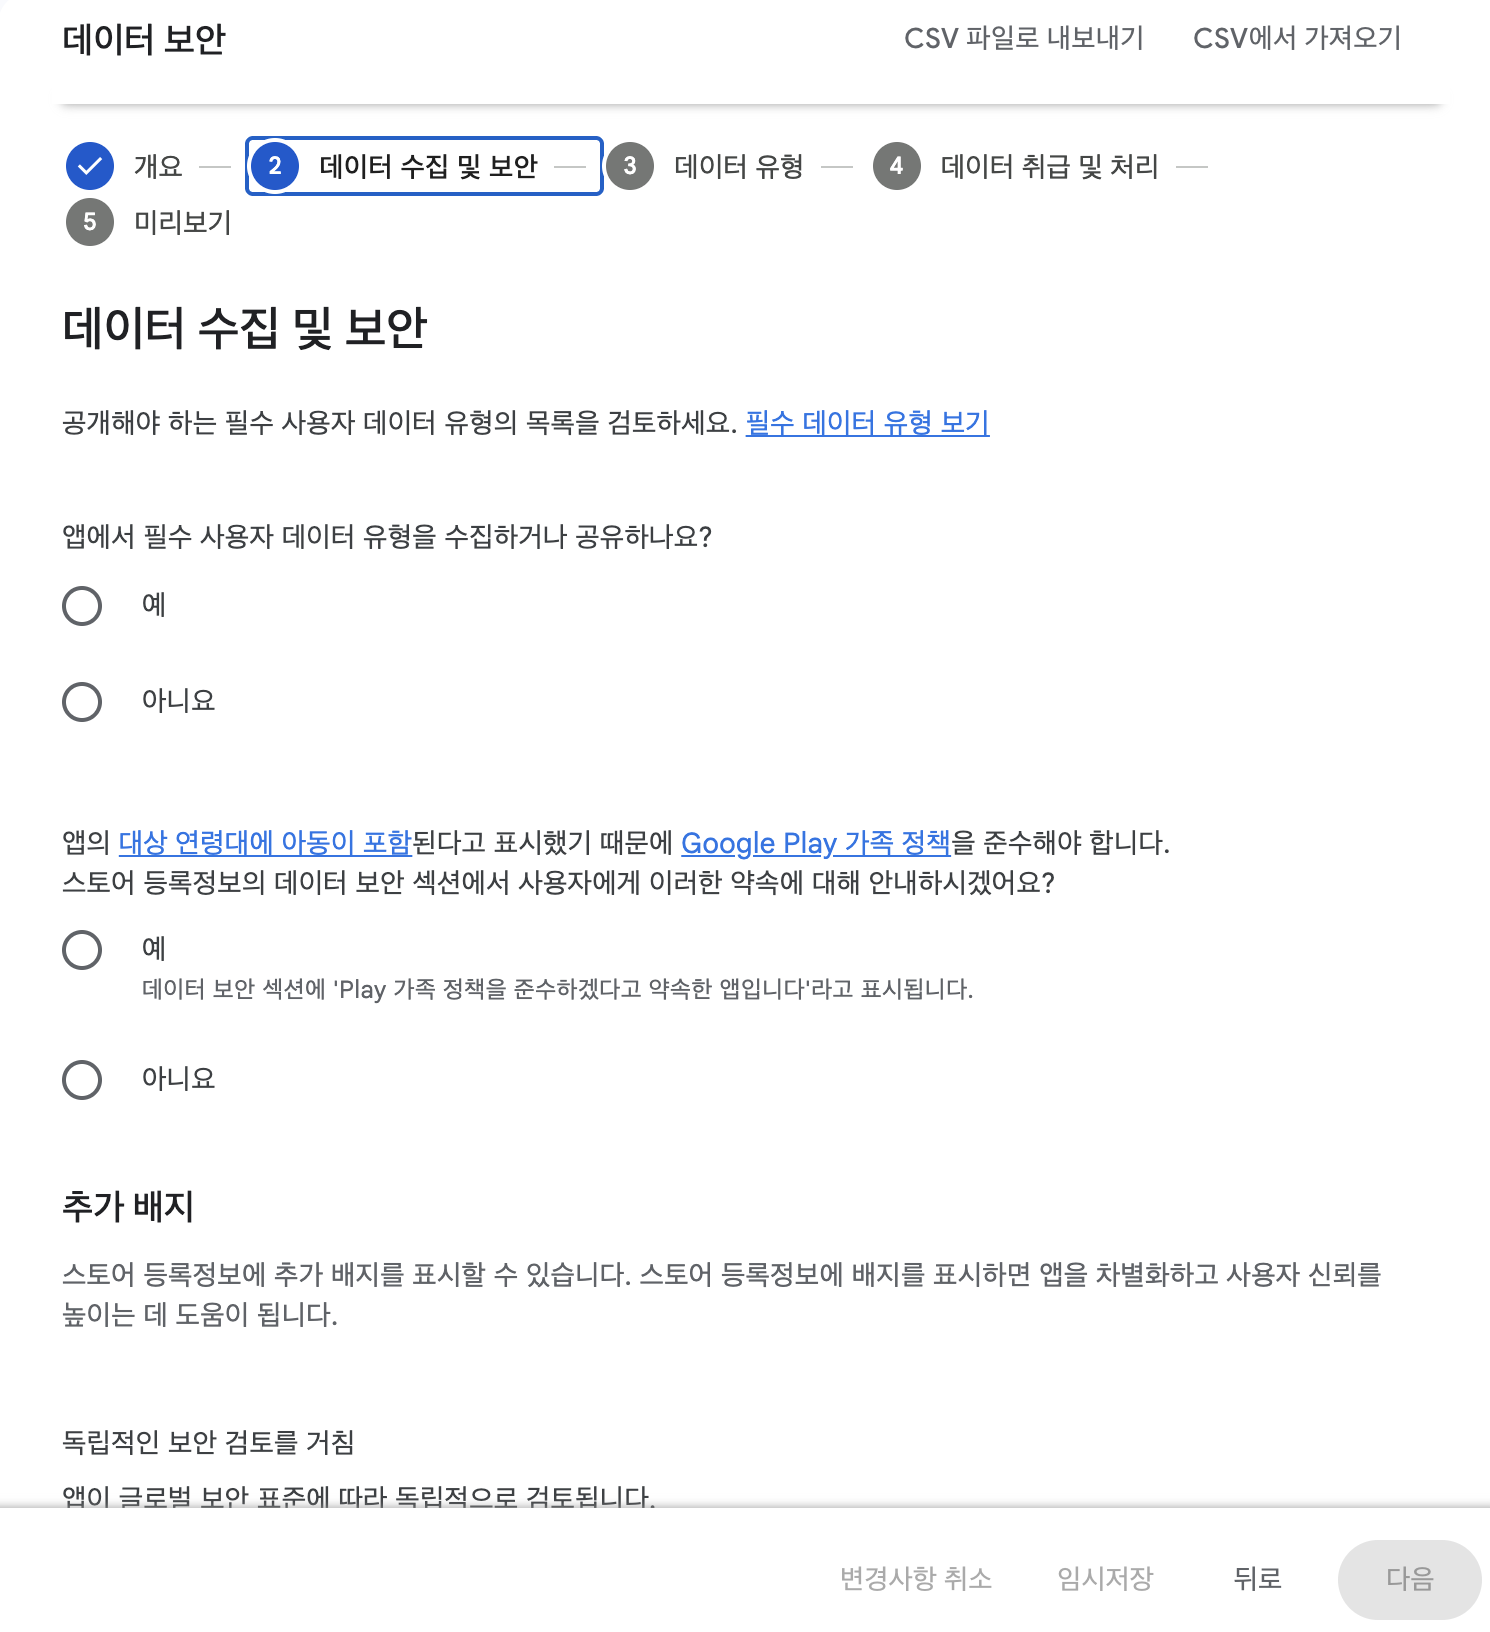

If your app's target audience includes children, you must select "Yes" when asked if you "comply with the Google Play Family Policy" to proceed to the next step.
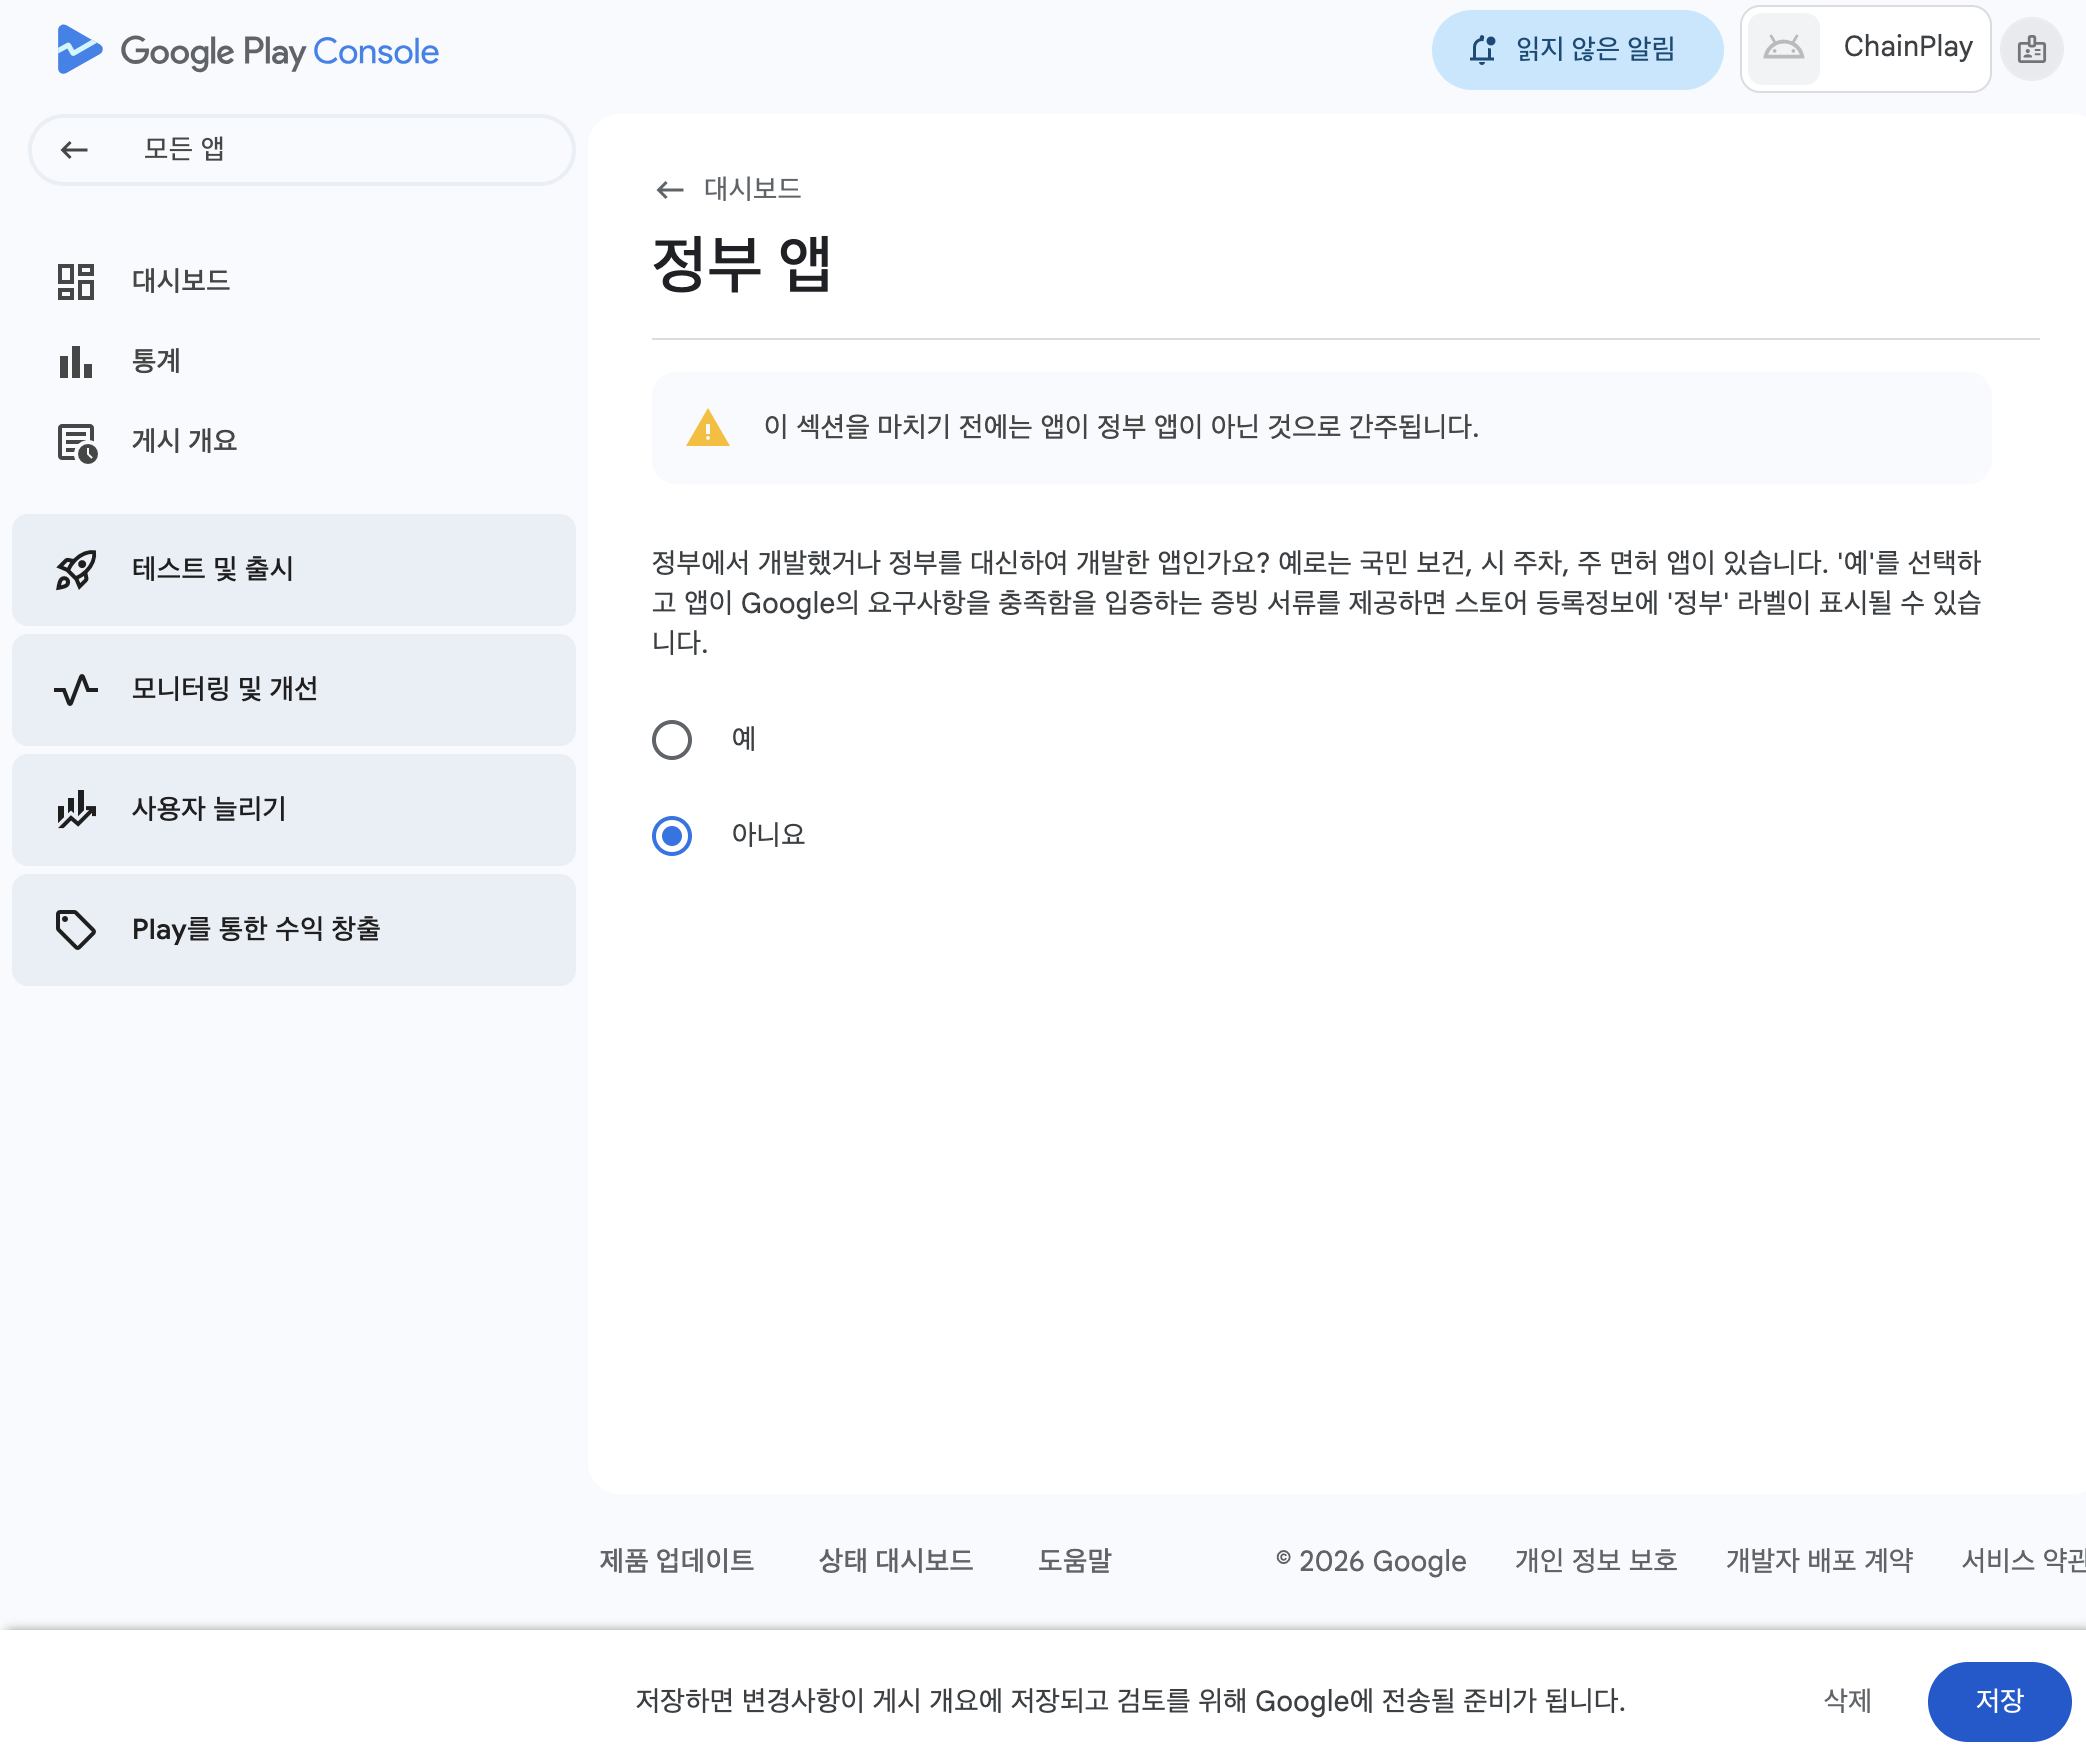
Government apps
Financial features
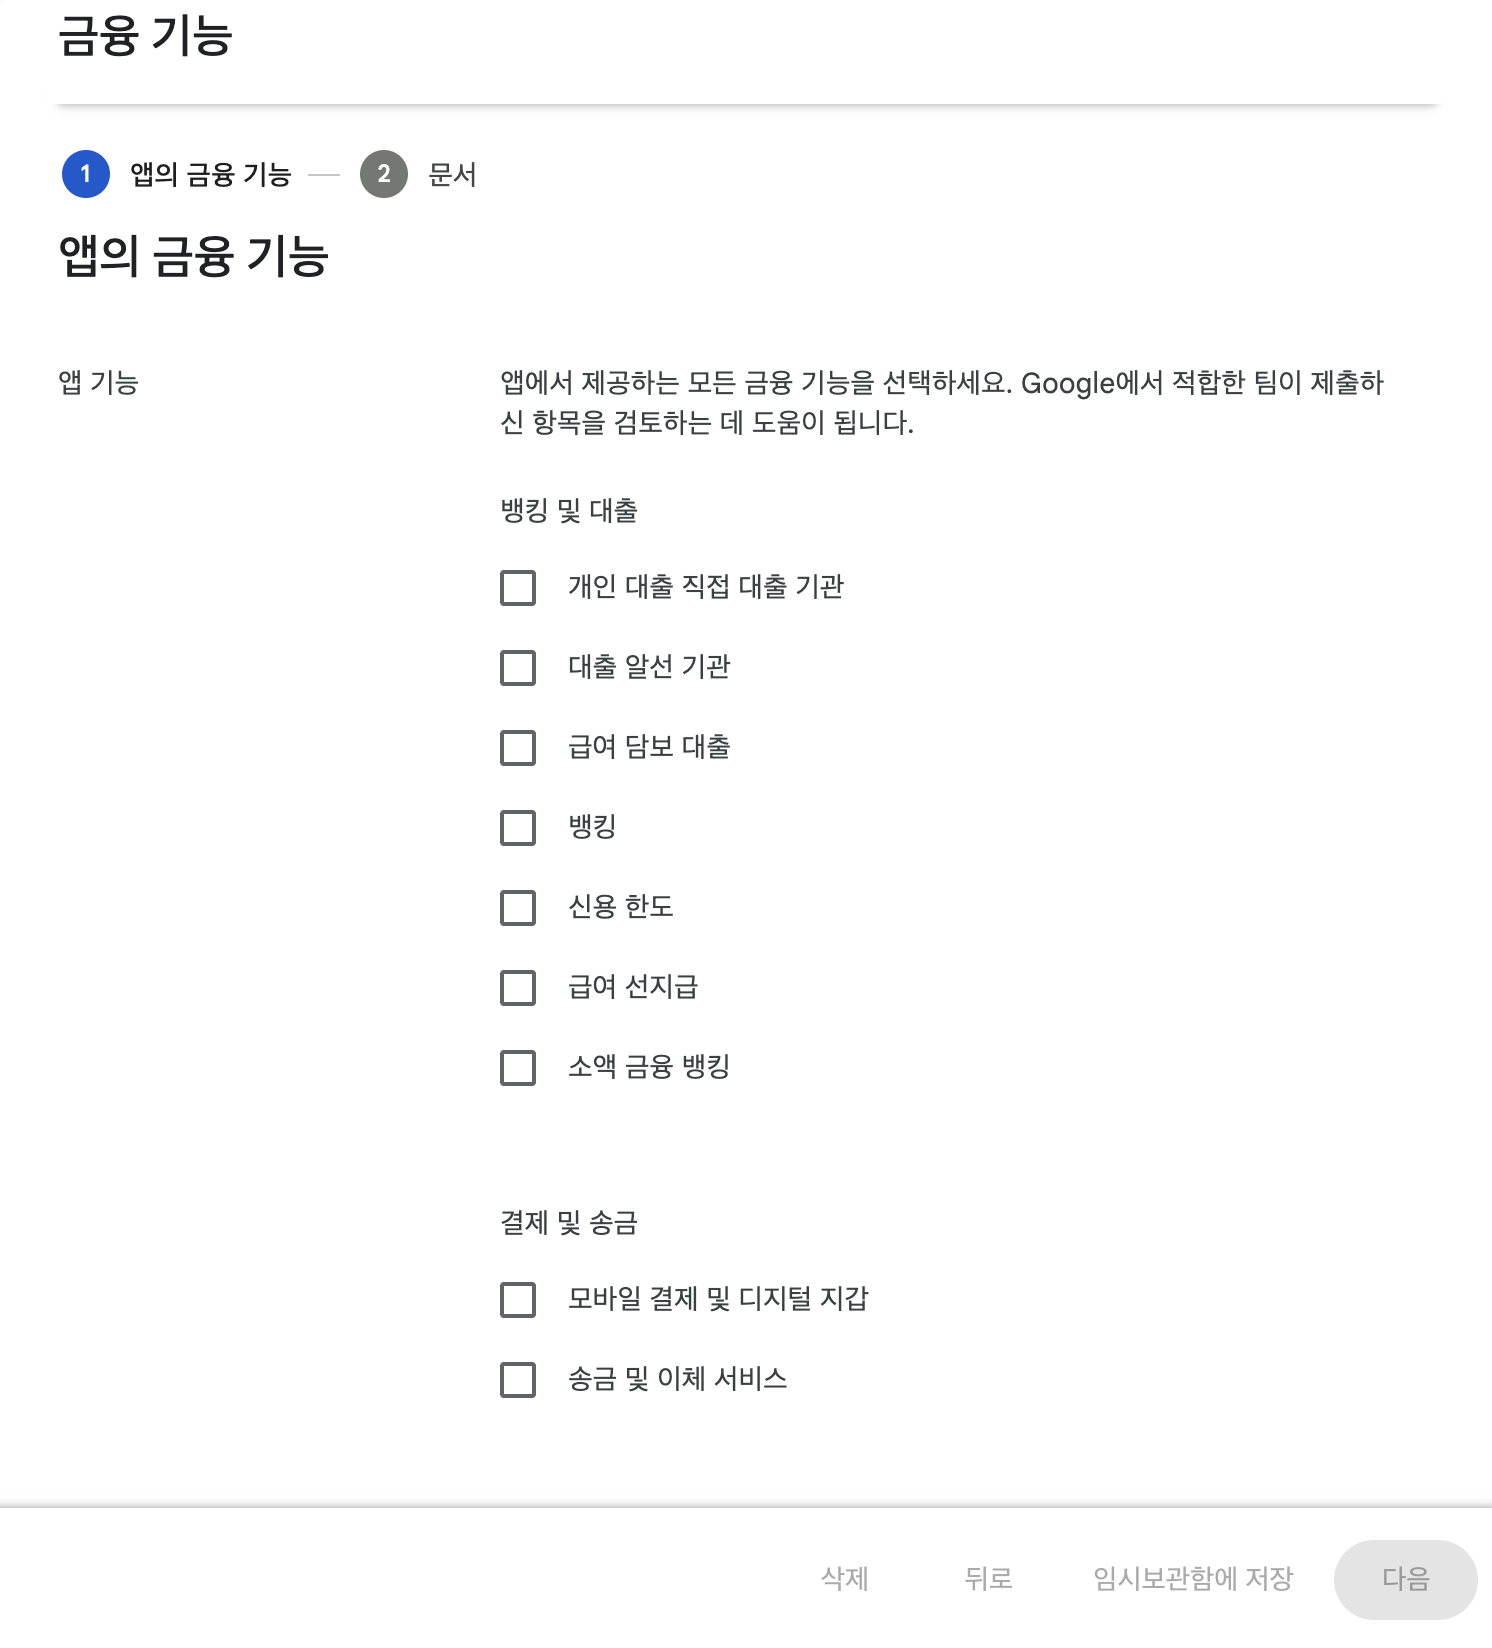
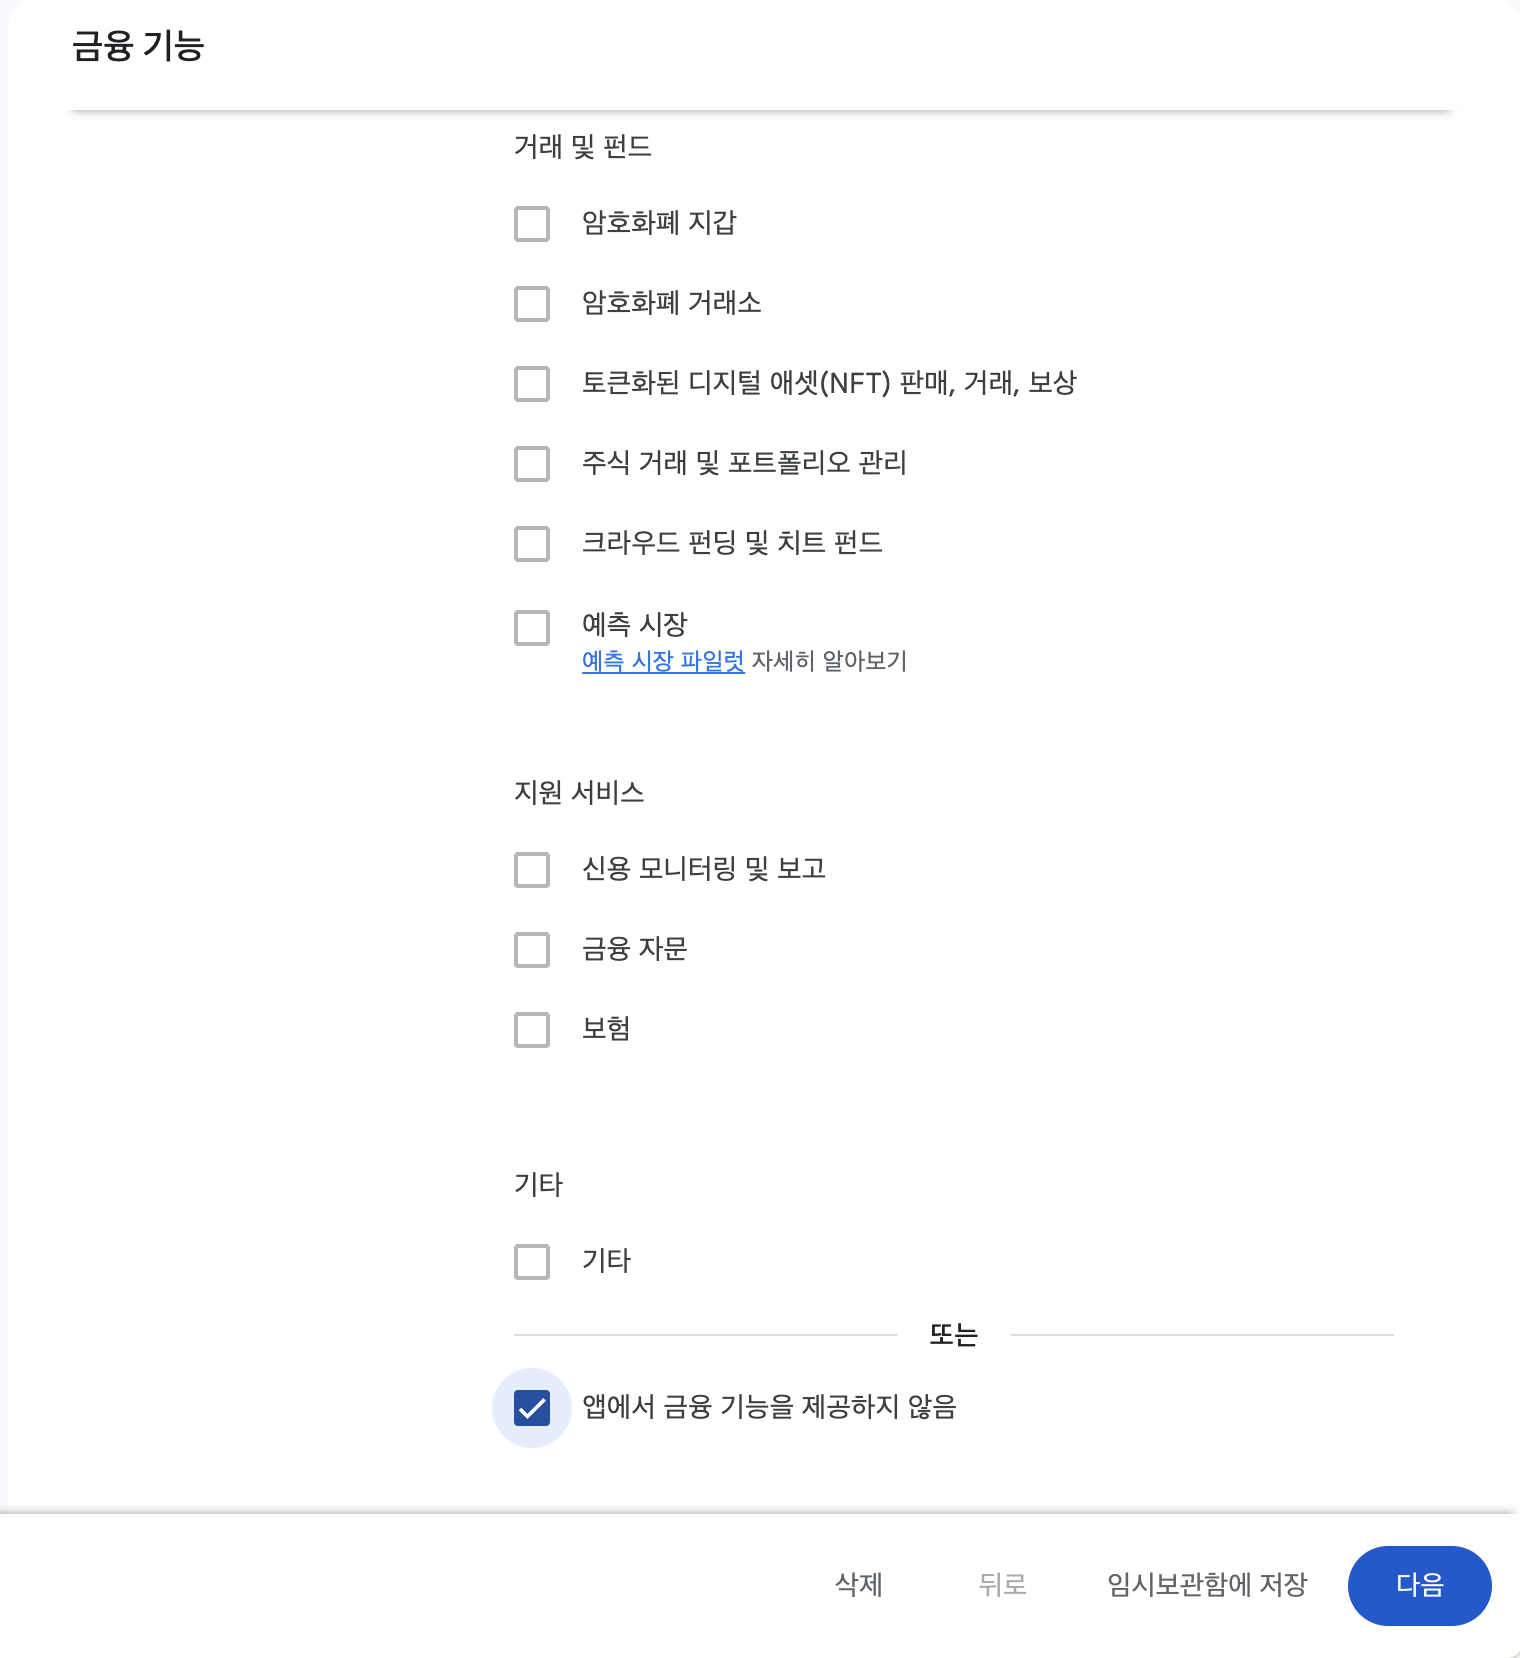
You'll need to select "App does not offer financial features" to move on.
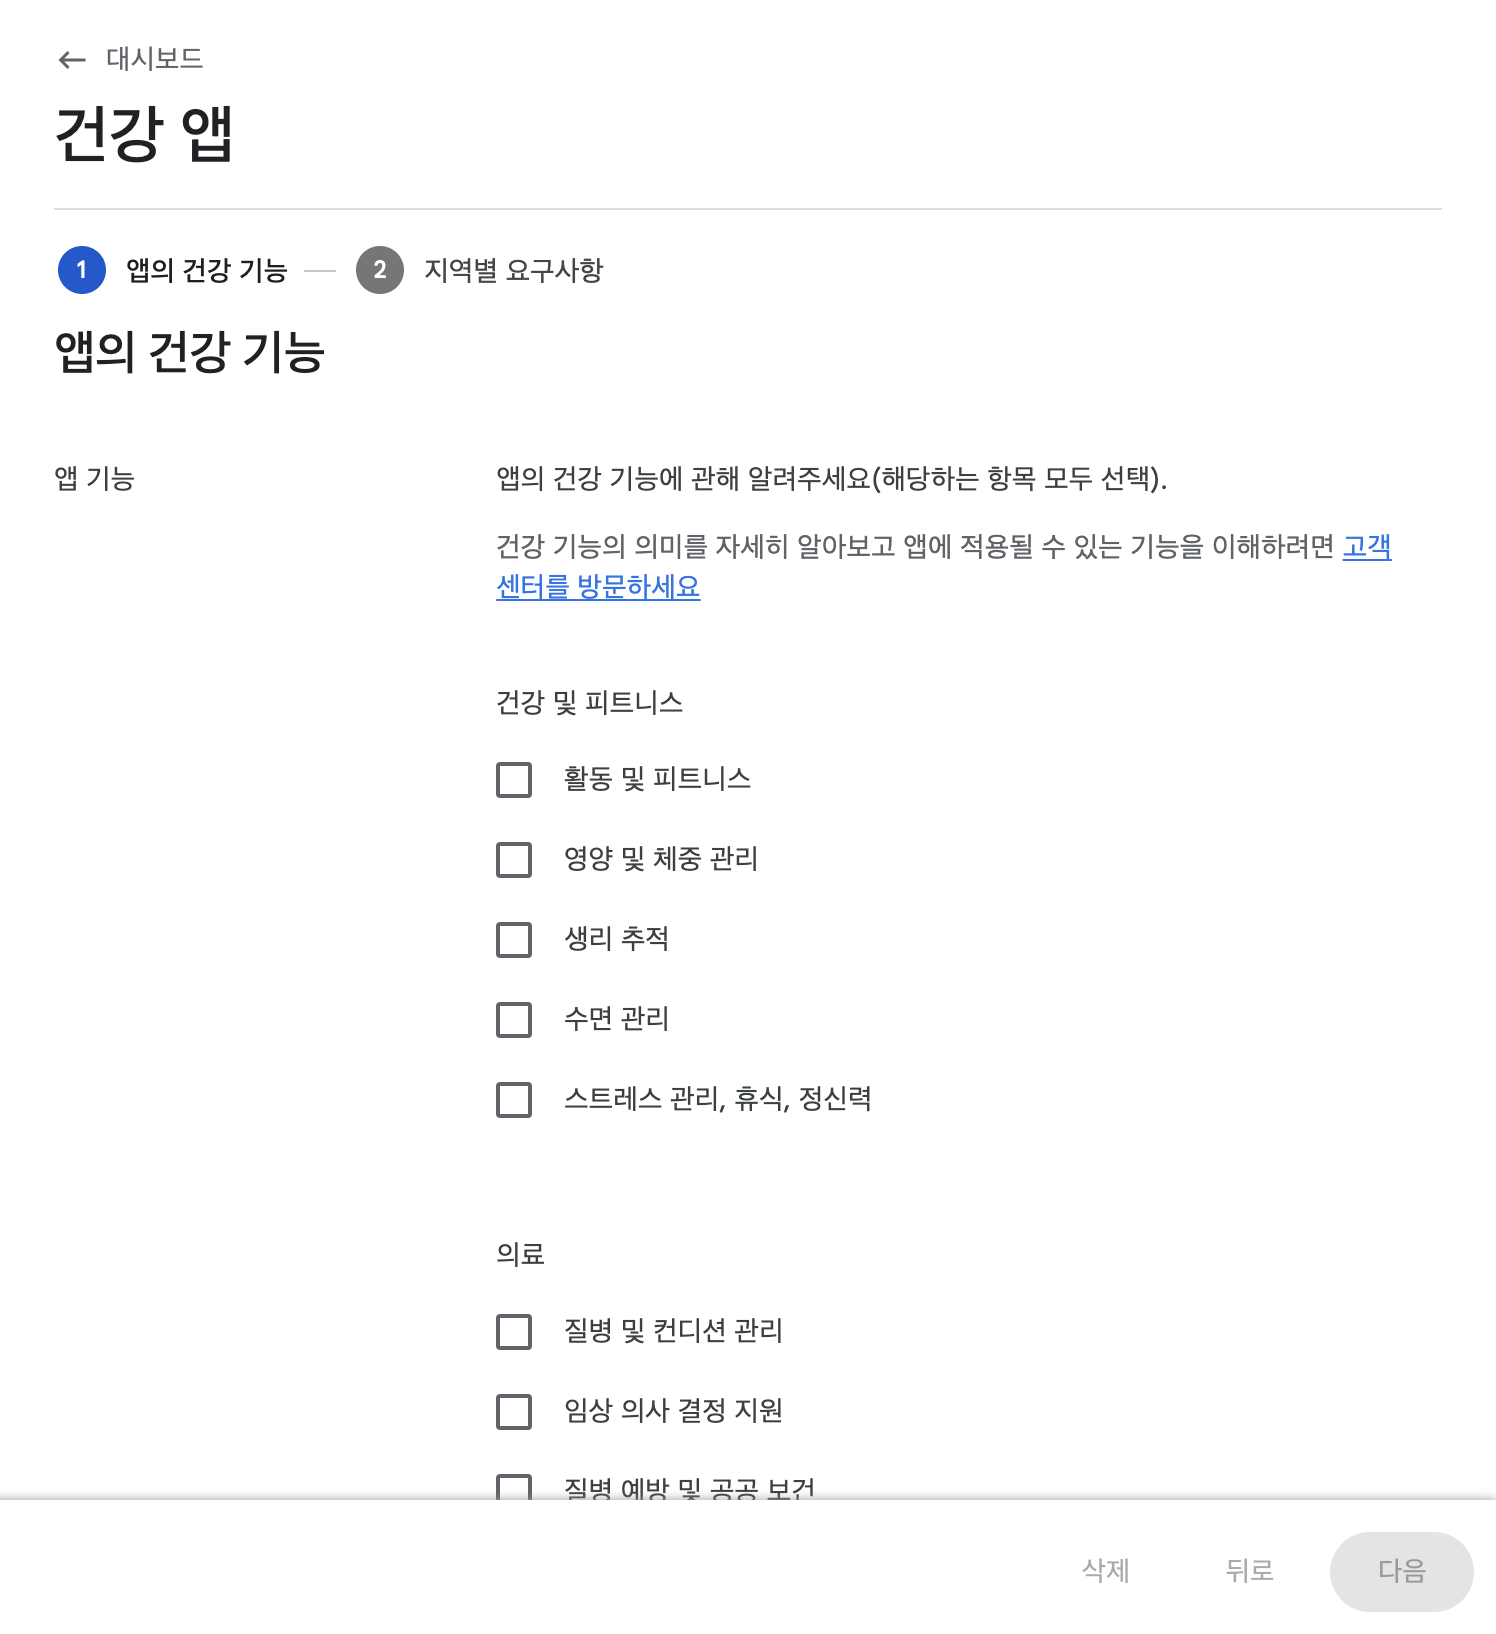
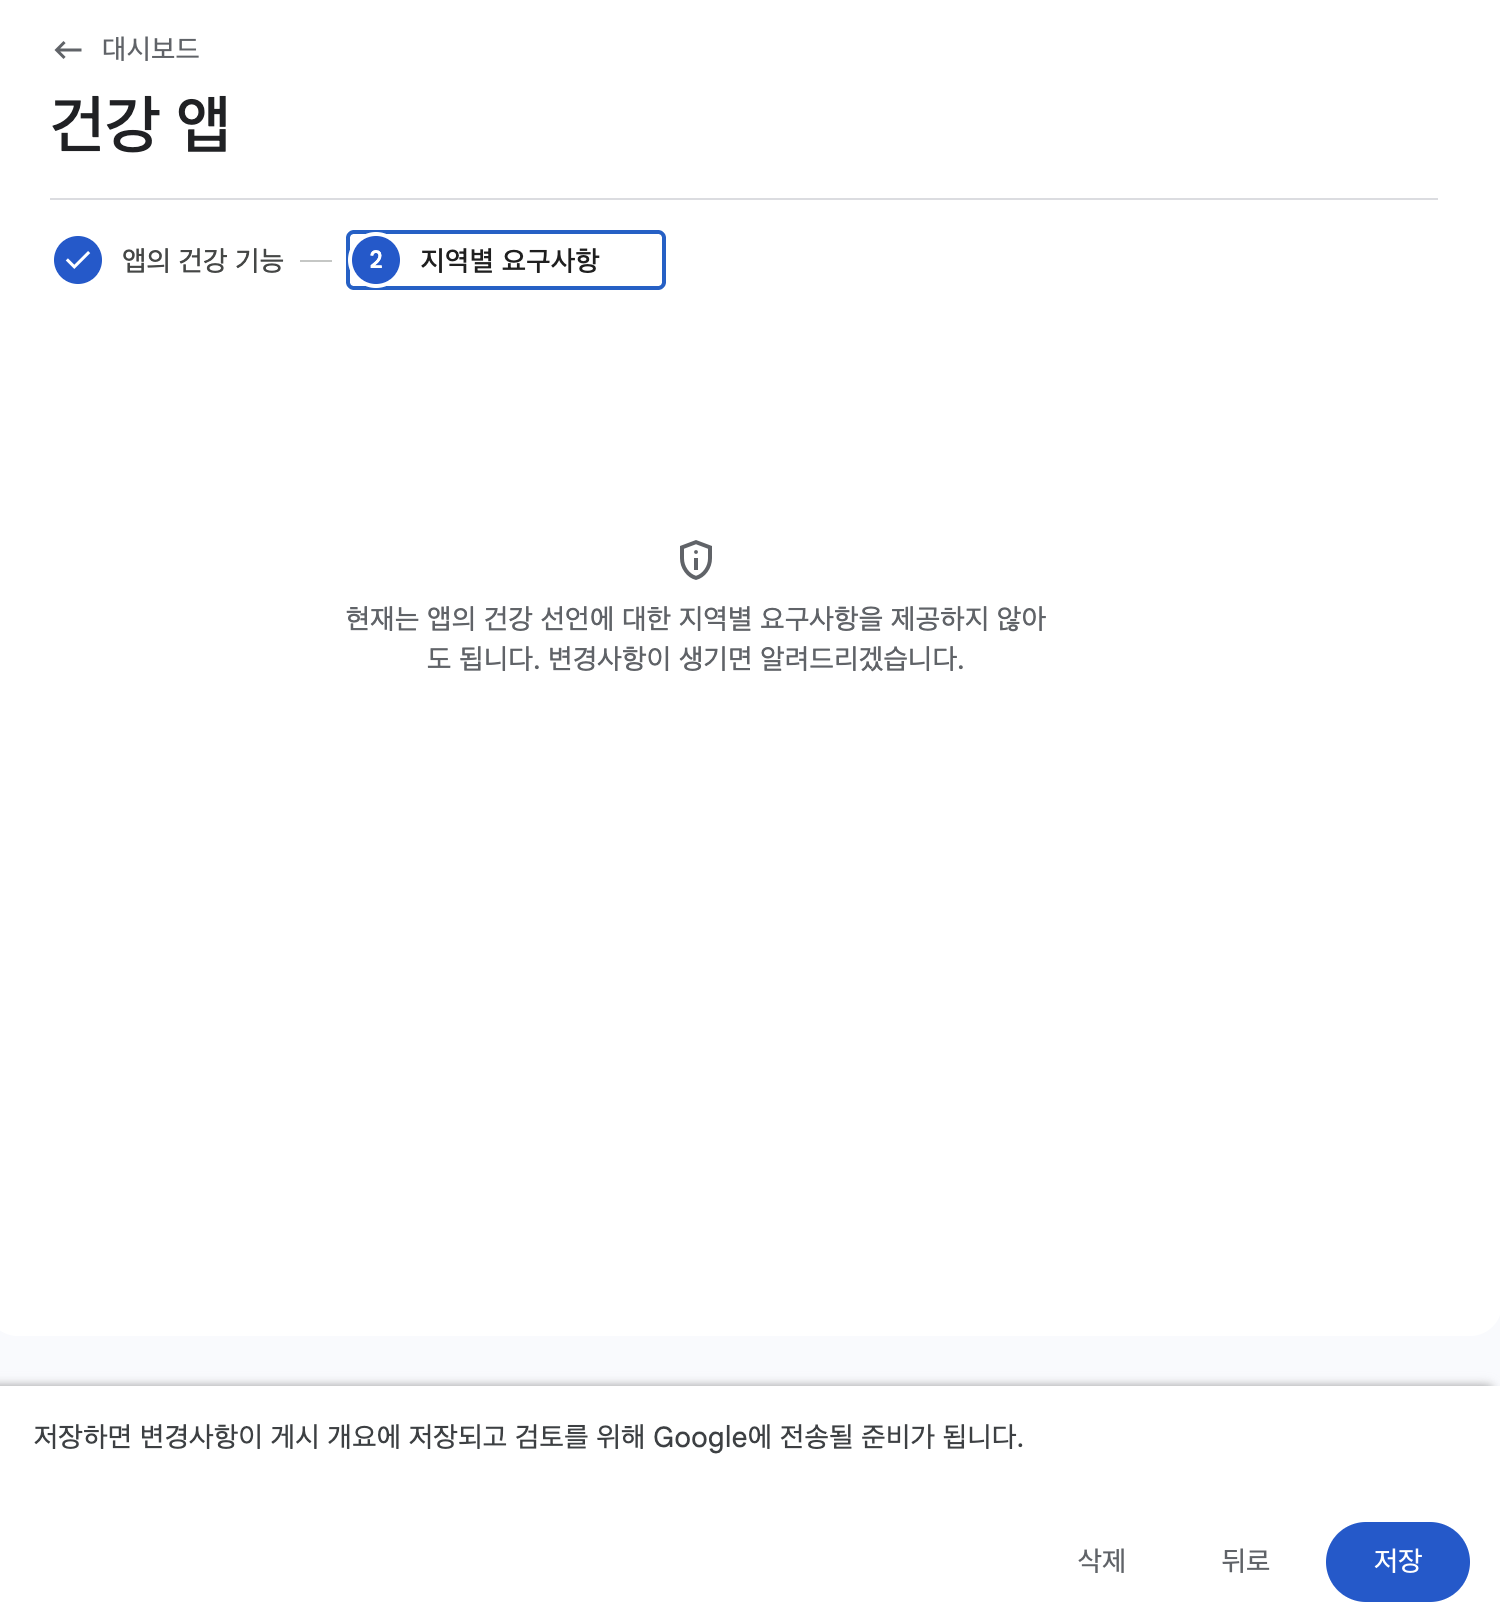
Health
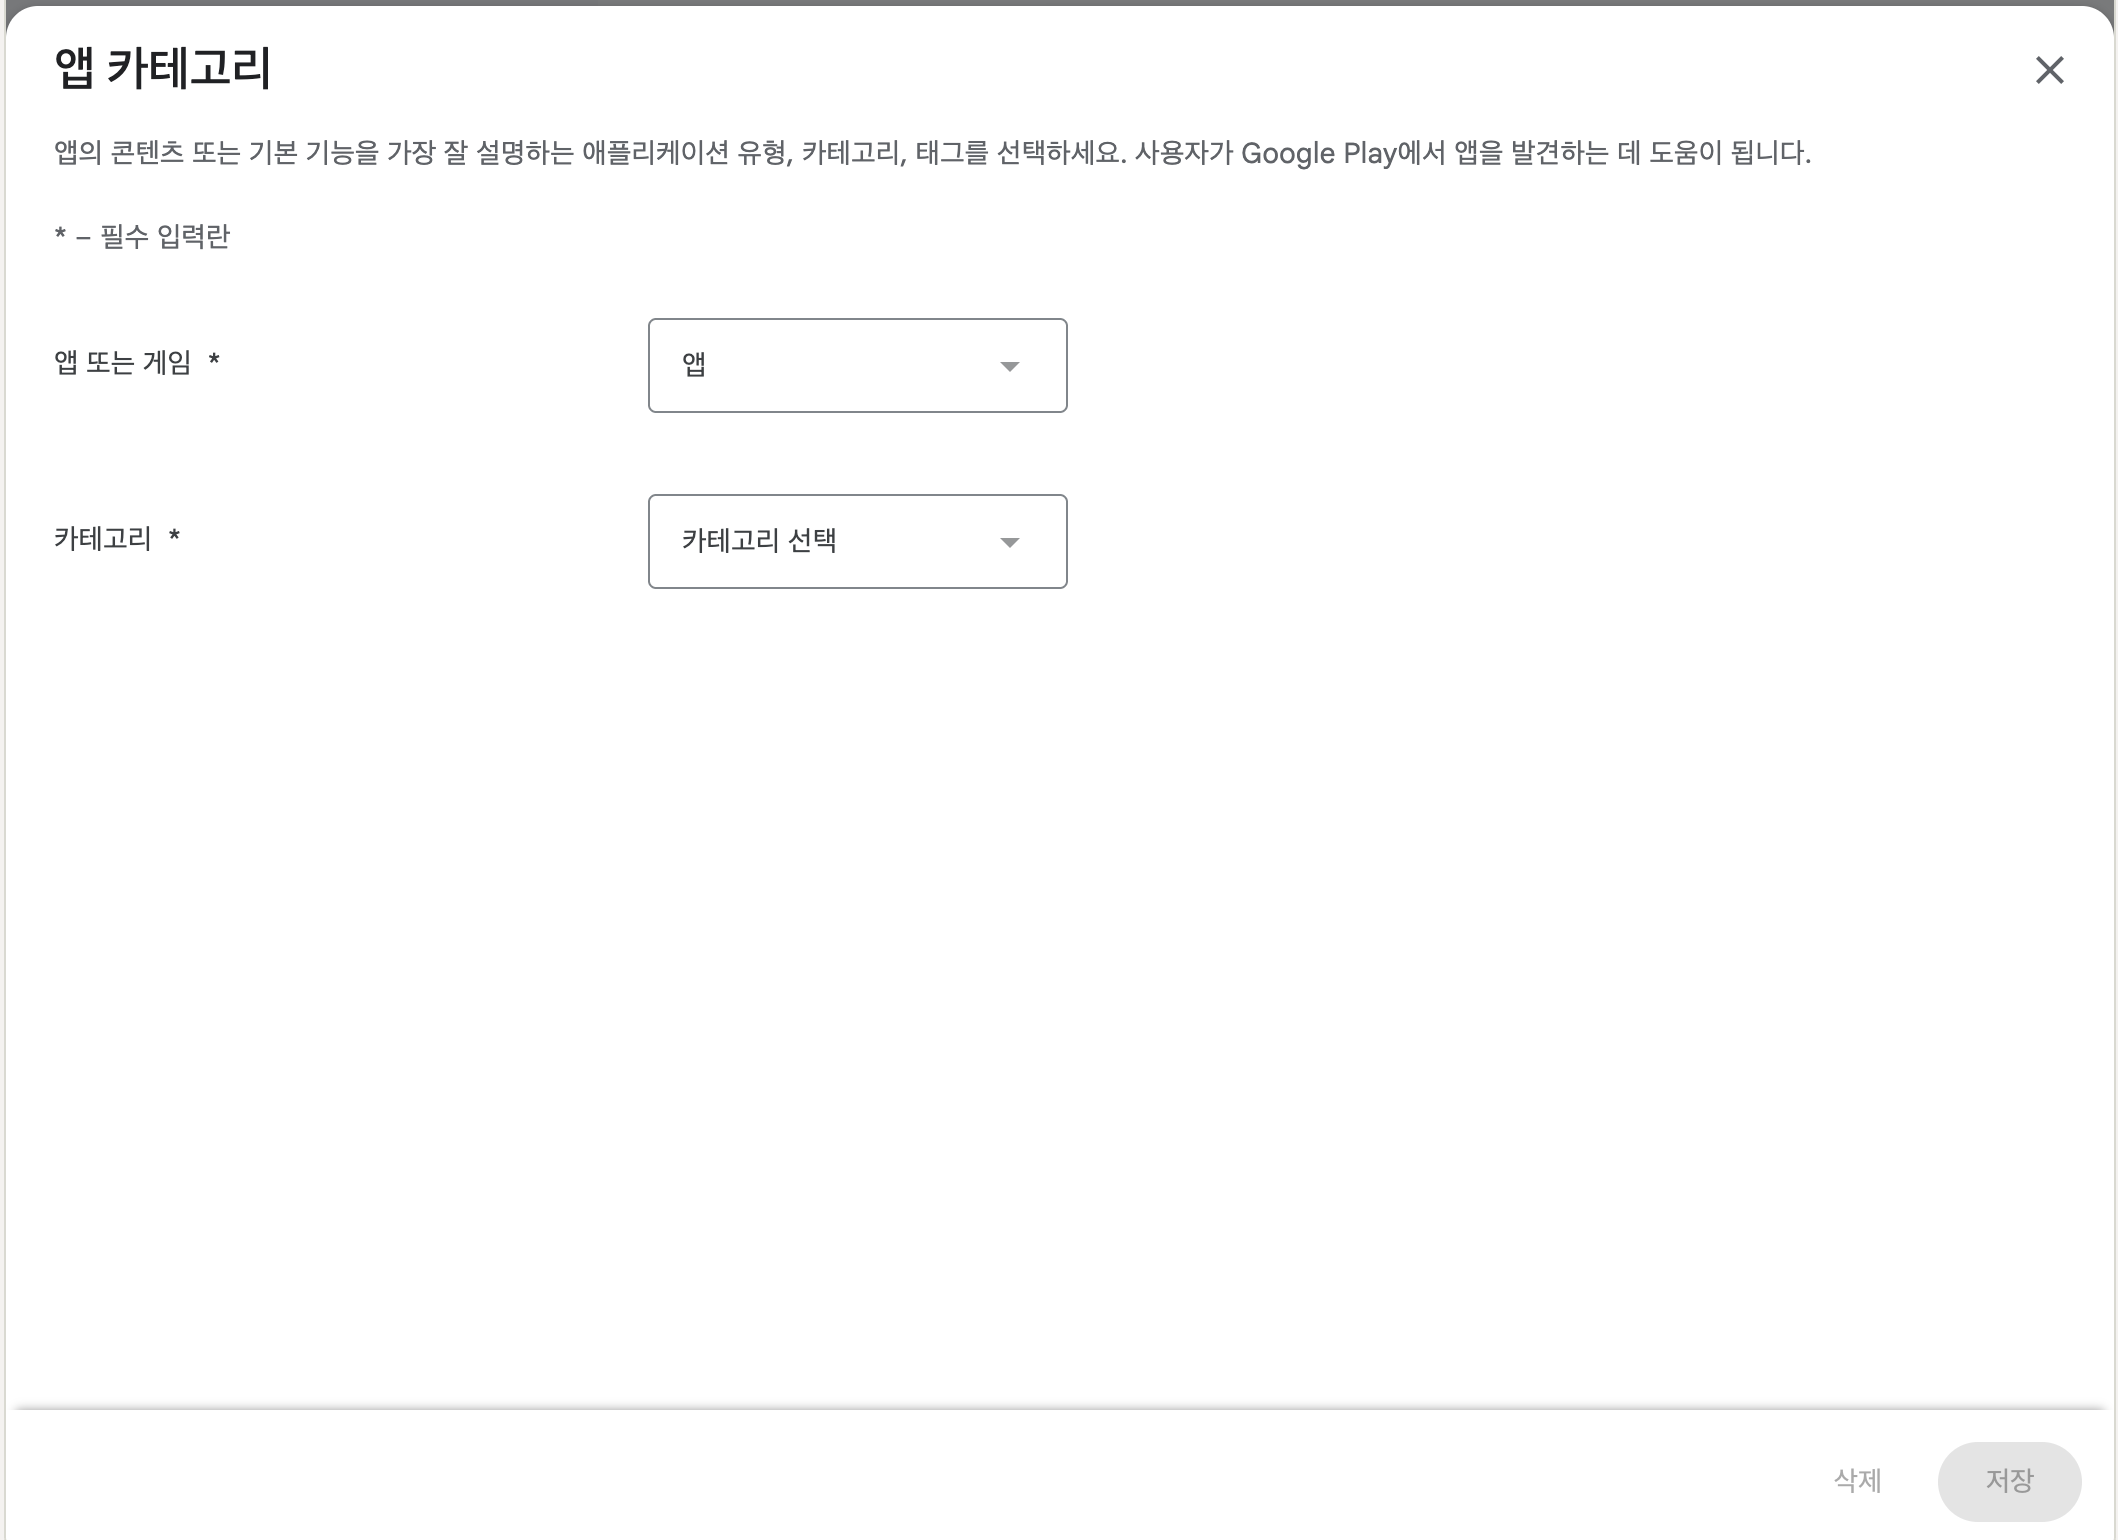
Step 8 - App category and contact details

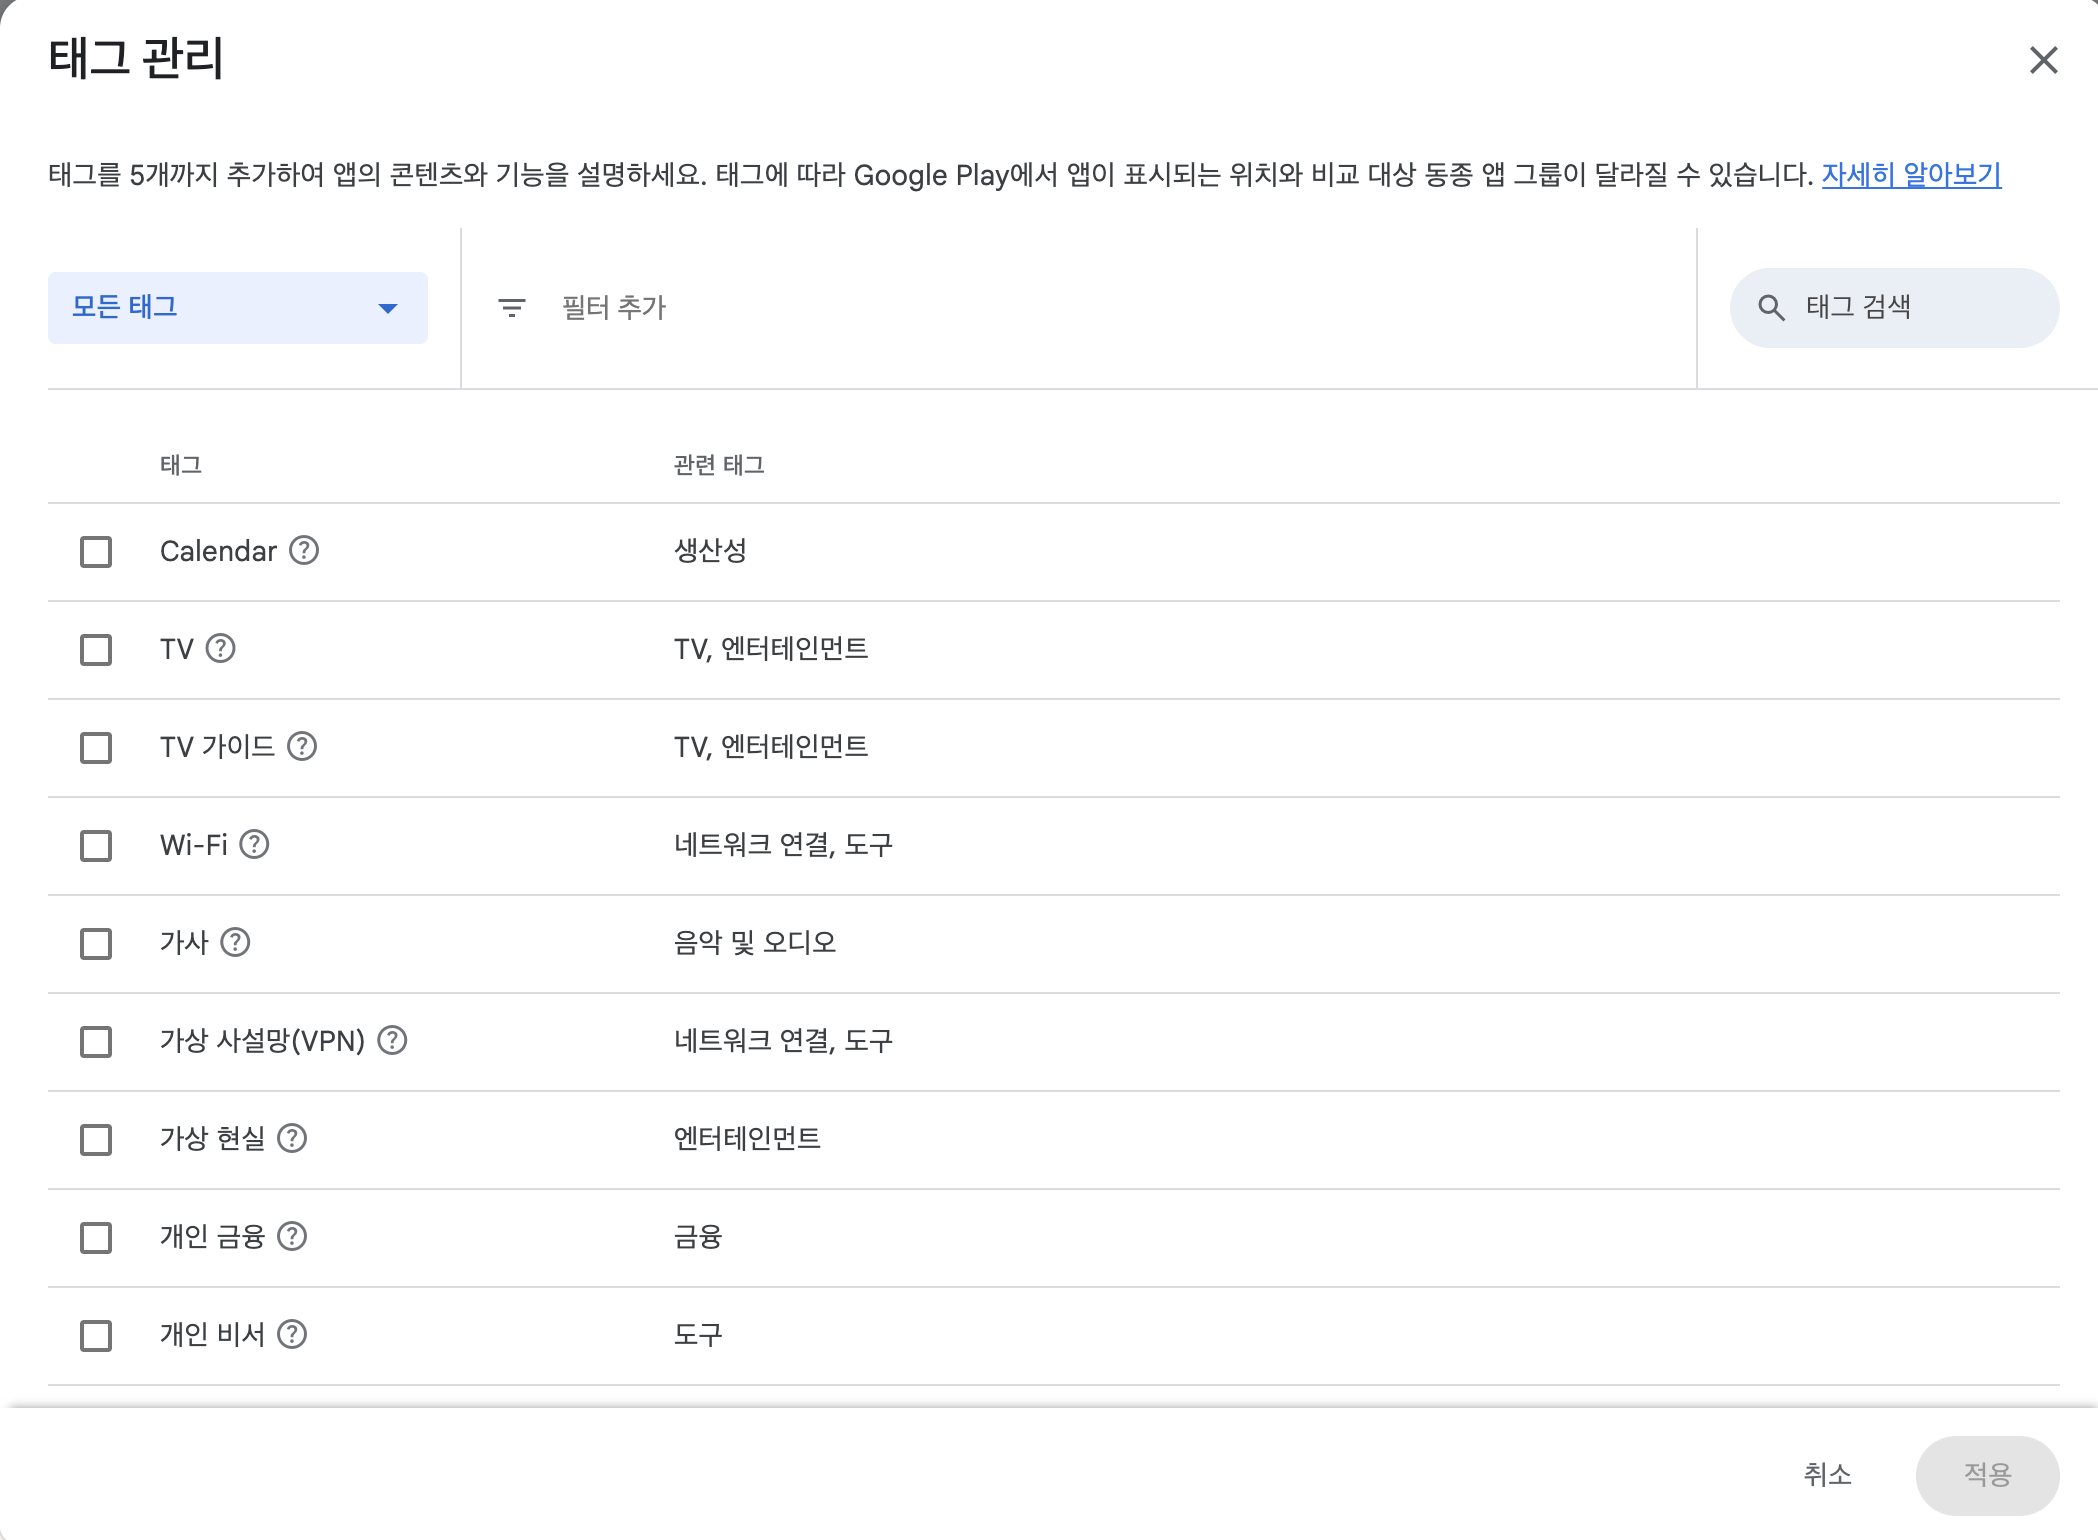
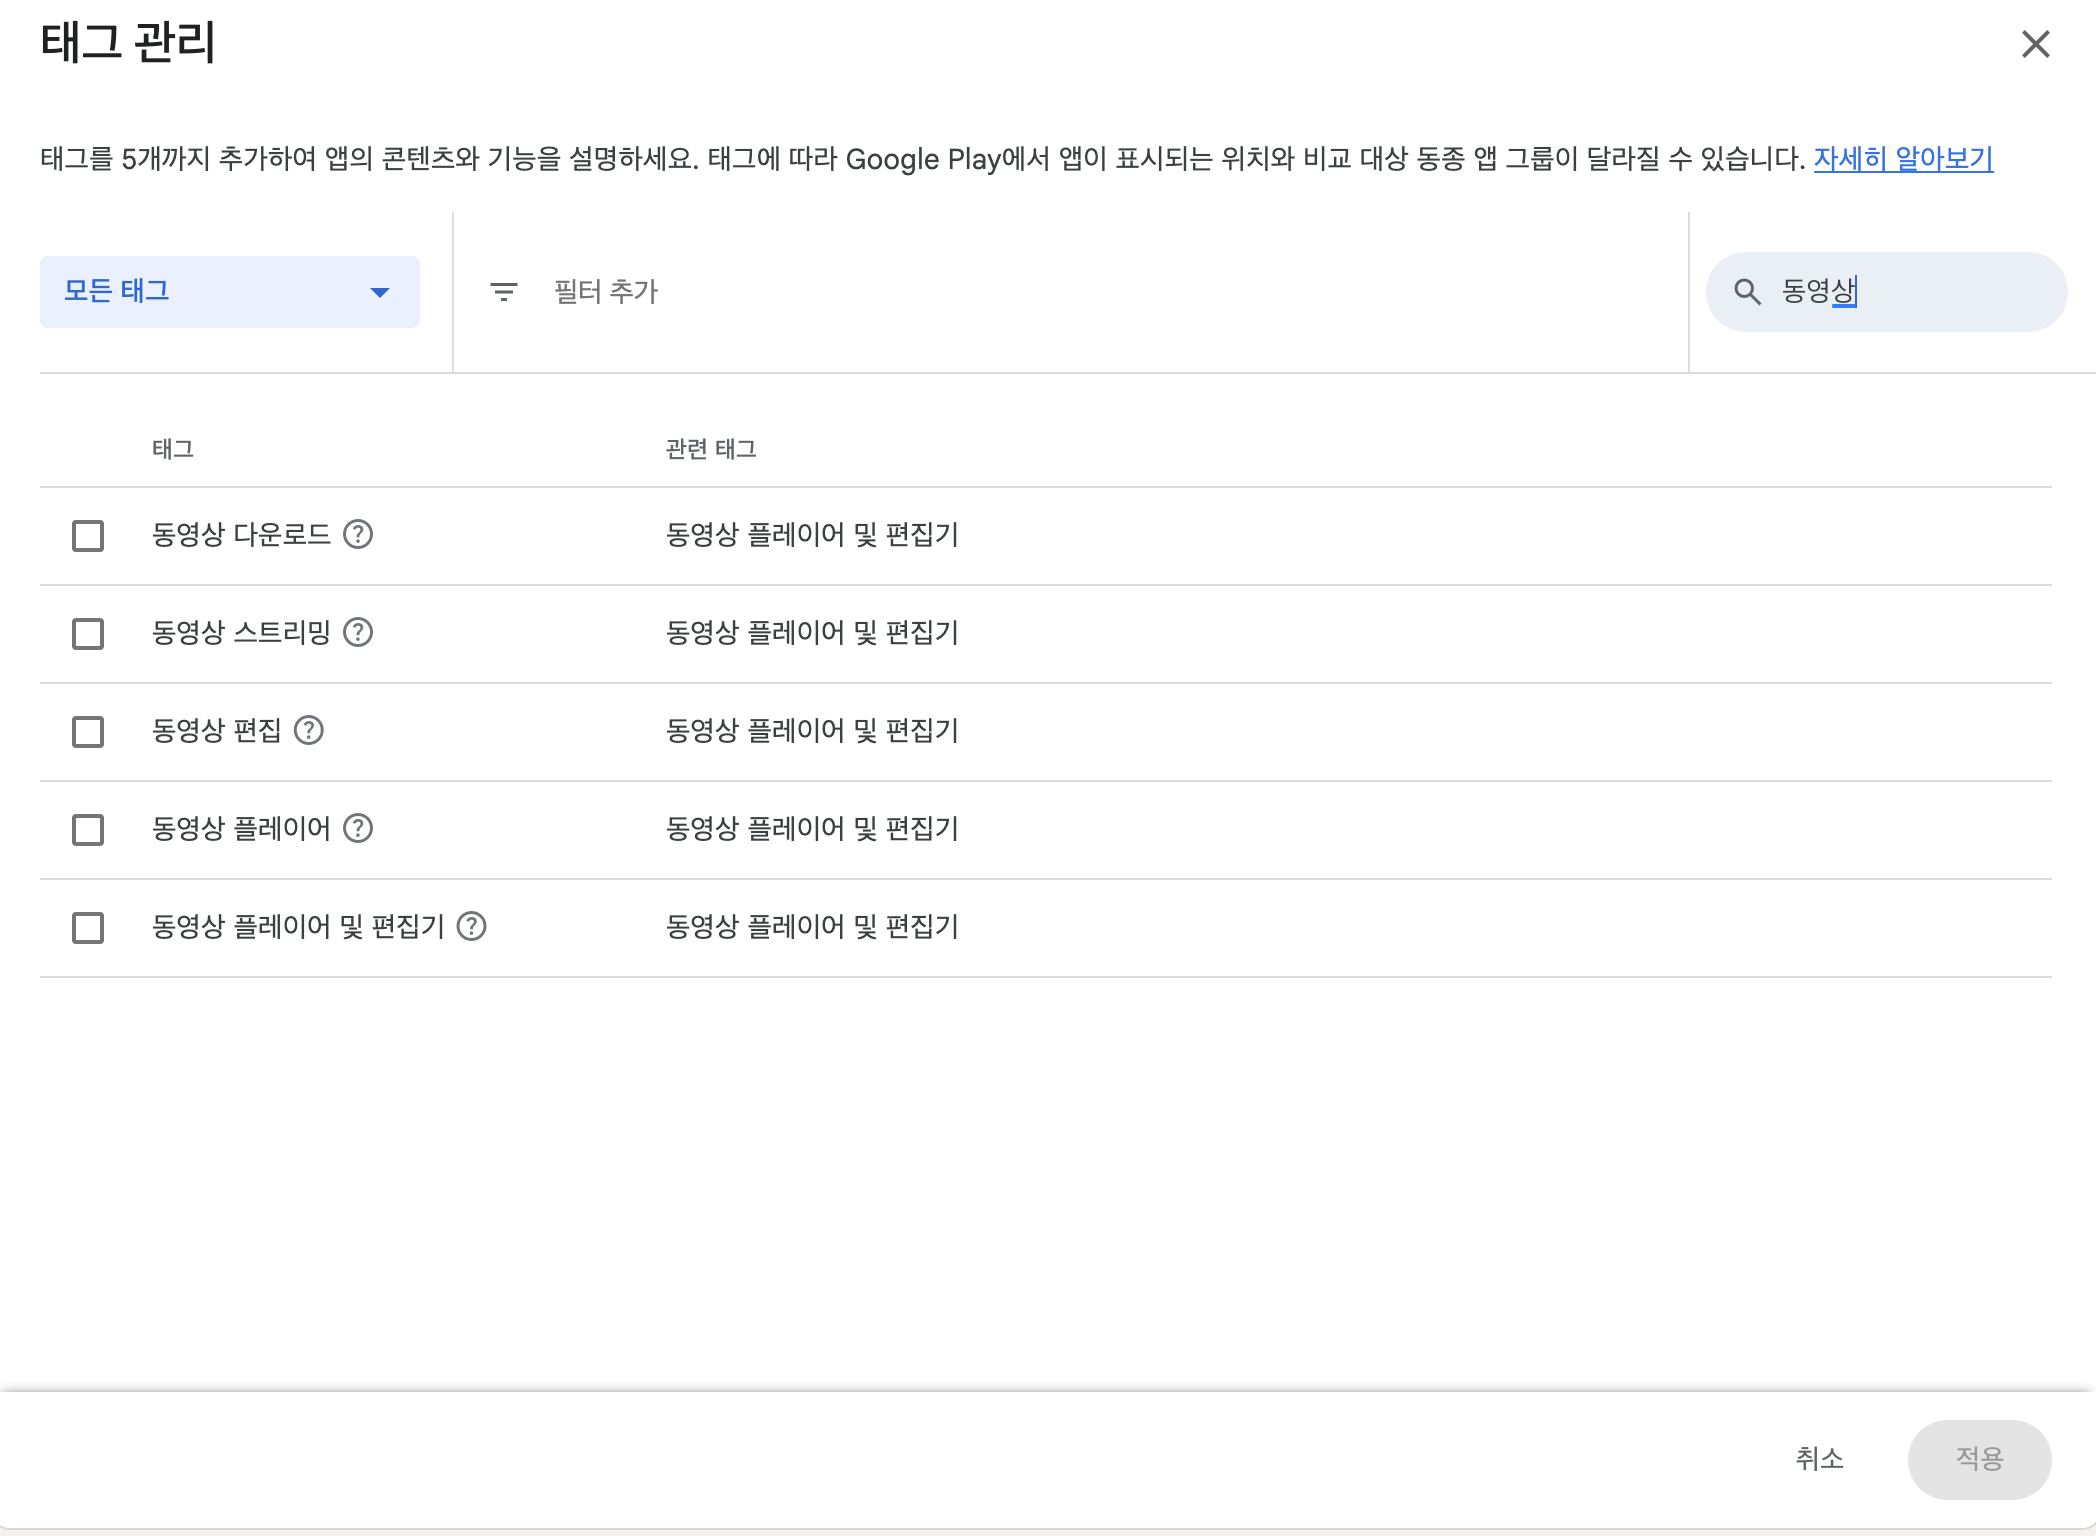
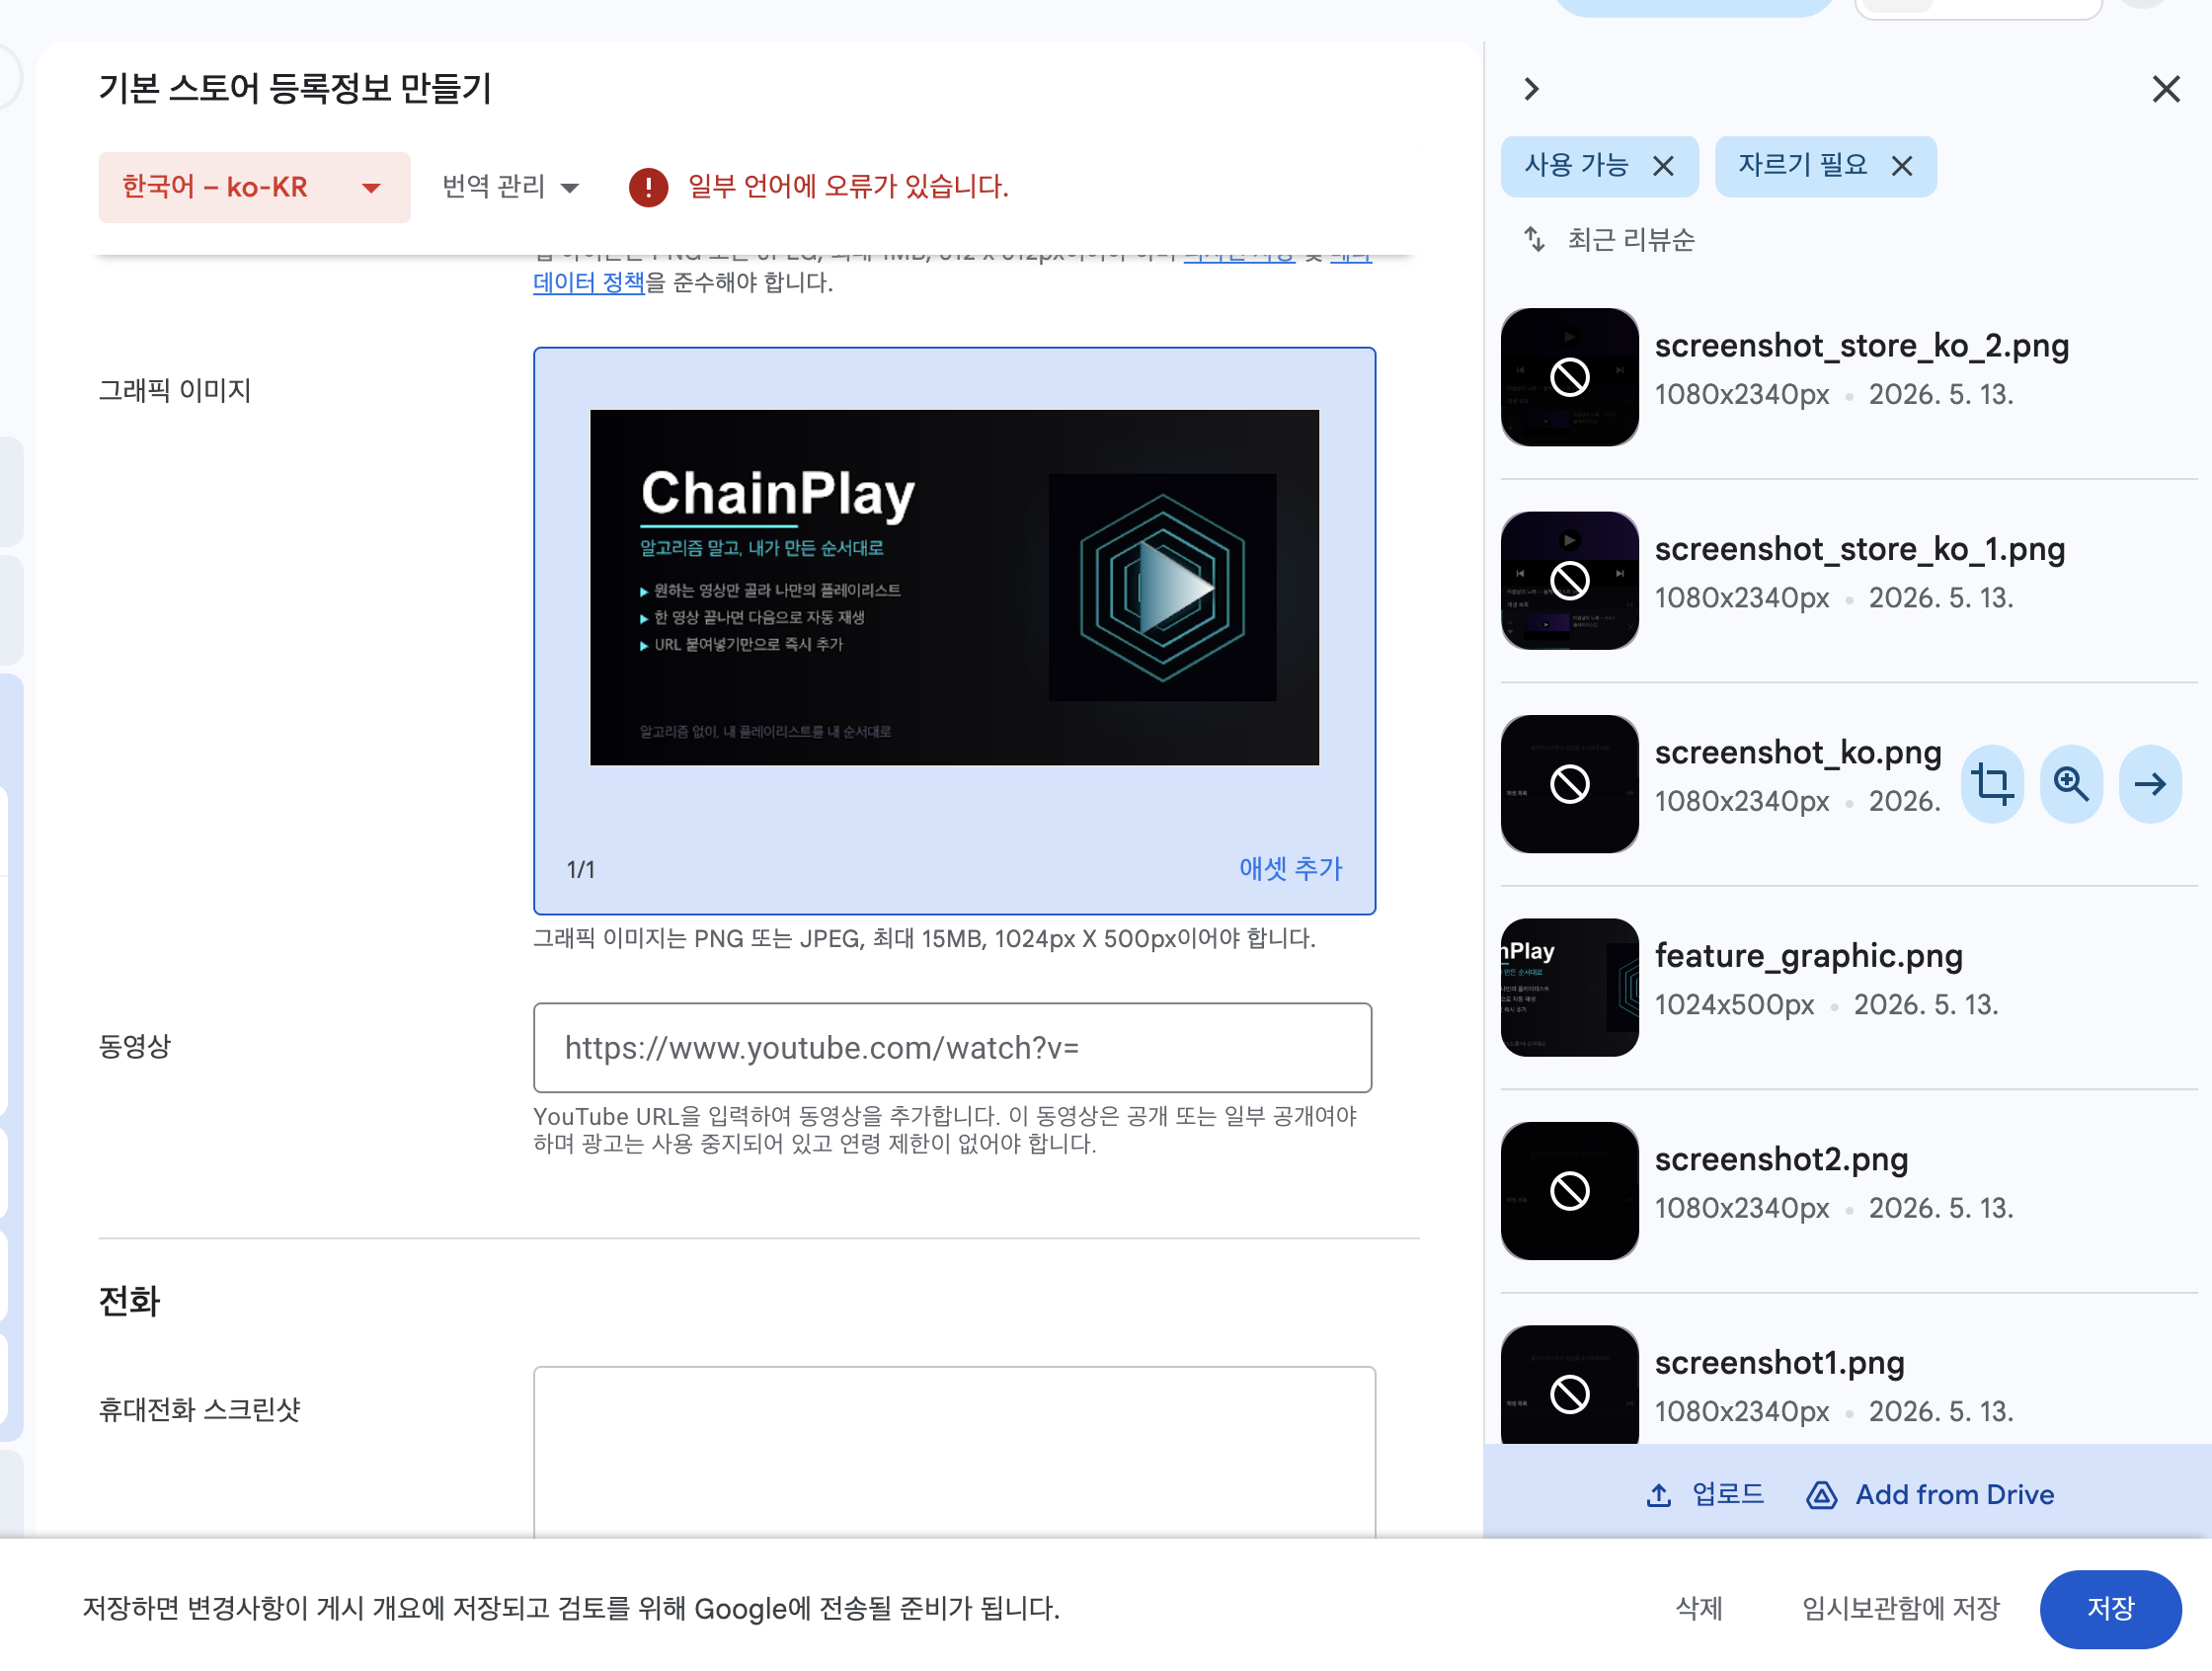
Step 9 - Set up your store properties
Register the description and images that will appear in your store for each language.
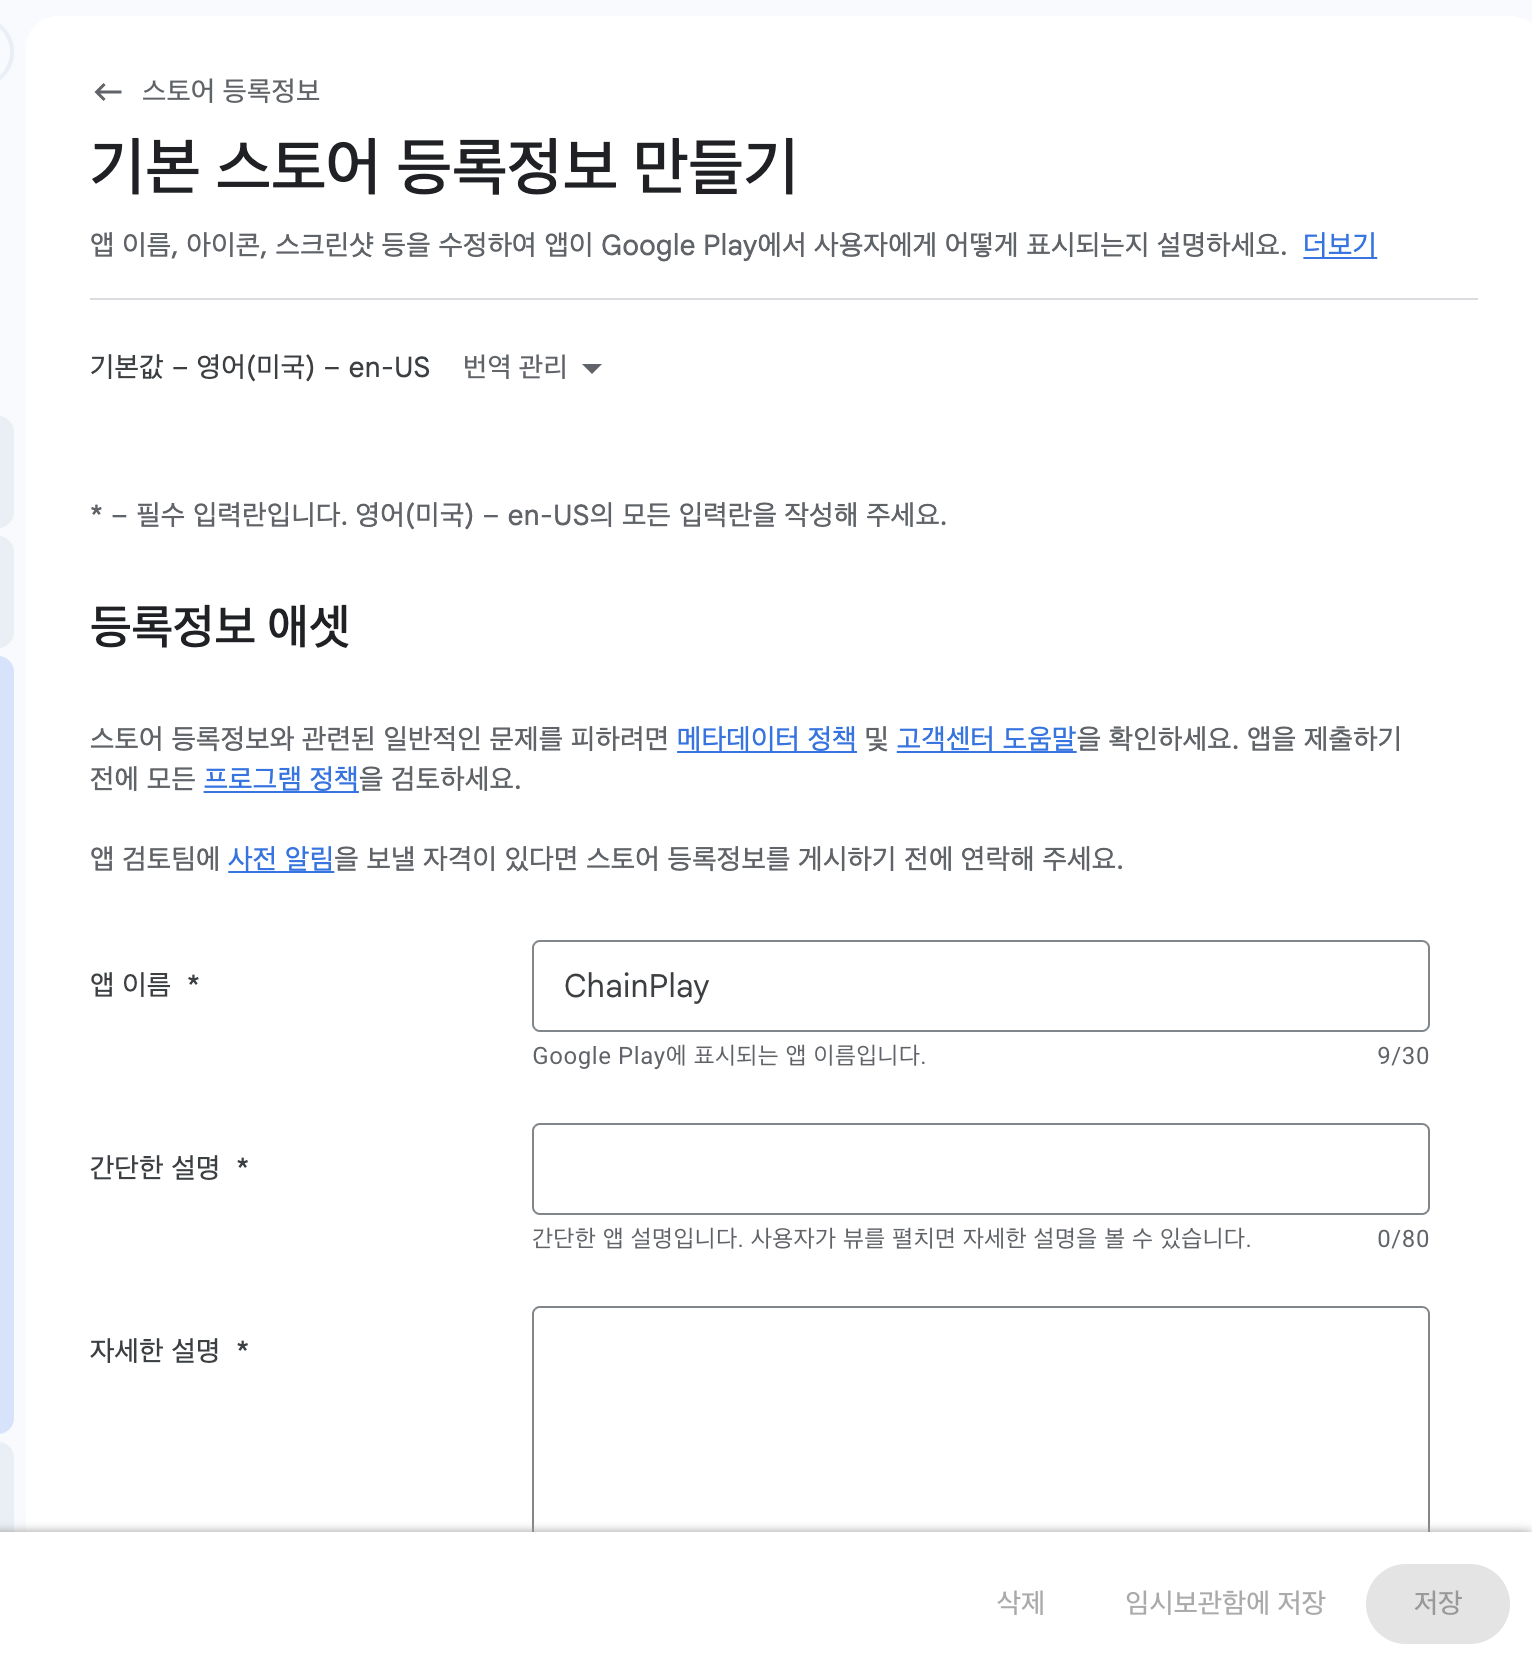
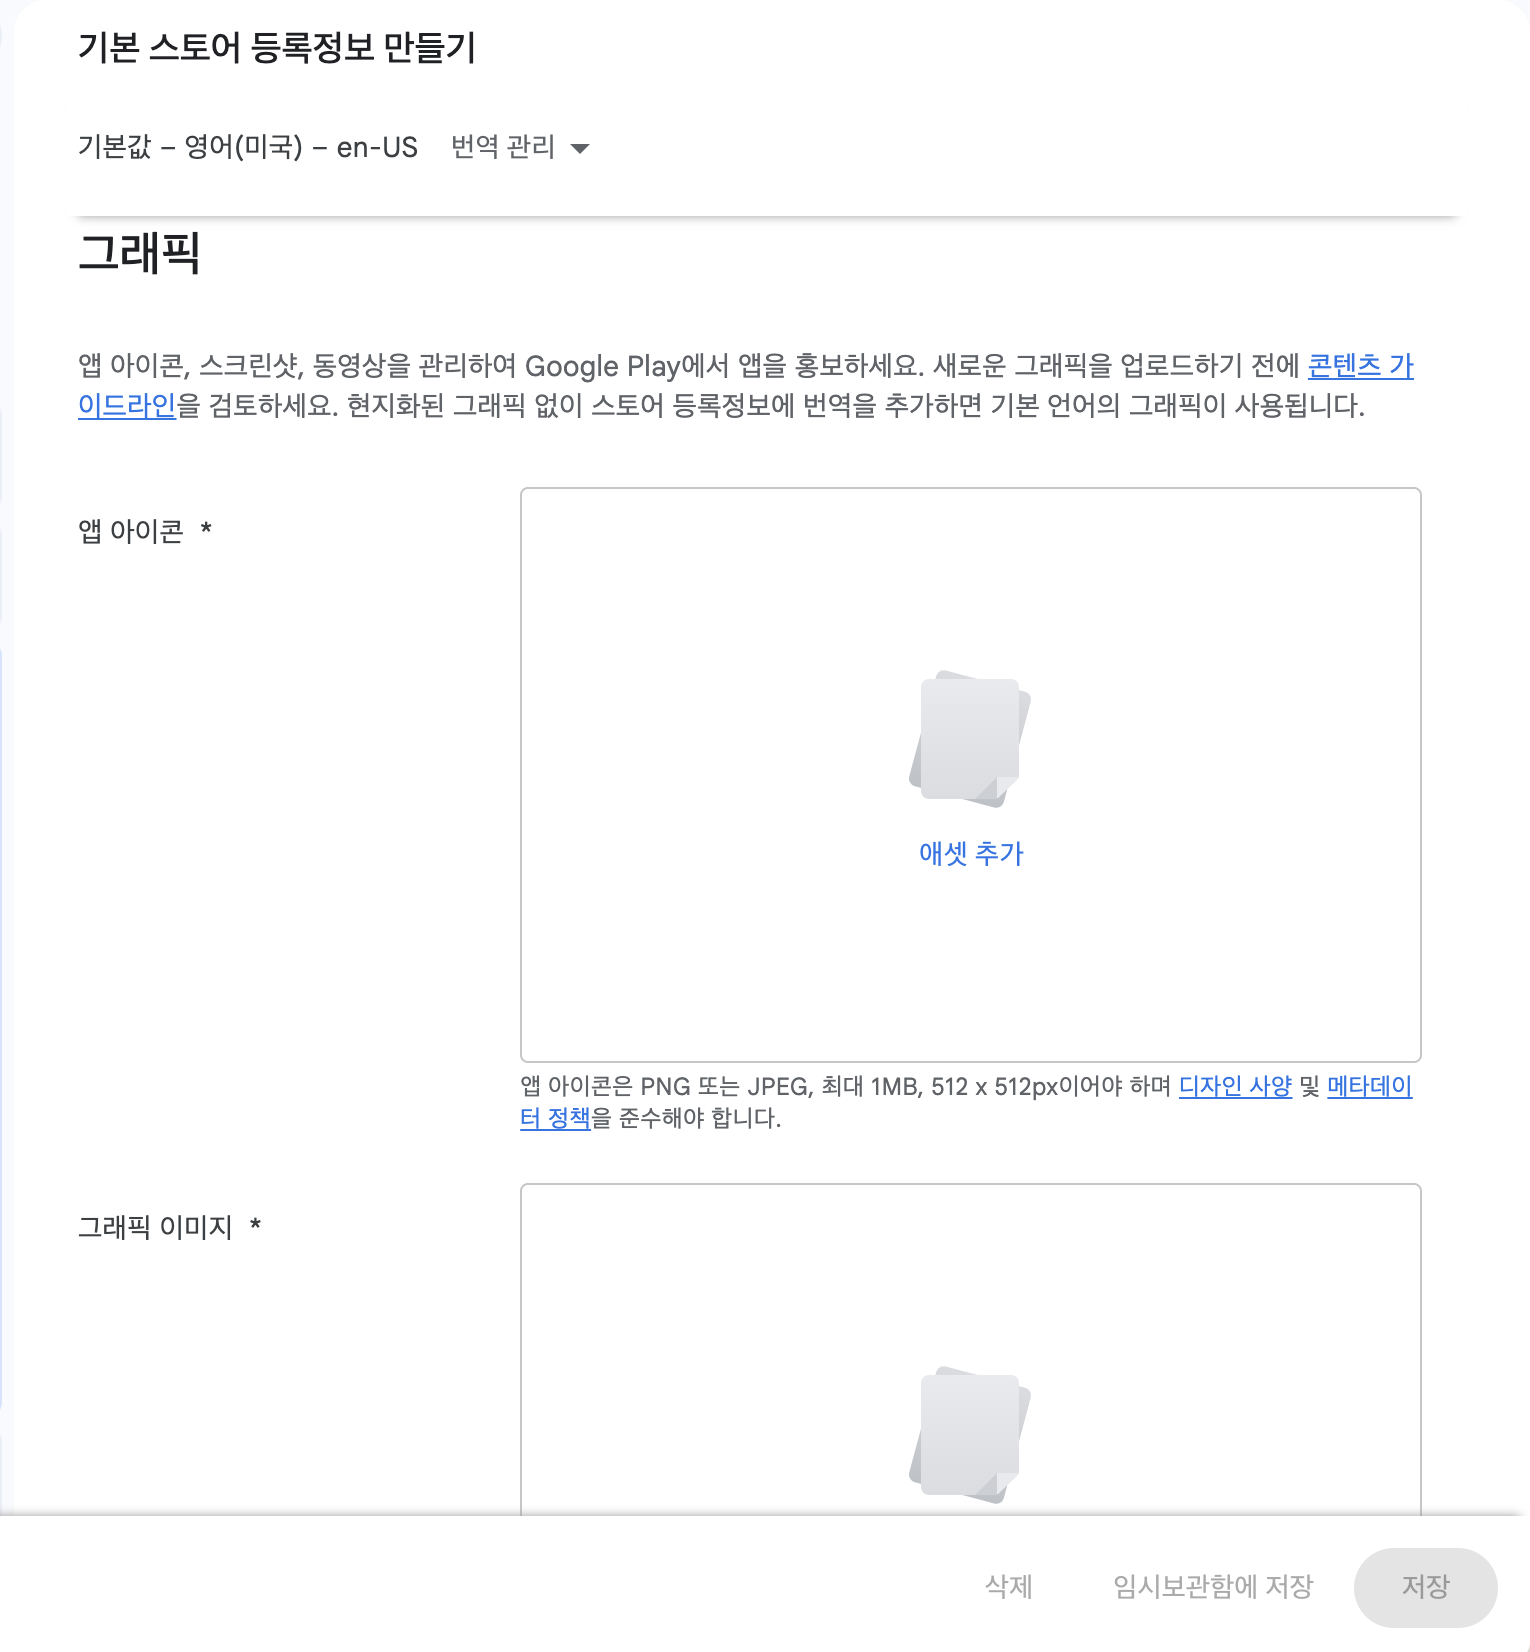
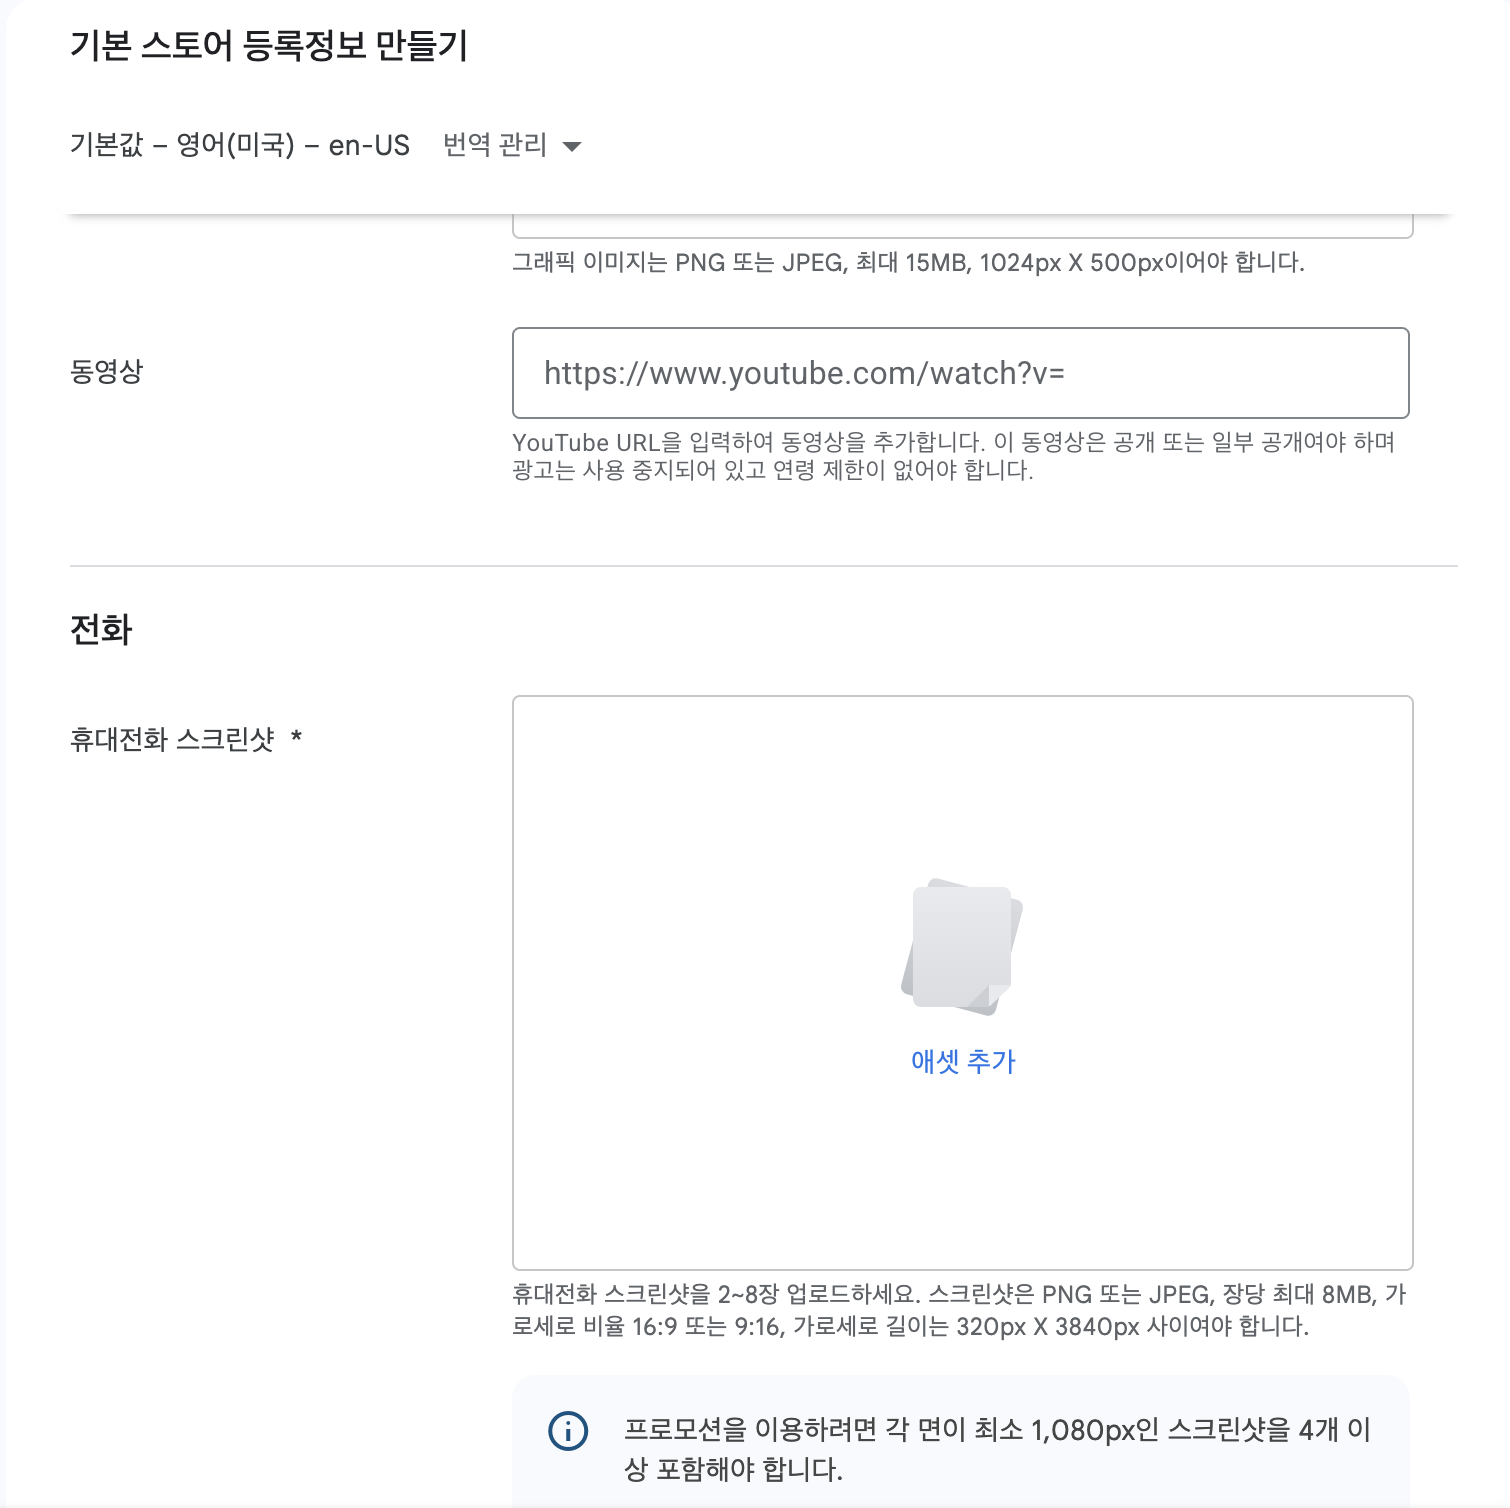

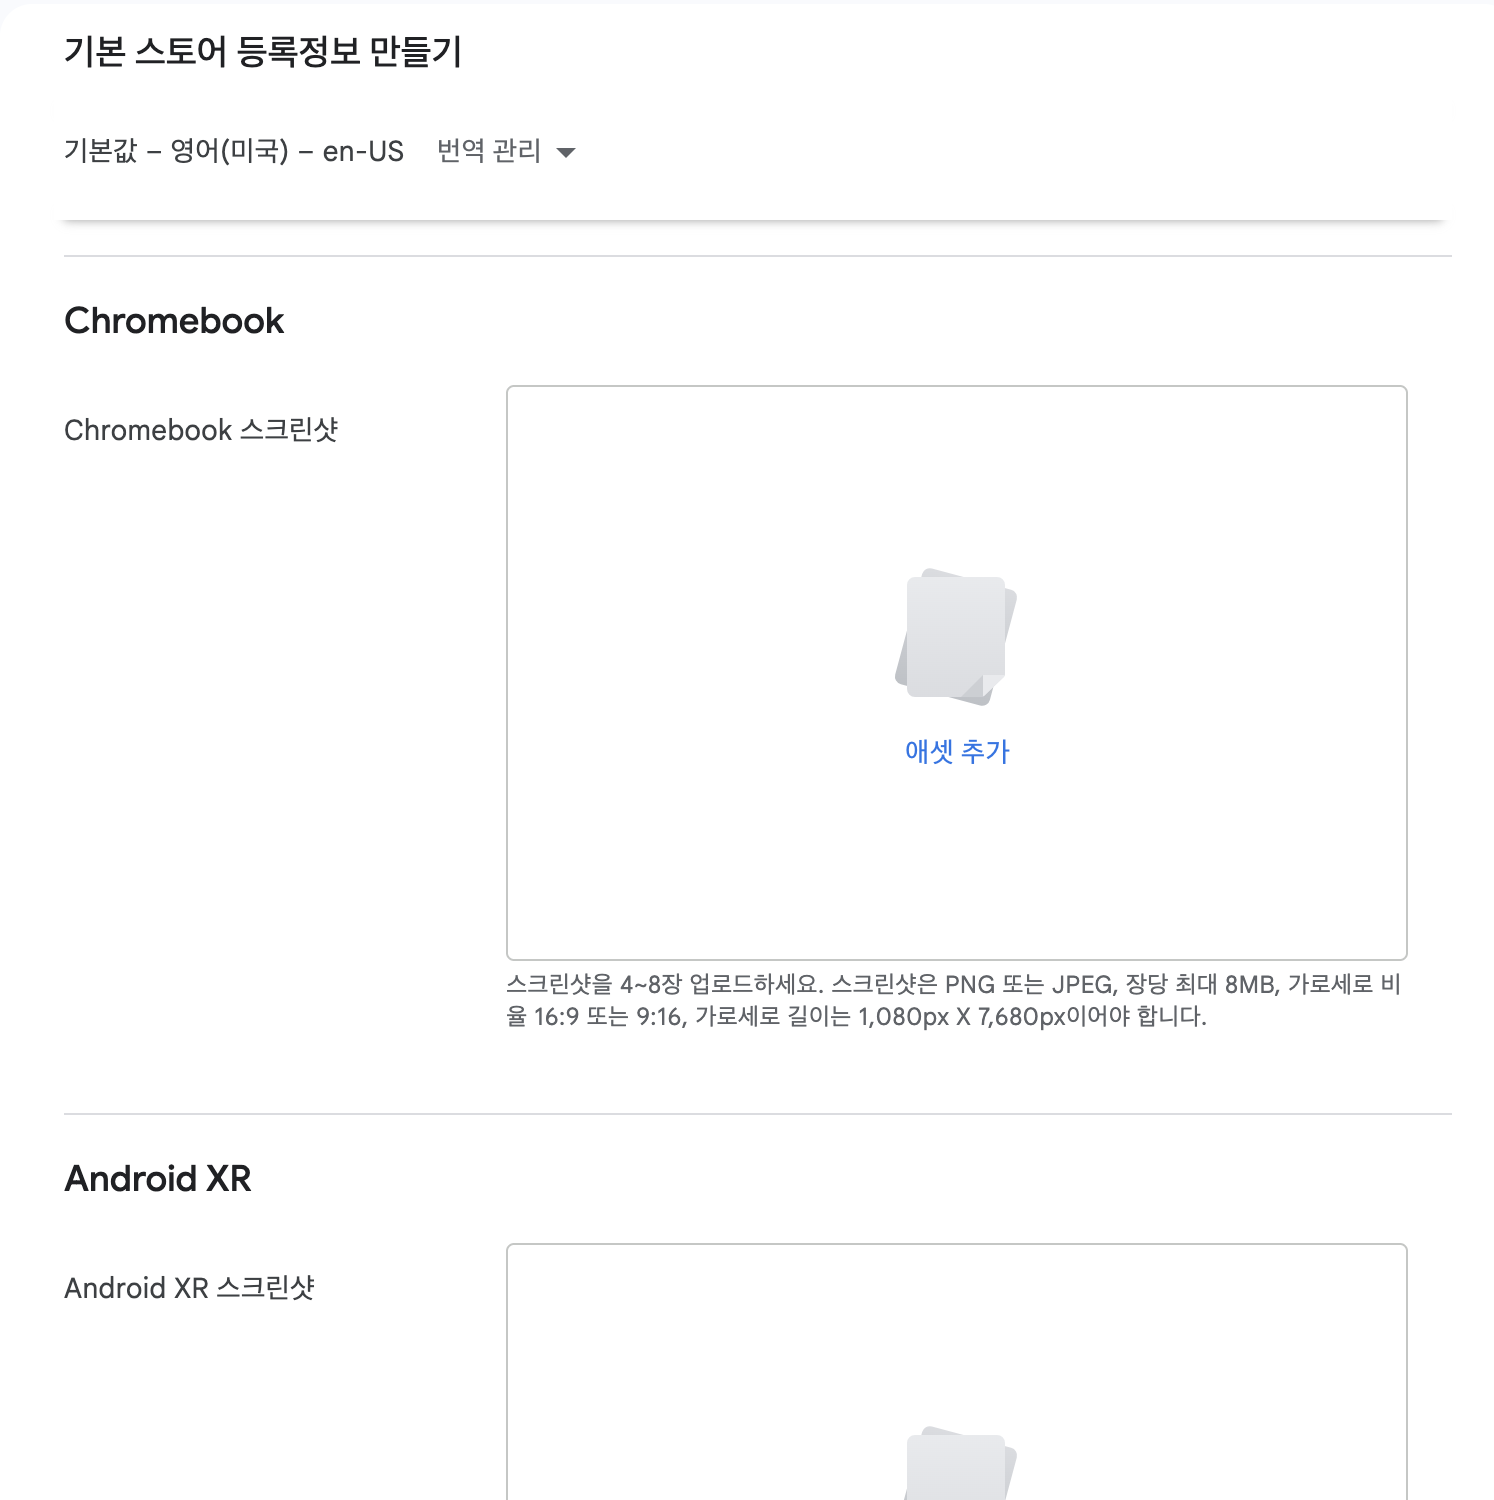
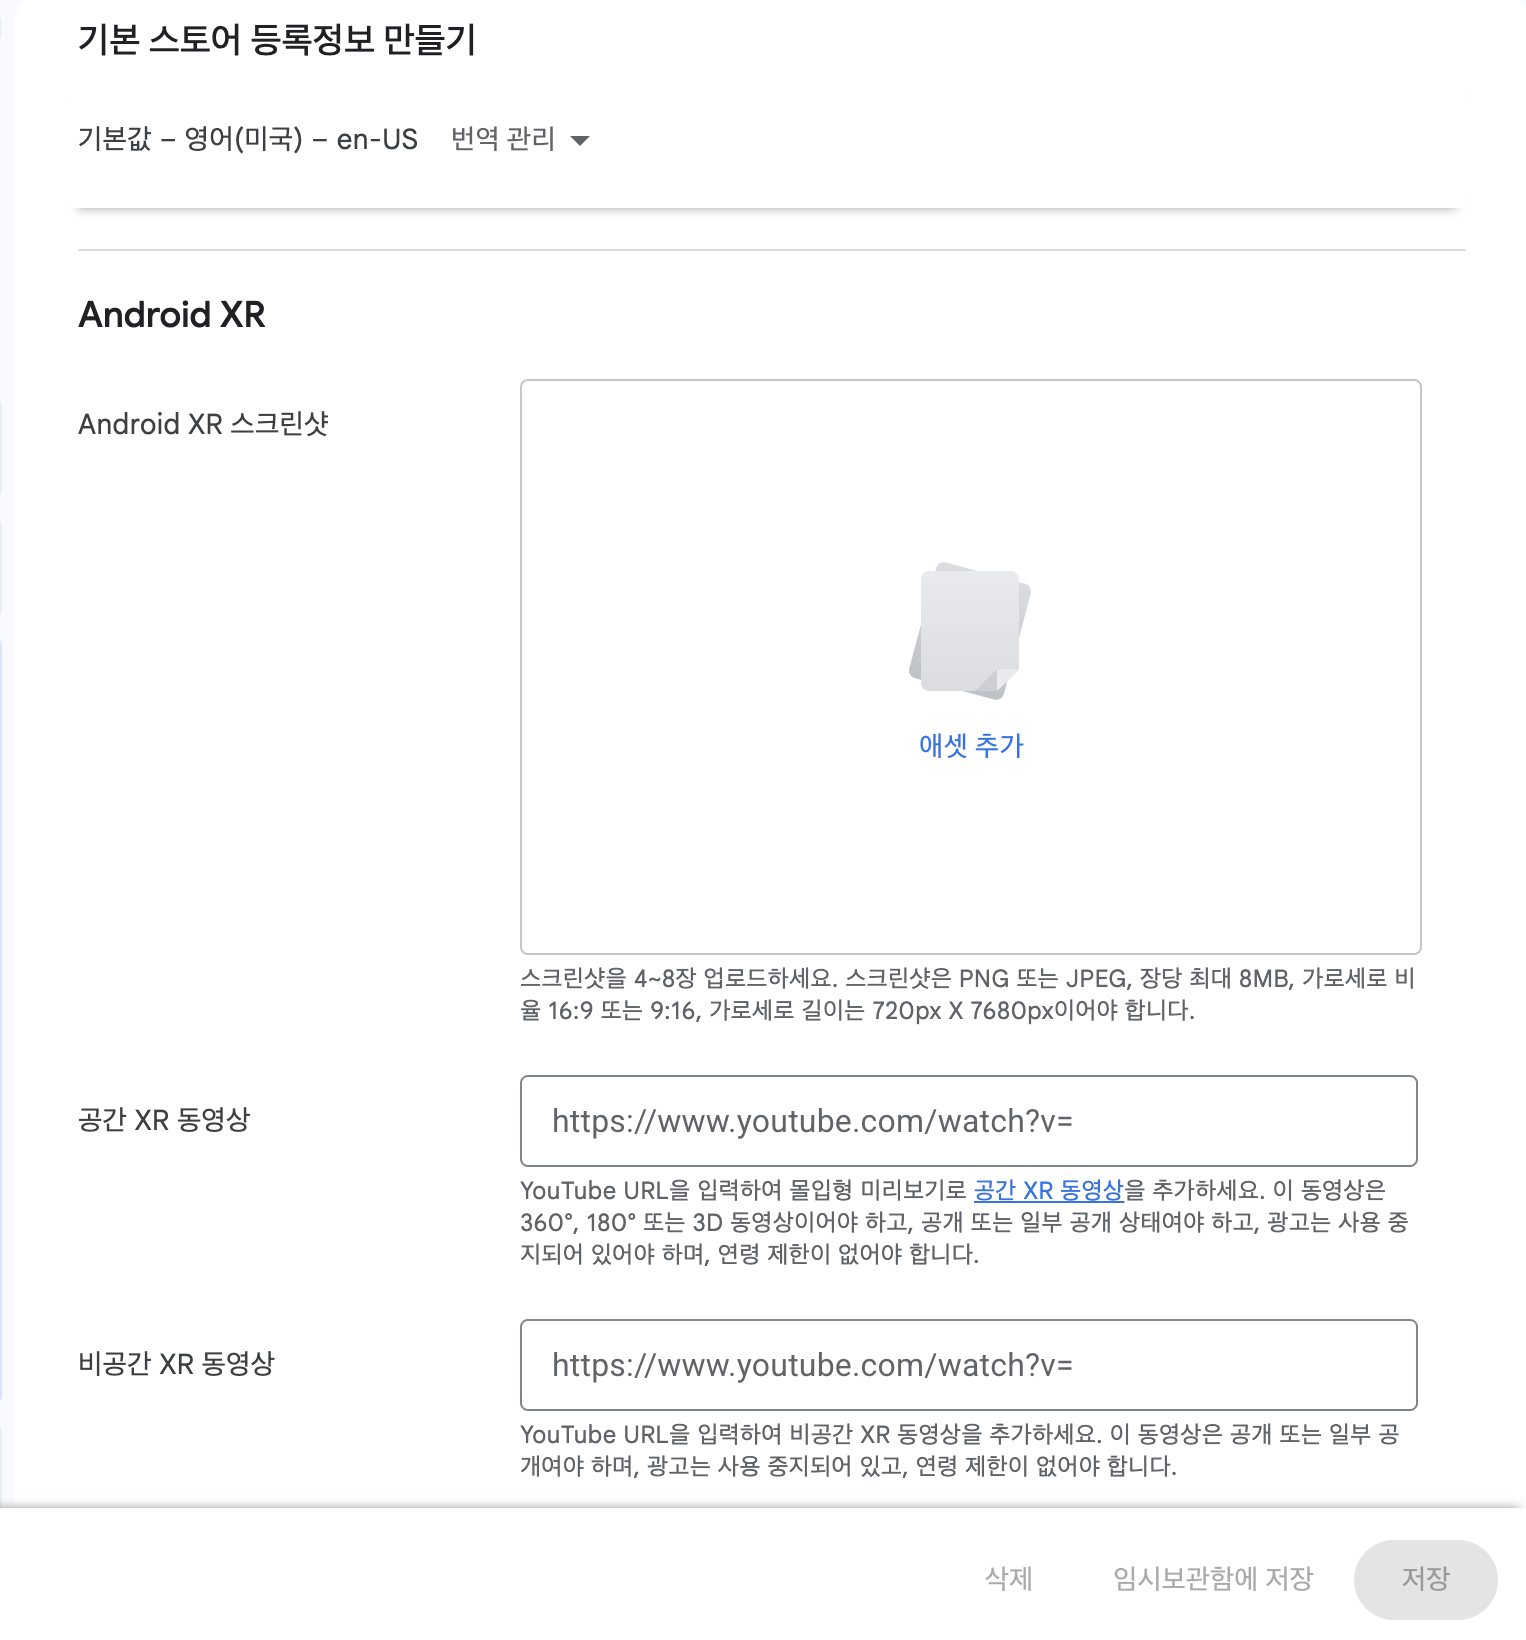
Images need to be added as assets when registering. After uploading, you need to click "Send file → Add" to actually add it.
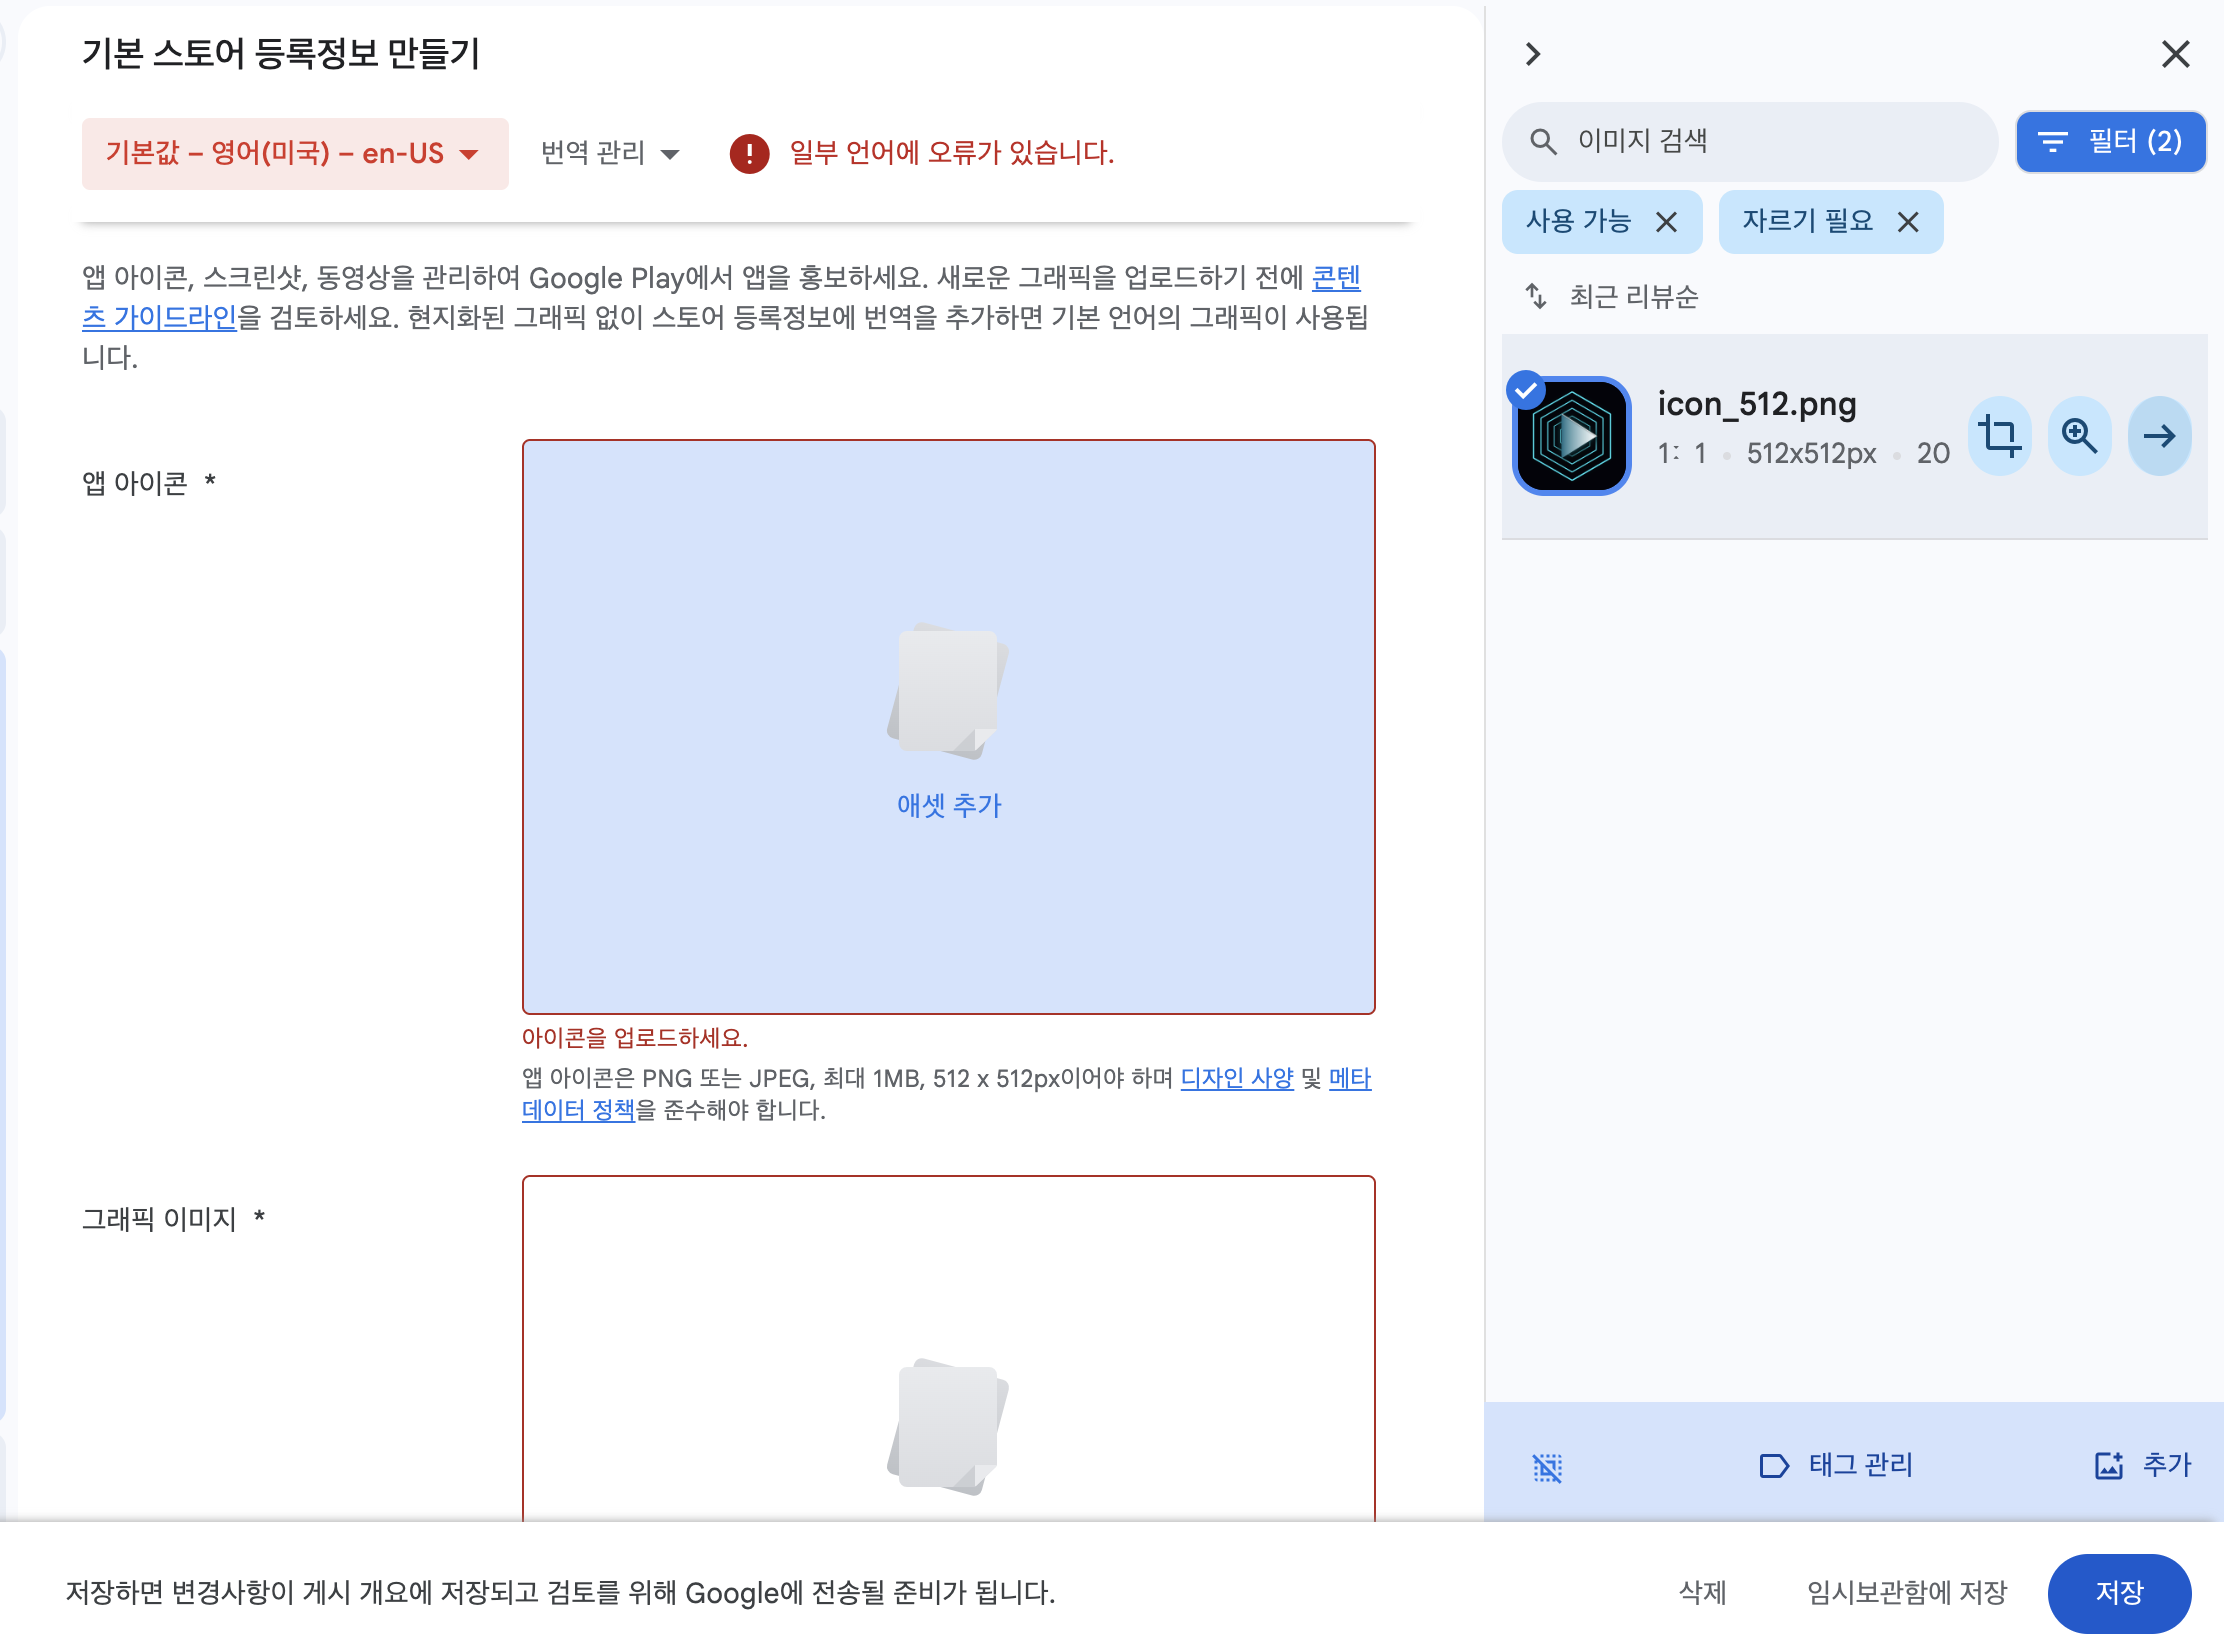
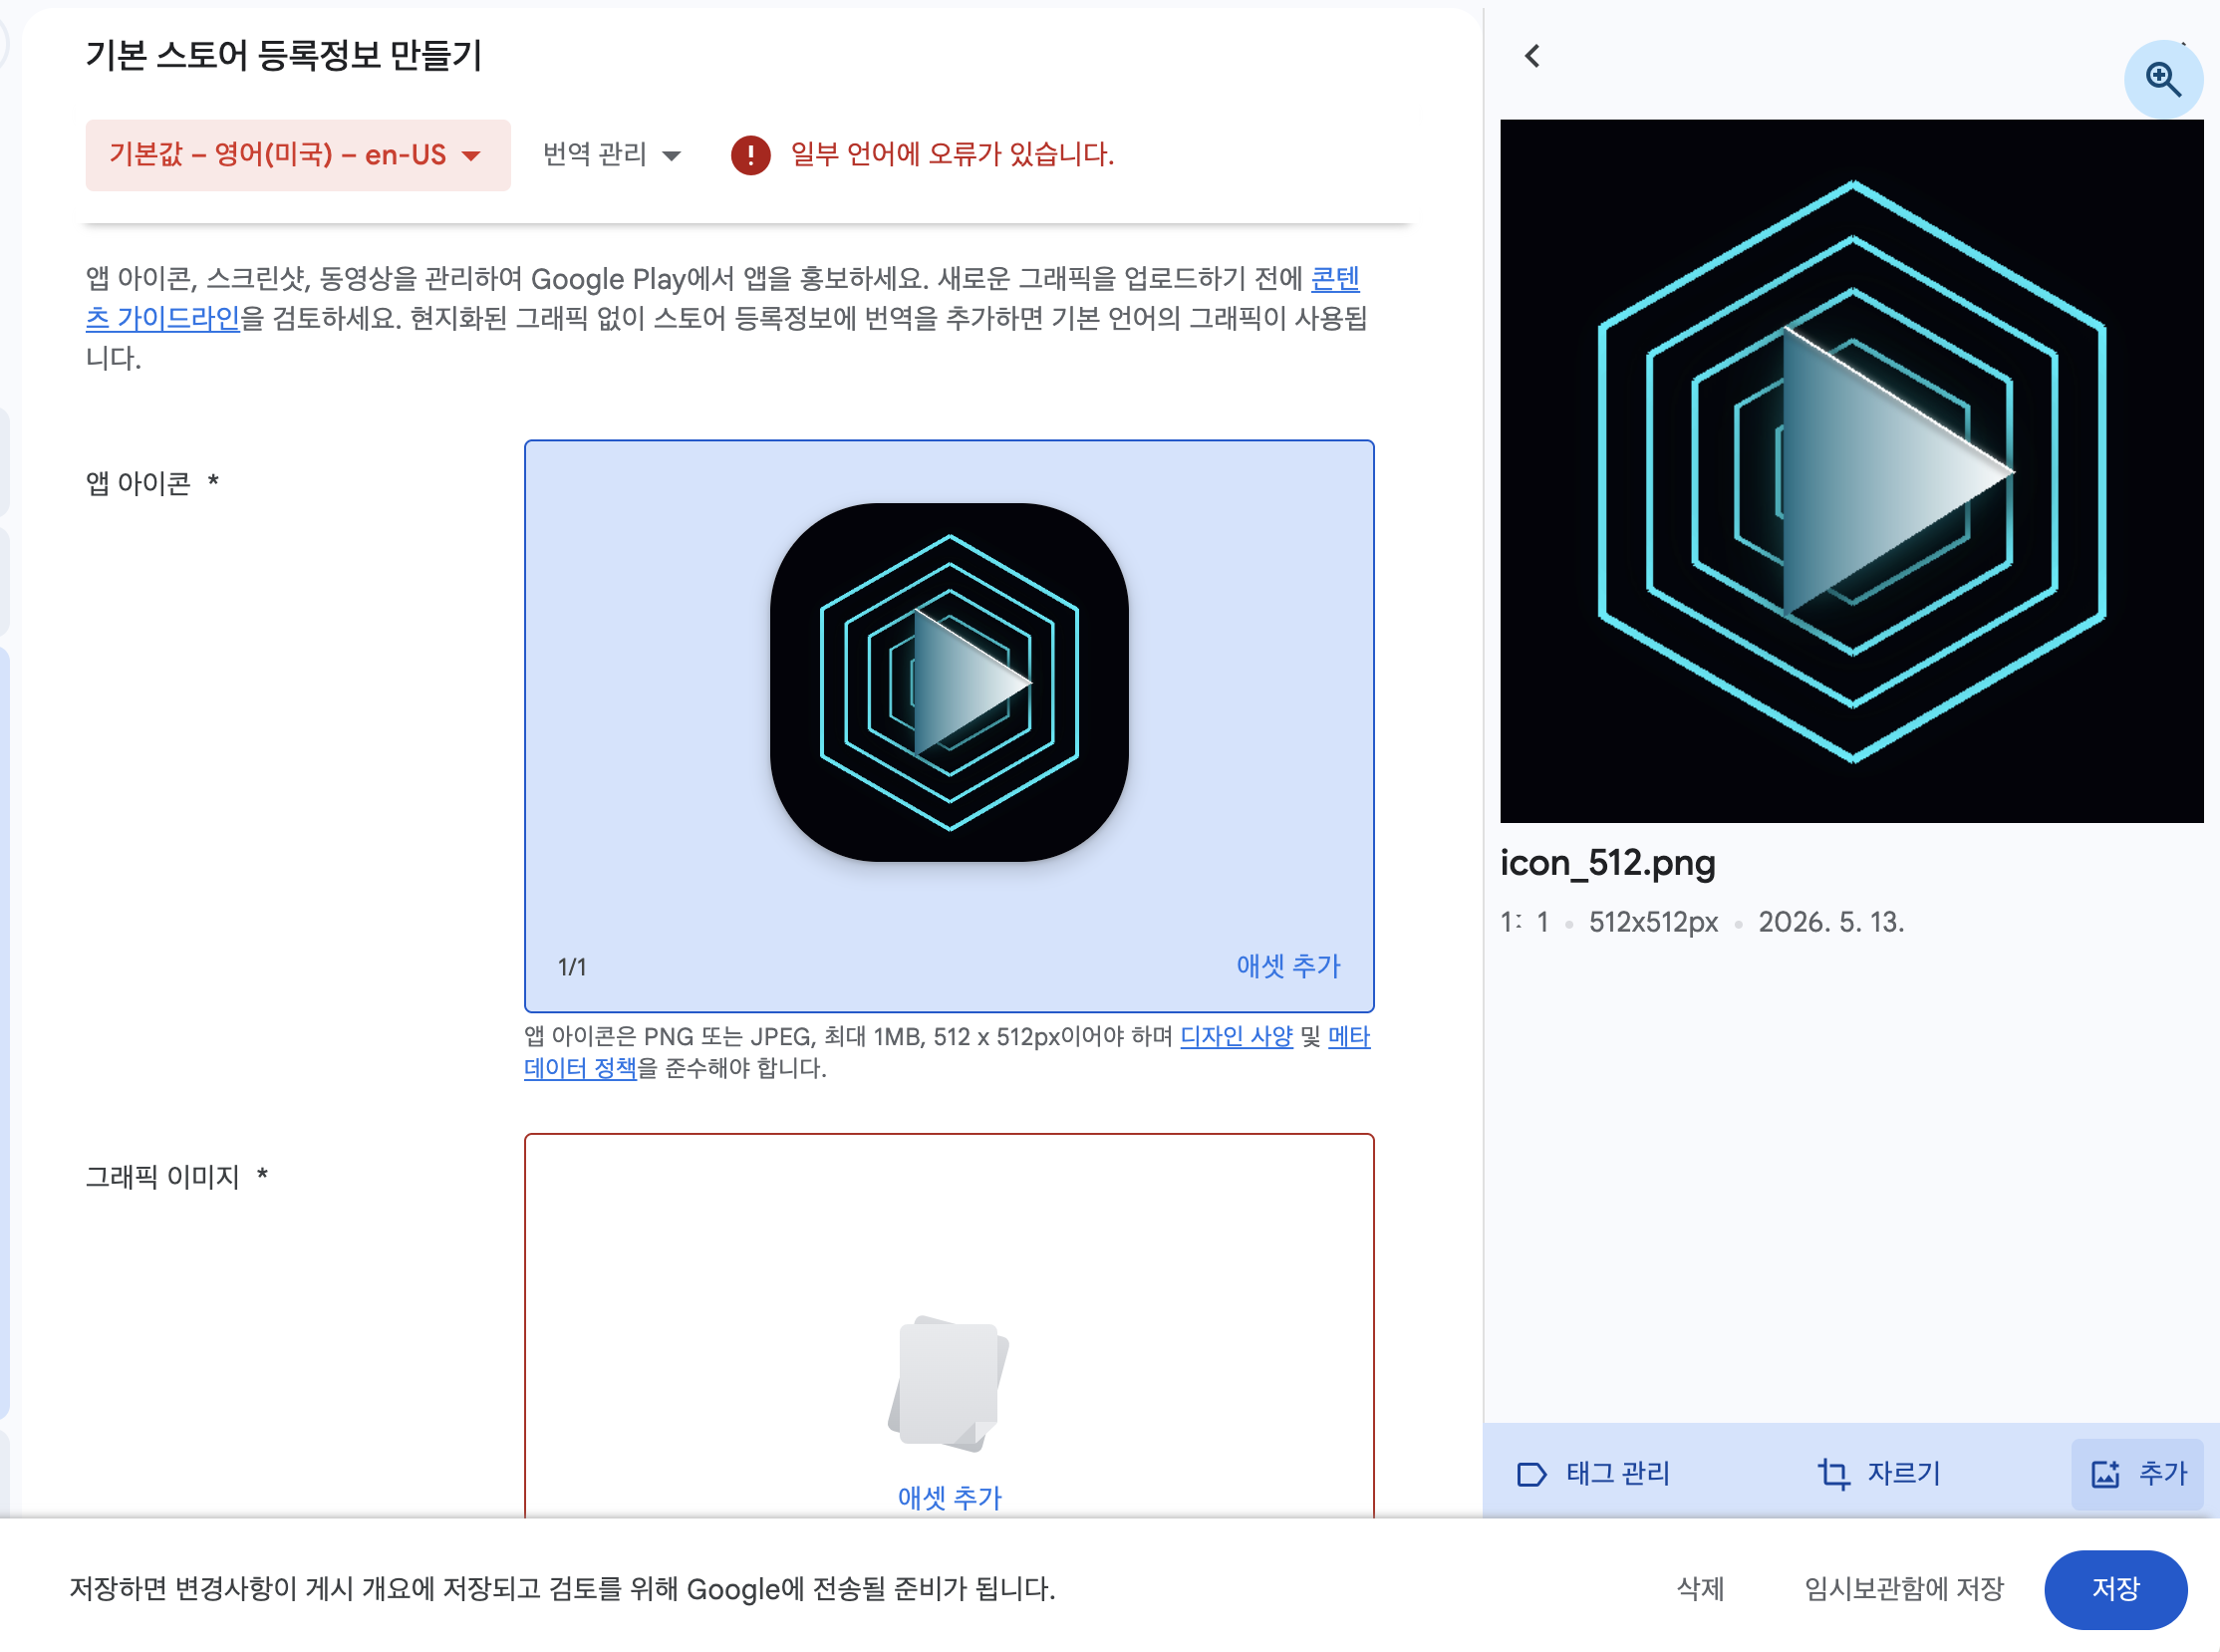
Each section allows different image sizes. It is recommended that you check the size requirements for each section and prepare your images before uploading.
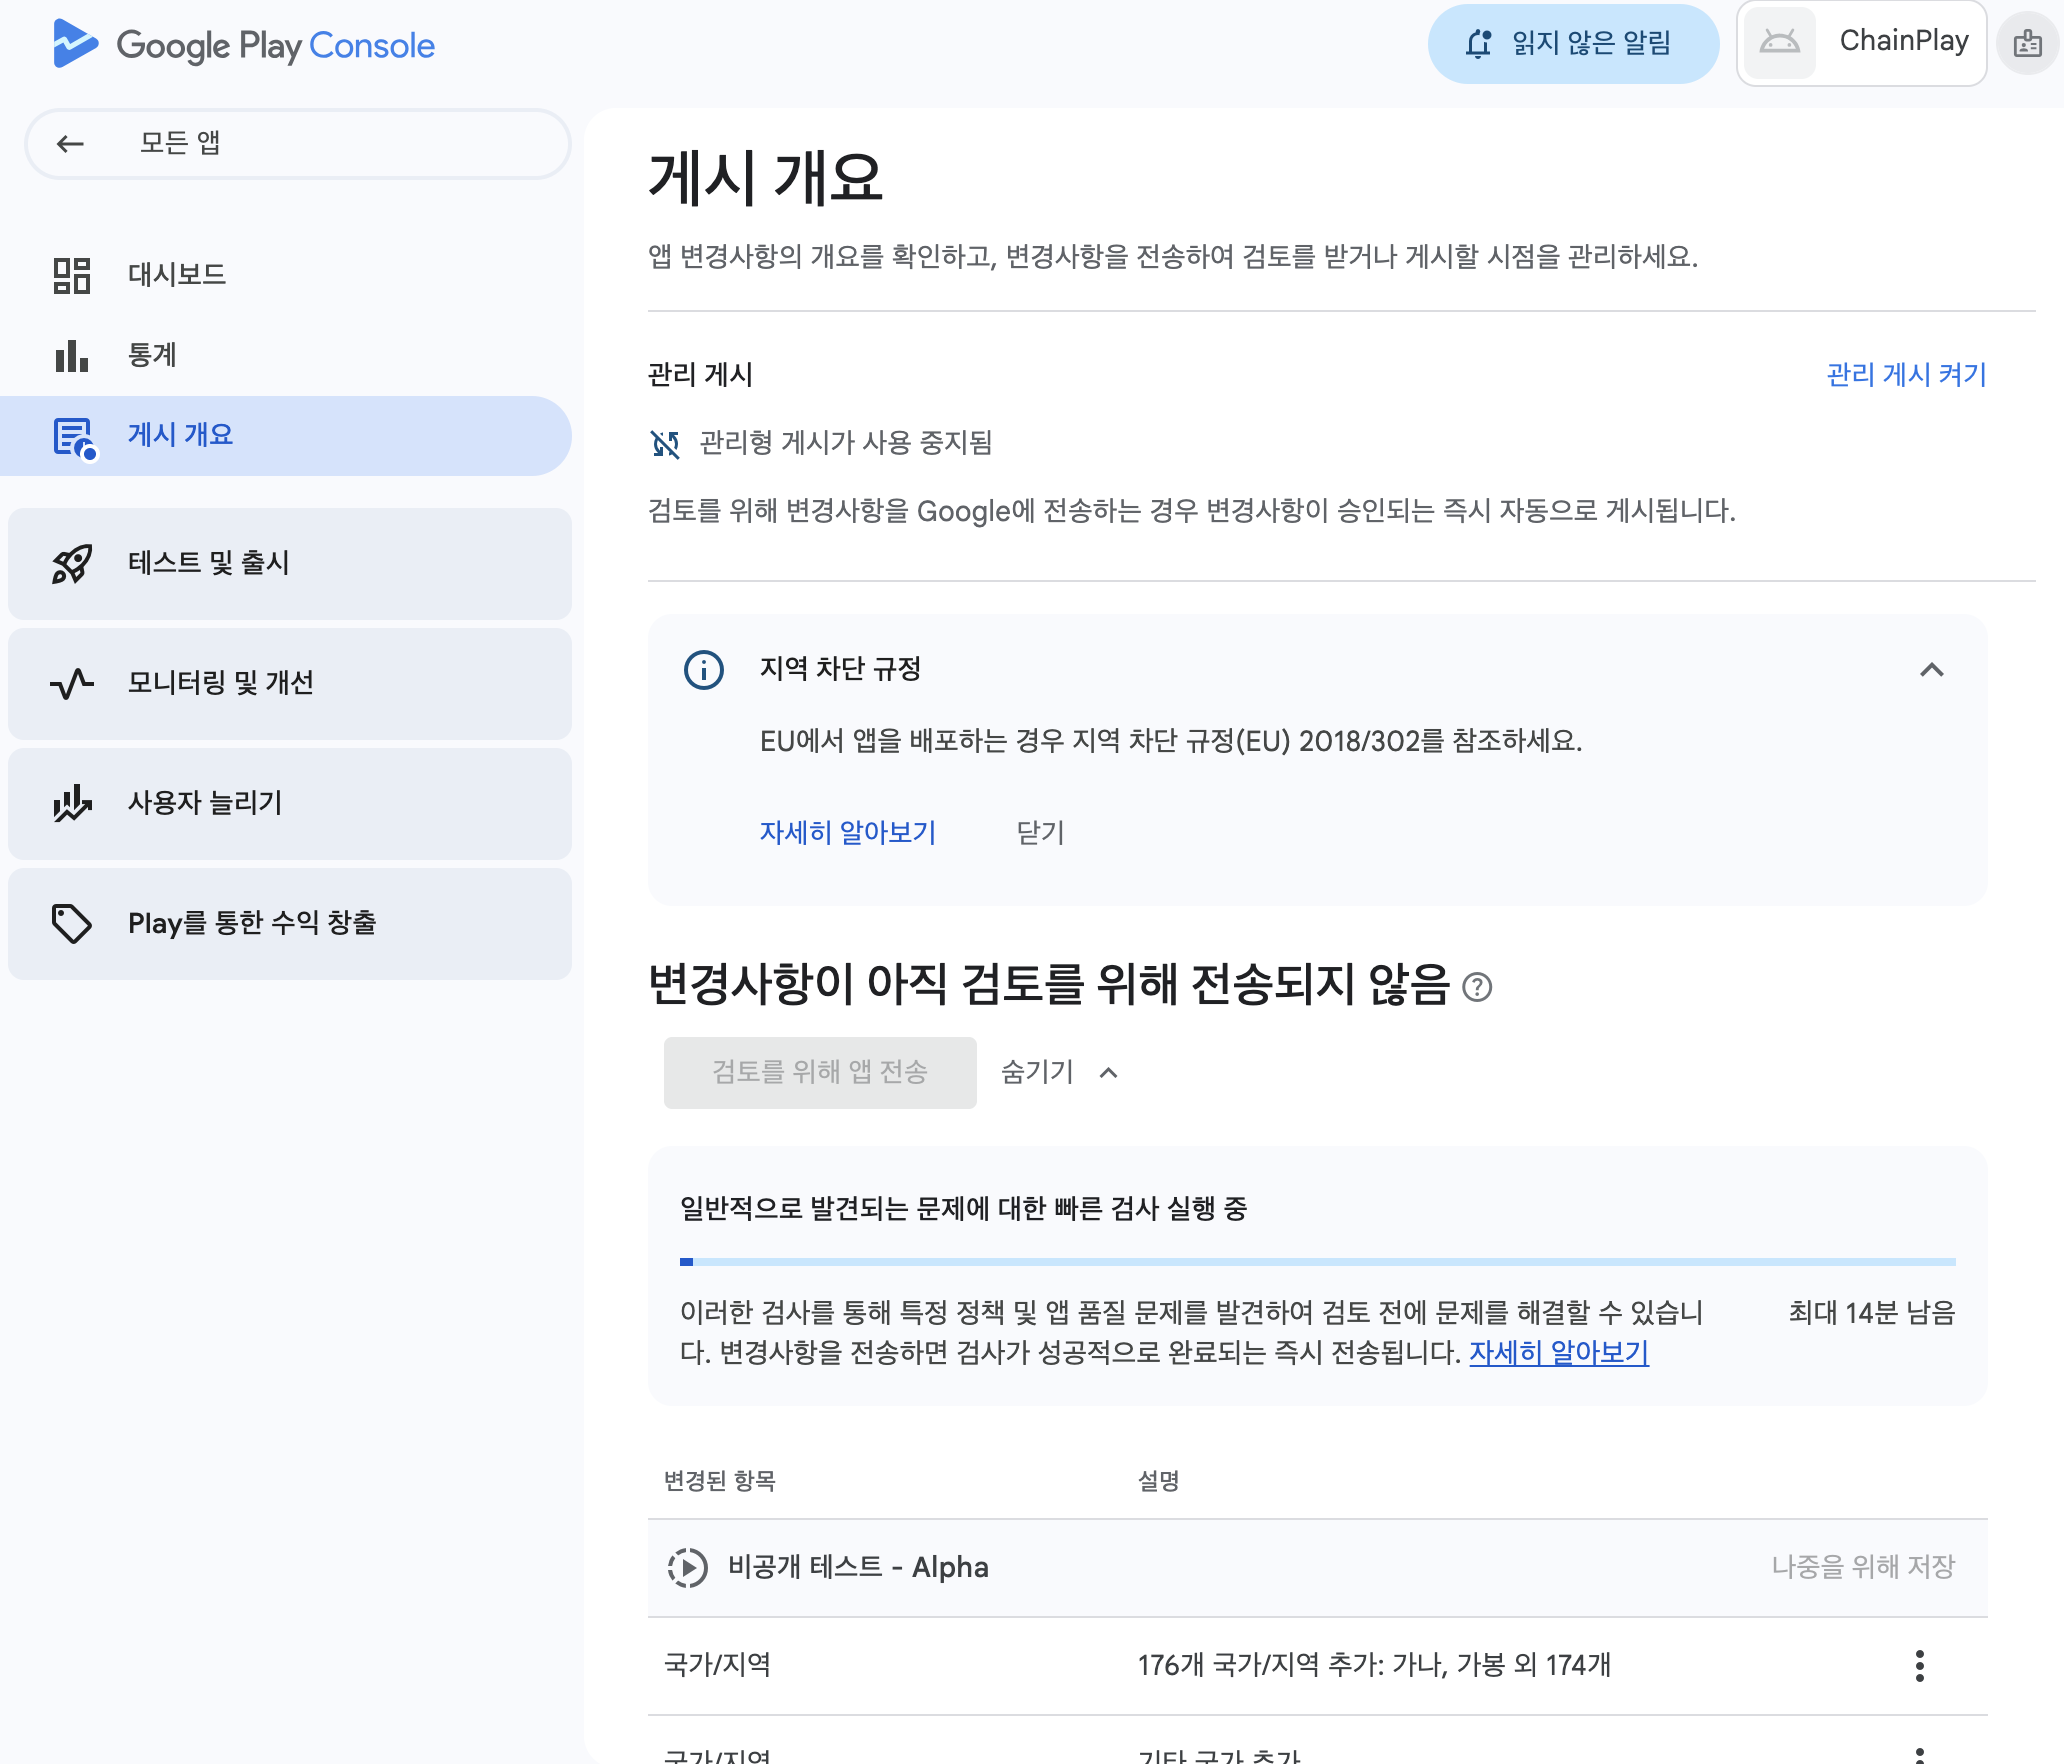
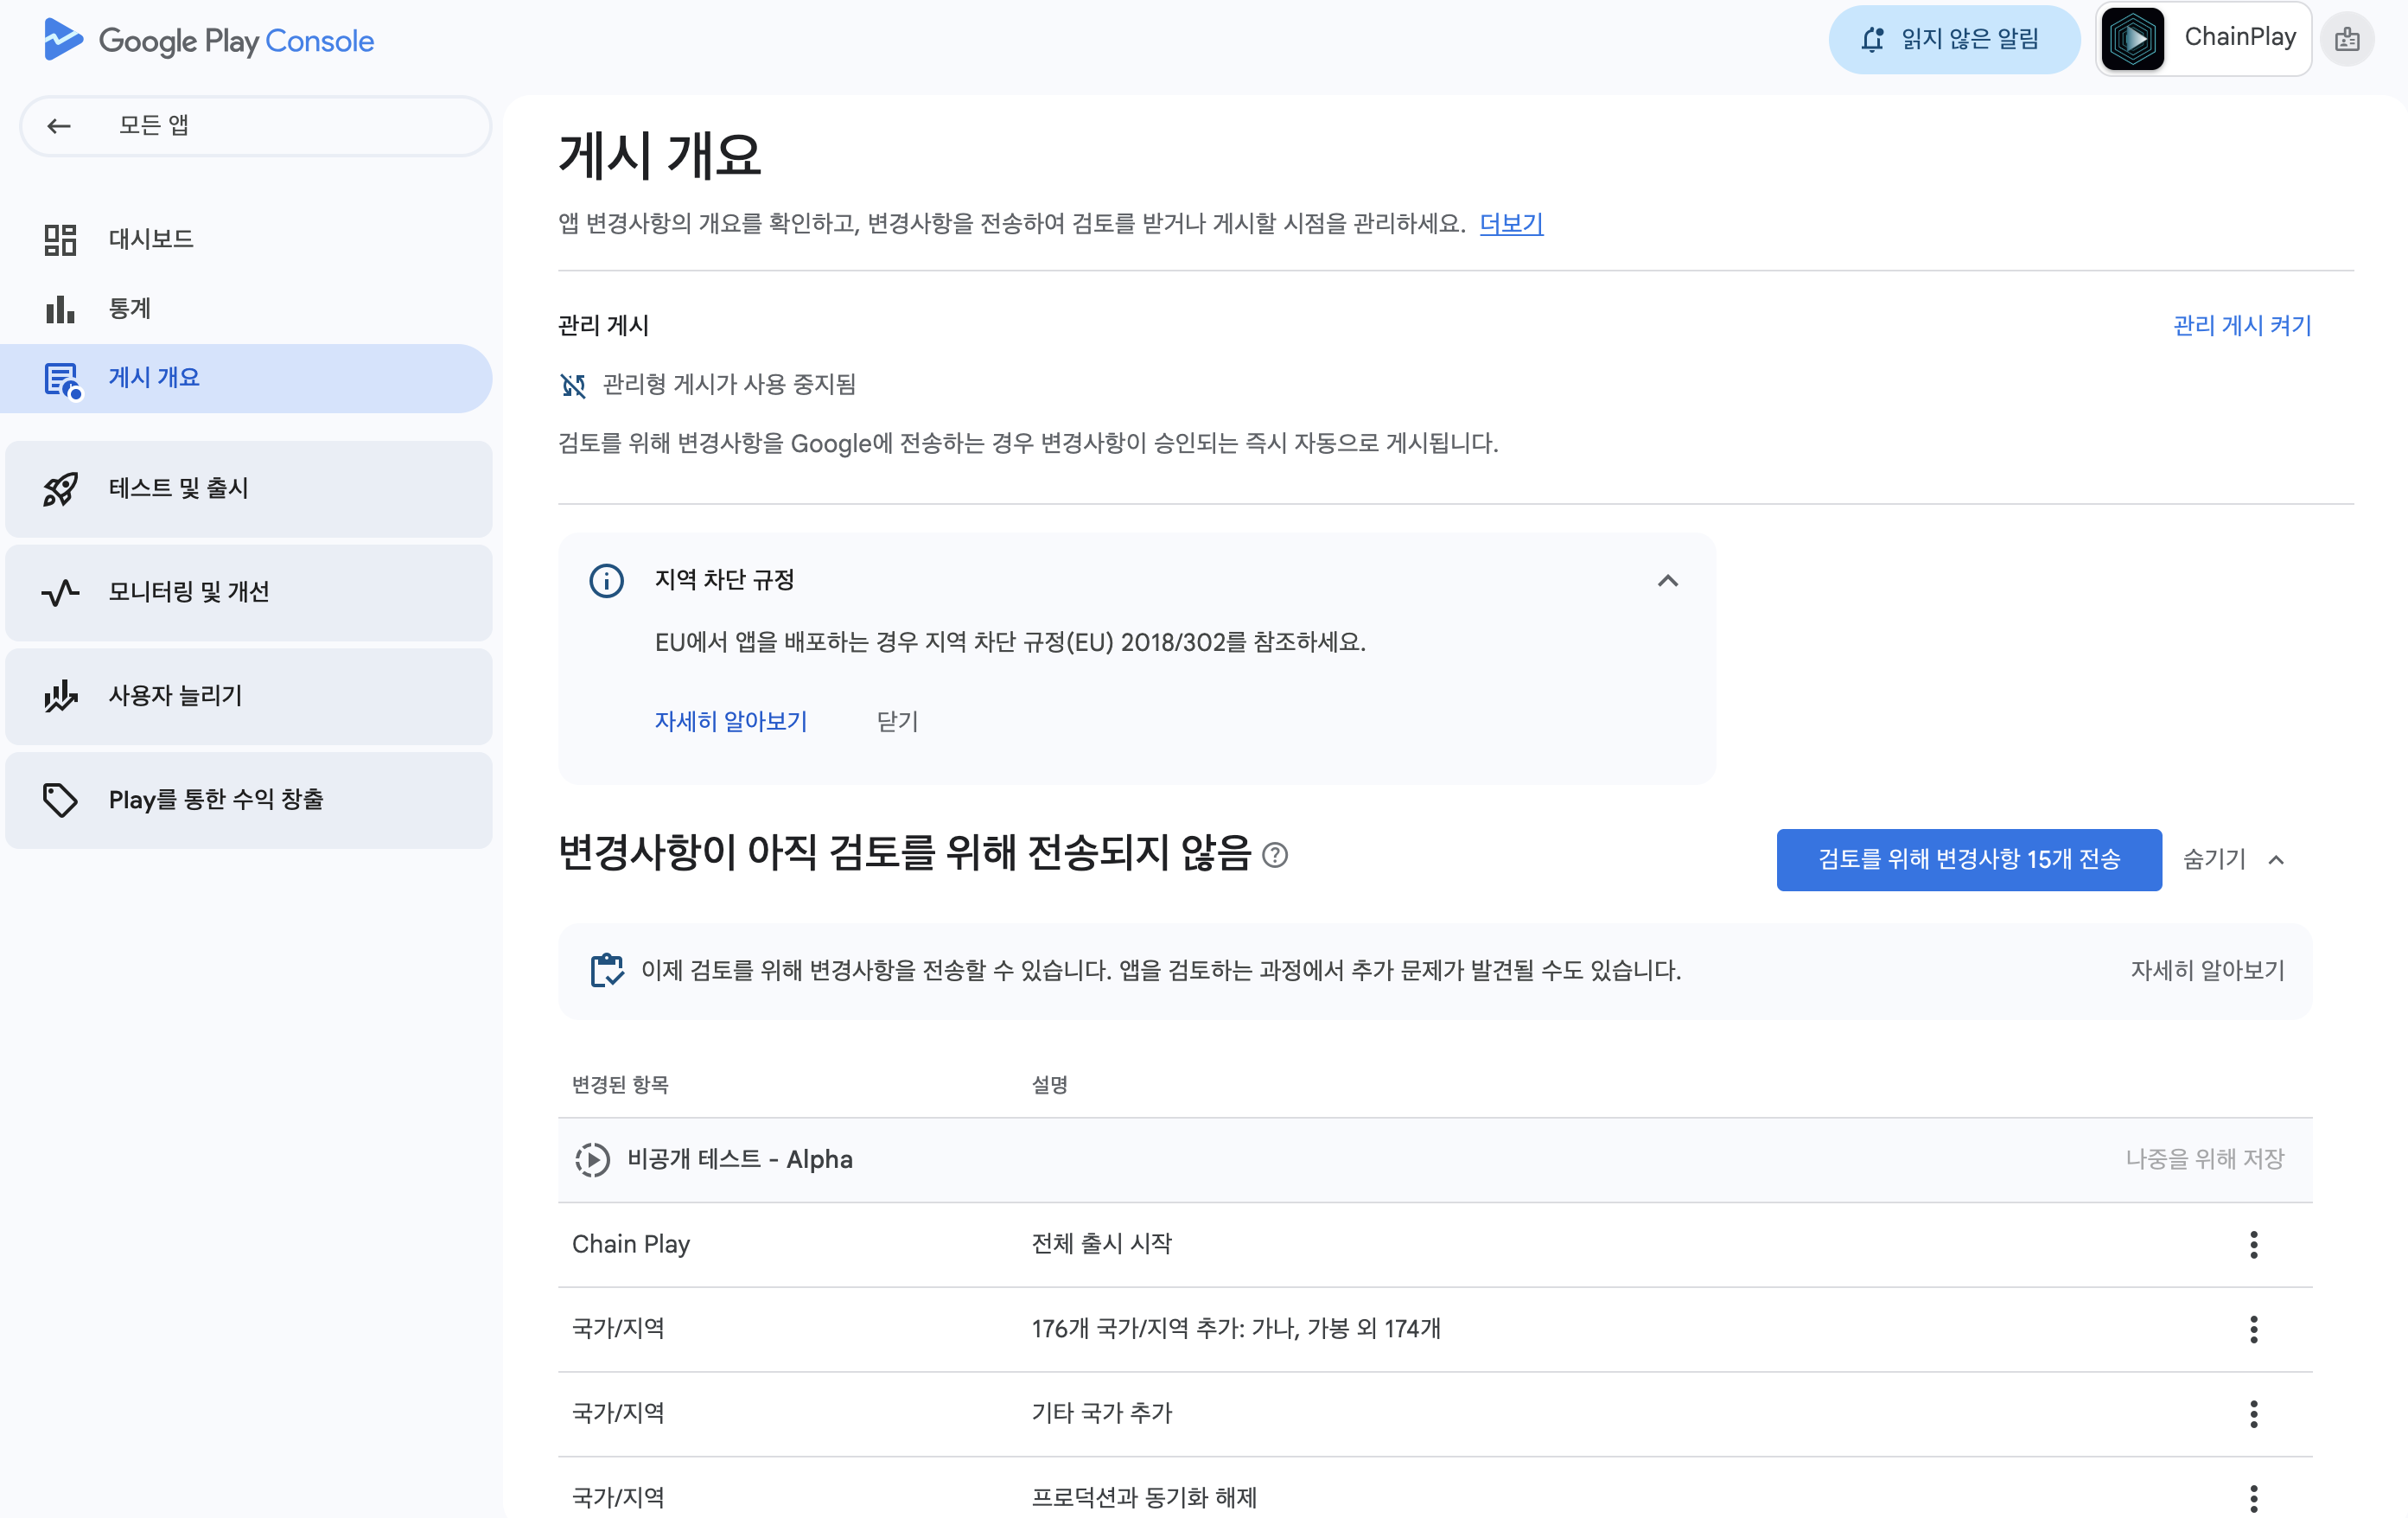
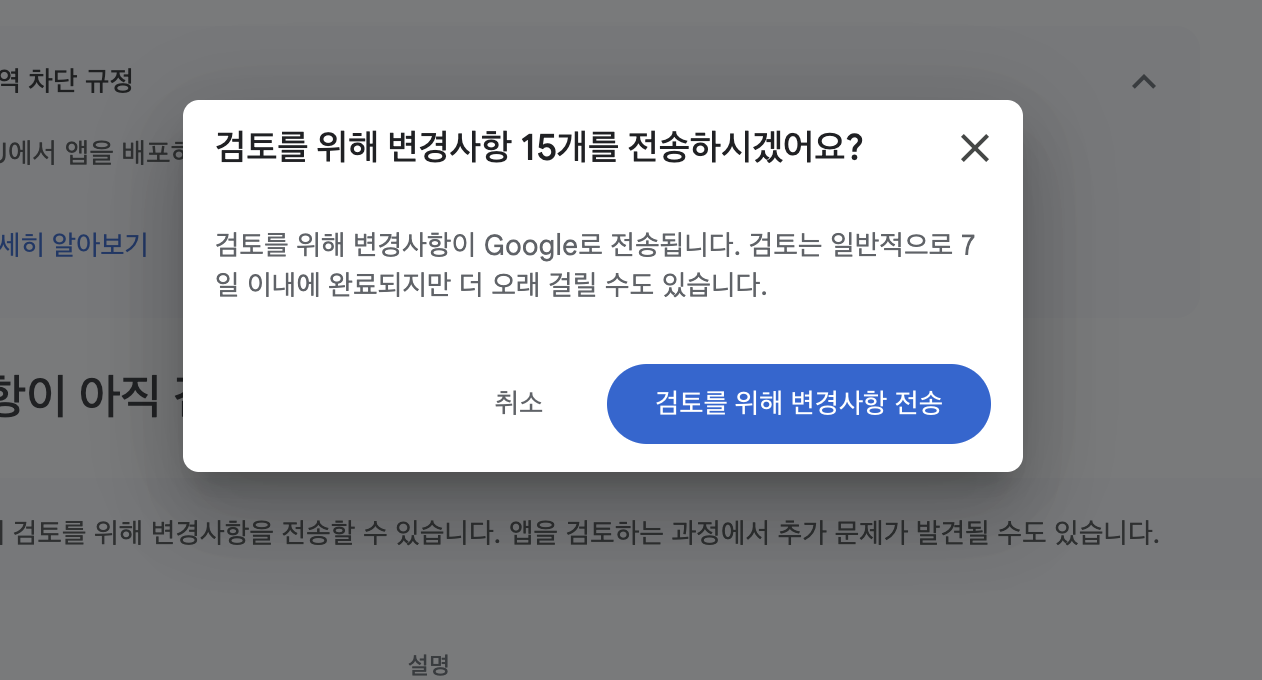
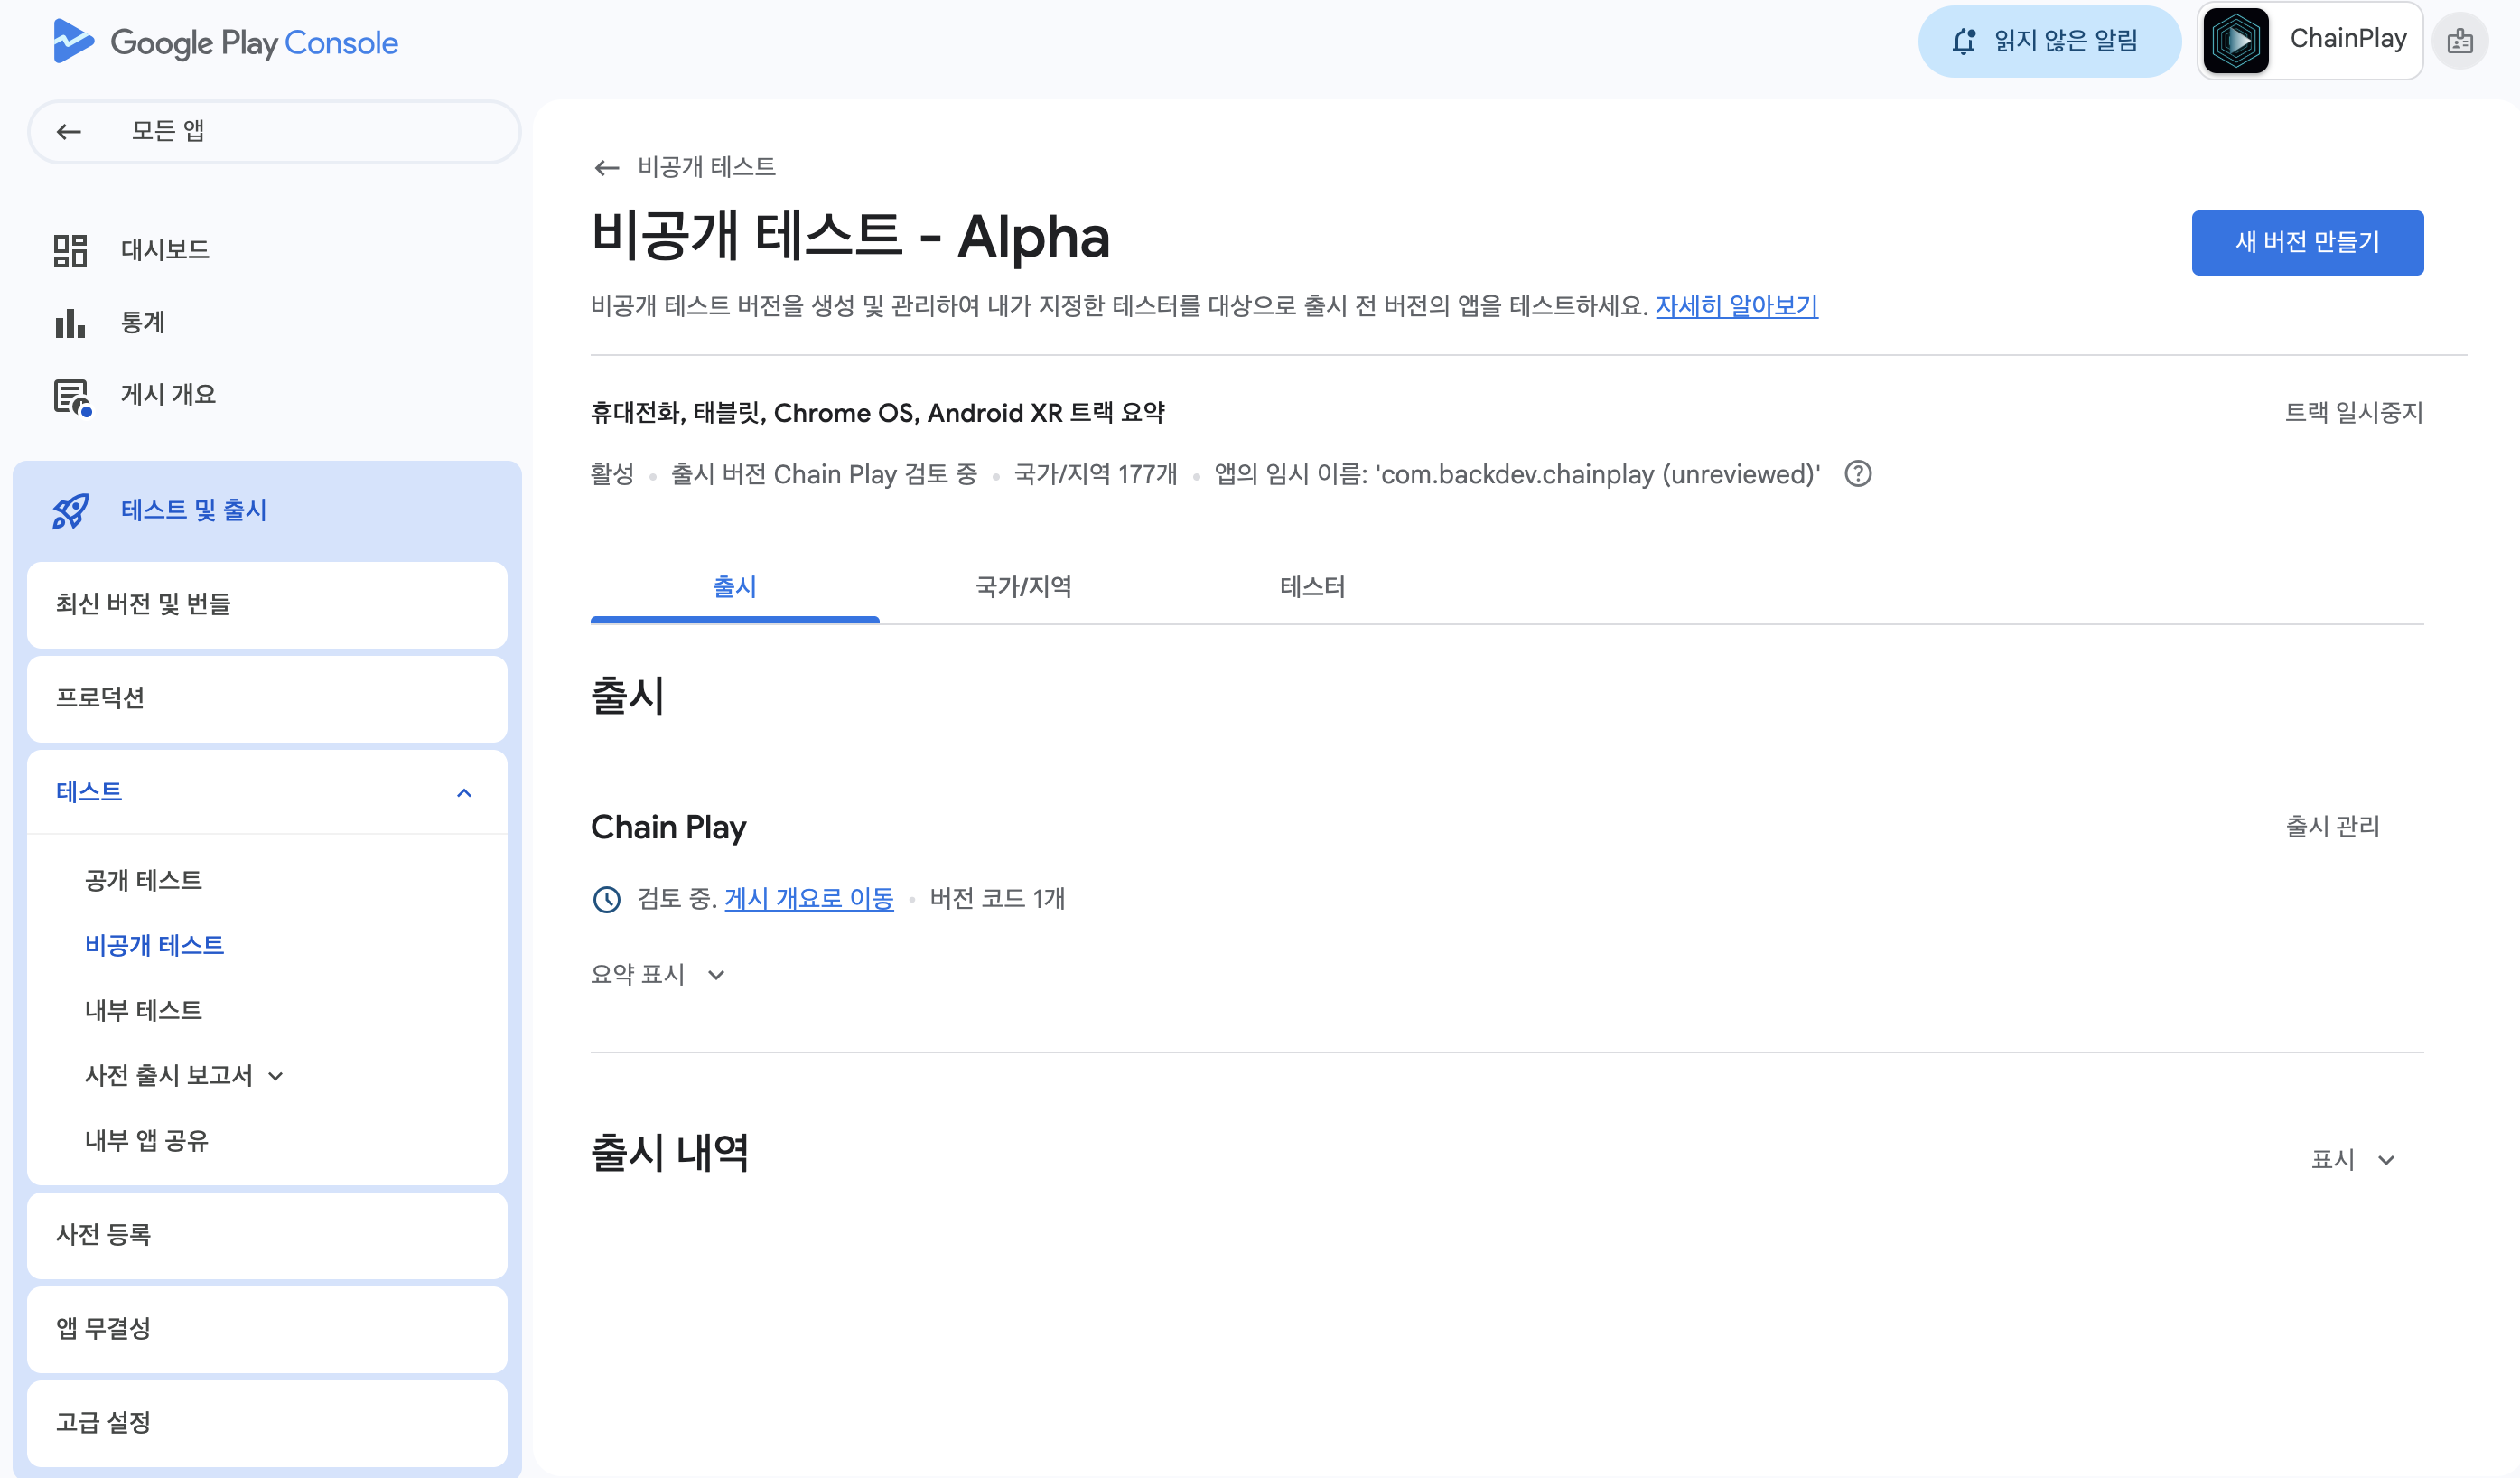
Step 10 - Submit for review and wait for approval
Once everything is complete, submit the review and the status bar will change to "Under Review".
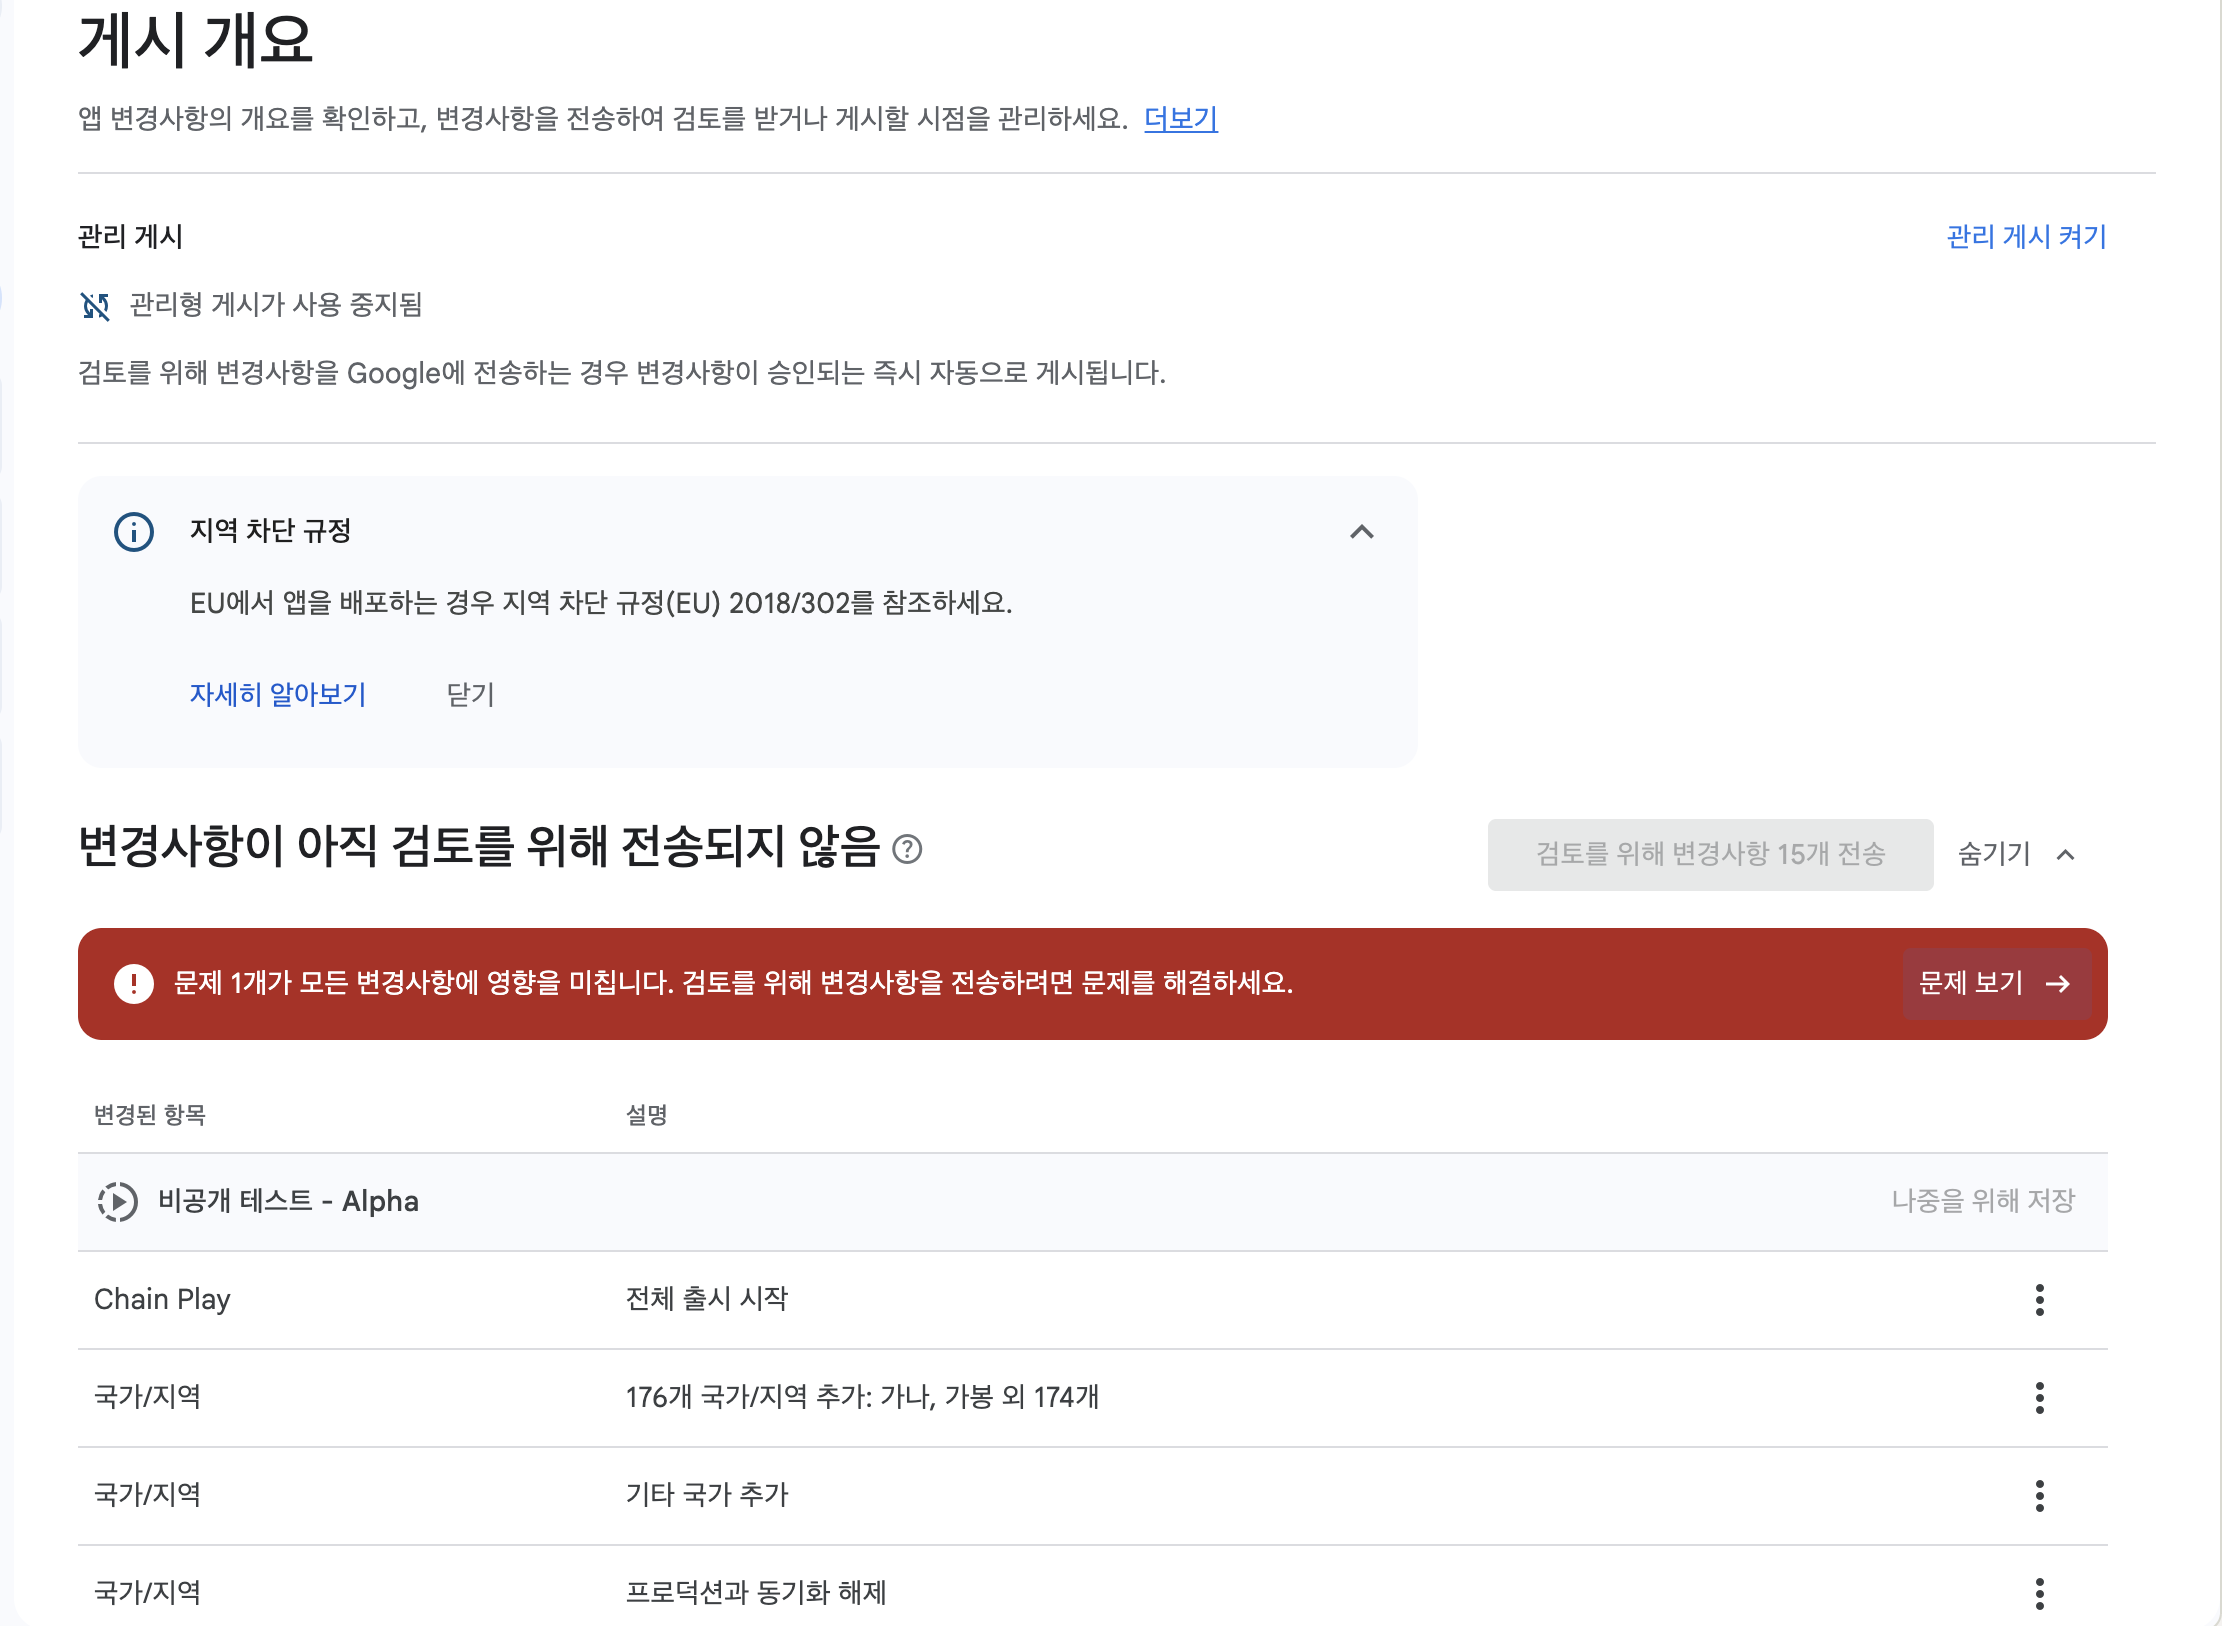
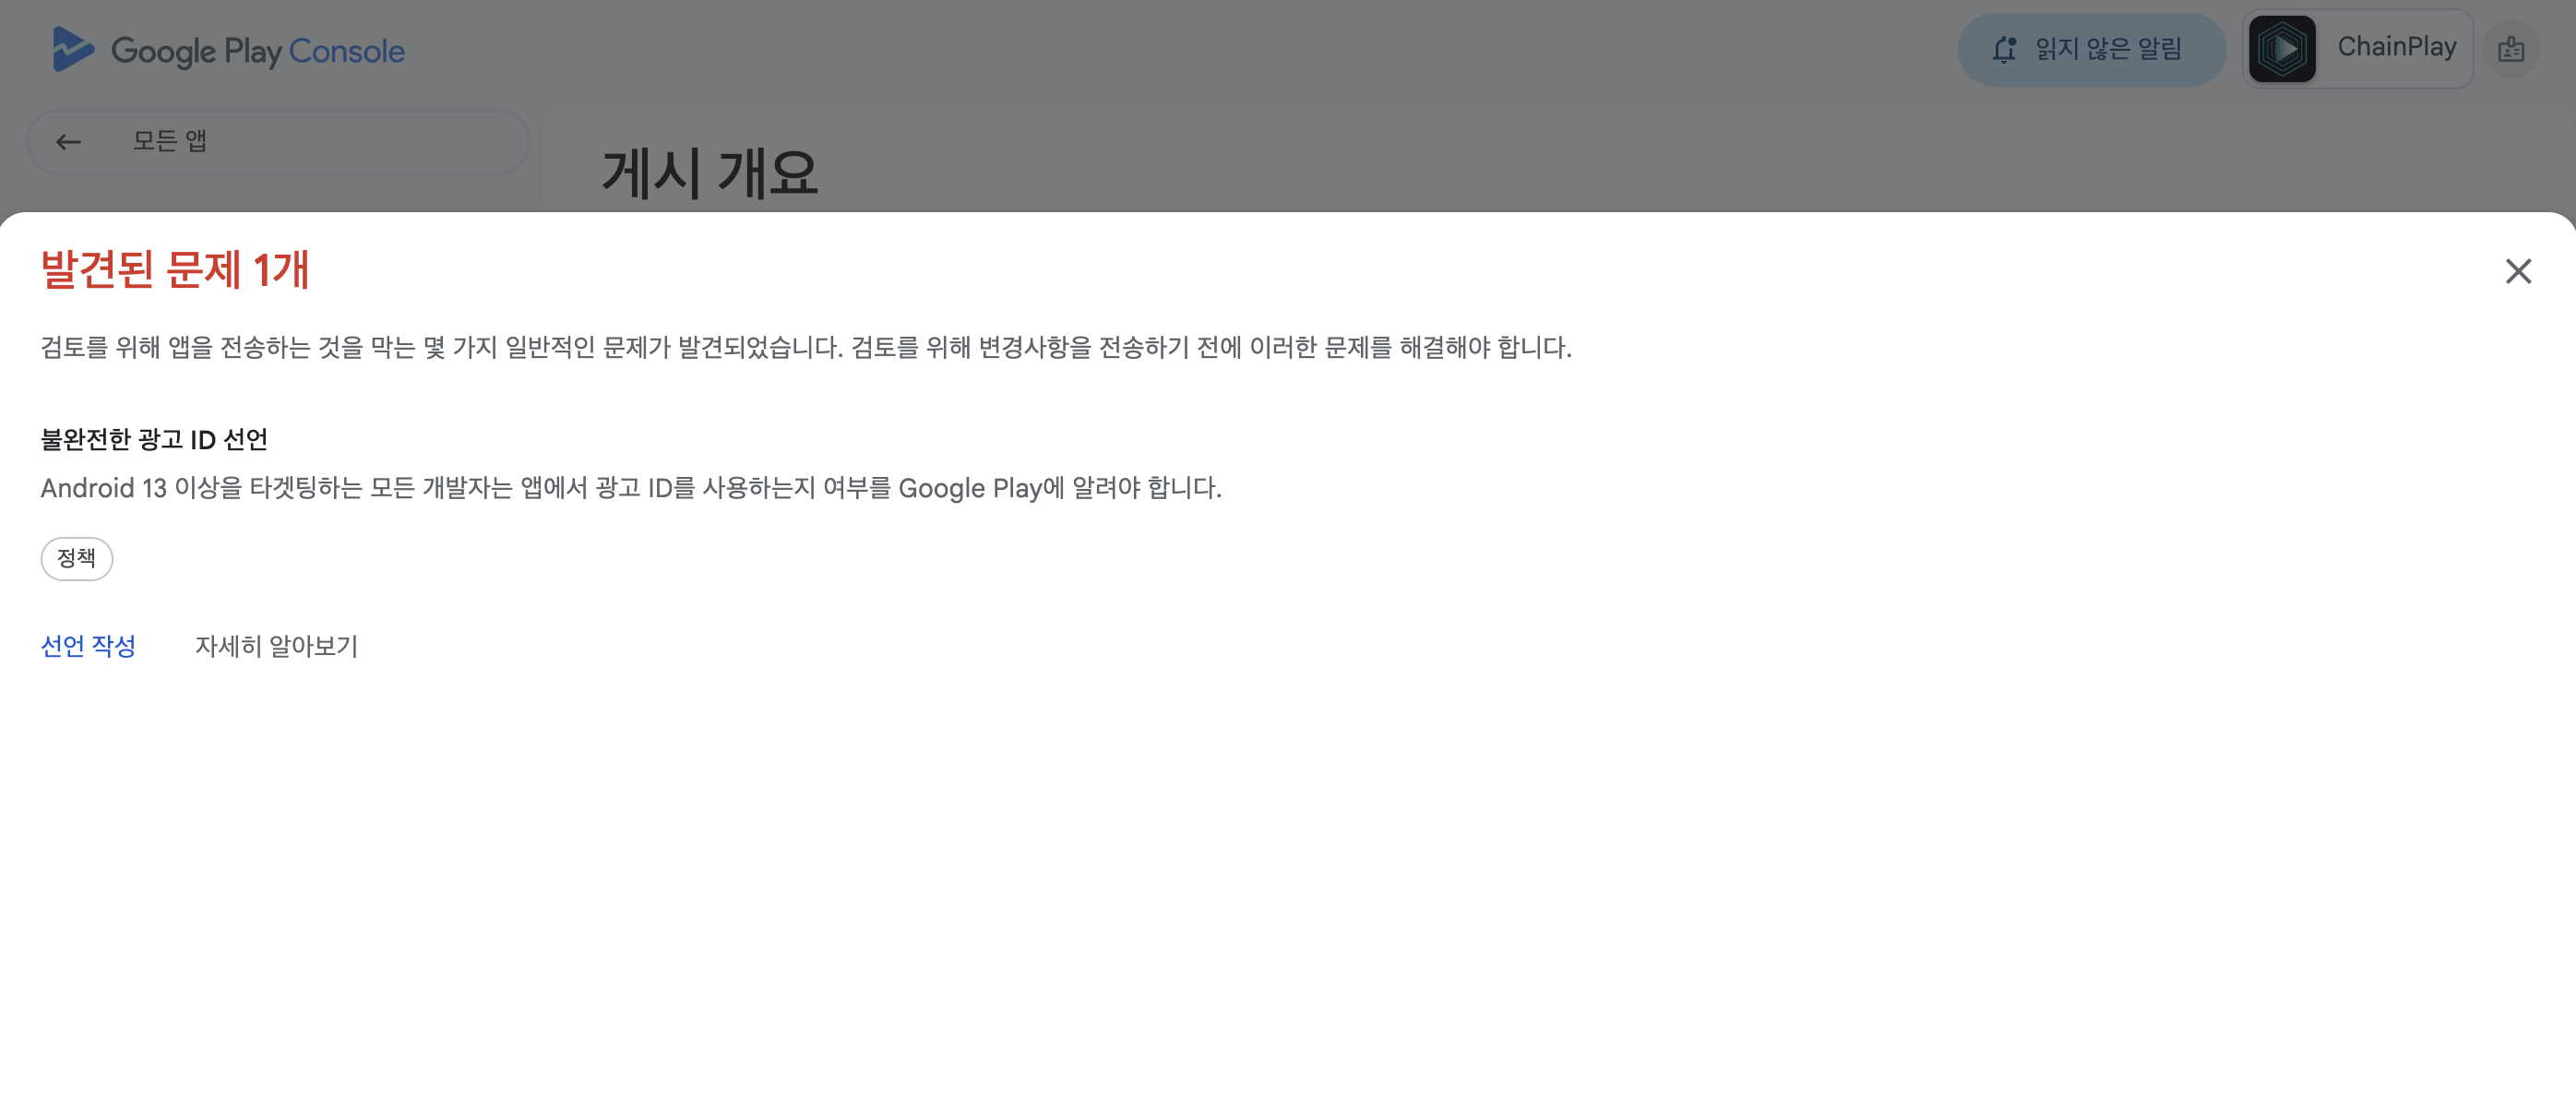
If you find a problem
If Google finds something you missed, it will let you know which part is the problem. Follow the instructions to fix it and resubmit.
Approved
After sending, you'll see "Changes are being reviewed".
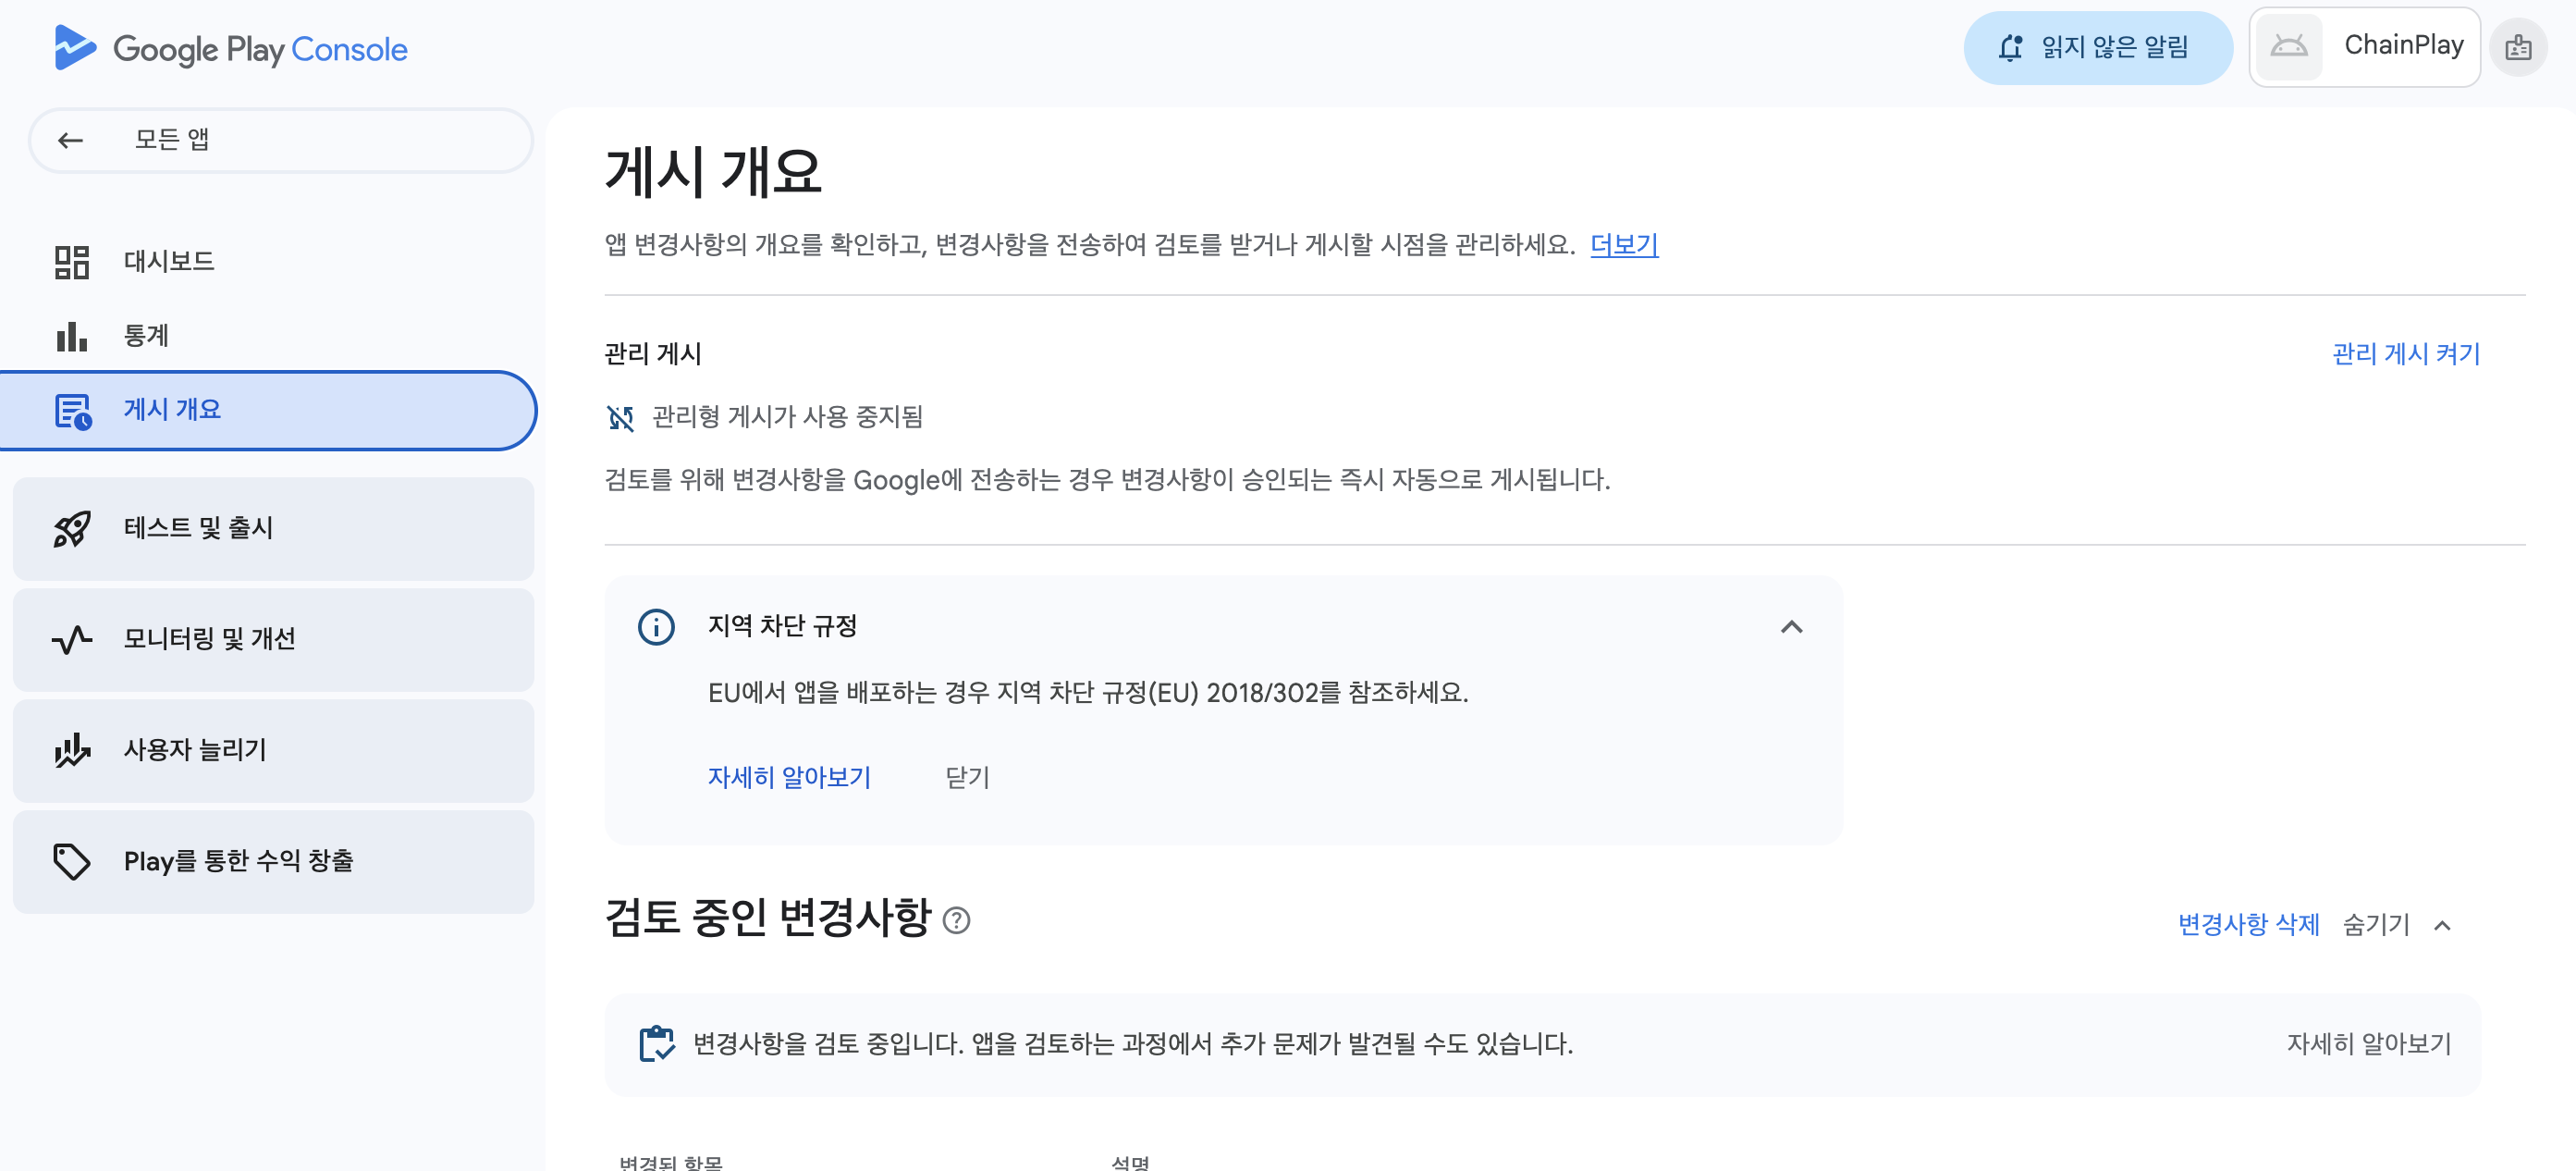
When the icon changes to a green checkmark, you can share the link with your testers and let them install it.
Clean up the overall flow
1. sign up for Google Play Console ($25)
        ↓
2. create an app (package name, language, free)
        ↓
3. internal testing [optional] - get a quick install link
        ↓
4. private testing [required]
   - Recruit testers with Google Groups
   - 12 people × 14 days to meet
        ↓
5. complete the to-do list
   Privacy policy - Access rights - Ads - Content rating
   Target audience - Data security - Government apps - Financial features - Health
        ↓
6. App category + store information (description-image)
        ↓
7. submit review → fix and resubmit if there are any problems
        ↓
8. check the green checkmark → share the tester link
3 key tips:
- test internally first - install and validate yourself while waiting for private test approval
- use Google Groups - recruit testers with a single group link instead of manually adding emails
- use the 'Later' button - hit 'Later' at each step instead of 'Go to Overview' to avoid breaking the workflow
backtodev
A 40-something PM returns to code. Learning, failing, and growing.