How to Register a Google Play Developer Account (2026 Guide)
Google Play Console Developer Account Registration (2026 Complete Guide)
To officially distribute an Android app, you need a Google Play developer account and access to the Play Console. This guide walks through the entire process — from creating your account to completing identity verification — for individual developers as of 2026.
1. What You'll Need
Having these ready before you start will make the process much smoother:
- A Google account (Gmail)
- Credit or debit card: for the one-time $25 (USD) developer registration fee
- Phone number: for two-factor authentication and identity verification
- A document with your name and current address (issued within 90 days — e.g., utility bill, bank/card statement, lease agreement; accepted documents vary by country)
Tip: The address on your document should match the legal address in your Google payment profile exactly. Mismatches are the #1 reason for rejection.
2. Accessing Google Play Console and Registering
-
Open Play Console in your browser
- URL: https://play.google.com/console
- Sign in with your Google account.
-
Start developer registration
- On the first screen, click Create a developer account or Register.
- Select your account type:
- Personal: for individual developers — the typical choice
- Organization: for companies or legal entities — may require additional documents (D-U-N-S number, etc.)
-
Agree to the terms
- Accept the Google Play Developer Service Agreement.
-
Pay the registration fee (one-time)
- Enter your card information and pay the $25 registration fee.
- This is a one-time payment with no annual renewal fee.
3. Developer Profile and Payment Profile Setup
After payment, configure your developer account info and payment profile (legal address).
3.1 Developer Profile Information
-
Developer name
- This is the name displayed on the Play Store.
- Use your real name or a pen name for individuals; use the company name for organizations.
-
Developer email address
- This email is publicly shown and used for user inquiries.
- Use an address you can receive mail at — a verification email will be sent.
-
Website, phone number (optional / required in some countries)
- Recommended to fill these in for credibility.
3.2 Linking a Google Payment Profile (Legal Address)
Your Play Console account is linked to a Google Payments profile.
- Select an existing profile or create a new one.
- Enter your legal name, address, country, and payment method.
- This information becomes the baseline for identity and address verification, so it must be accurate.
4. Identity Verification
As of 2026, Google requires strong identity verification to keep Play secure.
4.1 Personal Account Identity Verification
For personal accounts, you'll typically need:
- A government-issued ID (e.g., national ID, driver's license, passport — accepted documents vary by country)
- The name on the ID must match the legal name in your Play Console / payment profile
Follow the Play Console prompts to upload a photo or scan of the ID. In some cases, a selfie (live face check) may also be required.
4.2 Address Verification
If additional address verification is required, submit one of the following (issued within 90 days):
- Utility bill (electricity, water, gas, internet, phone)
- Credit or debit card statement
- Bank statement
- Lease agreement or proof of residence
Important: The document must clearly show both your name and current address, and match the address in your payment profile as closely as possible. Statements without an address printed on them are not accepted.
After uploading, Google reviews the documents and typically sends an approval or follow-up request by email within a few days.
5. Security Setup (Two-Factor Authentication)
Enabling 2FA is effectively mandatory for Play Console users.
- Go to your Google Account settings
- Set up 2-Step Verification
- Choose from SMS, phone call, or an authenticator app (Google Authenticator, etc.)
- Save backup codes
- Store them somewhere safe in case you get locked out
Once complete, Play Console will require the additional verification at login.
6. Getting Around the Play Console
After verification is approved, you'll have access to these sections:
- Home: App summary, announcements, policy alerts
- Policy status: Policy violation checks and warnings
- Apps: Your app list, create a new app
- Developer account: Profile, contact info, organization details
- Settings: Email notifications, connected services, tester email lists
To actually publish an app, the next steps are:
- Create an app listing and set the package name
- Write the store listing (title, description, screenshots, icon)
- Add a Privacy Policy URL and fill out the Data Safety form
- Upload an AAB, set up test tracks, and submit for review
7. Common Sticking Points and Tips
-
Address document doesn't show your address
- Request a statement reprint from your bank, card issuer, or mobile carrier that includes a printed address, or get a utility bill issued.
-
Rejected for name/address mismatch
- If the ID, address document, and payment profile don't all match, the application will be rejected.
- First update your payment profile to reflect your current legal name and address, then submit matching documents.
-
Review timeline
- Identity/address verification typically takes a few days but can take longer.
- If you receive a rejection email, replace the documents or correct the information based on the reason given.
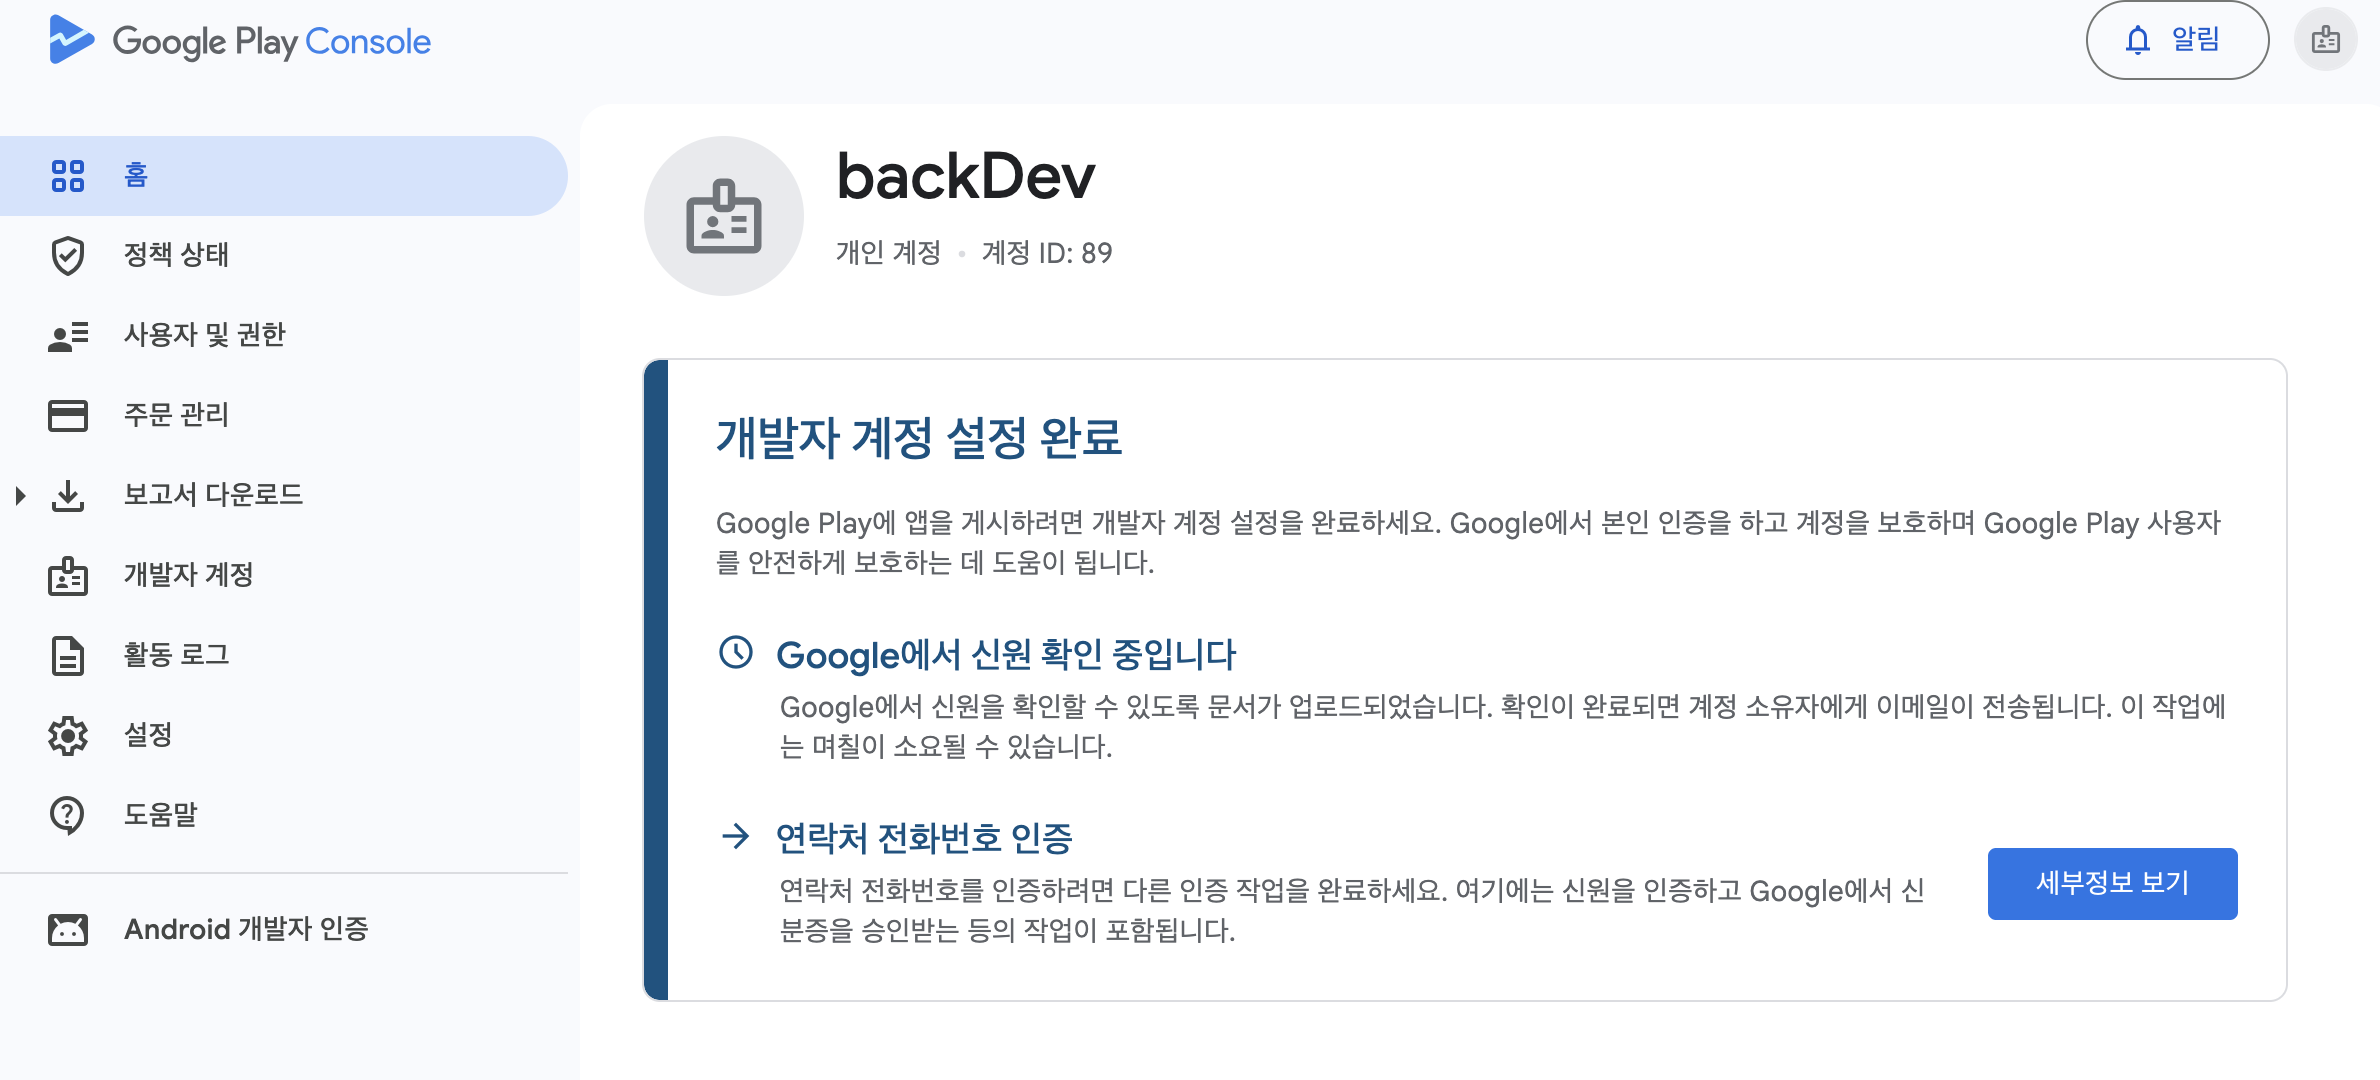
Even after registering, you'll see "Identity verification in progress" and won't get instant approval. This is very different from the early days. Google's policies have become much stricter — identity checks, billing address verification, and more are all required now, so allow time in your schedule.
If your project timeline is tight, register your developer account before you start building the app.
Wrap-Up
Google Play Console registration follows this order:
- Prepare a Google account
- Register a developer account and pay $25
- Set up developer and payment profiles
- Complete identity and address verification
- Enable two-factor authentication
backtodev
A 40-something PM returns to code. Learning, failing, and growing.